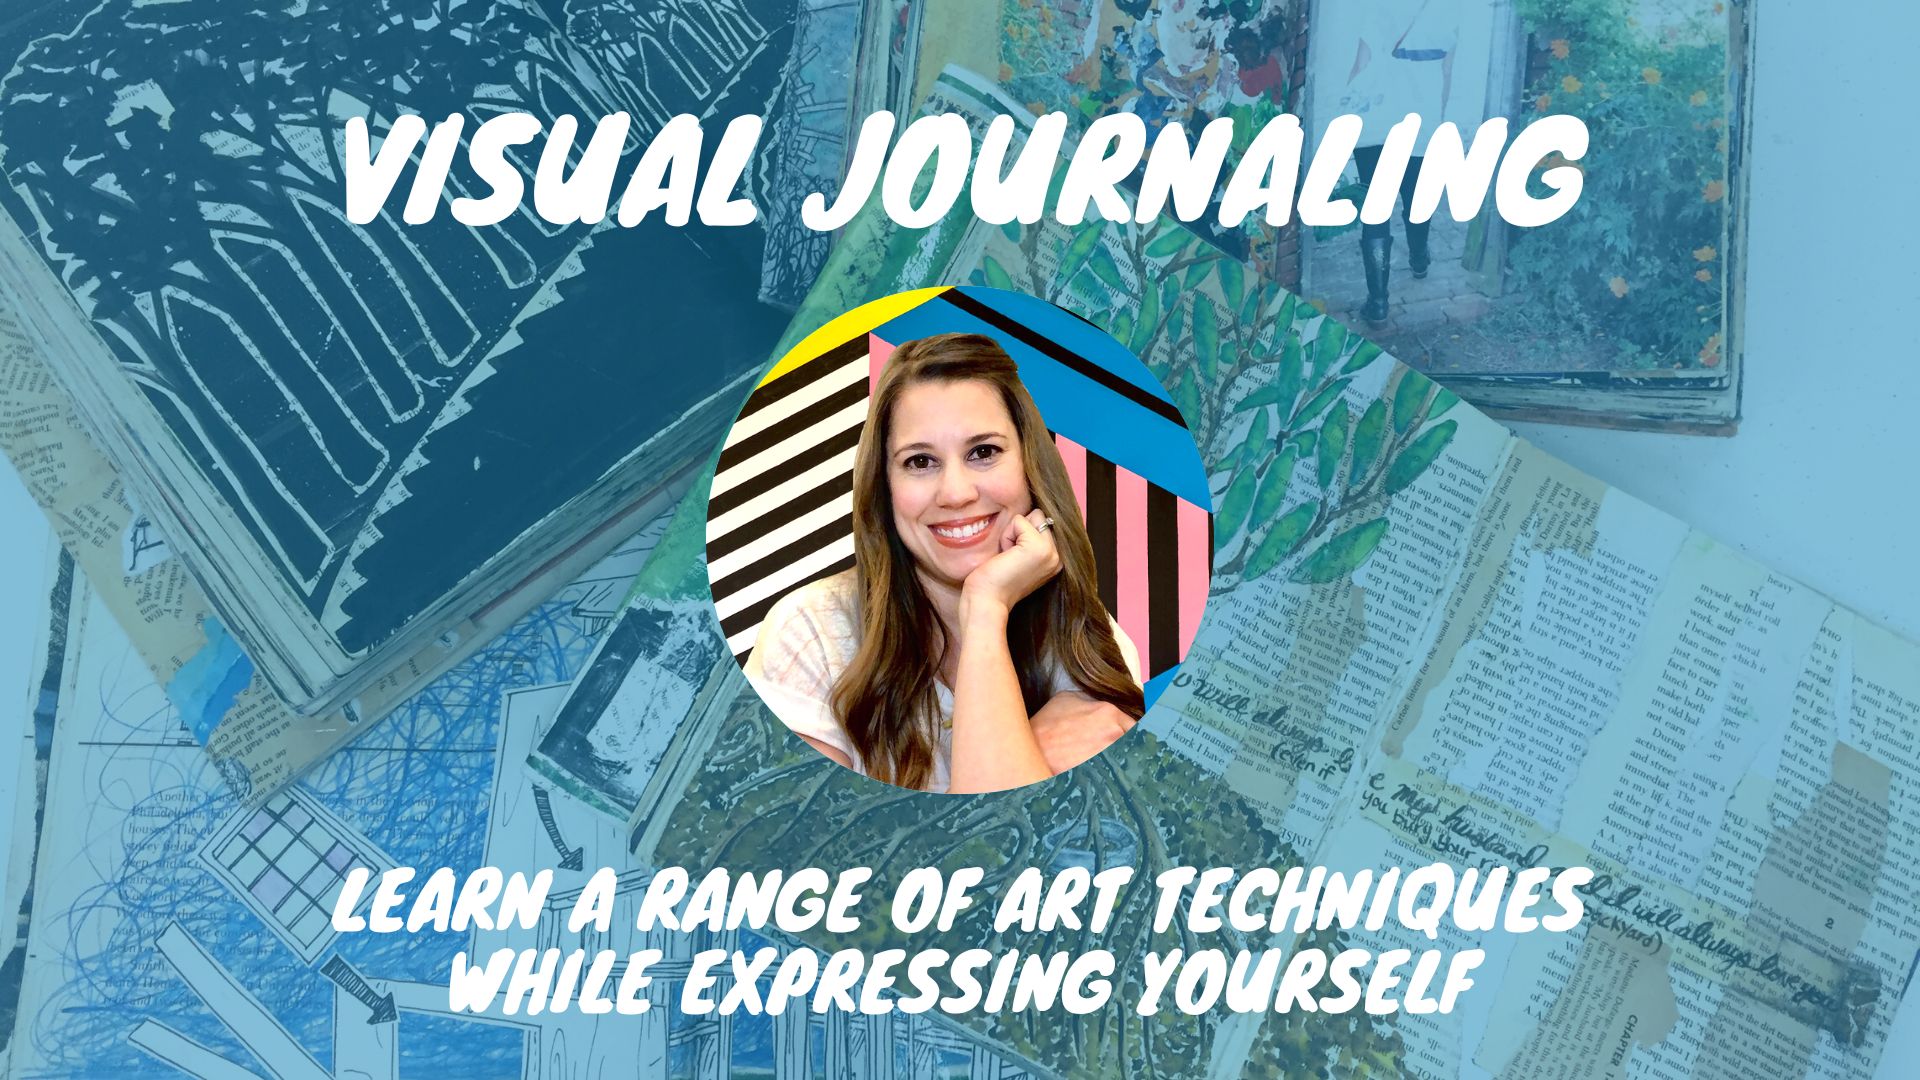
If you are ready to take the plunge into creating your own visual journal or teaching students about visual journals set yourself up for success by prepping your book before you get started. I often get questions about how I pick a book, get it ready to work in, and how I work on pages in an old book. These few tricks will help answer these questions and get you started in your altered book.
RIP OUT PAGES
As you work in your altered book you will soon realize the pages get much thicker, putting stress on the spine of the book. To avoid having a book fall apart always use a hardback book and ideally one with a stitched, signature style binding. Read more details about selecting a book here.
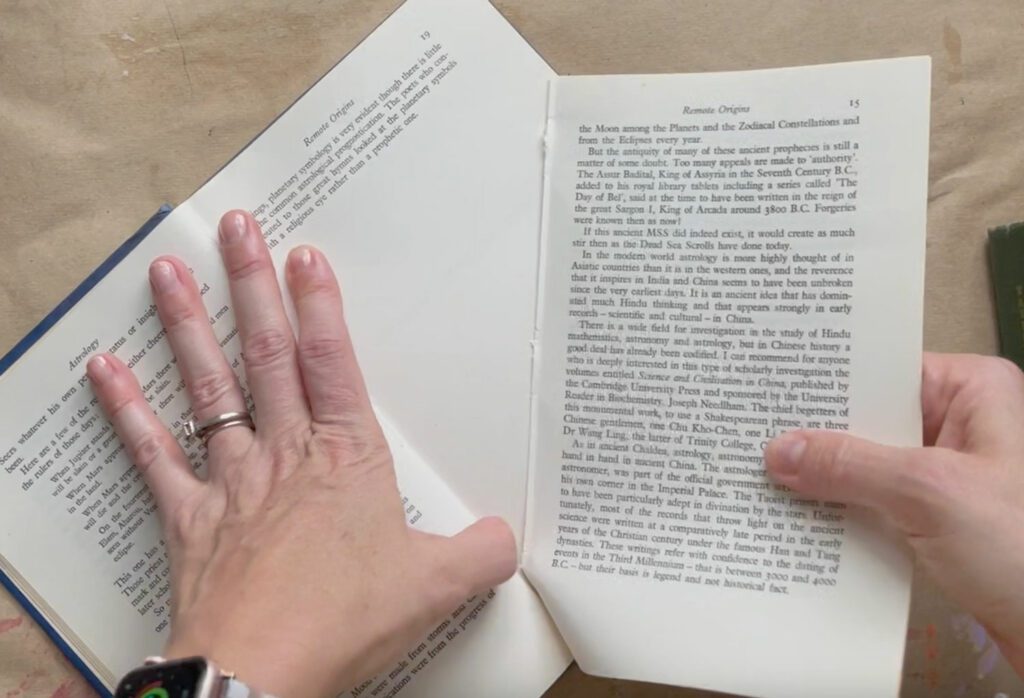
Once I have my visual journal book selected, I rip out every other page in the book. I’m not joking, you need to reduce the pages by 50% to allow for the increased thickness of the collaged pages.
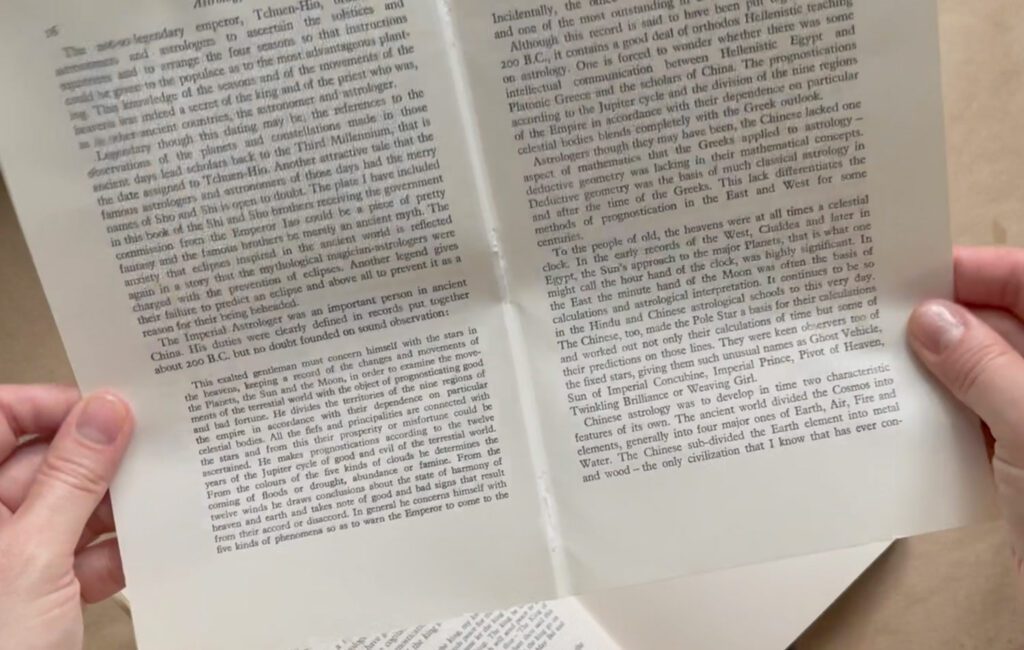
If you have a signature-style book, you have to choose your pages carefully. When signature-style books are compiled, they are printed on spreads or two-facing pages. These spreads are then stacked and sewn or stapled to the spine. If you rip out one half of a spread, you need to locate the other half of the spread so it doesn’t fall out later.
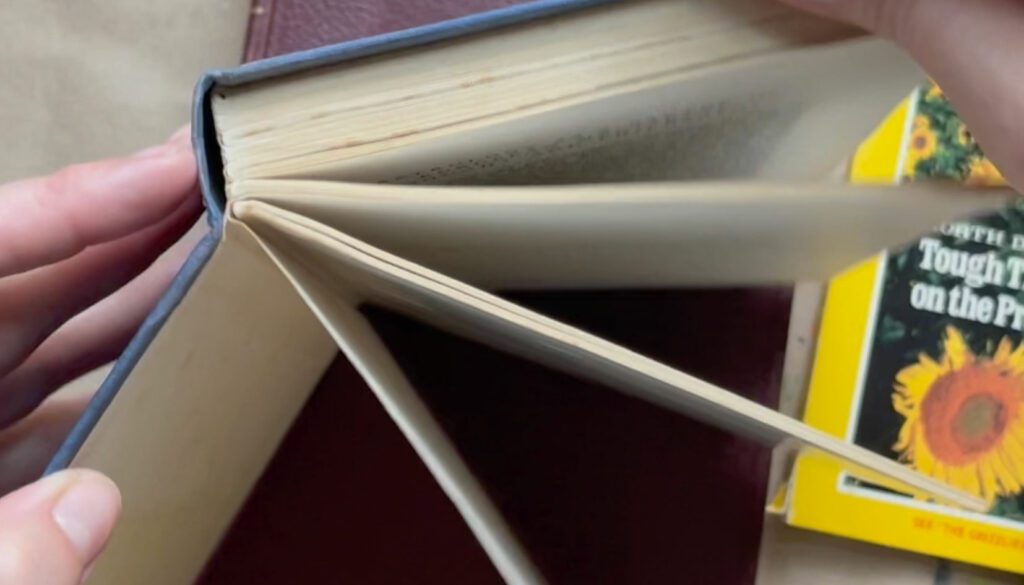
In the above image, you can see the separate signatures bundled together. Each signature has individually stacked and attached spreads. As you rip out every other page, double check to make sure both sides of a spread are being pulled as you thin out the book.
SAVE YOUR PAGES

Now that you have half of your book ripped out, set these pages aside. I have a visual journal folder where I keep loose pages, magazine images, and other things I’ve collected as inspiration. I often turn to these ripped-out pages to incorporate them into my altered book creations.
WORK ON RIPPED-OUT PAGES
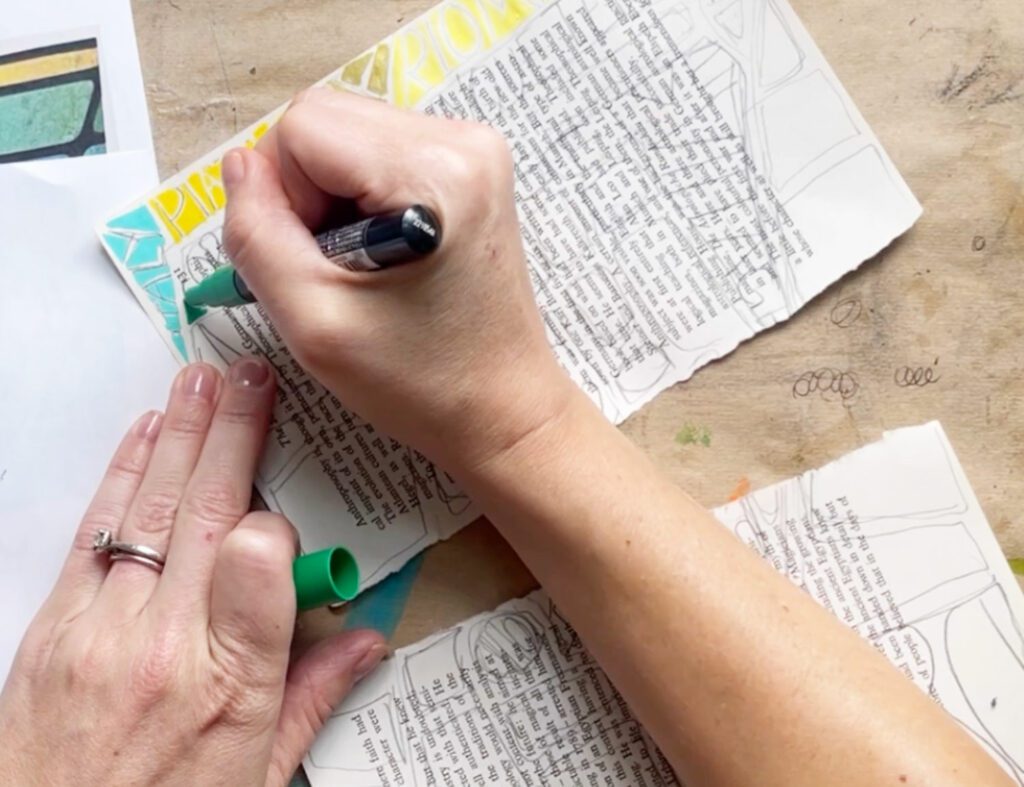
Typically when I work in my visual journal I don’t work directly in the book. I prefer to work on the ripped-out pages and then glue them back into my book. This prevents any wet materials, such as paint, paint pens, or Sharpies, from bleeding through to other pages. It also allows my pages to dry before I attach them, making the final creation much more crisp and flat.
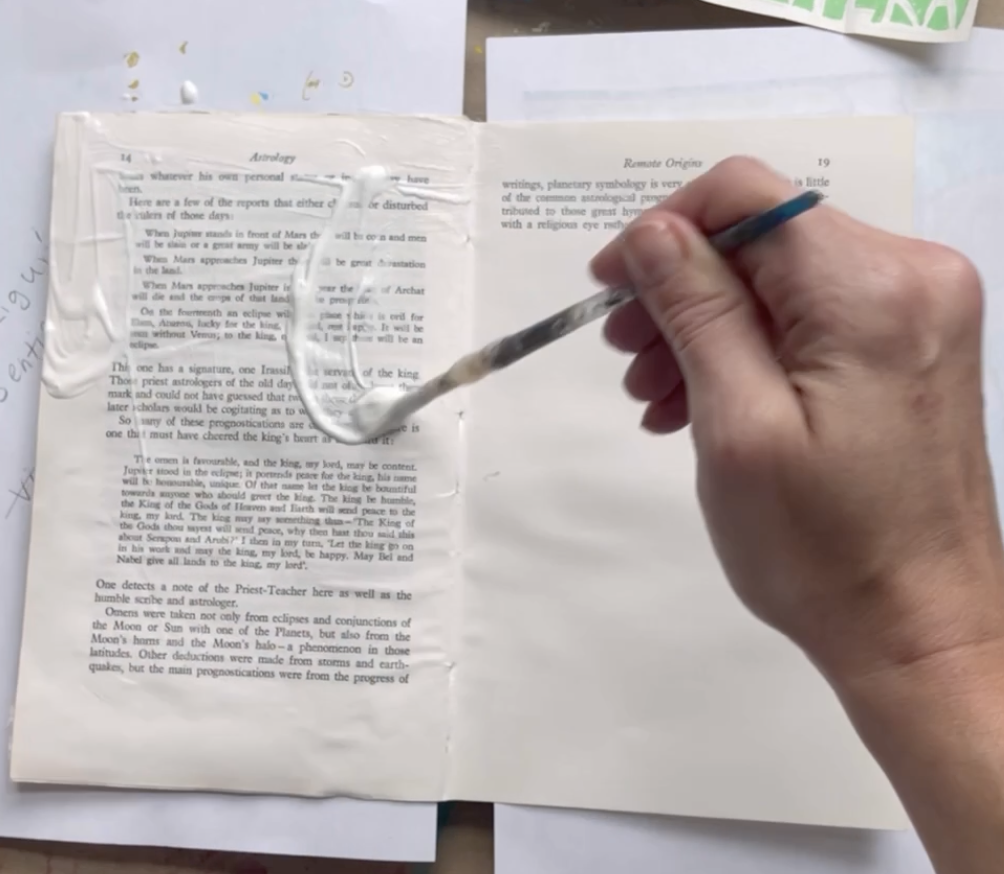
Once I finish my visual journal pages, I paint Mod Podge on the backs of my new creation and on pages still attached to my altered book. I then lay the pages on top of the coated book pages and press them down until they are even, flat, and well attached. Having an old credit card, gift card, or similar is very handy for pushing the pages into the crease of the book and ensuring they are flat and not rippled as you glue them down.
Taking the time to select the right book, rip out pages to prevent the spine from breaking, and carefully working on your pages will lead to a much more successful visual journal. For ideas and inspiration check out more visual journal blog posts here. You can also grab my visual journal artist pack here and my art teacher lesson pack here. Read how to start a visual journal here.
Don’t forget to follow me on Instagram and TikTok for weekly visual arts journal demos. Subscribe here to get updates and info straight to your inbox. Until next time!
3 responses to “How To Prep Your Altered Book”
Leave a Reply
Related Posts

Seeing this post makes me want to head for the thrift store and start creating my visual journal. Our local library has a monthly book sale; most items can be purchased for under a dollar.
Do you only use Mod Podge on your pages? I find that pages stick together if the temperature gets warm.
I like Mod Podge as glue, but it can cause sticking issues. If I use a lot of Mod Podge on a page, or use it to seal layers, I add a think layer of wax medium on top. It helps take away the stickiness.