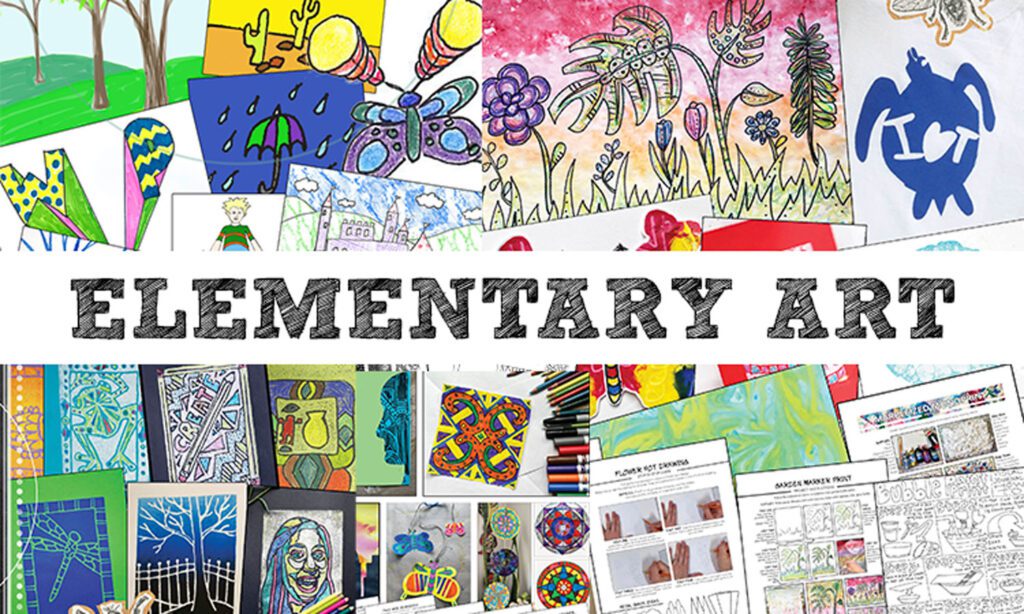
Elementary art has to be the most fun to teach, kids just love art. While I haven’t taught elementary art beyond volunteering and student teaching, my mom is the elementary art expert with over 35 years under her belt. Today I want to share a handful of her elementary art lessons that focus on the elements of art.
When developing an elementary art curriculum, it’s important to look at the structure of the course from a macro view. Projects need to scaffold on each other, with students learning a skill, mastering it, and building on it. My mom likes to organize her curriculum around the elements of art and principles of design.
In addition to using the elements of art and principles of design as a base, she also groups materials and topics together in every grade level. For example, when she focused on depth and perspective in art she would teach those concepts across grade levels, focusing on different techniques and skill levels. When she taught clay she would focus on clay through all K-5 classes. This helped simplify materials, not having too much out at once and on skill sets. If her first graders were struggling with a concept on perspective in art, she can look to how the kindergarten lesson can help build towards those concepts and make the next lesson more successful in first grade.
My mom and I have collaborated on elementary art lessons on Teachers Pay Teachers for the last few years. I have pulled together what we currently have available (and plan to add to the list as our elementary art lessons grow) and organized them under the elements of art to show how you can highlight the elements of art through your elementary art lessons.
LINE
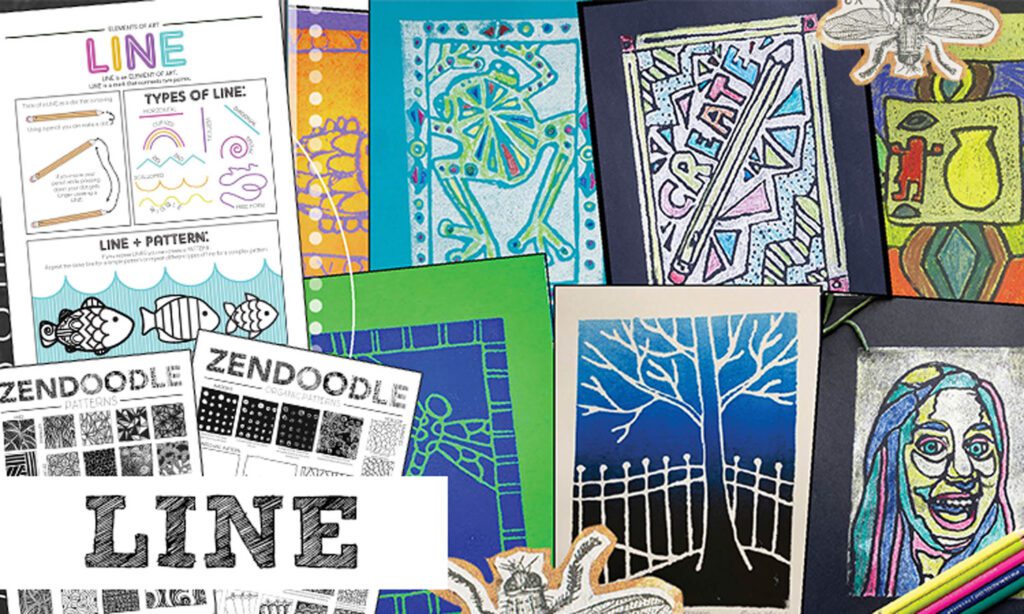
The element of art, line, is an important basic concept for students to understand. I define a line as simply two points that are connected. I demonstrate how you can press your pencil down to create a dot, but if you move your pencil while pressing the dot is transforms into a line. Lines are used to create shapes and patterns, two more important building blocks of art.
The two project packs I love for line include a zendoodle activity pack and a printmaking pack. If you are looking for a one-day activity that can be used in all grade levels, zendoodles are a great option. Students can loosen up and have fun exploring how repeating lines can create tangled patterns. A bonus is this activity is low supply. Students can stick with pencils, markers, and colored pencils. You can do a demonstration, then let students free-doodle, or you can use activity packs to keep it more structured. Check out my Zendoodle activity pack on TPT here and on my website here.
Once students have an understanding of line bringing in a scratch foam printmaking project is a great way to test their understanding. Although the subject matter may differ across grade levels, students are all focused on developing their skills using line and scratch foam. Check out my K-5 scratch foam printmaking pack on my TPT here.
If you want to introduce line as a quick activity before a project, check out my line activity and poster set here.
SHAPE
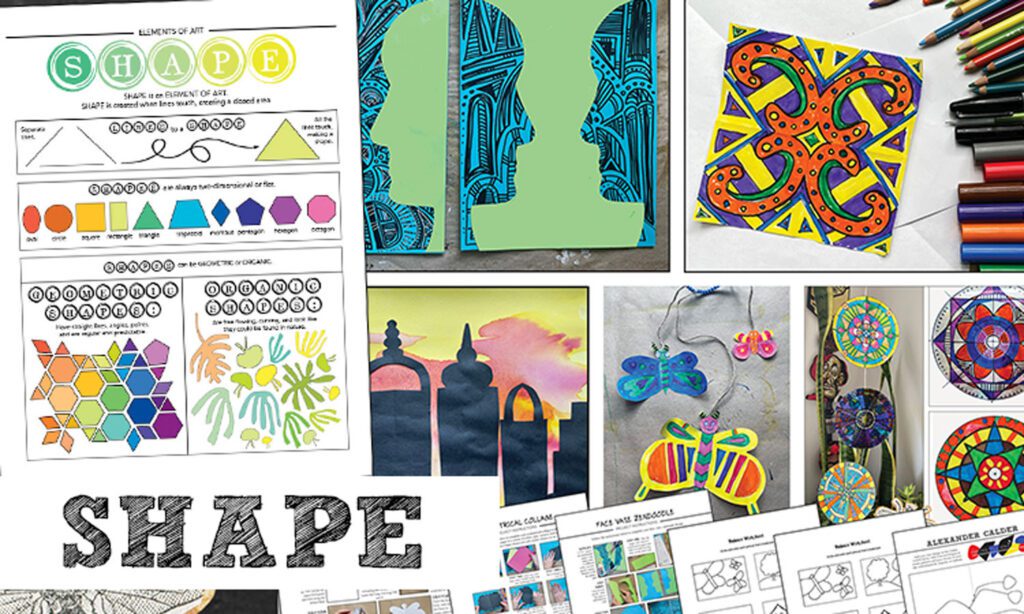
Once students understand how line is used in art, it’s an easy transition to shape. When lines create an enclosed space they create a shape. Shapes are naturally part of any elementary art lesson, but there are a few that really highlight the importance of shape. I also have a shape activity students can work on before a project, as an early finisher, or an art sub plan.
Symmetry is a great way to introduce the importance of shapes. By repeating shapes and lines you can create patterns. By repeating them in specific ways you can create symmetry and asymmetry in art. In kindergarten, art students look at natural symmetry in butterflies. First-grade art students look at the symmetrical qualities of buildings and the asymmetry of a skyline. Second-grade artists look at creating abstract art through symmetry and collage. In third grade, students create a face/vase optical illusion and return to line for decoration. Fourth-grade art students create symmetry using their initials. Fifth graders can repurpose CDs or work on round cut-outs to create radial symmetry.
Although all of these projects use different materials, the materials are low supply, and all students are focusing on shape and symmetry. Check out my K-5 elementary art lesson pack on shape and symmetry here.
Color
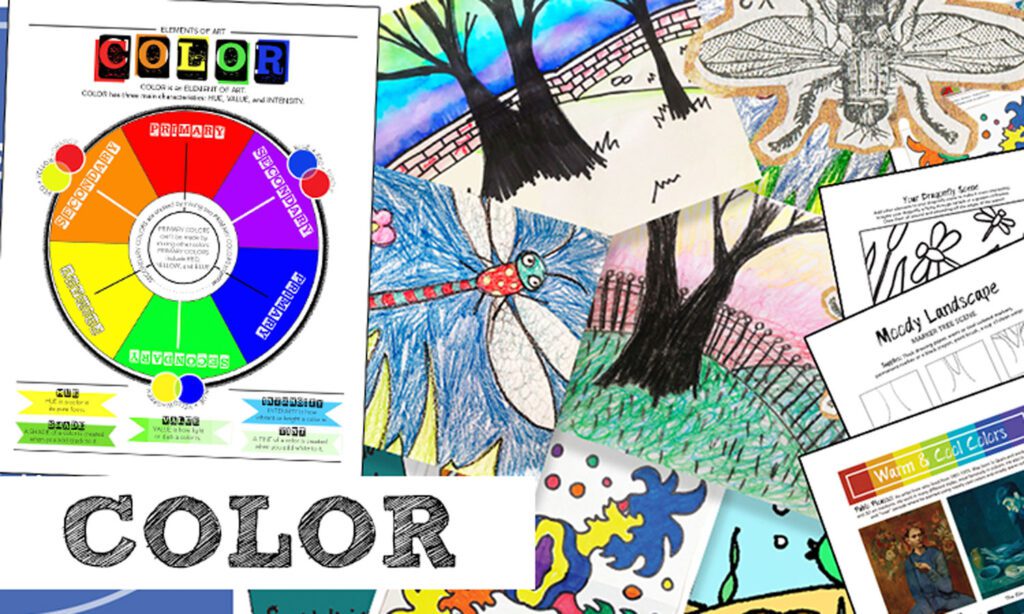
Color is another element of art that is incorporated in most of my elementary art lessons. However, it is the primary focus early in the year to get students thinking critically about the colors they are using. When introducing color we discuss hue, value, and intensity. We look at the color wheel, color mixing, and discuss basic color schemes.
I love referring to this activity and poster pack on color. It covers the basics to help students understand the color wheel. Once students have the base knowledge of color one of my favorite lessons is my mom’s fall leaf painting project. Students get to explore watercolors and look at warm and cool colors. The finished products are frame-worthy and students love it. Check out the full lesson pack on my TPT here.
For upper elementary students, I like to focus more in depth on color schemes. One of my go-to projects for focusing on color with these students is a stained glass painting. Students learn about the Sagrada Familia and create their own design on roofing felt (you can also use thick black paper). With a color scheme in mind, they paint their designs leaving their pencil lines showing to create a stained glass look. You can read more about this project on my blog or grab the project pack on my TPT here or on my website here.
VALUE
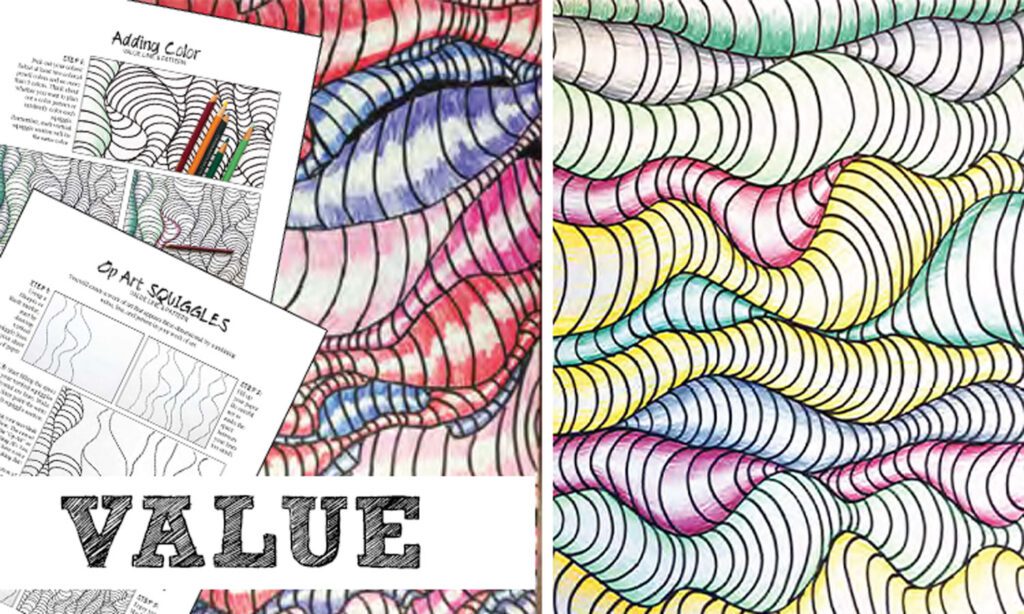
After the base understanding of color is built it’s time to focus on value, or the lightness and darkness of color. Value is an important building block to creating a sense of space in a work of art.
Another wow elementary art lesson is this op art squiggles activity. It’s one to two days, low supply, and creates amazing results. Students in a wide age range can do it, and it’s fun to loosen up and create an abstract design. Students fill a sheet of paper with vertical squiggles and then connect the lines using curved lines. The lines should curve in opposite directions every other squiggle. They then create the op art wow by coloring darker near the vertical squiggle lines and lighter in the center of the lines. You can check out this lesson pack on my TPT here.
Stay tuned for more value projects, my mom just sent me the most amazing looking still life painting project for upper elementary students.
SPACE
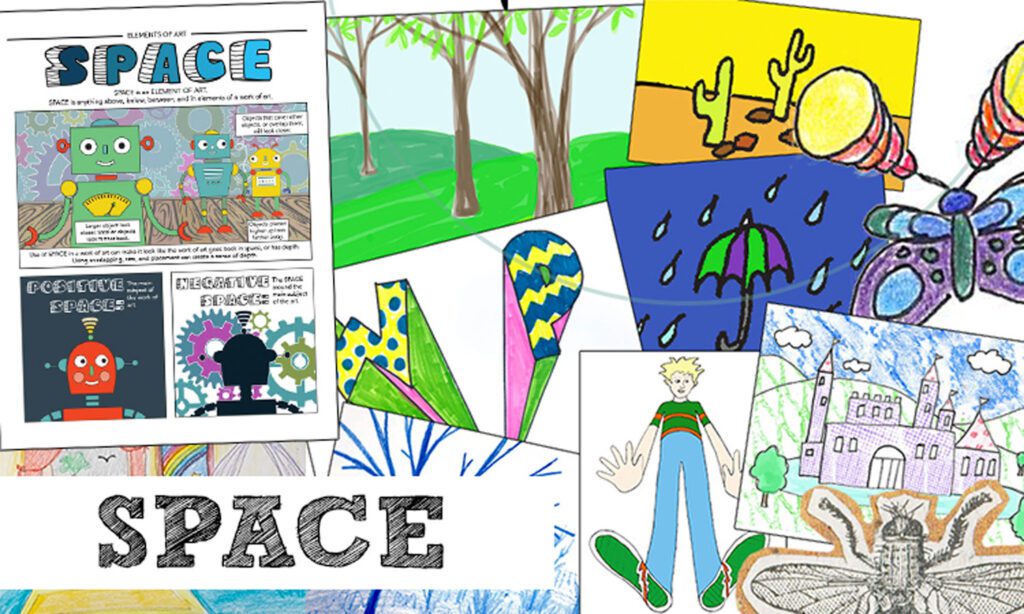
Space is anything above, below, between, and in elements of a work of art. Simple to teach, right? Even with my high school art students creating depth and perspective in art was one of the trickiest elements of art to understand. This is the best example of how important scaffolding art techniques are. Check out my quick activity sheet on space to help introduce the concept.
With my mom’s depth and perspective in elementary art lesson pack, students focus on lower supply projects, using materials they are familiar with while creating artwork using more complicated techniques. Kinders focused on how color can create depth in art. First-grade art students looked at how placement can impact depth. In second grade students look at how placement and color can create depth in art. In third grade, artists create atmospheric perspective using value and placement. Fourth-grade art students focus on perspective to create a person going back in space. Fifth-grade artists learn about vanishing points to create 3D letters.
In every class students are learning, practicing, and mastering an art technique before building on it the next year. With space, you must think about how you can scaffold your projects. Get the depth and perspective in art K-5 lesson pack here.
FORM
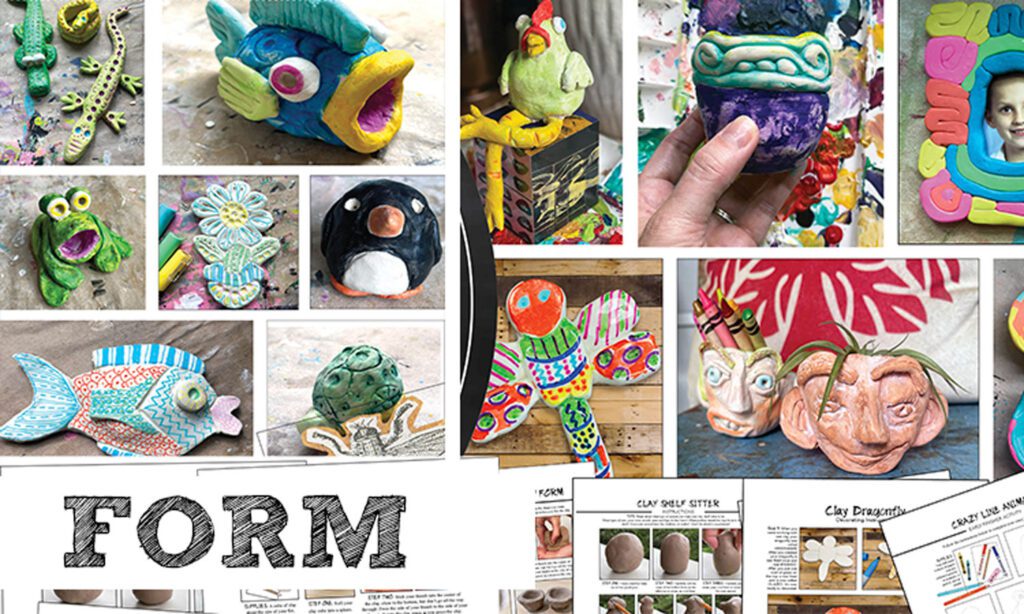
Form can be created in 3D or 2D art. It can be an actual three-dimensional sculpture, occupying space; or it can be on a flat surface creating the illusion of form. With younger artists introducing form as a 3D sculpture is the best first step. Enter many elementary artist’s favorite projects: CLAY!
Although clay is messy and intimidating, it’s so important to give students the experience of building forms. Once you learn how to best set up your classroom and manage students while working with clay, it will become much less scary. Don’t let the lack of a kiln keep you from teaching clay! I offer no kiln versions of both my clay packs. There are many options that produce beautiful results kiln or no kiln.
Teaching clay needs to start with hand-building basics. I have two elementary art lesson packs that focus on clay, starting with the handbuilding pack and building to a clay animals pack. Although hand-building techniques are used in both, they are the main focus in my hand-building pack. Clay techniques are scaffolded by starting with creating spheres and chunky coils, transforming them into flat, slab designs. Next, students work on coil rolling, creating patterns, and molding it into a 3D form. More coil practice comes into play creating coil frames. Once students have mastered coil rolling they begin pinch pots to create forms and decorate them with coils. Pinch pots are continued in fourth grade introducing more sculpting techniques with a face pot. Finally, students are introduced to combining pinch pots to create hollow forms and decorating them with coils, slabs, and sculpting techniques.
You can check out my K-5 hand-building pack with kilns (on TPT or on my website) and without kilns (on TPT or on my website). Once students work through these projects check out my animal sculpture pack with kilns (on TPT or on my website) and without kilns (on TPT or on my website).
TEXTURE
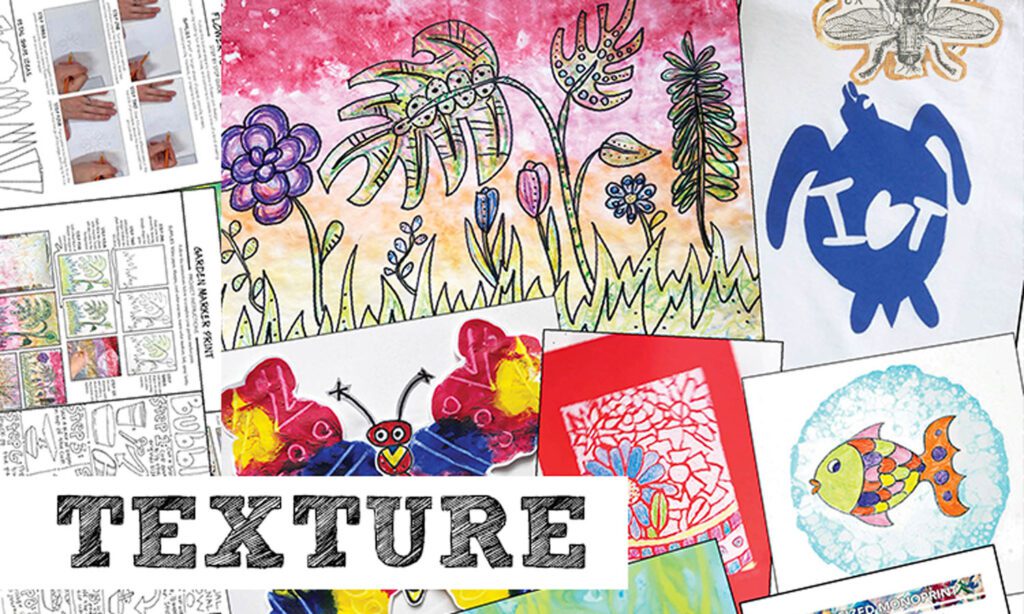
Similar to form, texture can be the way something actually feels or how it looks like it will feel. Texture is easier to explain through sculpture, but it also naturally occurs through paint and printmaking.
Texture is often discussed as students work with clay. However, one of my favorite ways to focus on texture is the surprising quality of texture in different printmaking techniques. My K-5 printmaking pack focuses on a different printmaking technique in every grade level and each project either has actual texture or implied texture created through the process. All of these projects have been used and tested in my mom’s classroom. Plus, you get my mom’s insights on successfully setting up and managing students while printmaking in the teacher notes. Check out this pack on my TPT here.
Another way to incorporate texture outside of sculpture projects is through watercolor. If you have students incorporate salt into a watercolor painting it creates the perfect time to discuss texture. Students will feel the grains of salt as they drop them on the watercolor. They have to wipe away the salt once the painting dries, once again feeling the rough texture of the grains. What’s left behind is a beautiful, organic pattern that creates a sense of texture. The smooth watercolor is transformed into a rough surface and interesting pattern.
My mom’s snow scene art project is a beautiful example of using salt in a work of art. Check it out on my TPT here.
If you made it here I am impressed with your dedication to reading my small book on elements of art-inspired elementary art lessons. I hope you have ideas for your next art class and feel more confident in how to scaffold lessons. Please reach out with any questions or comments!
Thanks for stopping by! Don’t forget to follow me on Instagram and TikTok for weekly visual journal demos and other project ideas. Subscribe here to get freebies, project tutorials, and more straight to your inbox. Until next time!

As an art educator
I appreciate your attention to organize a course that teaches the elements and principles with variety and interest to bring joy to young artists as they develop skills and personal style !
Thank you so much for sharing this! I’m glad you are enjoying it!
Im so happy i found you as a resource ! It’s wonderful to follow your work !
I’m so glad you found me too! Thanks for following along!