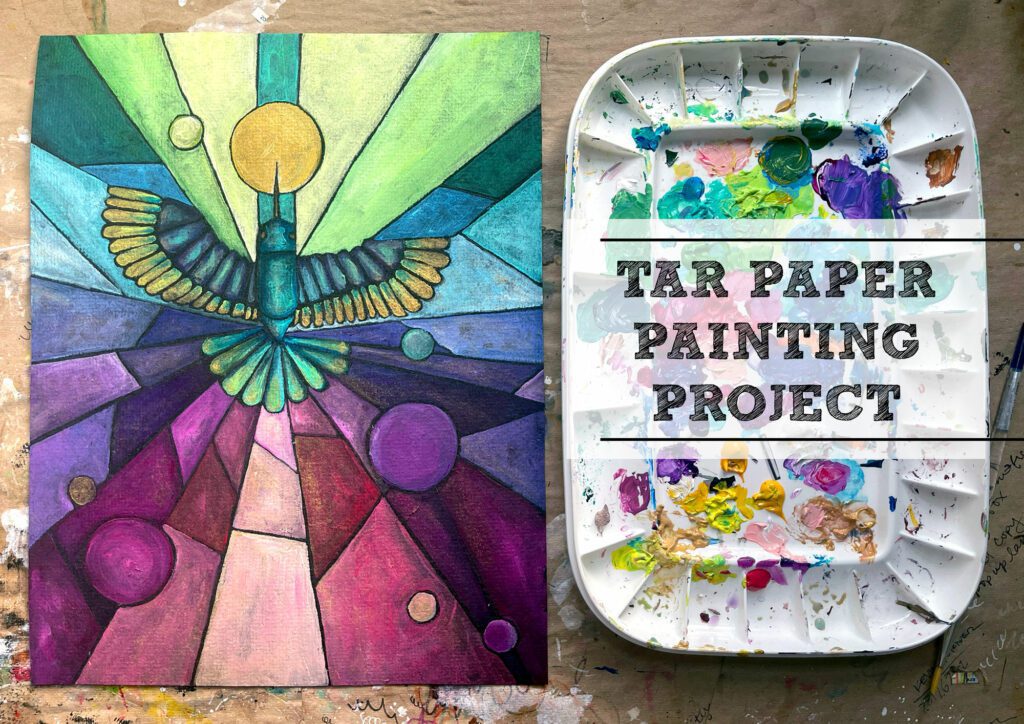
Over the summer I released a new project that uses tar paper, or roofing paper, as a base. I had previously seen a coworker work with tar paper painting but had yet to do it myself. Once I finally found the inspiration and got started, I was hooked. This material is CHEAP and the results are BEAUTIFUL! I was blown away. The best part is this project can be taught to a wide range of students, upper elementary to high school ages.
You can purchase this entire lesson ready to drop in here or read details below.
THE INSPIRATION
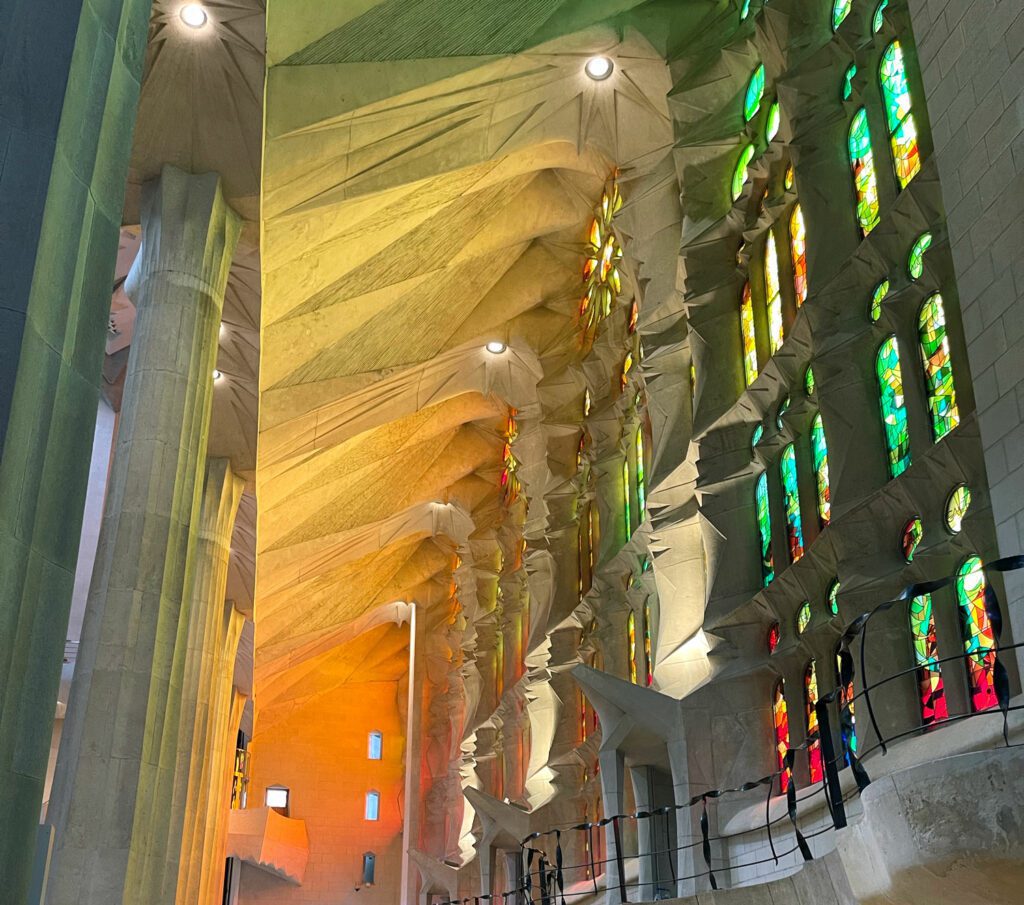
The idea clicked over the summer while I spent a whirlwind vacation with my art teacher wife on a European painting tour. You read that right. I went on an art focused, Euro-trip with my teacher bff. It was an incredible experience, I plan to share more in the future. One of the highlights of the trip was seeing the Sagrada Familia, architect Antoni Gaudi’s cathedral masterpiece, in Barcelona.
This cathedral is the most incredible building I have ever seen. Every piece of it is a work of art from the floors, to the forest inspired columns, to the rainbow stained glass. You could do an entire unit on color theory on just the stained glass in this cathedral. This was were my inspiration stemmed.
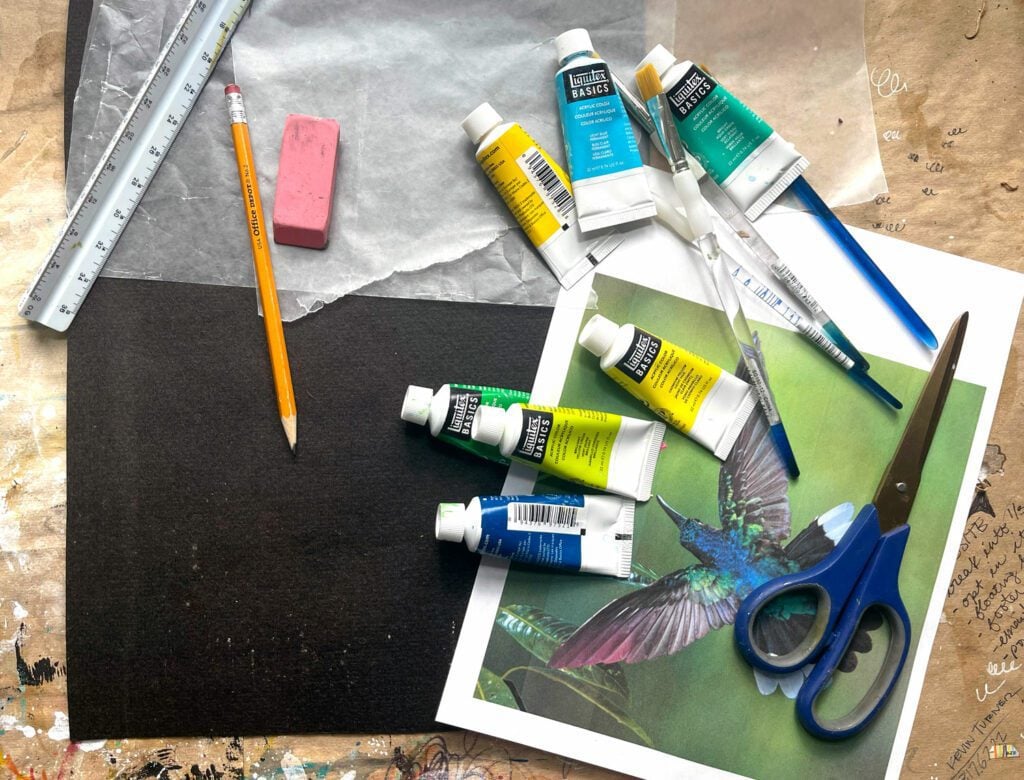
SUPPLIES
For this tar paper painting project you need:
- Tar paper, also called roofing paper (check out a giant roll for just $32 here)
- Pencil
- Eraser
- Ruler
- Scissors
- Acrylic paint
- Paint brushes
- Water
- Reference images
The tar paper comes in a large roll. The roll I purchased was 200+ sq ft, enough for all your classes to use. I easily cut it up using scissors. The paper is thick and holds the paint incredibly well.
STEP ONE
After introducing students to art history, architecture, and the inspiration, the Sagrada Familia, I introduce the project. When I introduce projects I typically show a PowerPoint that shows visuals of the artist exemplar and an overview of the steps. I then transition to an in-person demo, focusing only on what I want them to work on that day. Each class typically begins with a quick demo before sending students to get to work.
Before starting on their painting, students have to complete a research activity to help inspire them and build a symbolic connection to their design. I always require at least 3 sketches and meet with the students one on one before handing them the paper to get started on the final piece.
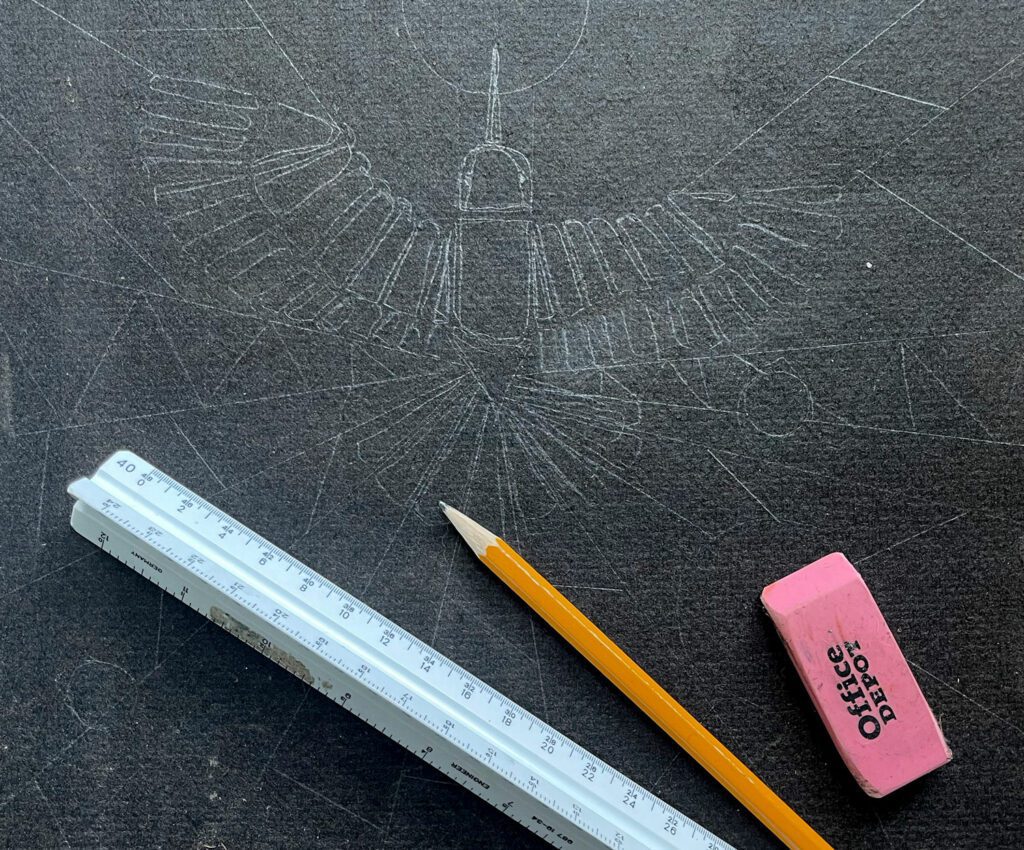
STEP TWO
Once I approve their sketches, they begin drawing on the tar paper using pencil. It’s important to encourage students to add as much detail as possible to the base drawing. It will make it much easier when they transition to painting. If they make a mistake, it’s easy to erase and go back in.
STEP THREE
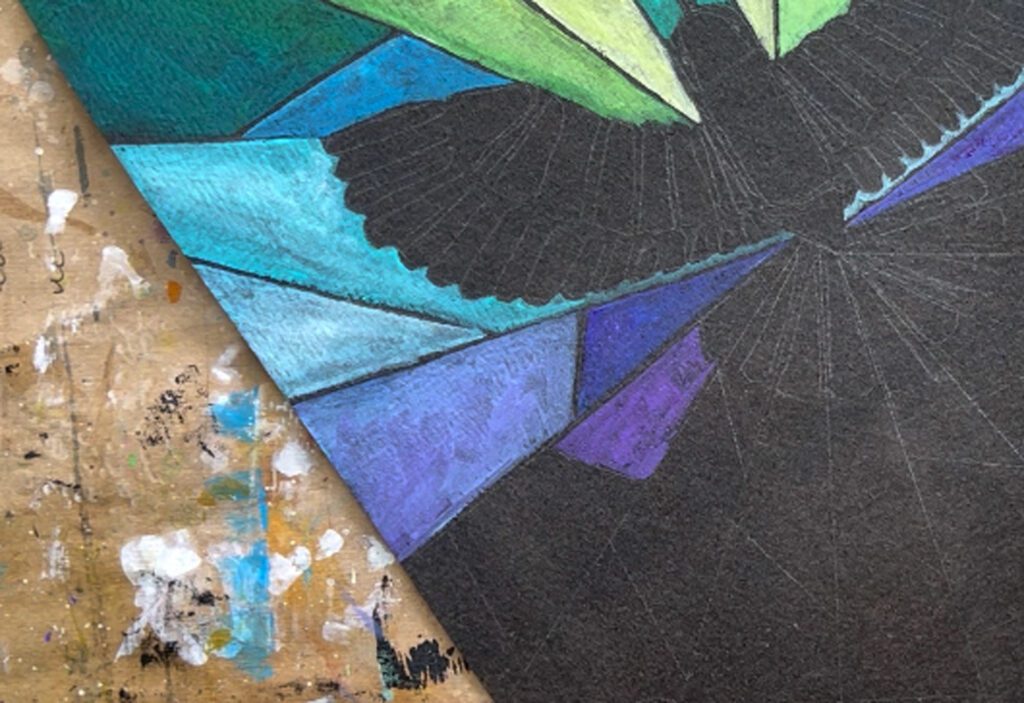
Once the base drawing is complete, students begin painting. As with the pencil drawing, students have to plan out their color selection before diving in. Every part of the work of art should have purpose behind it. When they start painting they need to be careful. They need to focus on painting between the lines, using their pencil lines as a guide. To mimic the look of stained glass they want to maintain the black lines between the blocks of paint, similar to the black lead between the panes of glass. I tell them when their painting is finished we should be able to see every pencil line. They will erase them when the paint is dry.
When I teach painting I encourage students to avoid using paint straight out of the tube. Try blending two colors together, adding a little white, create a new color. This works very well with tar paper. The black paper makes the color incredibly vibrant, and seeing variation in color adds an interesting element. In my painting I blended at least two colors, such as a navy blue with a medium blue, painted in the shape, then blended a little white in the center to add depth.
Have students work on their tar paper paintings working from the back to the front.
STEP FOUR
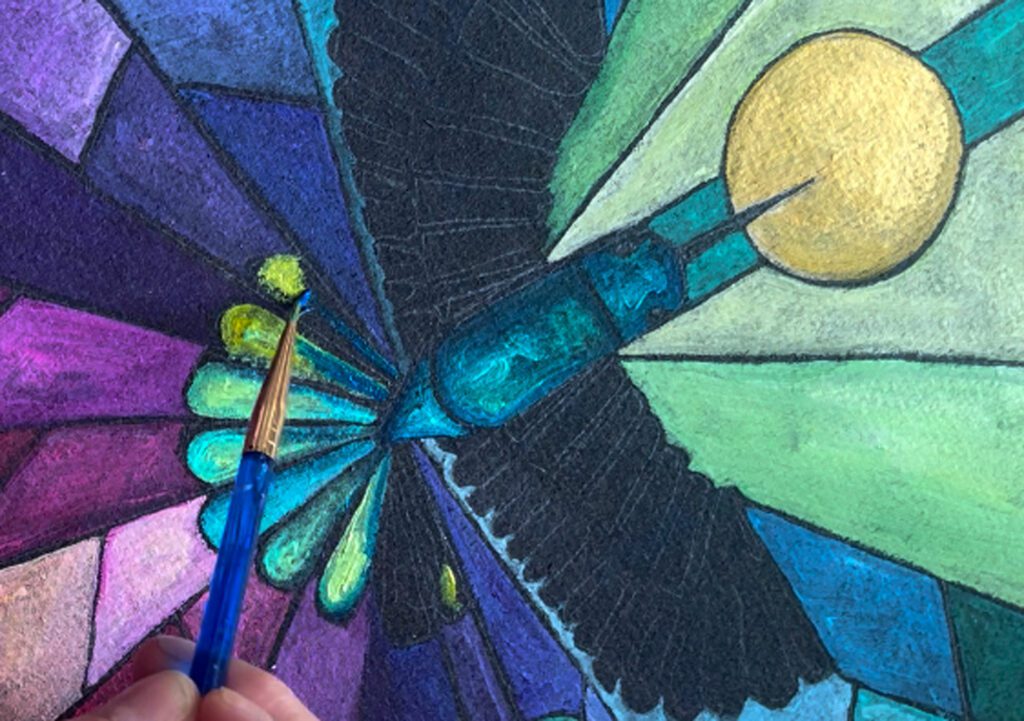
Keep on painting! As they move to smaller sections, encourage them to go to smaller brush sizes in order to maintain the black lines. Encourage them to continue to blend colors and experiement. The more vibrant the colors, the better. If they make a mistake use Sharpie or a black Prismacolor pencil to draw the line back in.
STEP FIVE
Once the pieces are finished encourage students to participate in a critique of the tar paper paintings. I typically have a reflection sheet for students to fill out with specific questions to answer to get them thinking critically about their work and the work of their peers. With this project we then transition to a fun red light/green light style critique before discussing them as a group.
This project is cheap to complete and creates beautiful results. Grab some roofing paper and give it a try.
Don’t forget you can purchase this lesson with the lesson plan, PowerPoint, research activities, how to handout, critique reflection, critique activity, and rubric already done for you. Interested in other art projects? This one is included in my yearlong middle school curriculum. Check out other art resources in my shop and on my TPT. Thanks for stopping by!
Related Posts


Leave a Reply