There is nothing I love more than a holiday craft project, and every year I look for a new craft project to add to my Christmas decor collection. After pulling out my hand me down fake greenery garland from the mid 1990’s, I decided it was time for an upgrade. A do it yourself Christmas garland was bumped to the top of my craft to do list.
FELT GREENERY GARLAND
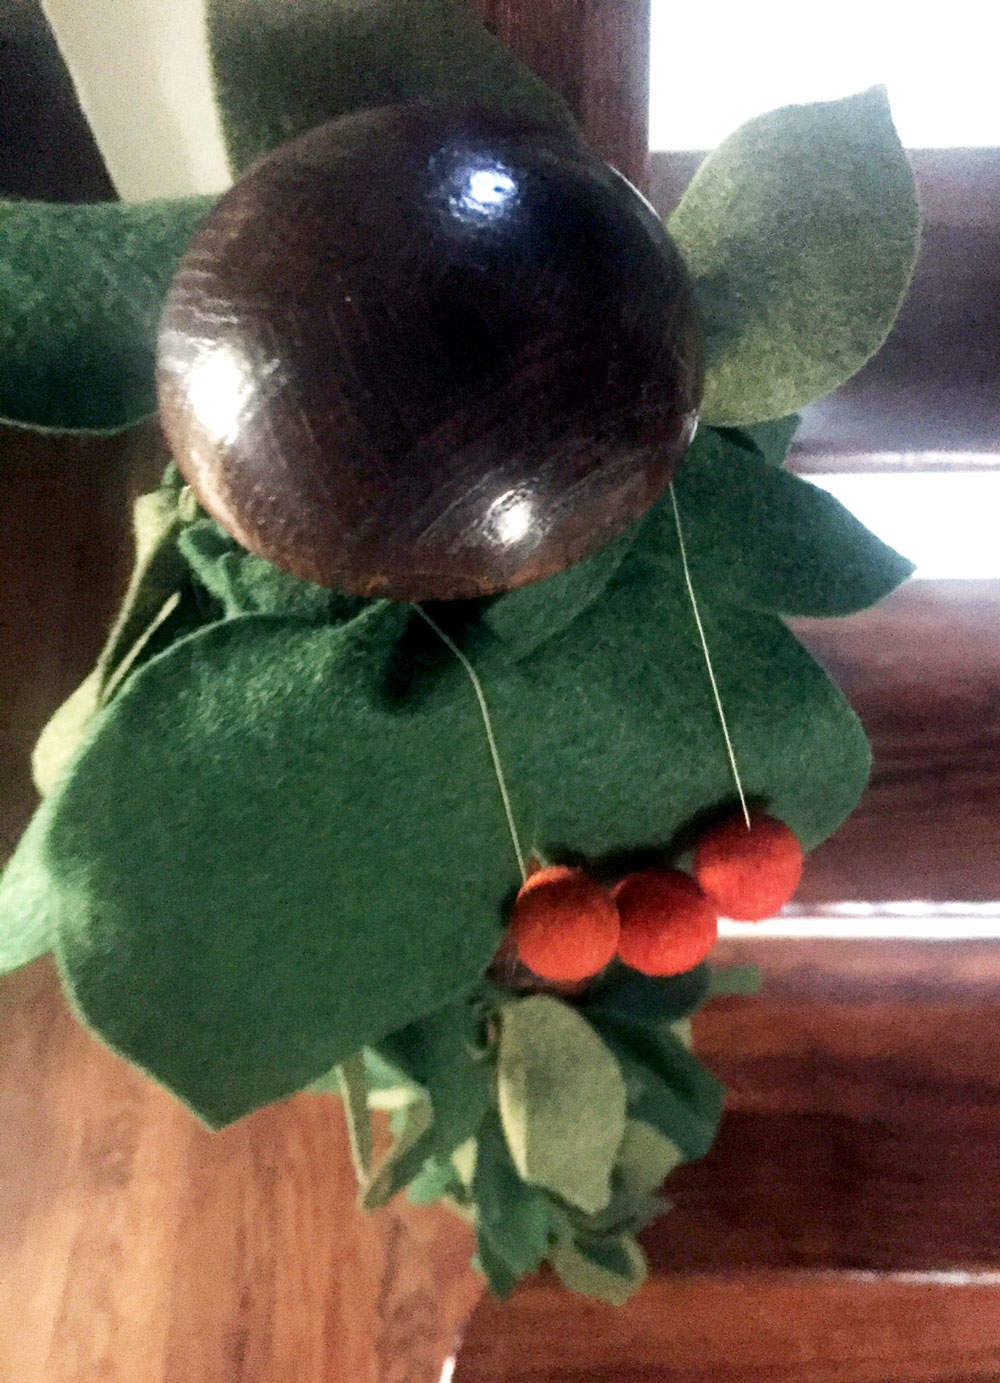
I love the look of crafty and homemade (while still looking well made) decoration. For me, felt embodies that look. For both my greenery garland and ball garland, I selected felt as the base material.
SUPPLIES:
- Two different shades of green felt
- Scissors
- Thread
- Sewing machine (optional, although recommended)
HOW TO:
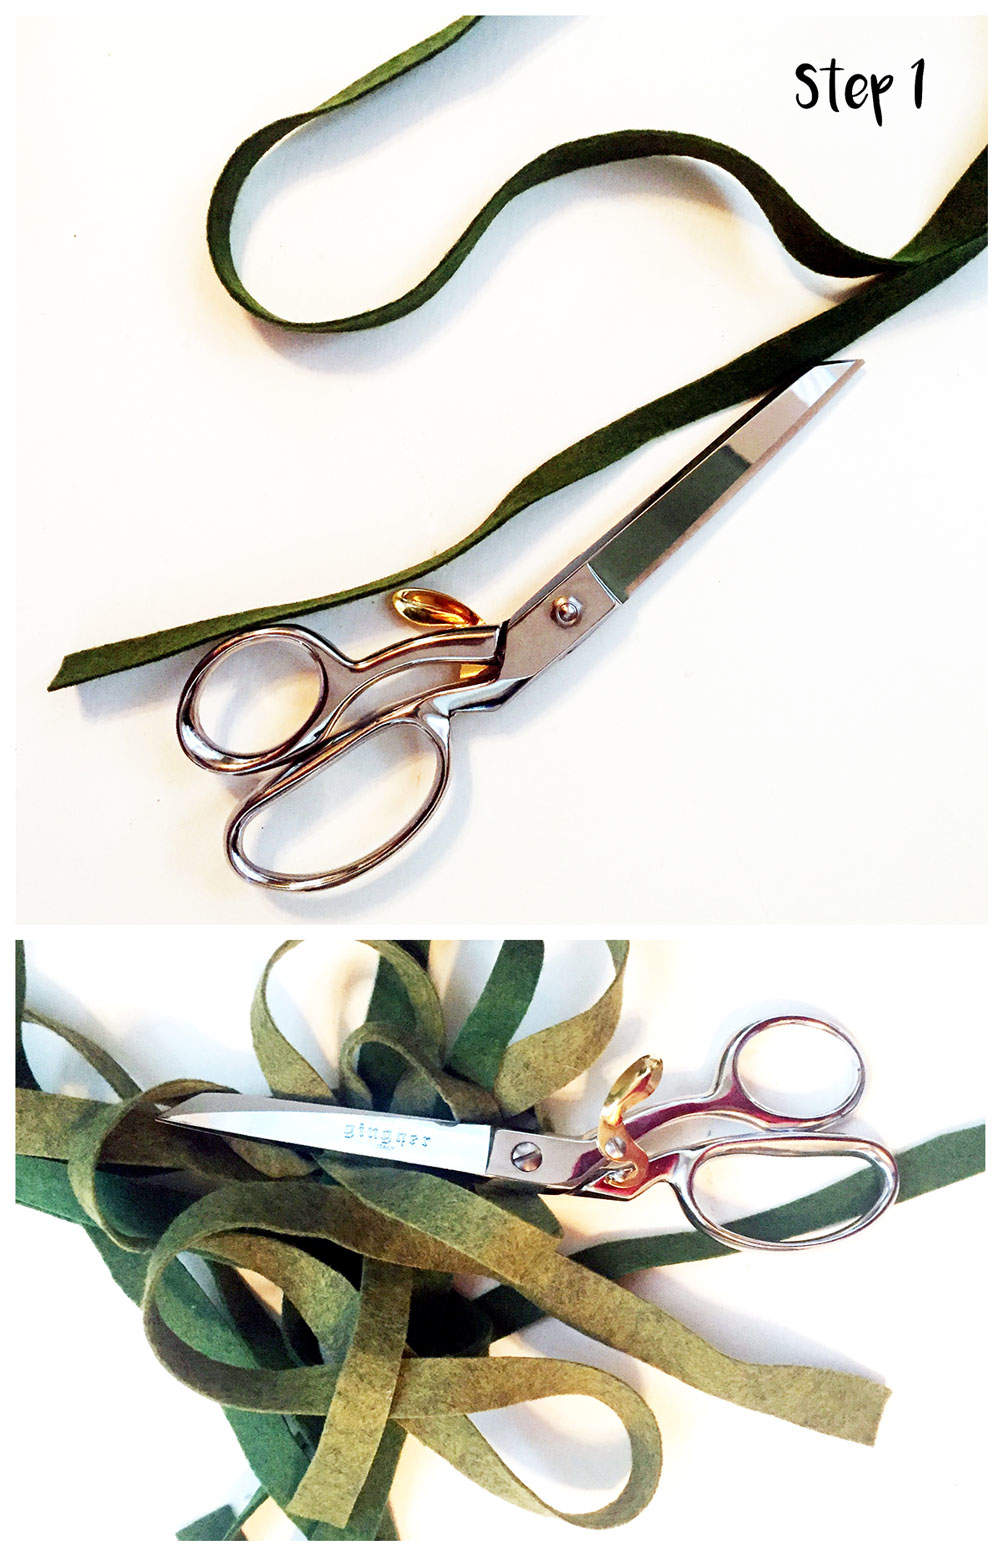
STEP ONE: Cut strips of the felt into 1/2″ wide sections. The length doesn’t matter, although you want it as long as possible to save time connecting pieces together. The strips of fabric will serve as the base to connect the felt leaves to, to create the garland.
Select one color felt to use as the base, or alternate between the two colors.
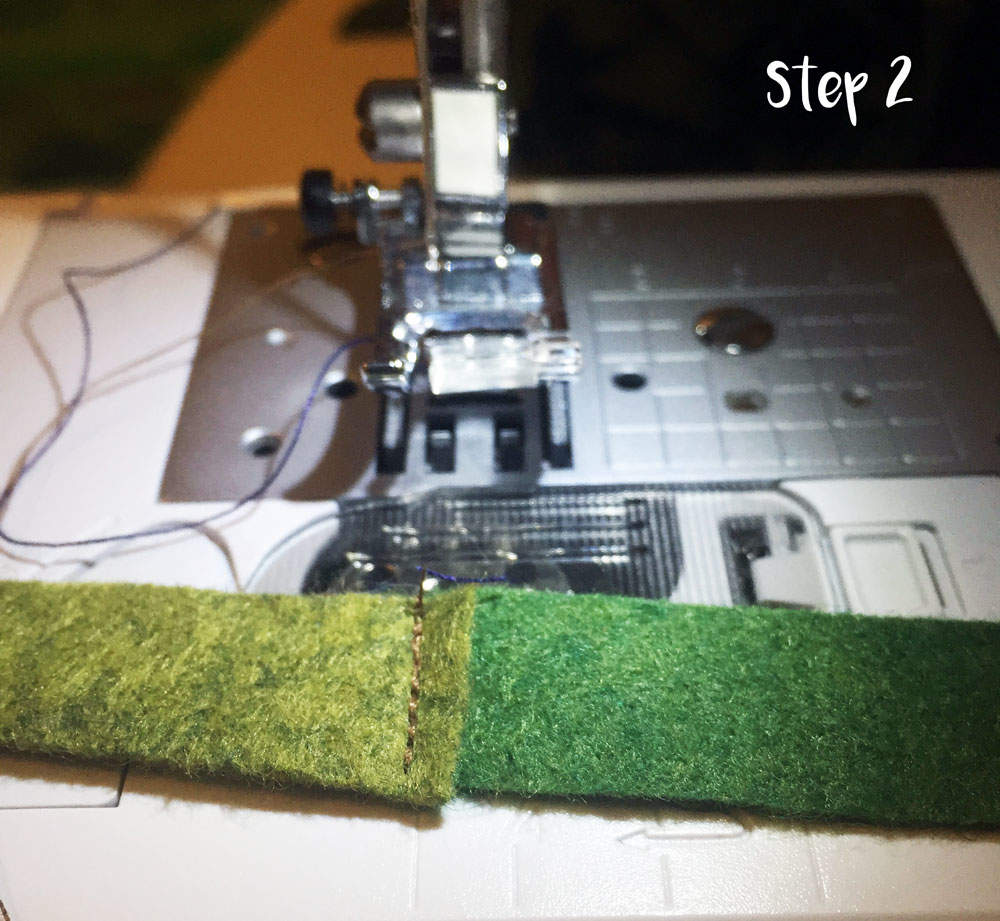
STEP TWO: Connect the ends of your 1/2″ strips together to create one long piece. Use a sewing machine or hand sew the pieces together. The length of the garland is up to you. I created one long piece, approximately 5 feet long, and two shorter pieces, approximately 2 feet long.
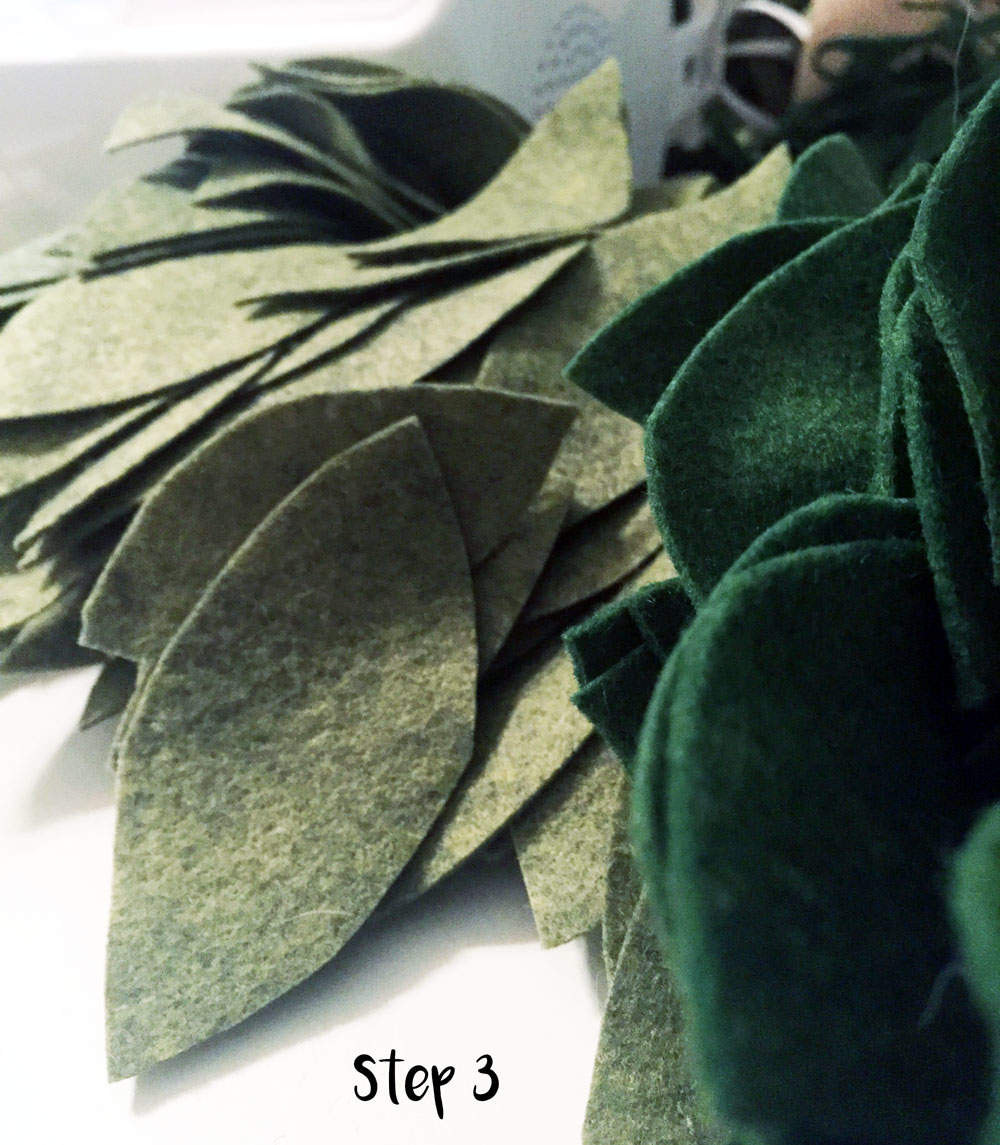
STEP THREE: Cut the rest of the fabric into leaf shapes, ovals with pointed ends. For my garland, I wanted larger leaves so I cut them approximately 2 inches wide, at the wides point, and 3-4 inches long.
STEP FOUR: Sew the leaves onto the strip of felt. For a cleaner look, keep the leaves pointing the same direction, but alternate which side of the felt strip you connect the leaves to.
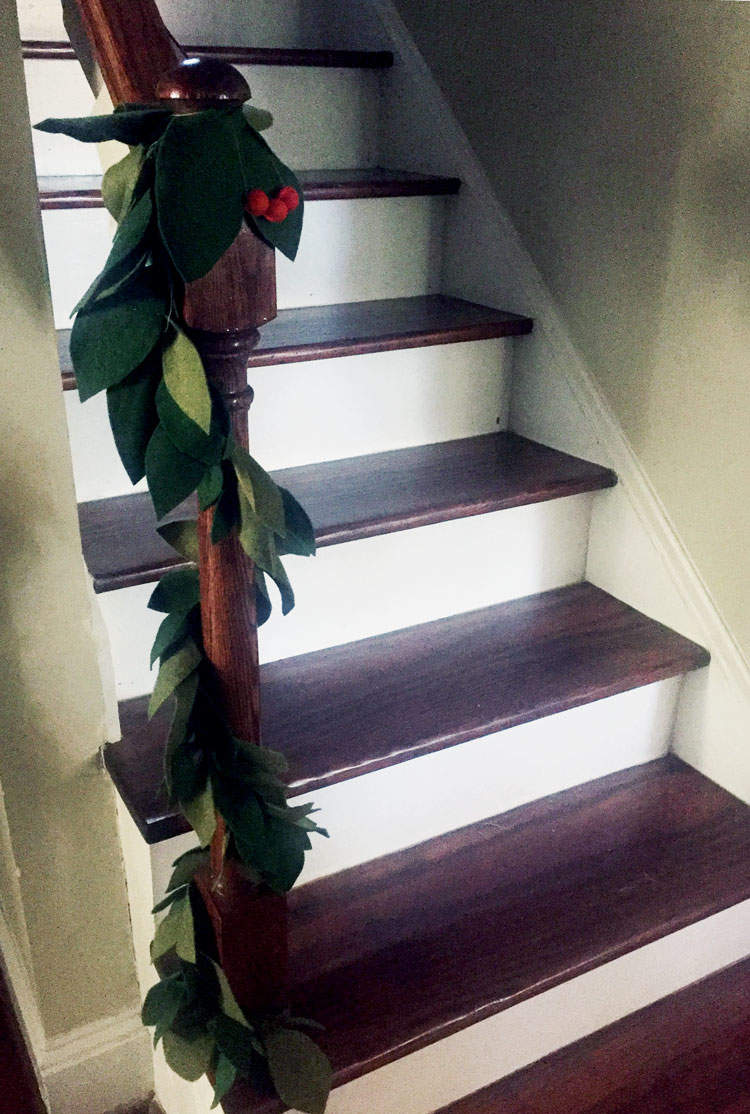
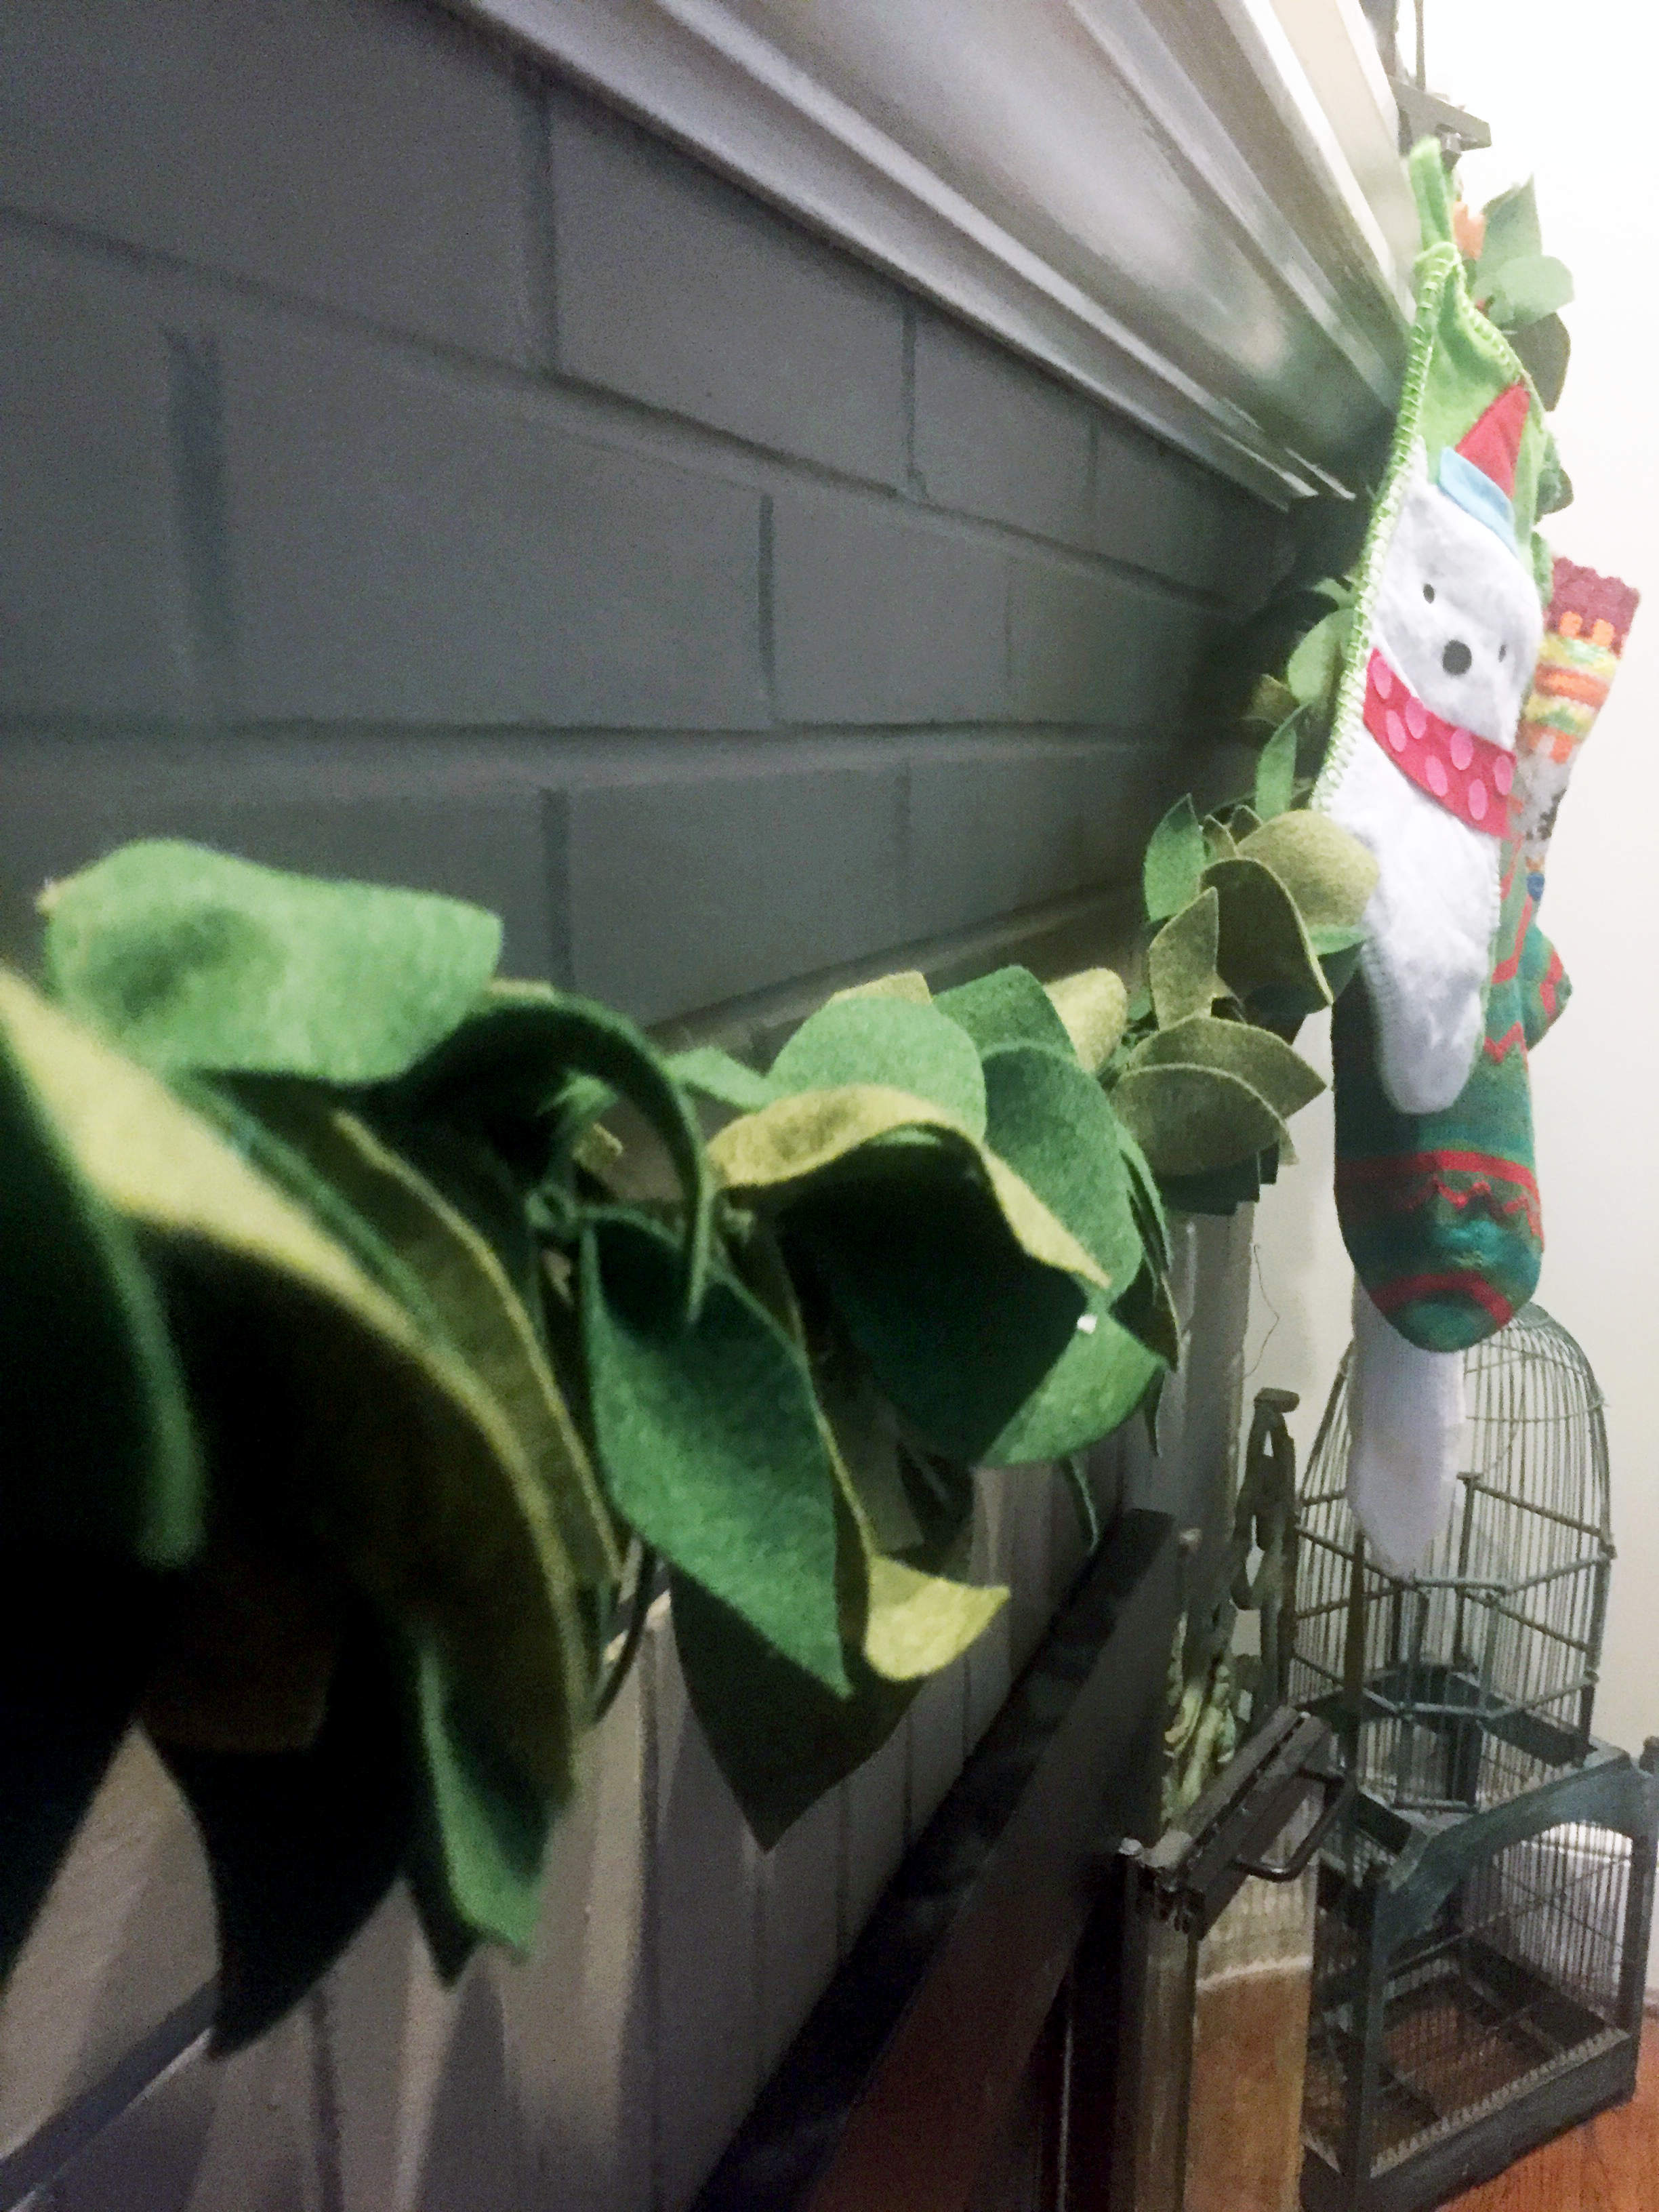
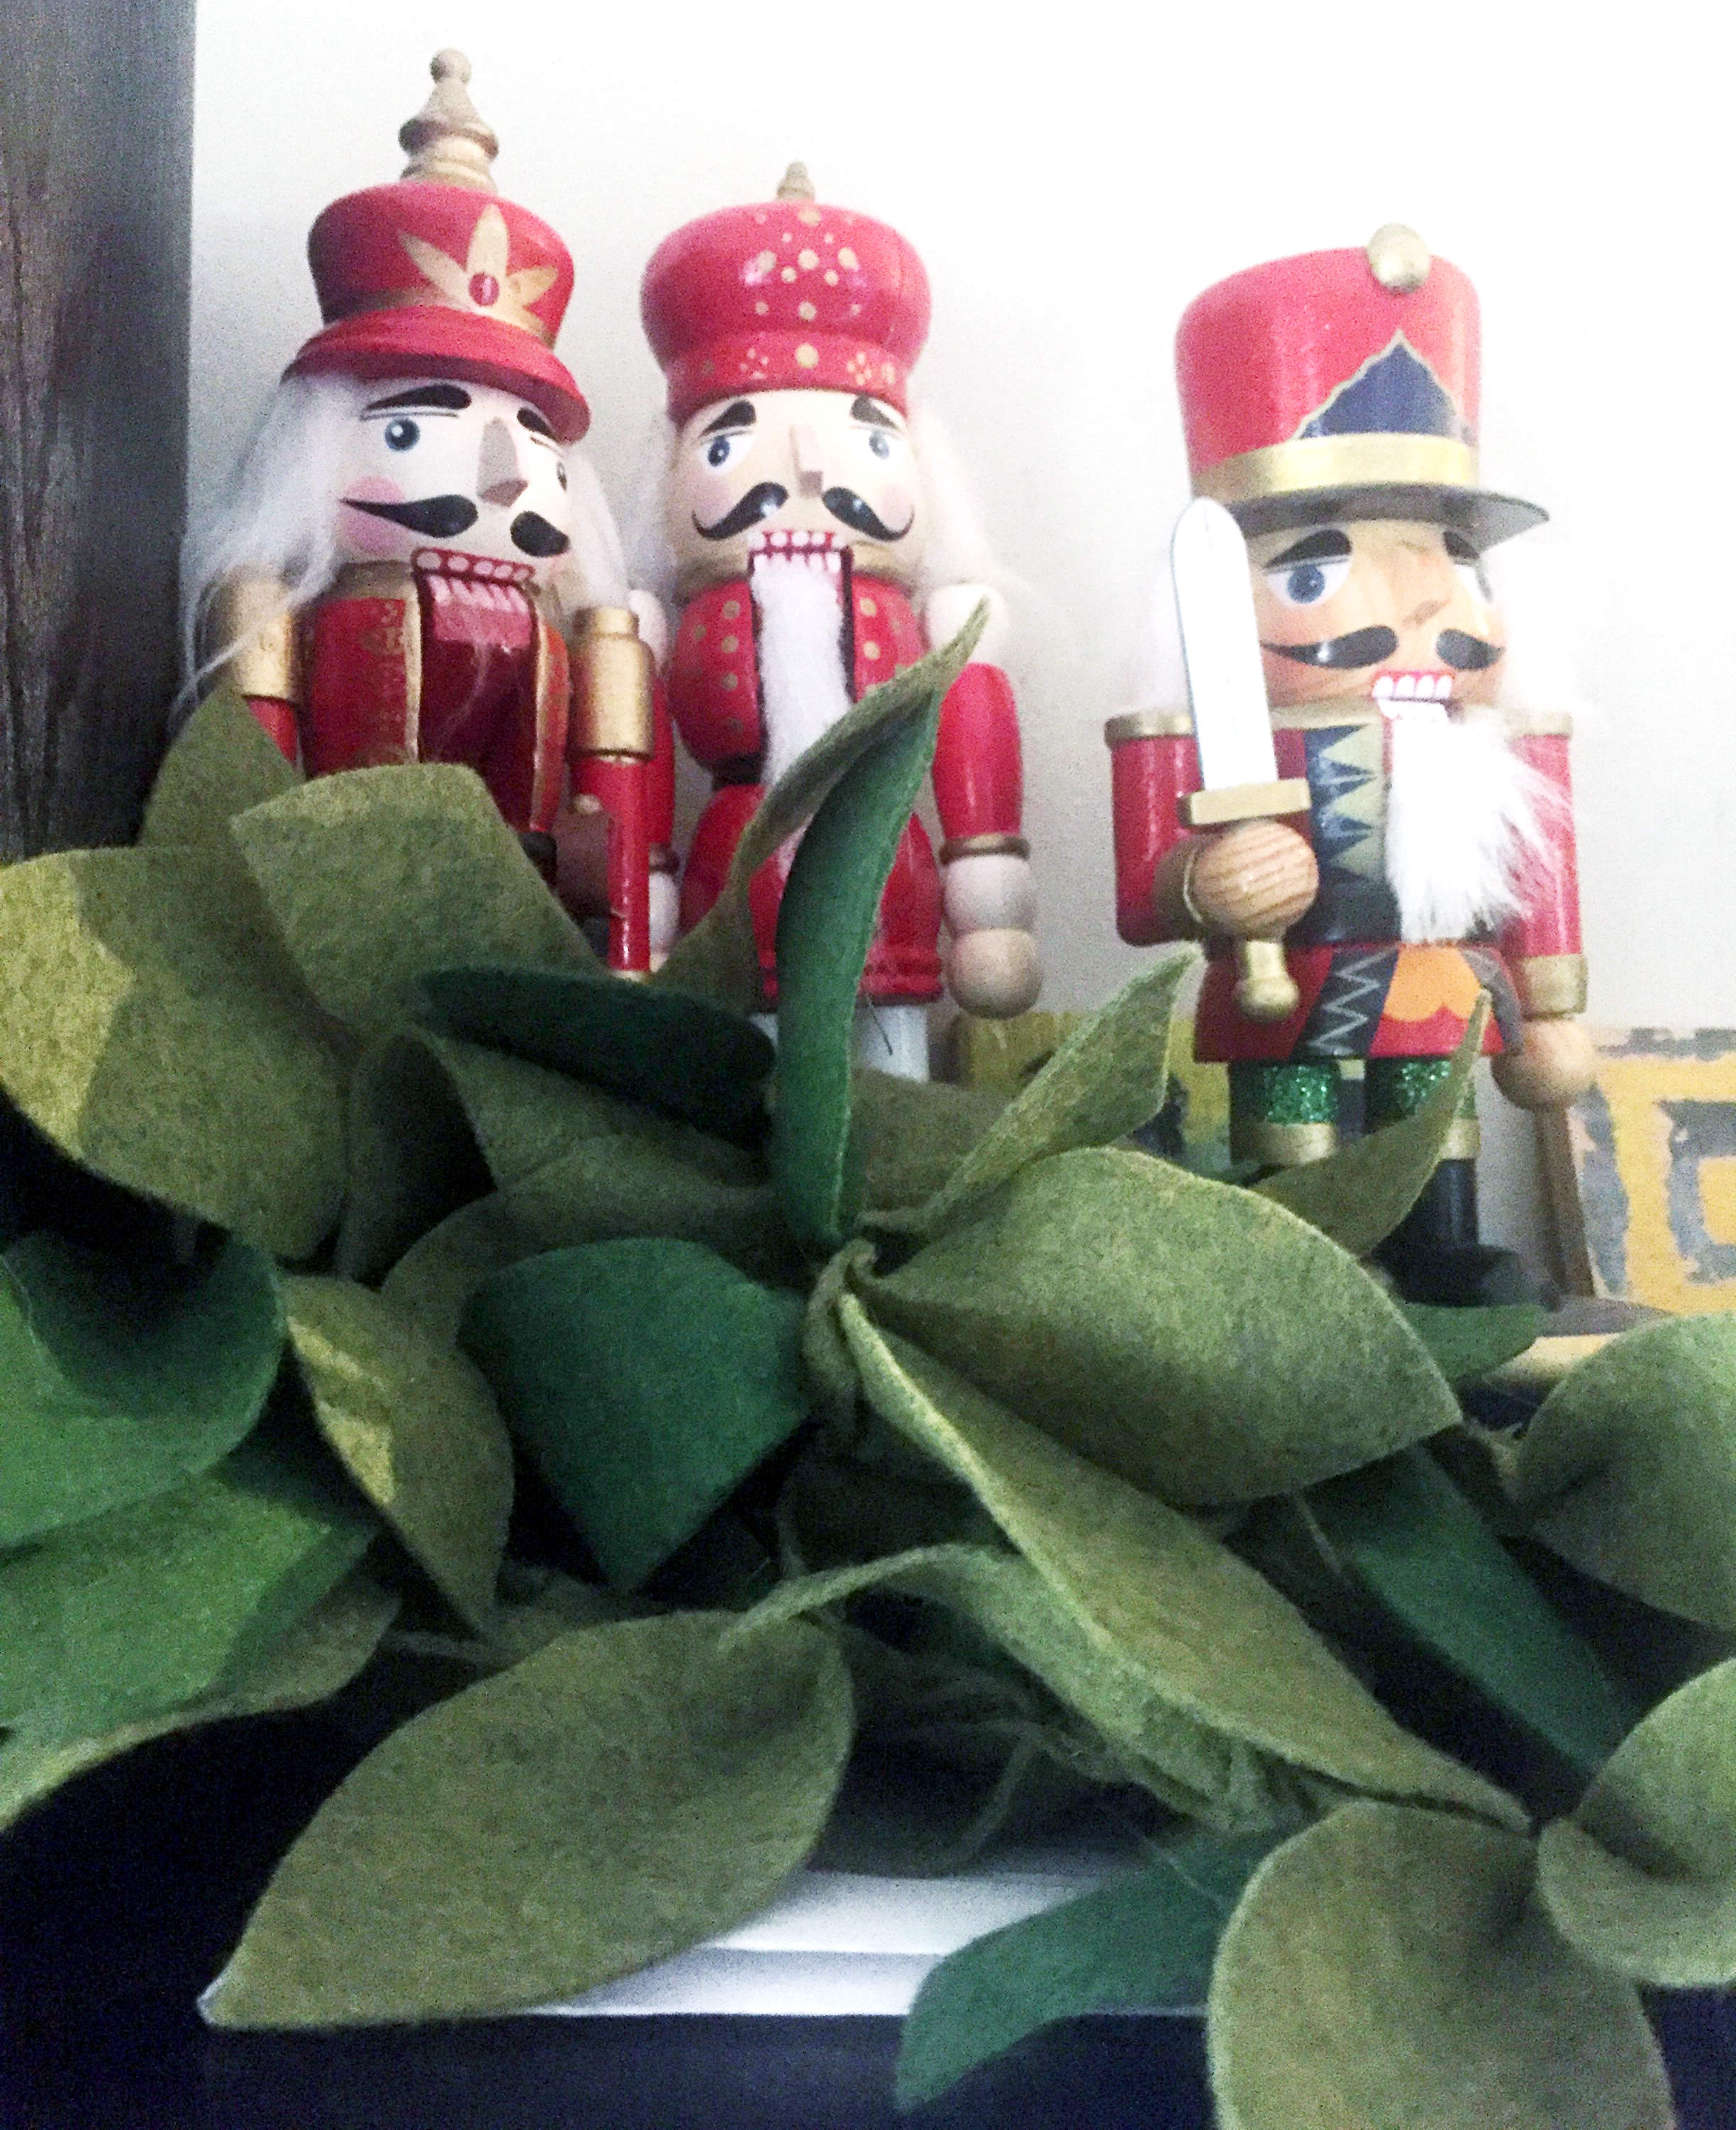
STEP FIVE: Hang your garland on your fireplace, around your bannister or place it on a shelf for an easy, festive look.
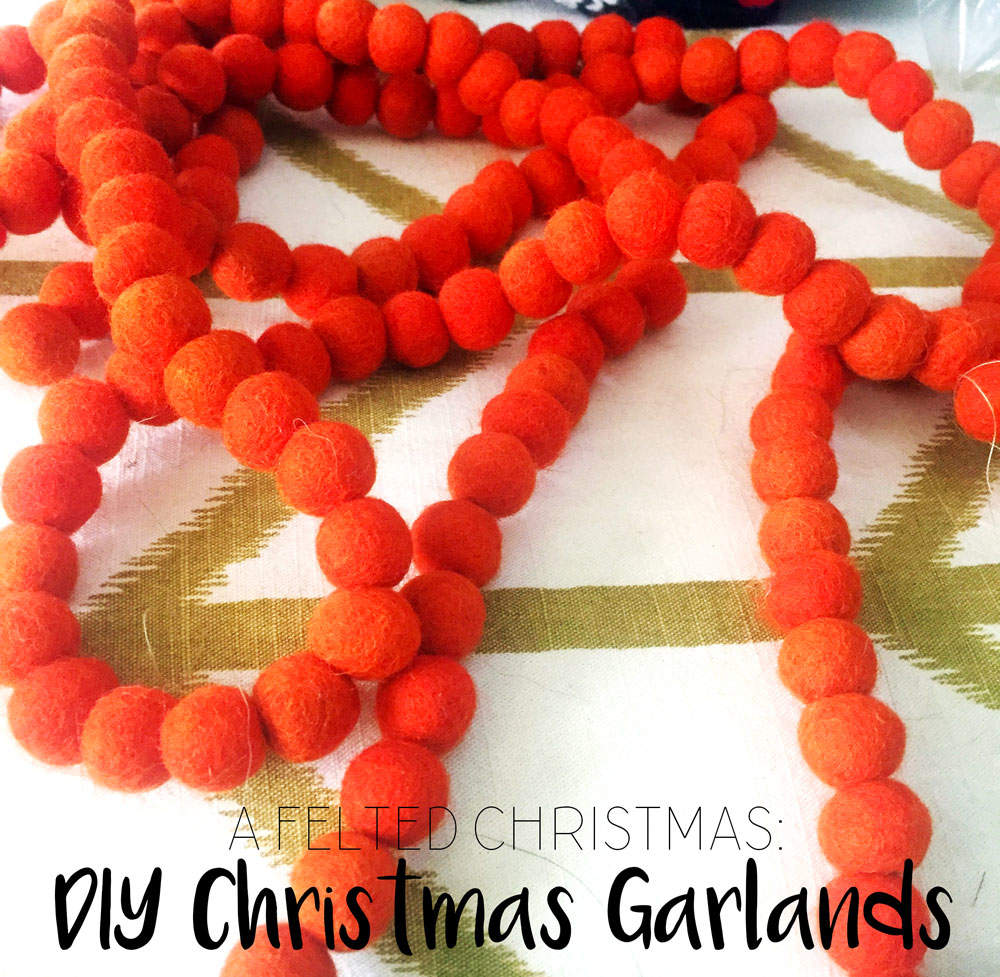
FELT BALL GARLAND

SUPPLES:

- 1″ red felt balls (you can easily change the size depending on the look you are going for)
- Sewing needle
- Thread
HOW TO:
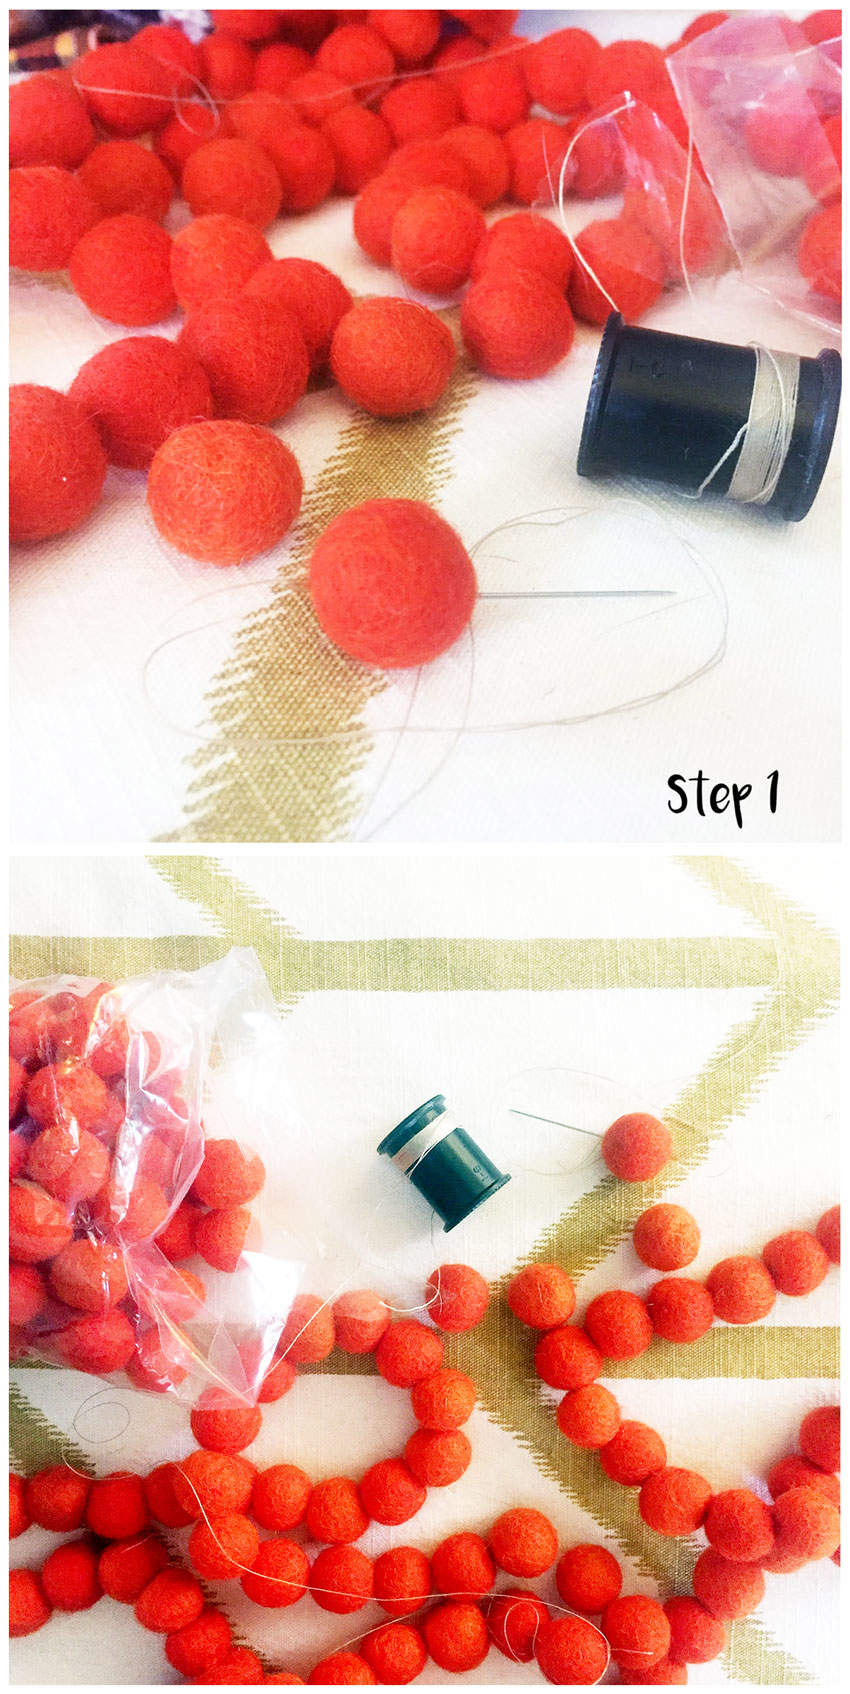
STEP ONE: Thread your needle, knot the end of the string, and string the red balls together.
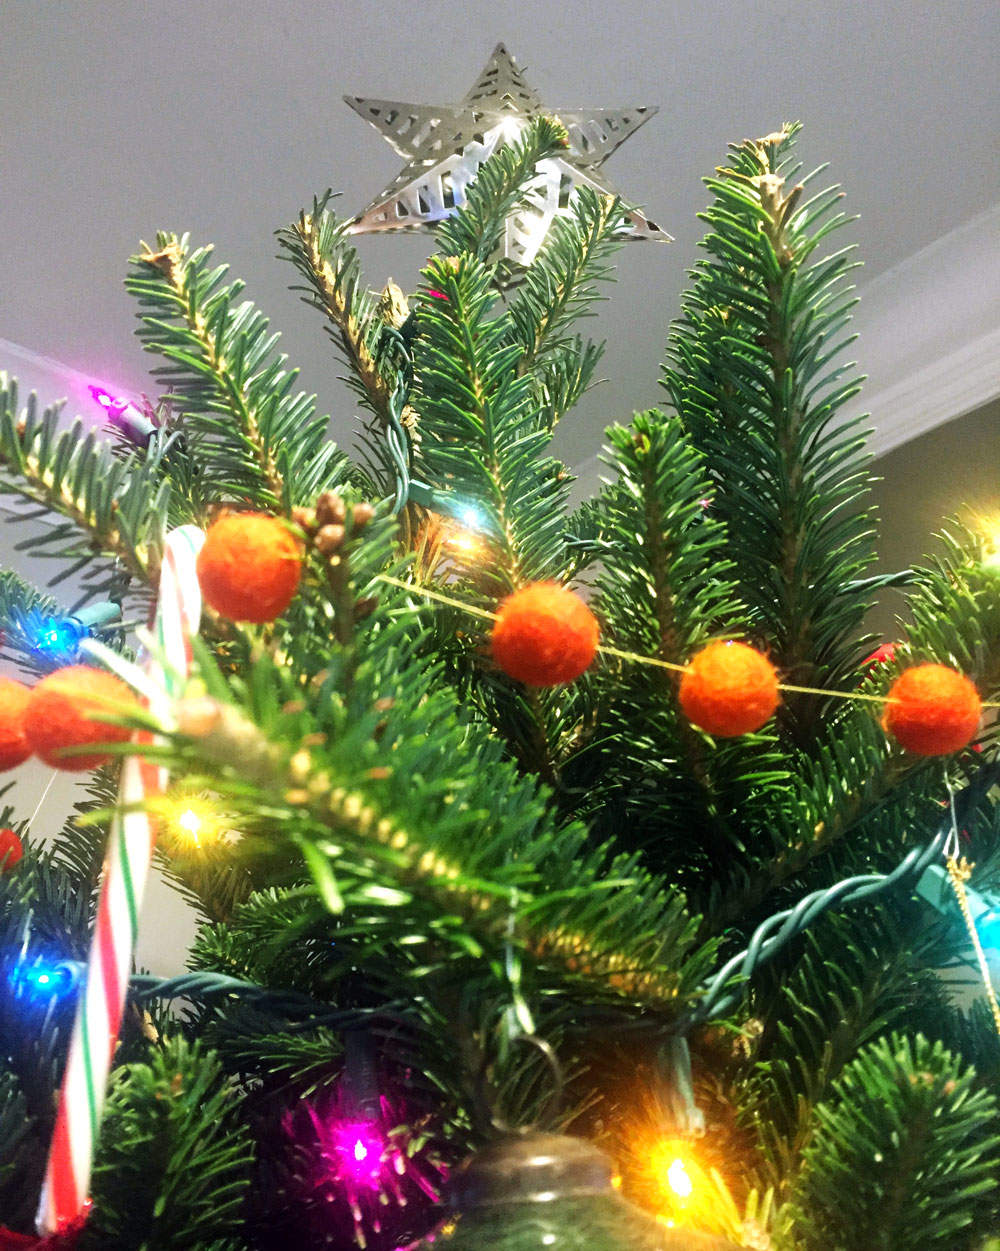
STEP TWO: Hang your garland! I opted to spread the red balls out along the thread in order to make it stretch further. If you want a solid string, plan ahead and order enough felt balls to do that.
tip: To avoid a tangled garland use thicker thread, hemp, or similar to string the felt balls. Plan ahead and have a larger eye needle on hand.
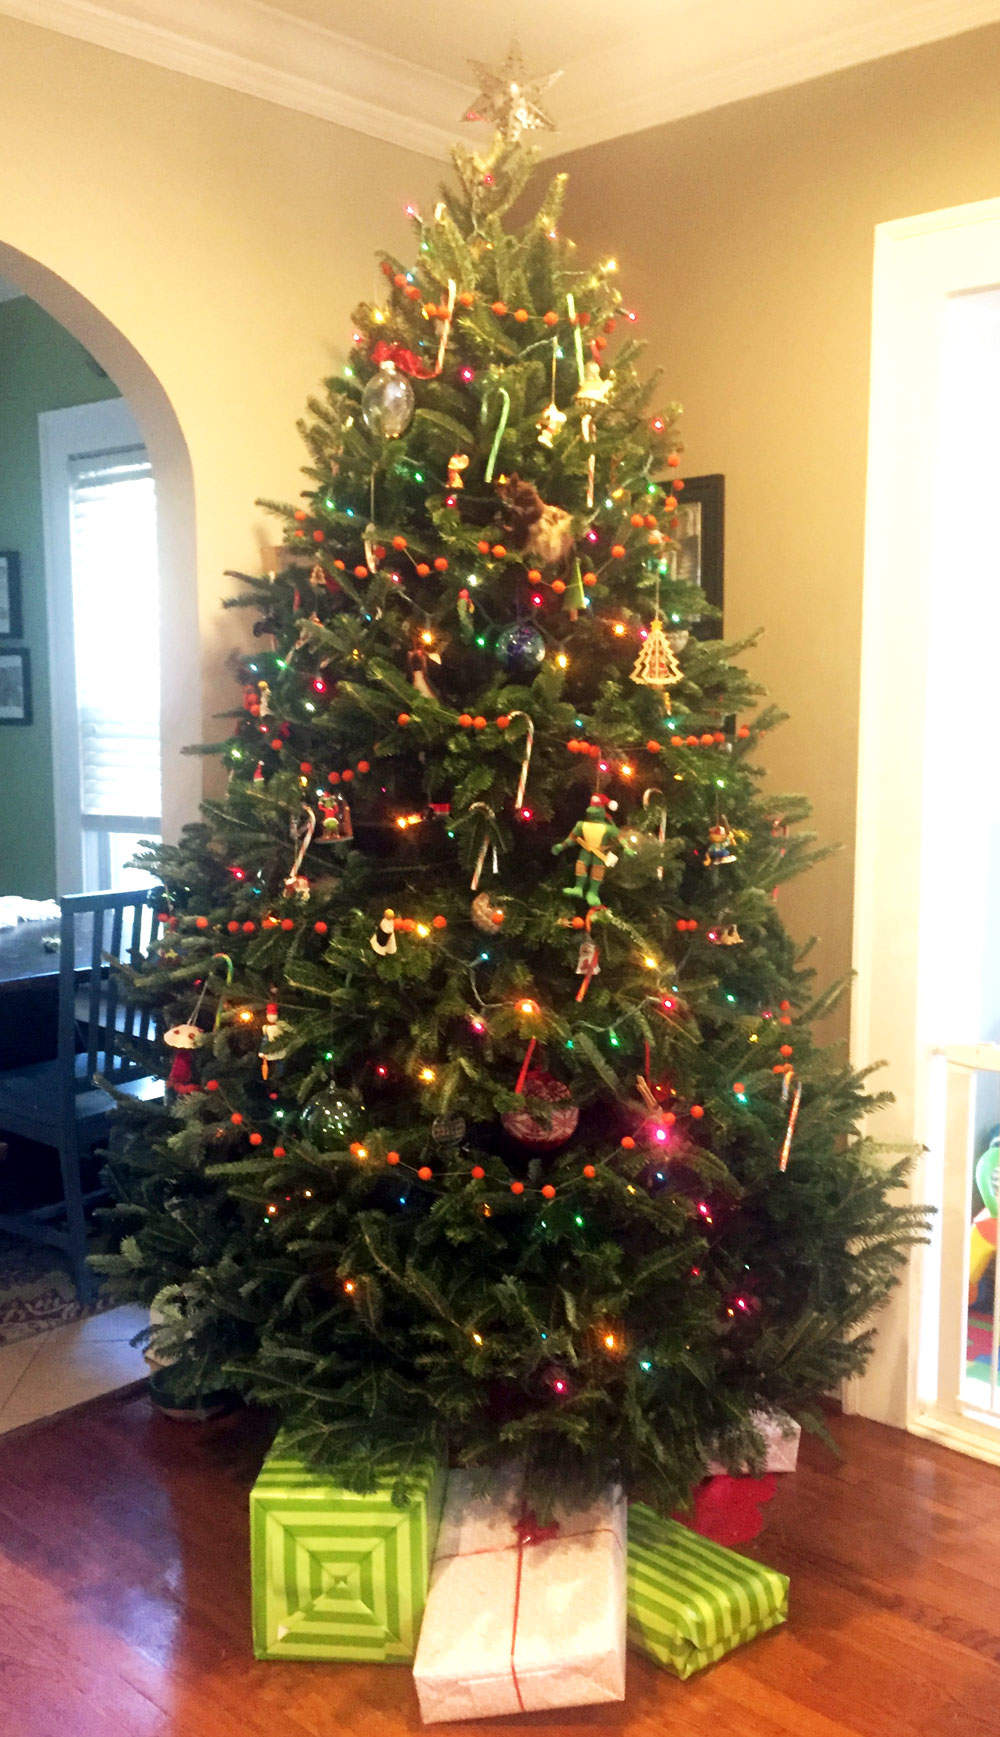
Combine the two Christmas garlands together to create a red, green, and festive look.
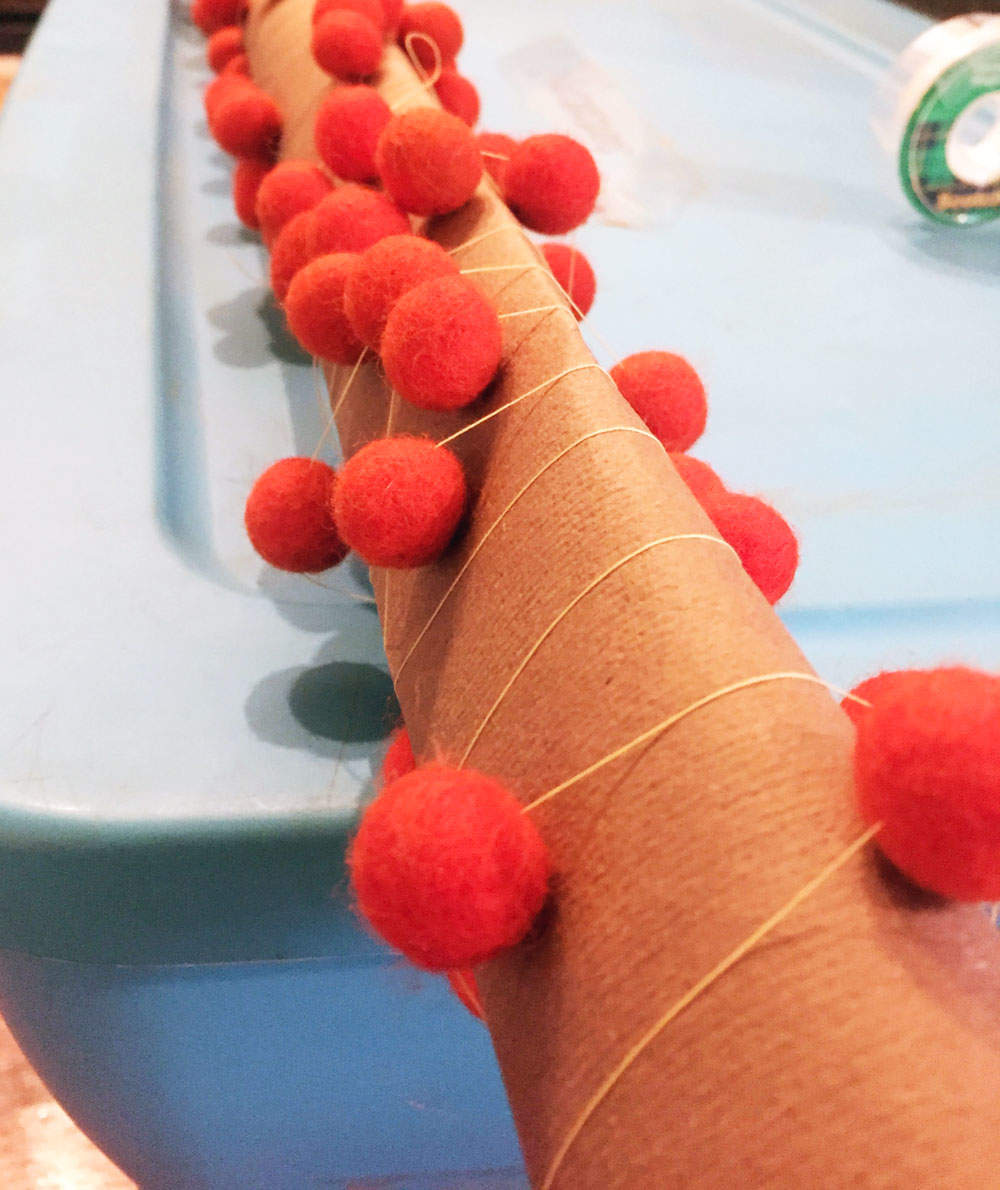
tip: for storage, wrap the red ball Christmas garland around a wrapping paper tube. Tape the ends down to keep it in place.
Thanks for taking the time to check out my two DIY Christmas garland projects. I look forward to using these year after year and adding to them with future holiday crafts. Help me spread the Christmas cheer by sharing on your social media of choice. Thanks for stopping by.
Related Posts


Leave a Reply