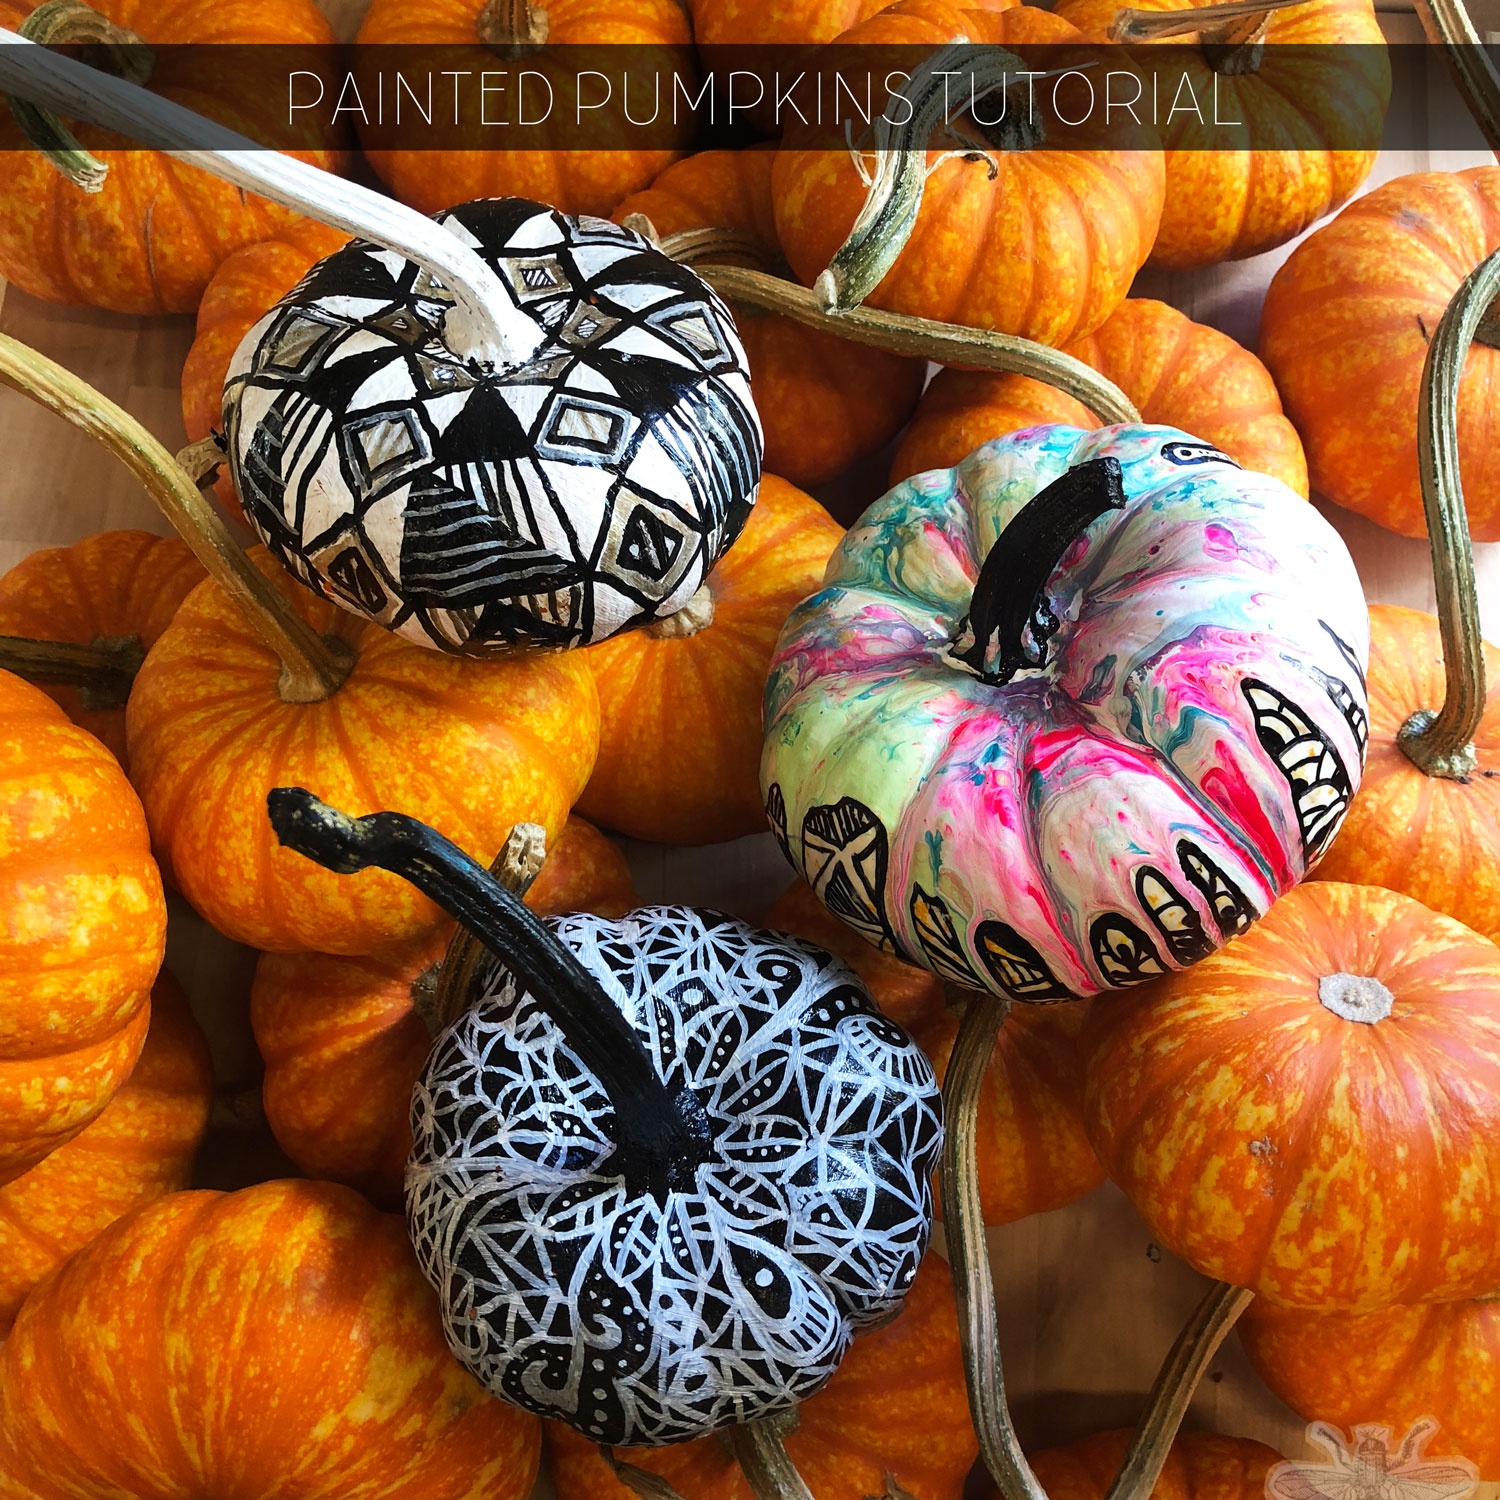
After drooling over Alisa Burke’s pumpkins this season I decided it was time to make my own painted pumpkins. I thought it would be a fun Saturday morning activity with my little man, but it ended up inspiring a high school art lesson plan.
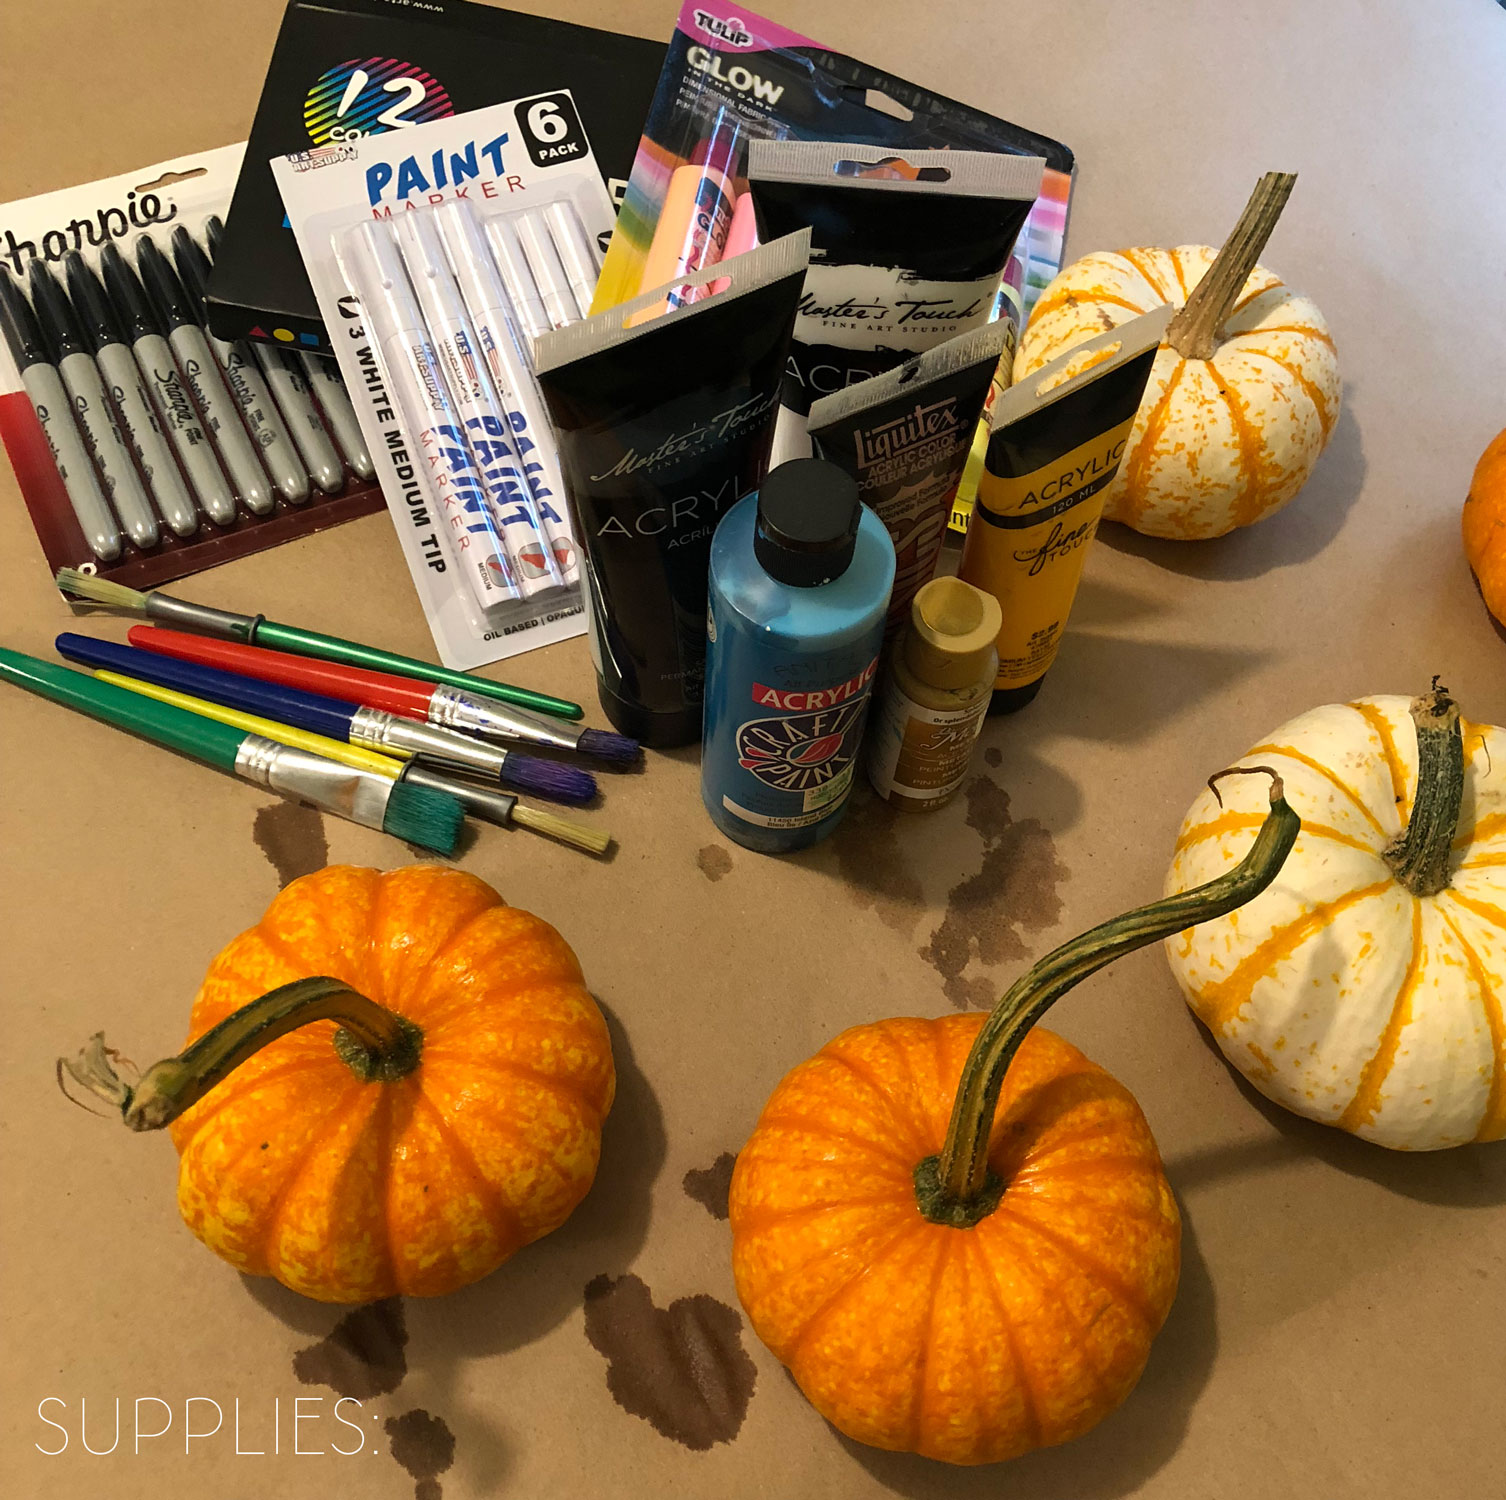
I wanted to test a range of supplies so I could troubleshoot any issues that could come up before my students jumped in. I ended up getting:
- Mini pumpkins
- Acrylic paint, a range of colors
- A range of paint pen colors
- Metallic paint pens
- Black paint pens (these work much better than Sharpies)
- White paint pens
- Glow-in-the-darkCheck out more visual journal blog posts here. Shop my education resources here. Don’t forget to follow me on Instagram and TikTok for weekly visual journal demos. Until next time! puff paint
- Paint brushes
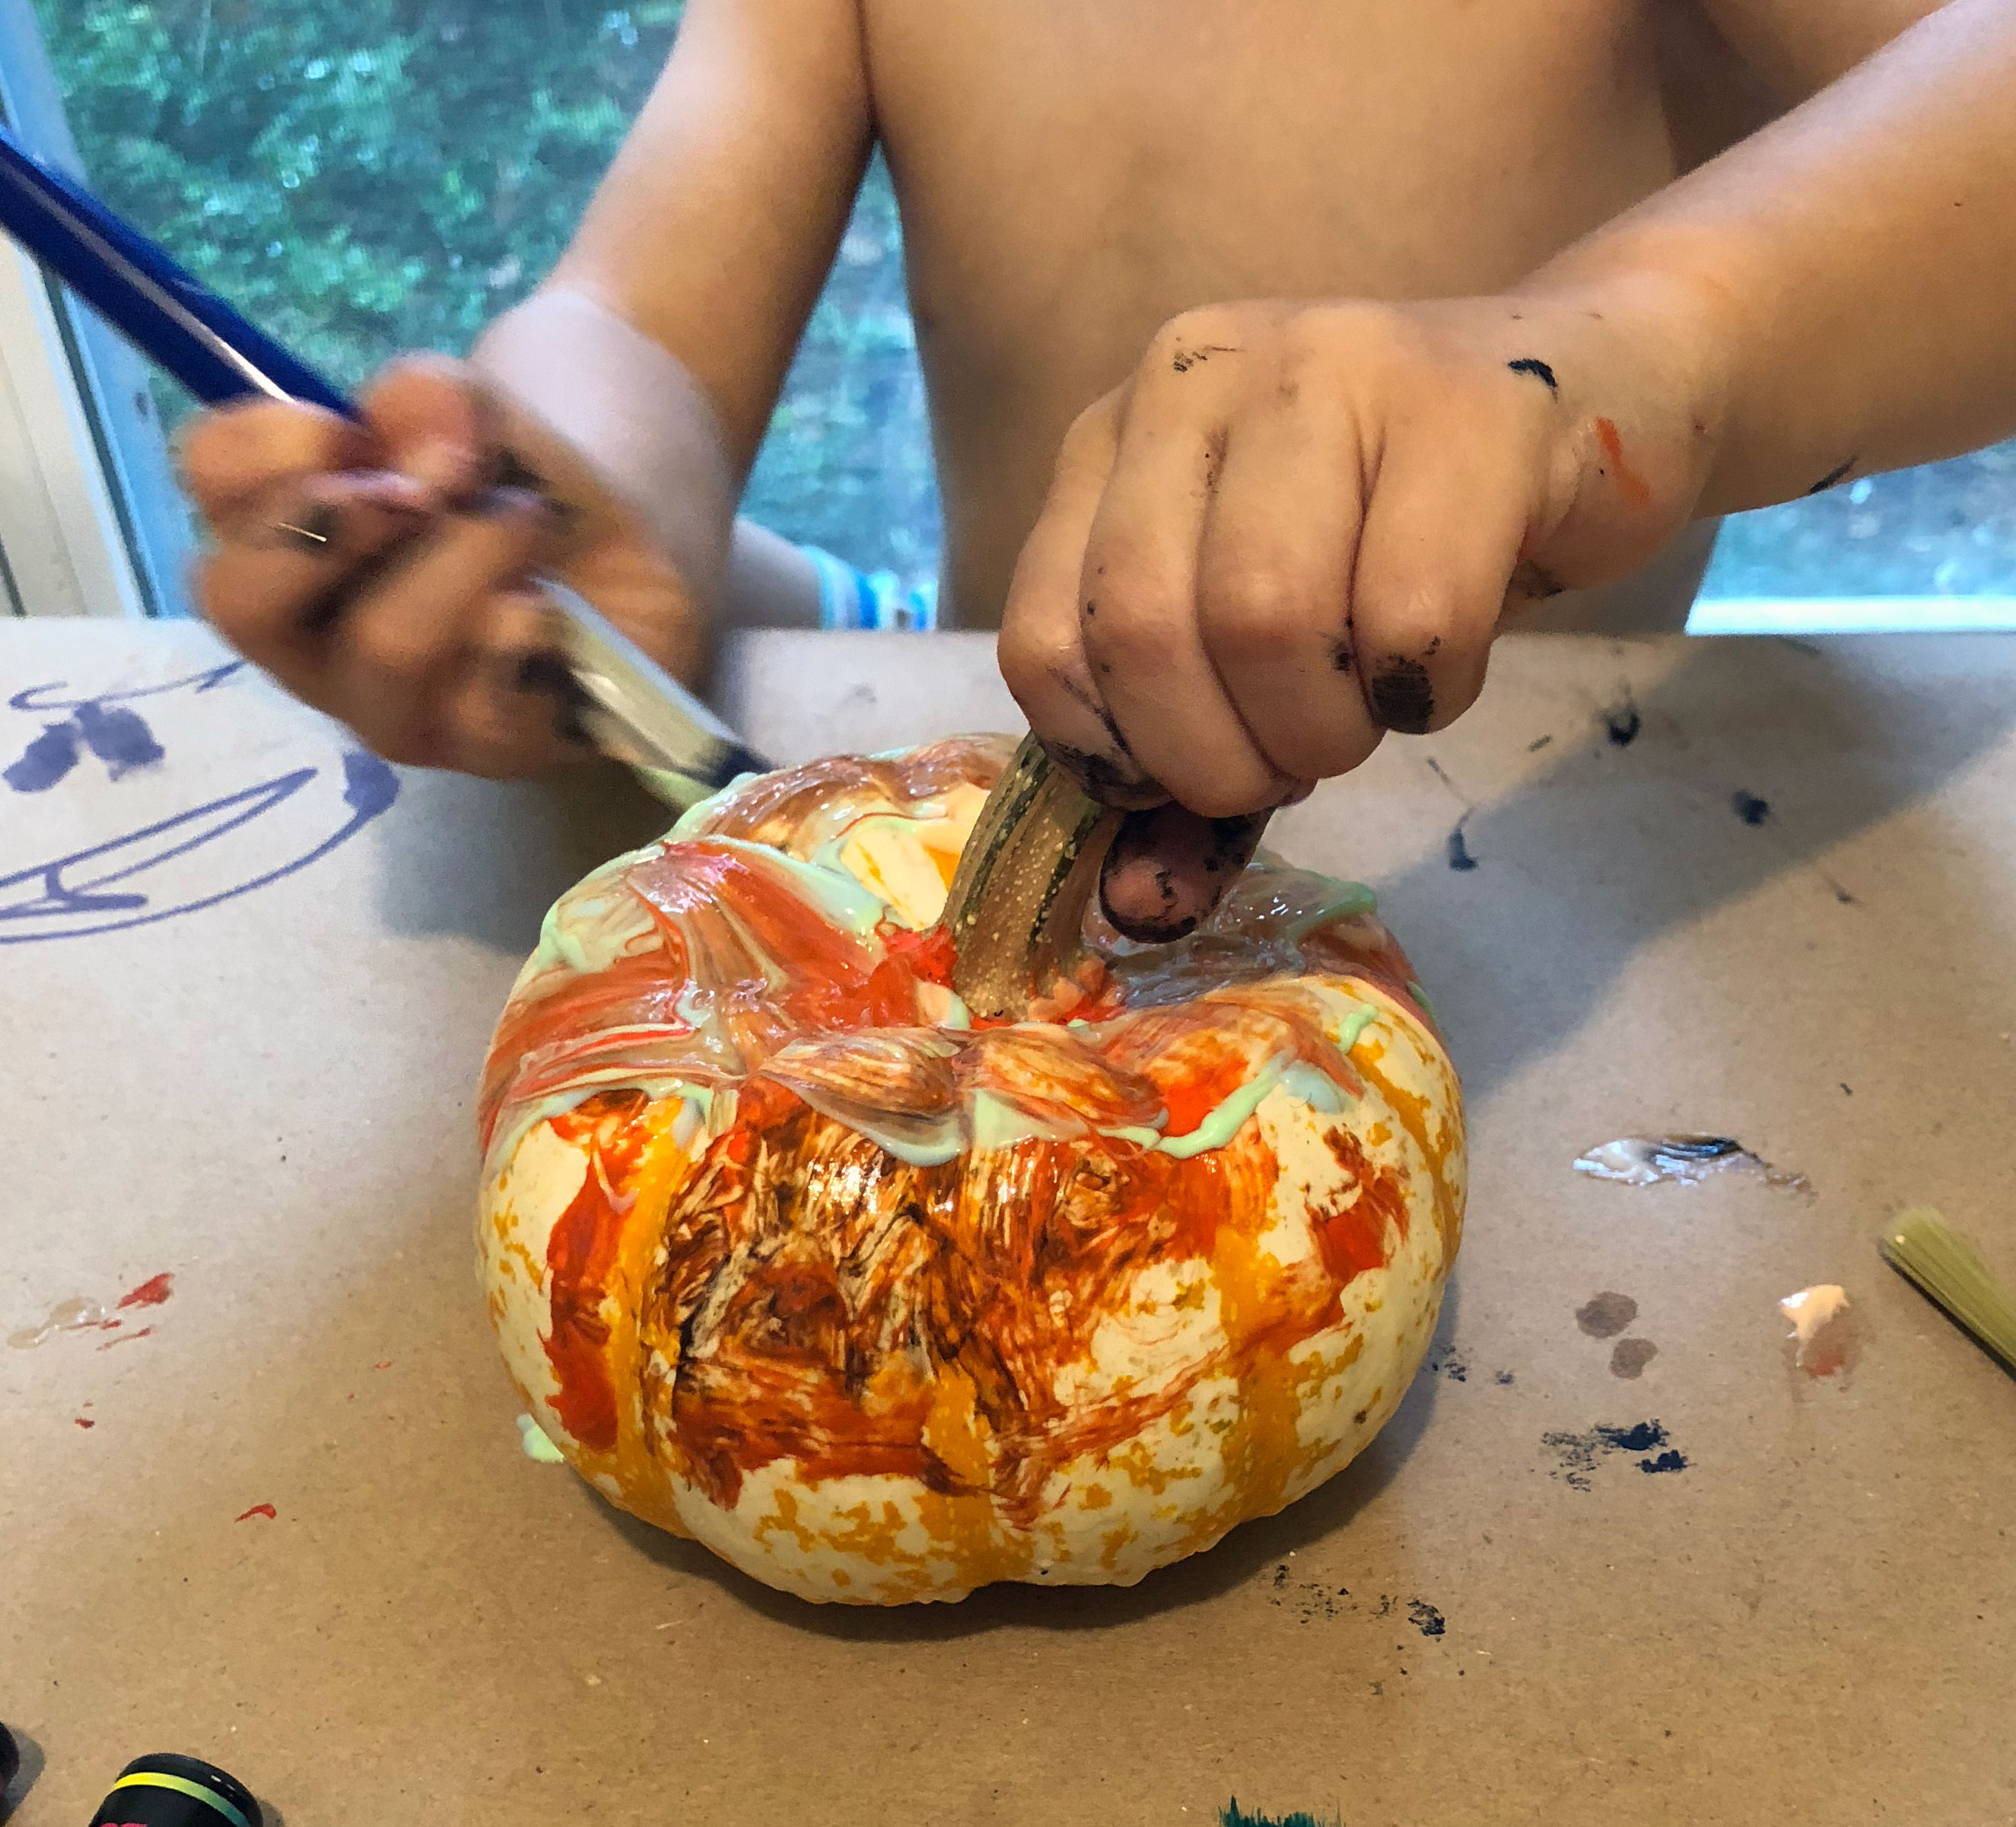
I started the process by spreading out all of the supplies and letting my little man play.
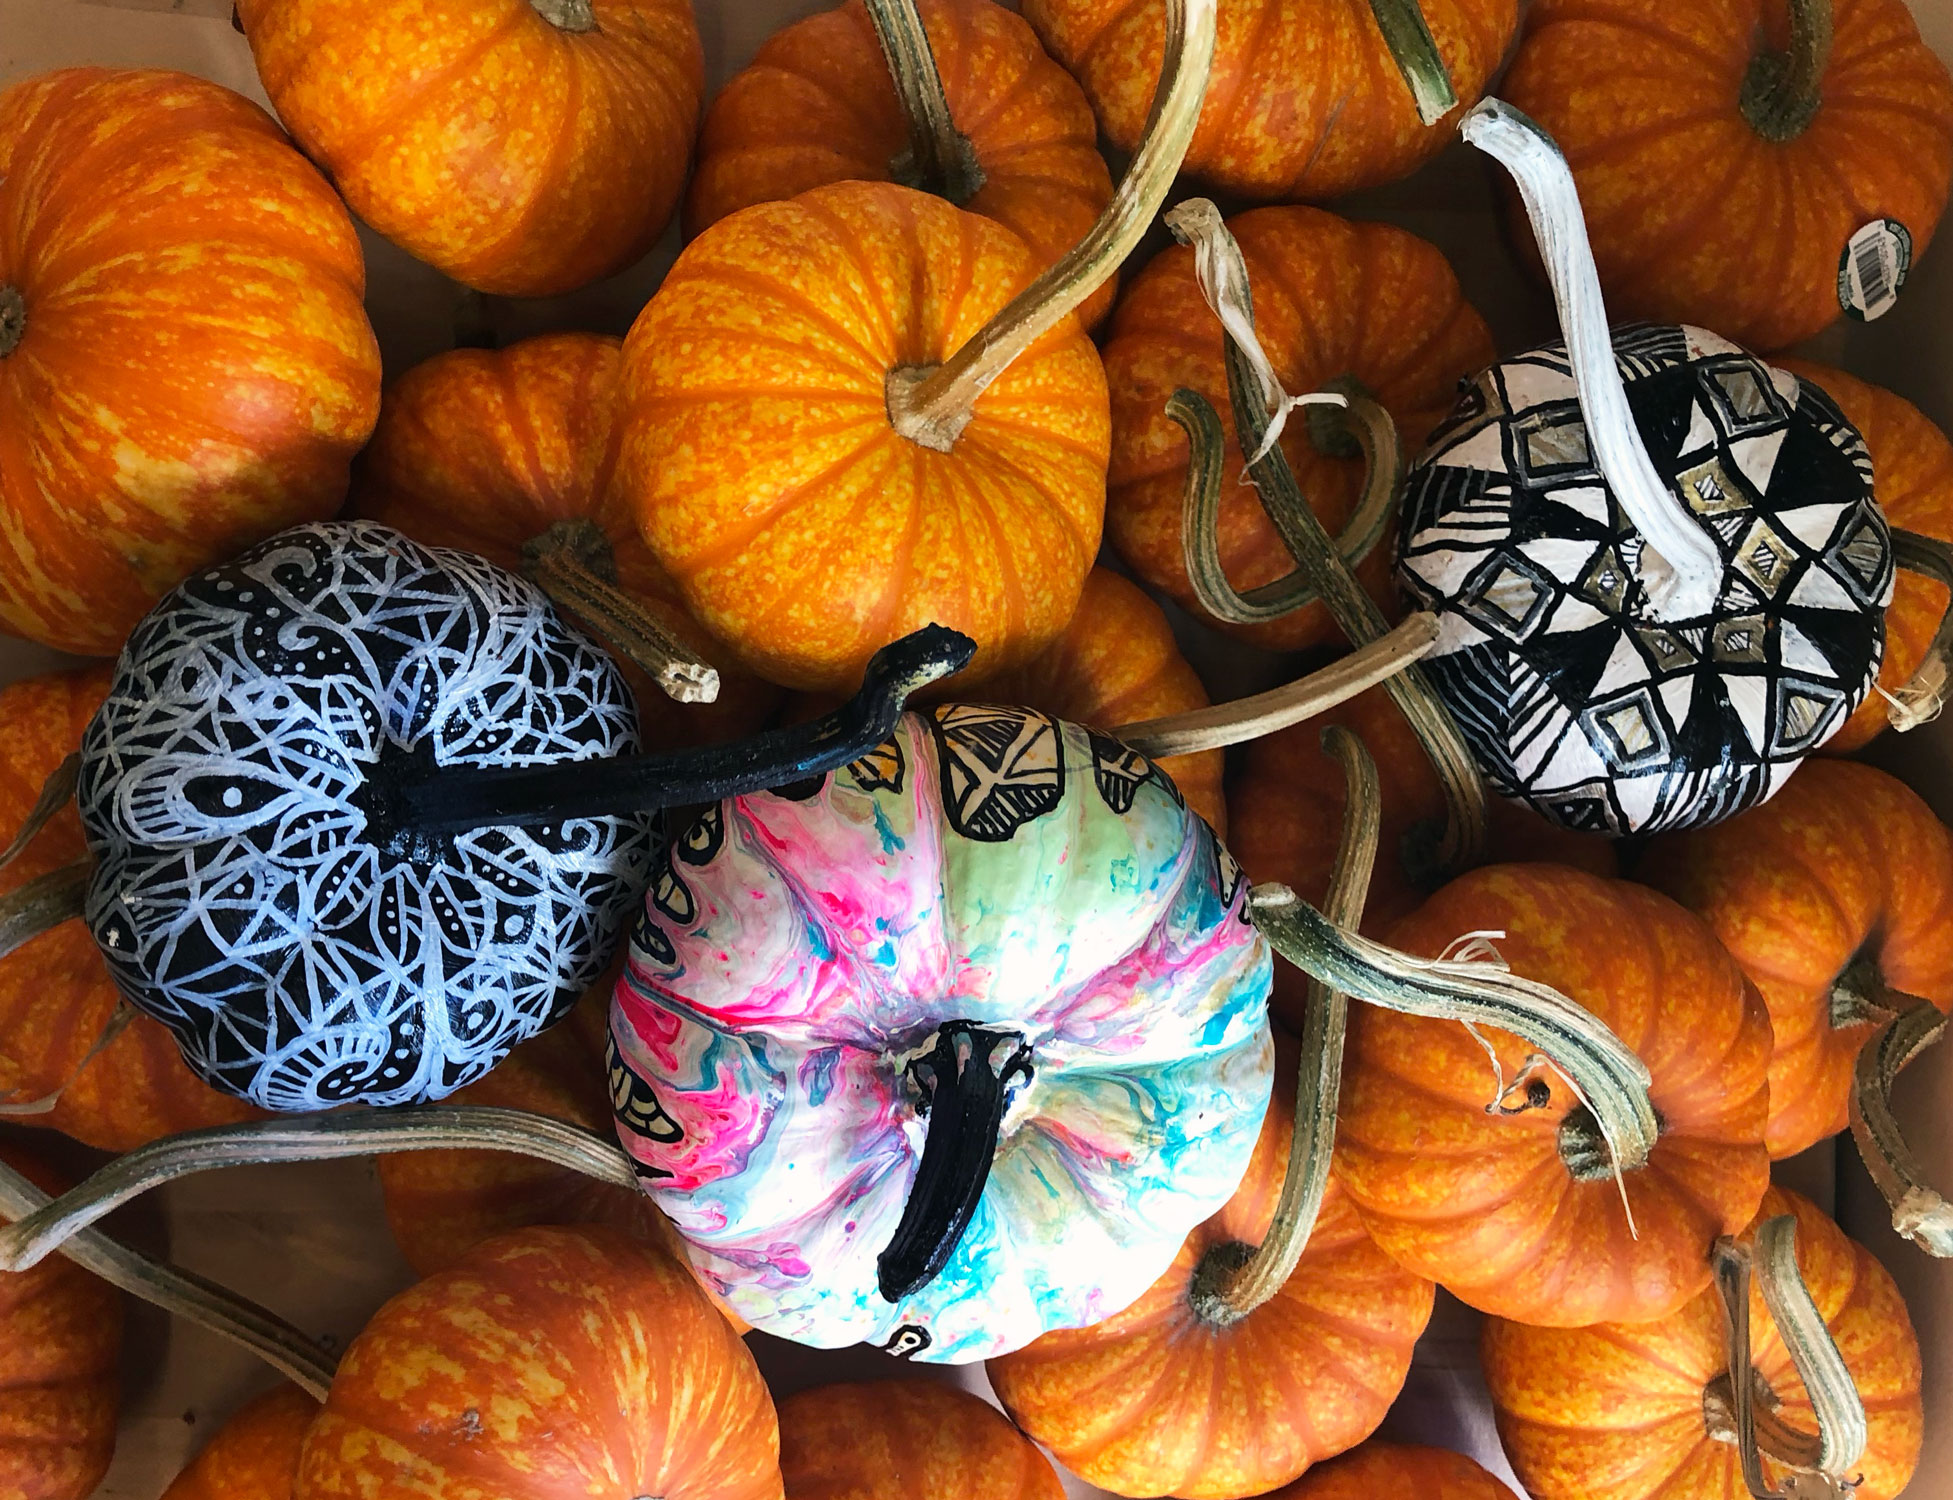
I first fell in love with Alisa Burke’s white lace on black pumpkin design, so that was the first one that I tackled. 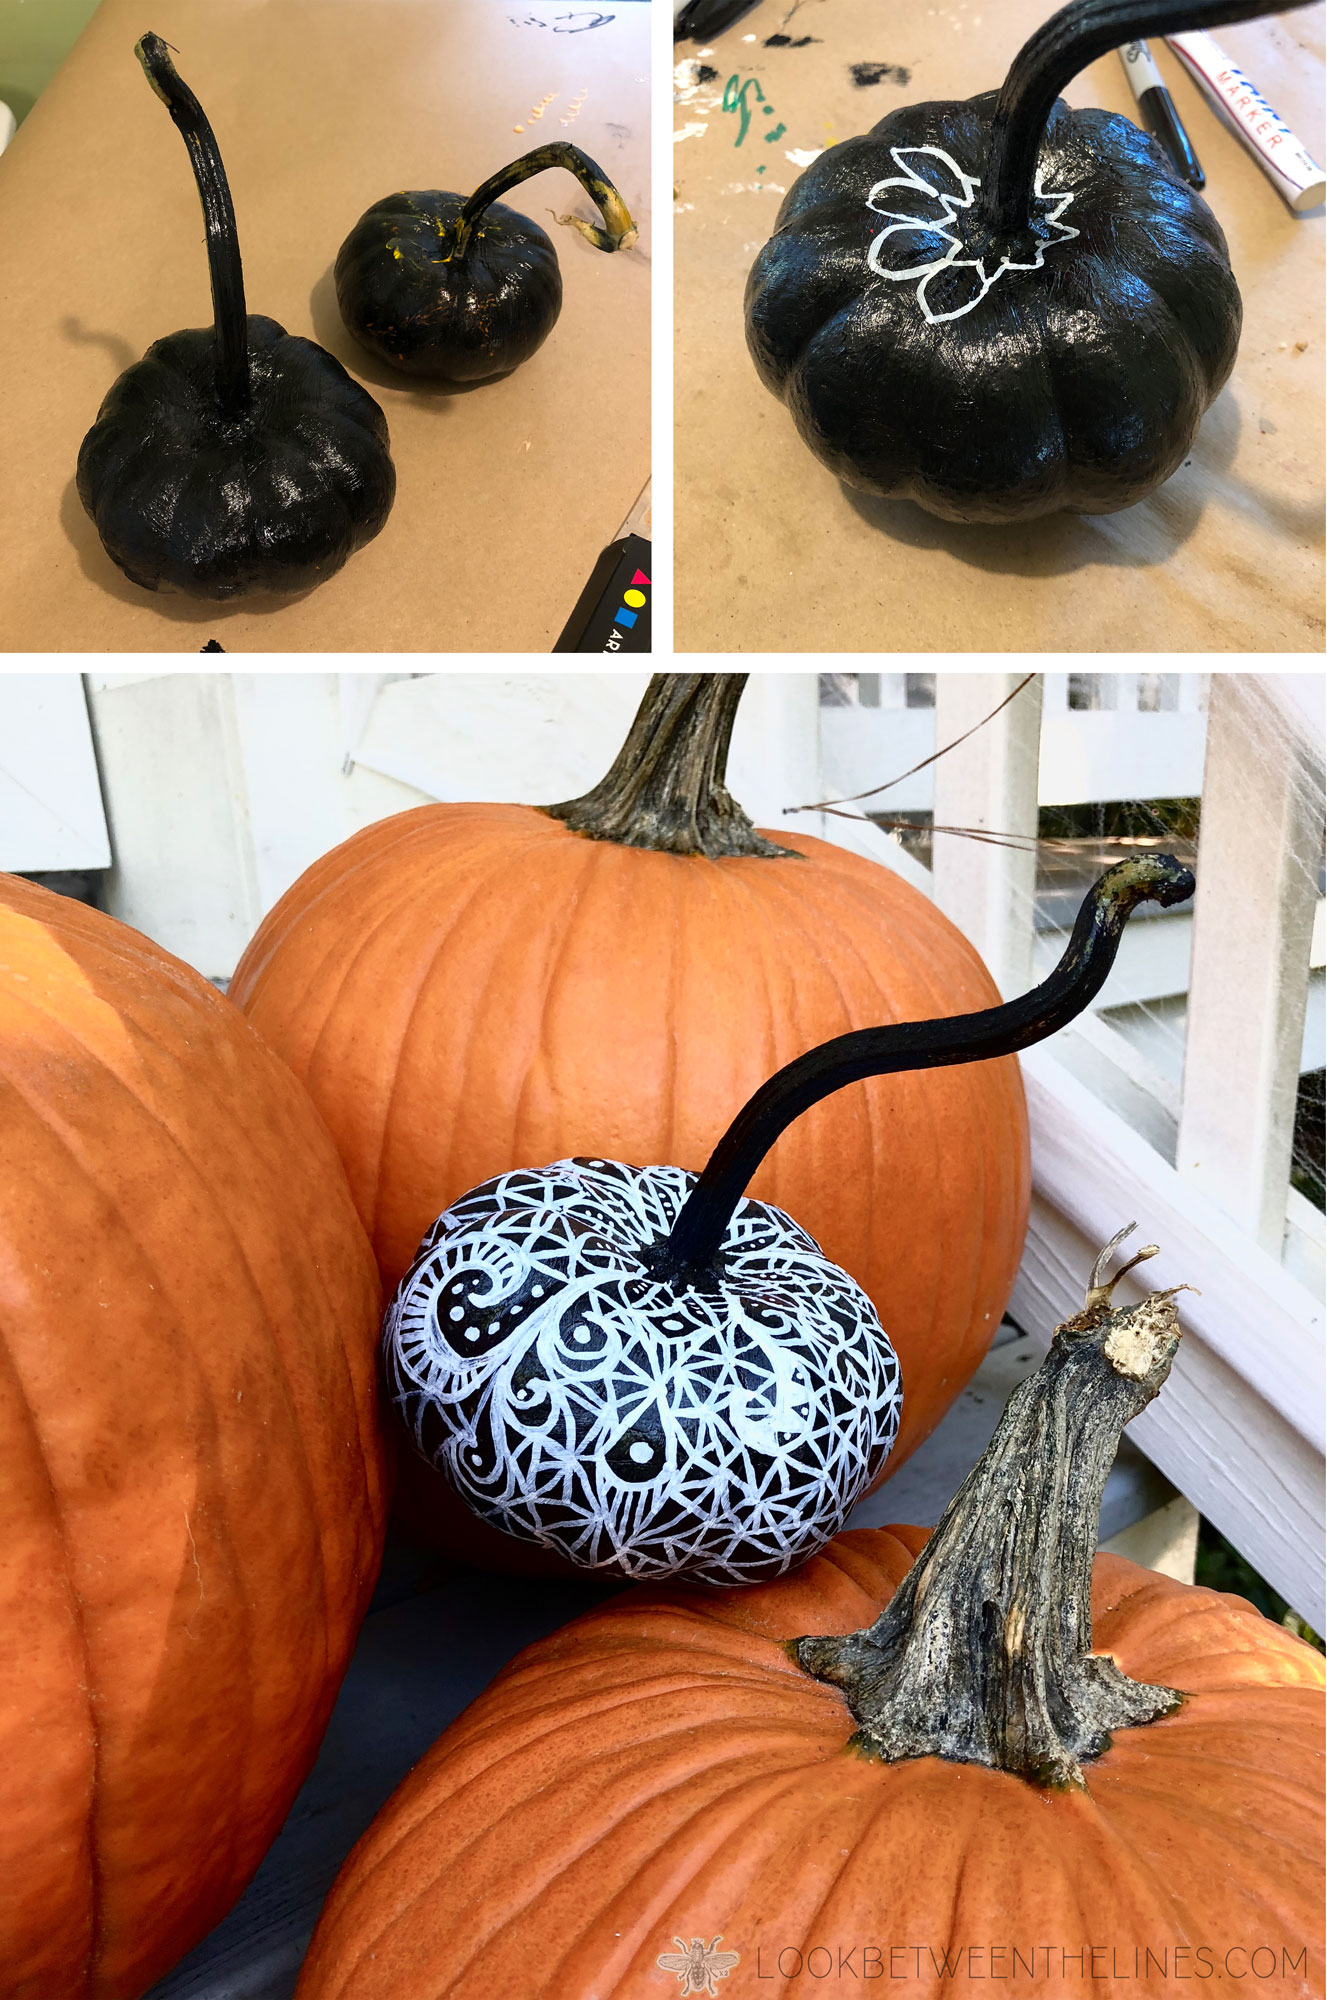
I started by painting my entire pumpkin with black acrylic paint, including the stem. Once it dried, which took overnight, I doodled on top with a white paint pen. It was easy and had a ton of impact.
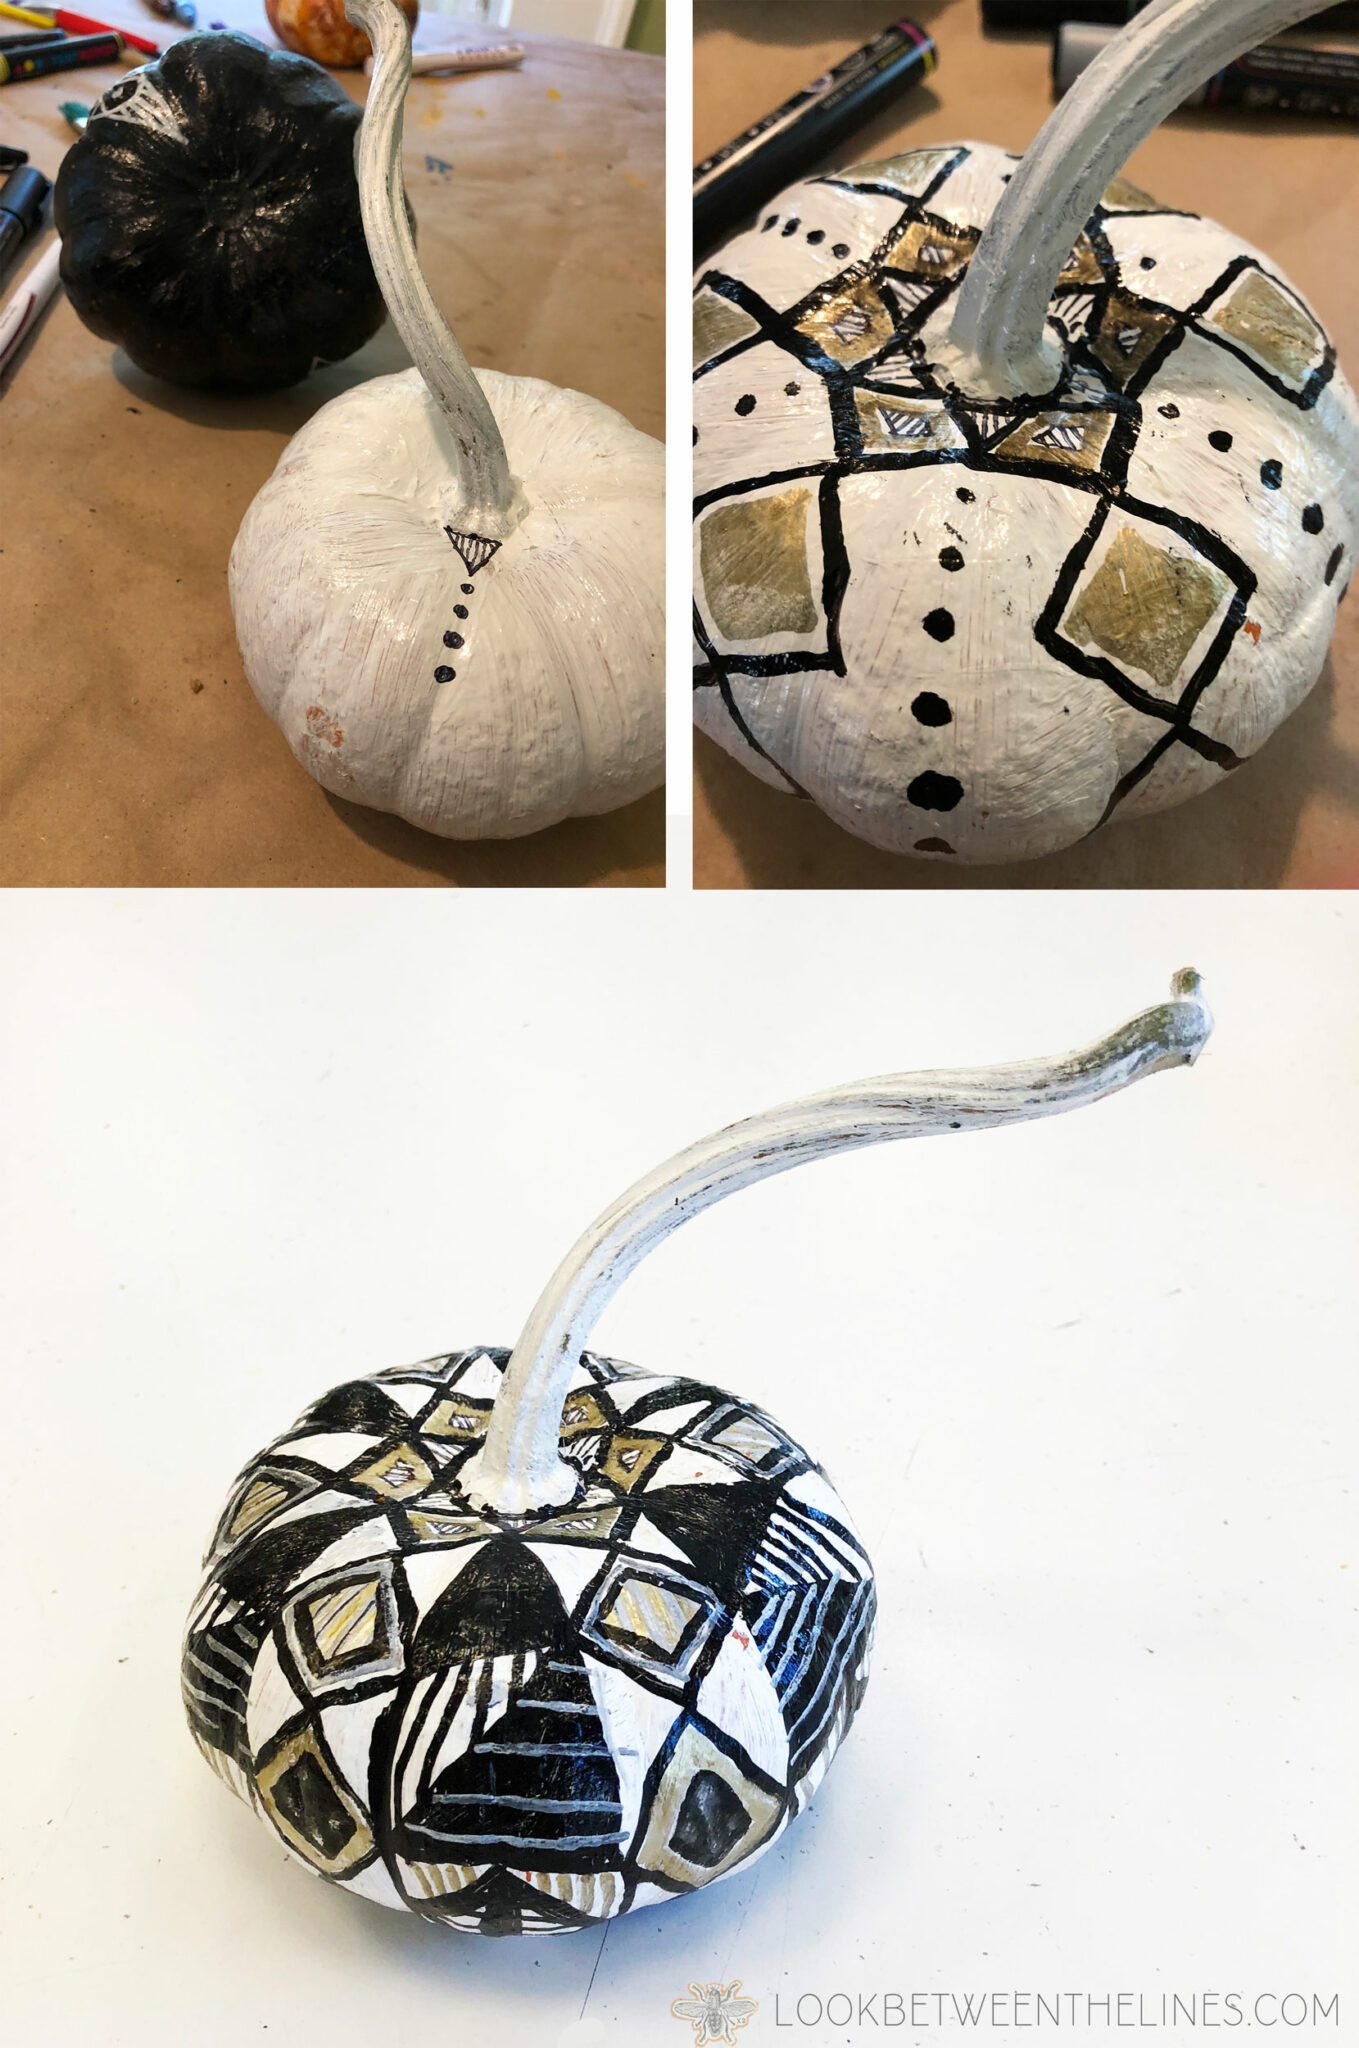
The next pumpkin I did was a white, black, and metallic design. I started by painting the entire pumpkin white, then adding the geometric design with black paint pens and deatils with metallic and white paint pens. I struggled with this design before finally settling on a more symmetrical, mandala-esk design. The original more polka dot themed design was covered up with the big black triangle shapes.
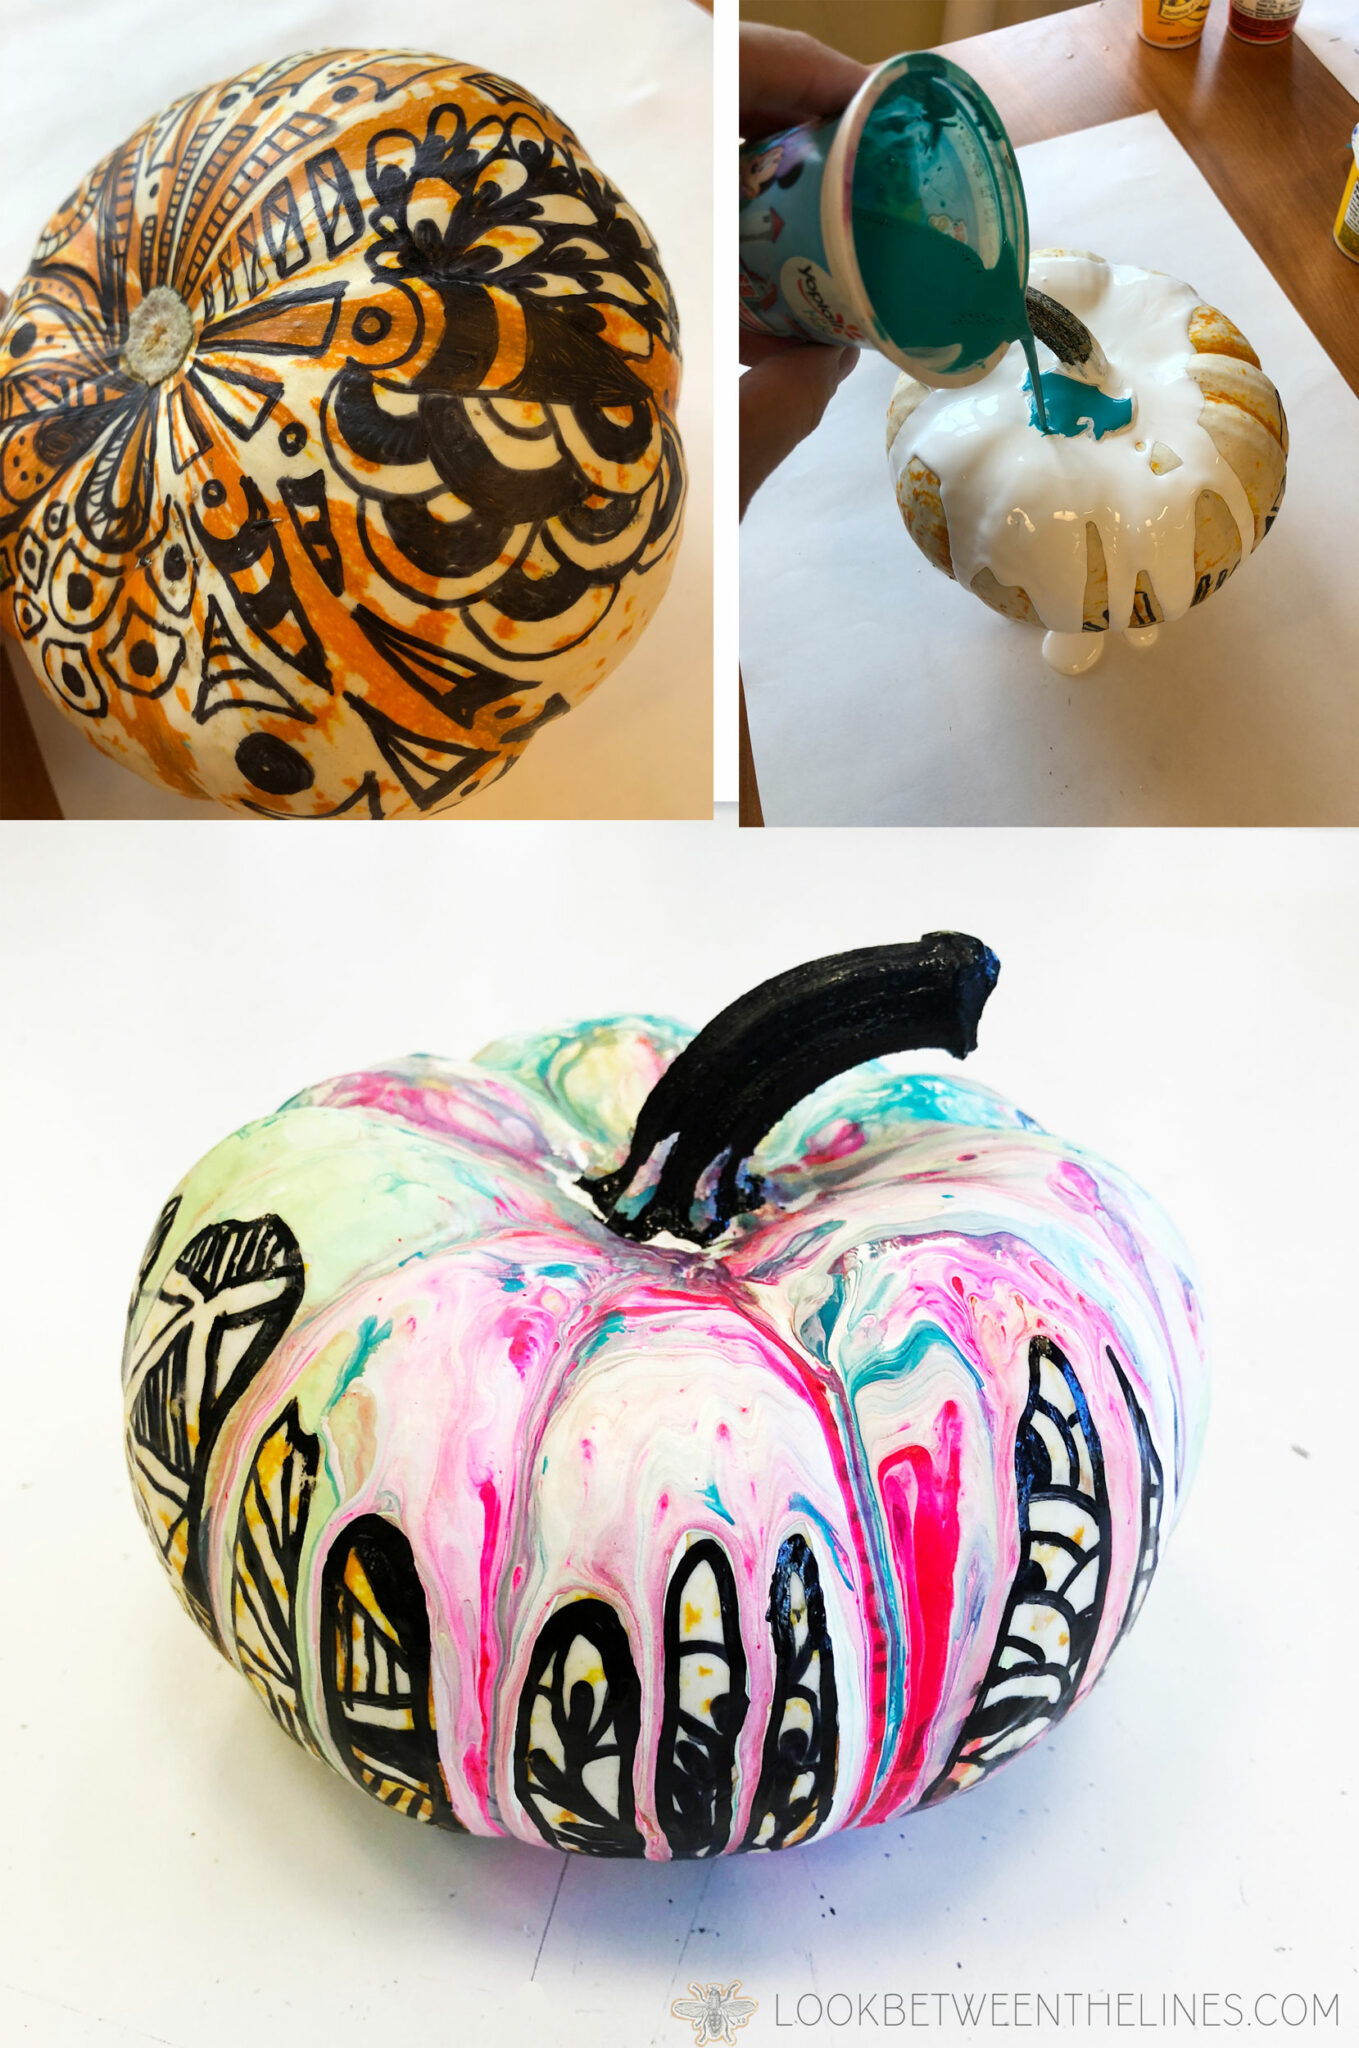
The final pumpkin I created was my acrylic paint pour one, which turned out to be my favorite. I started by doodling about halfway up the pumpkin, starting at the bottom. I wanted it to look like the paint was covering a design. I then poured thinned down acrylic paint (use just a little bit of water) on top until it dripped down the sides. I started with white as a base, then alternated colors. For this design I used hot pink, teal, green, and white. For this to be successful I believe white is key. It helps to have a neutral that mixes well with any color. The white helps the colors pop against each other.
Once I finished the pour I let my pumpkin dry overnight. I then outlined the drips and finished the doodles where it was needed with a black paint pen.

I am so happy with how these little babies turned out. I plan to keep them on my front porch through Thanksgiving, or until they rot. I surprised two of my classes with the project and they are having so much fun! If you are interested in the lesson plan, stay tuned, it will be hitting TPT in the next 24 hours. I planned two days for the project, one for paint, one for paint pen decorating.
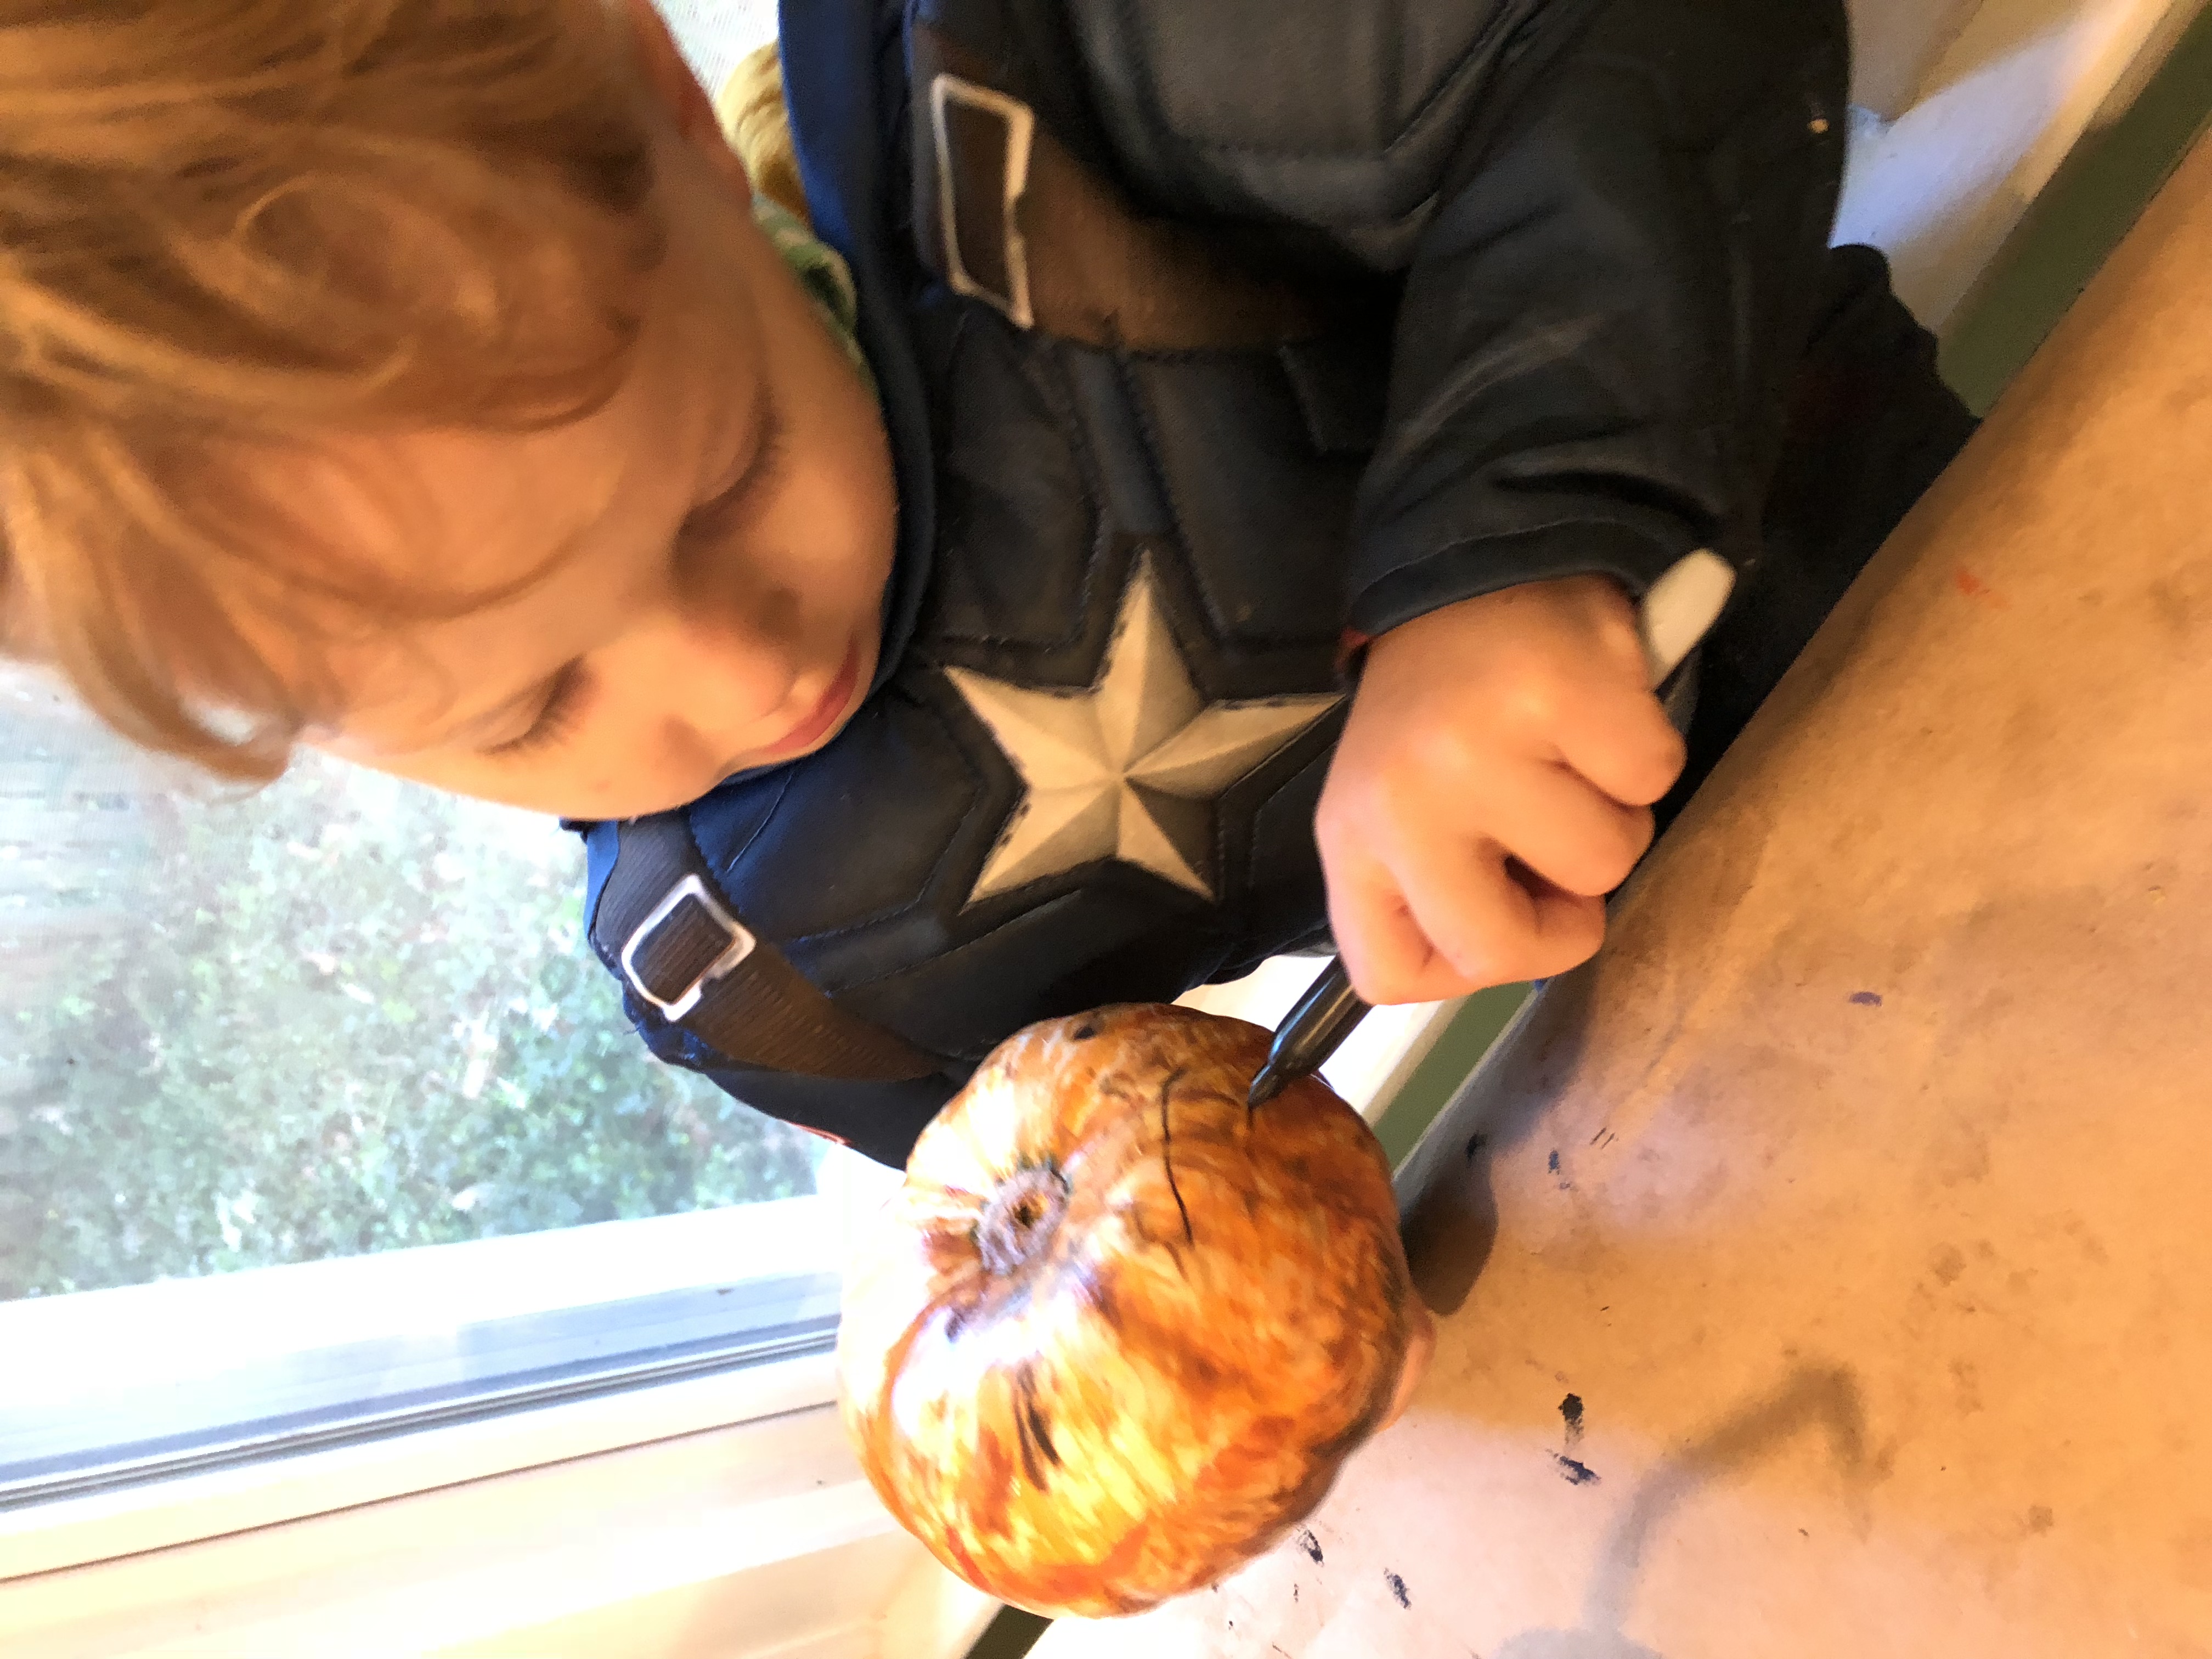
Have a wonderful holiday season and don’t forget to add a little art into it. Even Captain America does it.
Thanks for taking the time to check out my blog! Interested in pushing your artistic pumpkin-making even further? Check out my artist-inspired relief pumpkin project here. Interested in other weekend crafts? Check out my craft posts here. Check out more blog posts here. Shop my education resources here. Don’t forget to follow me on Instagram and TikTok for weekly visual journal demos. Until next time!
Related Posts


Leave a Reply