As you begin to plan for back to school in your elementary art class, consider these 7 back to school tips. These tips were written with my retired elementary art teacher mom of over 30 years, Anne Ward, dip into her wealth of knowledge and go into pre-planning with new ideas, feeling confident, and ready for the school year!
1. Set up your space:
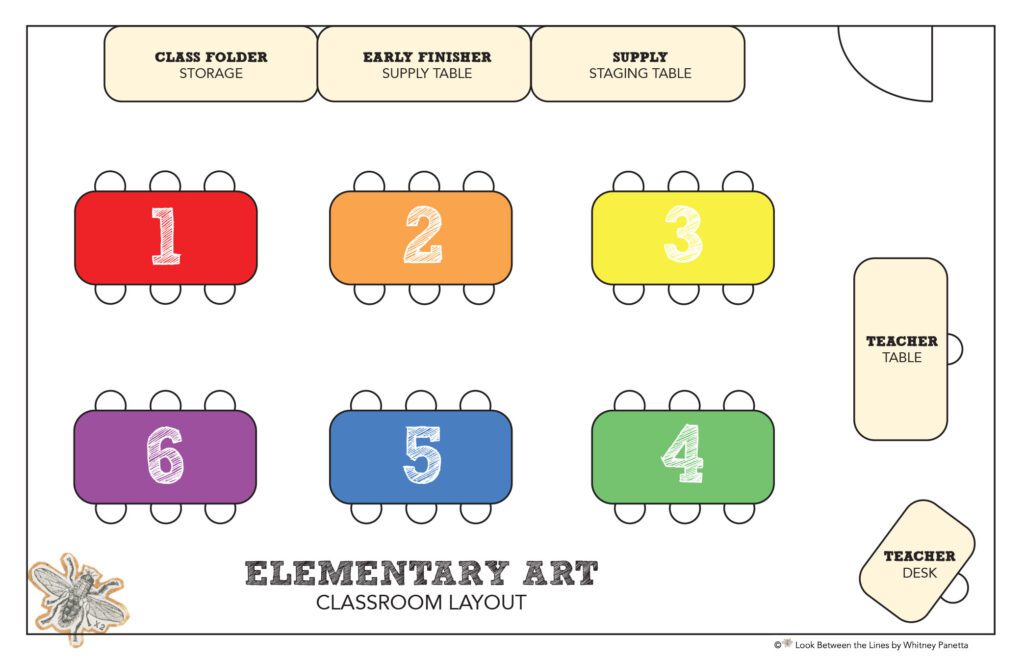
In elementary art classes I have found that 2 rows of 3 rectangular tables placed with the ends pointing to the front of the room works best. Three students sit on each side of each table, enabling them to easily see demonstrations at the front of the room. Leave adequate space between the tables for easy circulation as you and your students move through the classroom.
Assign a number and color to each table. Place a table at the front of the room for supplies and set up an area for demonstrations. If you have access to a camera and SmartBoard or projector, use these to display your hands at work for students to easily see on a screen. Set up an area for early finisher supplies where students can get what they need to work on another project if they finish working on the current one. Use shelves to store class folders and art show folders to organize artwork, more on that below!
Not every elementary art class will have the same layout, class sizes, table options, and floor space. When it comes down to it play around with your space and determine what works best for you. There is no right or wrong answer, only the best option for you!
2. Seating Charts and Grade Books:

Elementary art teachers usually teach every student in the school. Remembering the names and projects created by that many children is daunting, so I rely on seating charts and corresponding gradebooks to keep things organized.
Before my elementary art class meets, I ask classroom teachers to send me their class lists so I can populate my seating chart and gradebook templates before their first day of art. As each class arrives, I ask them to line up on one side of the room, then call their names and assign them a seat according to my seating chart. Putting names with faces as they sit is a great review for me after a summer break and the kids love the quick individual greetings and recognition I give them.
With digital charts and gradebooks it’s easy to rearrange students as needed after the first few weeks. Check out my sub plan freebie pack that includes an editable seating chart here.
3. Plan the First 2 Weeks:
Plan ahead for the first 2 classes you will see in every elementary art class, this is typically the first two weeks of school. Keep the projects simple and supplies low. Often in elementary schools the first two weeks of school will see a lot of movement within the student body. You may have new students the second week, and you don’t want them to be behind from the start!
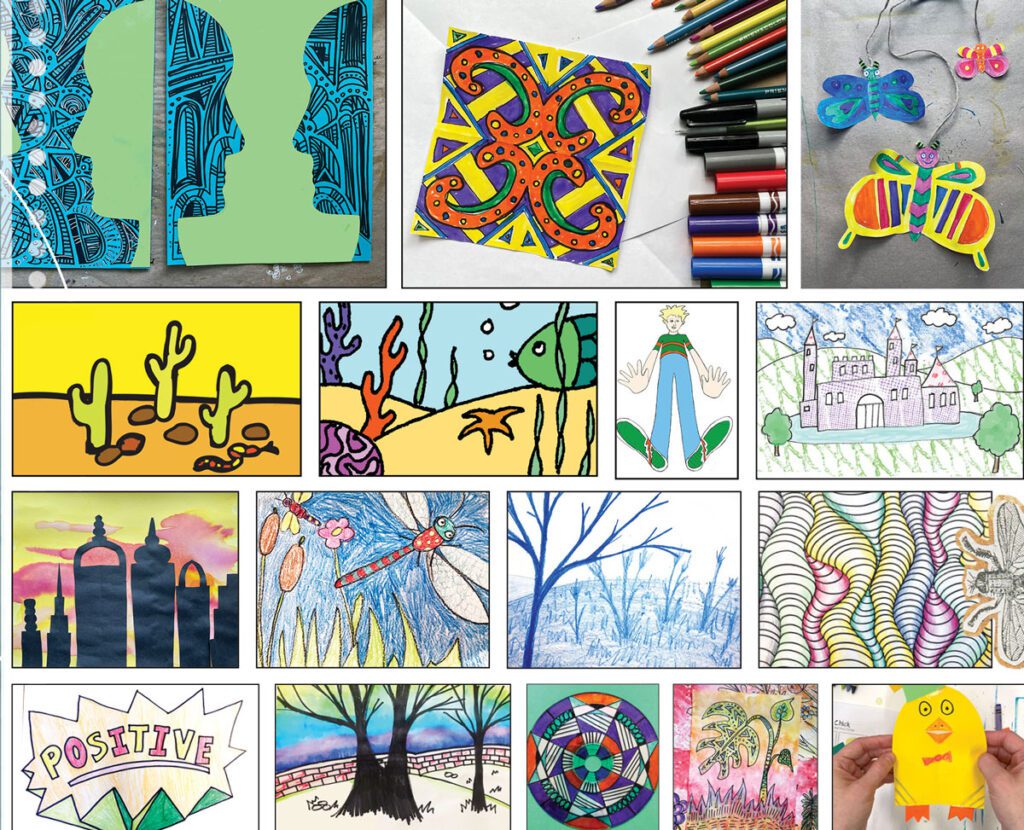
Check out these ideas for the first two weeks of school:
- Get to know new students and catch up with returning students as they create drawings of what they did over the summer. Week two, have them create drawings of their favorite things, activities, places, and similar to continue to get to know them.
- Choose one element of art or principle of design or a skill learned during the previous year for each grade level to review for a quick drawing. For example, have second grade create a design that reflects the element of art line. They must:
- Fill the space of the paper with different types and thicknesses of lines.
- Write the word line with a simple definition of line.
- Add decorations.
- You can also check out my elements of art and principles of design handouts as a fun, quick activity here.
- Check out a design your own element of art project here for K-5th grade. Teach it one day or stretch to fill the first two weeks of school.
- Create a musical chair collaborative drawing the first week of school. Read more about it in a blog post for middle and high school art here.
- A flip book animation activity can be done in 15 minutes and only uses paper and pencil. Students will have so much fun creating designs, it will easily stretch into an activity you can do over 2 weeks. Check out a version of it here!
- Zendoodle activities are a fun way to let students loosen up, experiment, and play with patterns. Check out my Zendoodle activity pack here and see how it can be applied to a bigger project here.
4. Plan the First 2 Projects:
In your elementary art class, plan projects for the first several weeks of school so that you have time to gather supplies and think about which projects make sense to do for each class. Be strategic as you plan ahead. You want to be sure students are learning techniques that build on each other, so they aren’t left confused as you begin a project. You also want to avoid having too many back-to-back messy projects. By having an easy project follow a messy project during your school day you will give yourself time during the lower-key projects to clean up and wrap up after the messy ones. Entice students during the first class by telling them I’m trying to decide if they’re ready to start with a particular cool project (such a clay, printmaking, painting, and similar). They usually try to work and behave especially well to sway me!
While you want to begin the year with more basic concepts such as line, shape, and color, don’t be afraid to jump into things such as clay. You don’t want to end the year with all in-depth, messy projects or you will be pulling your hair out! I stagger what classes are working on projects such as clay and printmaking so it isn’t happening all at once. This also allows me to best utilize the space in my room.
Check out my clay units here, painting units here, and printmaking here, and easy grab-and-go projects here.
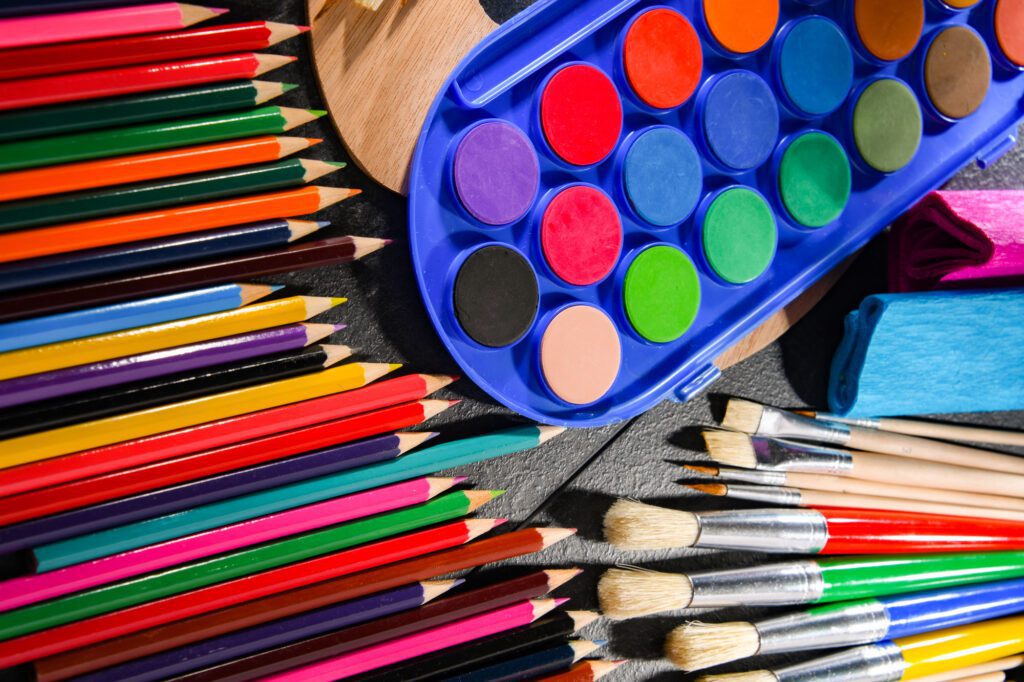
5. Elementary Art Class Supplies:
Once you have your first couple weeks of easy projects and first 2 projects planned in every class it’s time to order supplies. At a minimum order supplies for these activities and projects, if possible order what you think you will need for the year and supplement as needed. You don’t want to be caught the day a project is supposed to start without supplies on hand! Plan ahead and avoid the stress.
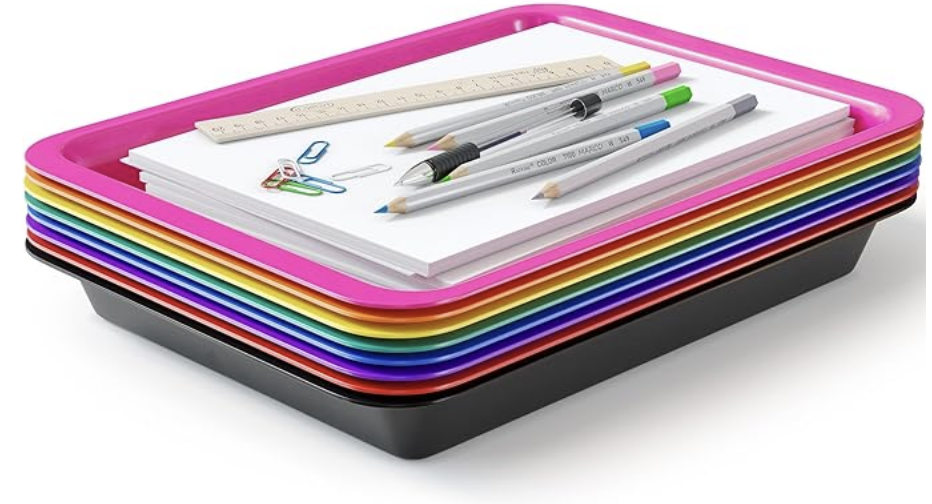
To manage supplies during class I use numbered, color-coordinated shallow cardboard boxes or stacking trays (similar to these from Amazon) to stage supplies for each table and grade level. Even with no time between classes I’m able to pull out the correct trays as the classes change quickly. The assigned helper table gets the trays and places them on the tables at the start of each class.
6. Make project folders for each class:
To manage artwork during the year I use a numbered and color coordinated folder system. I also use this system to set aside artwork for the art show from day one.
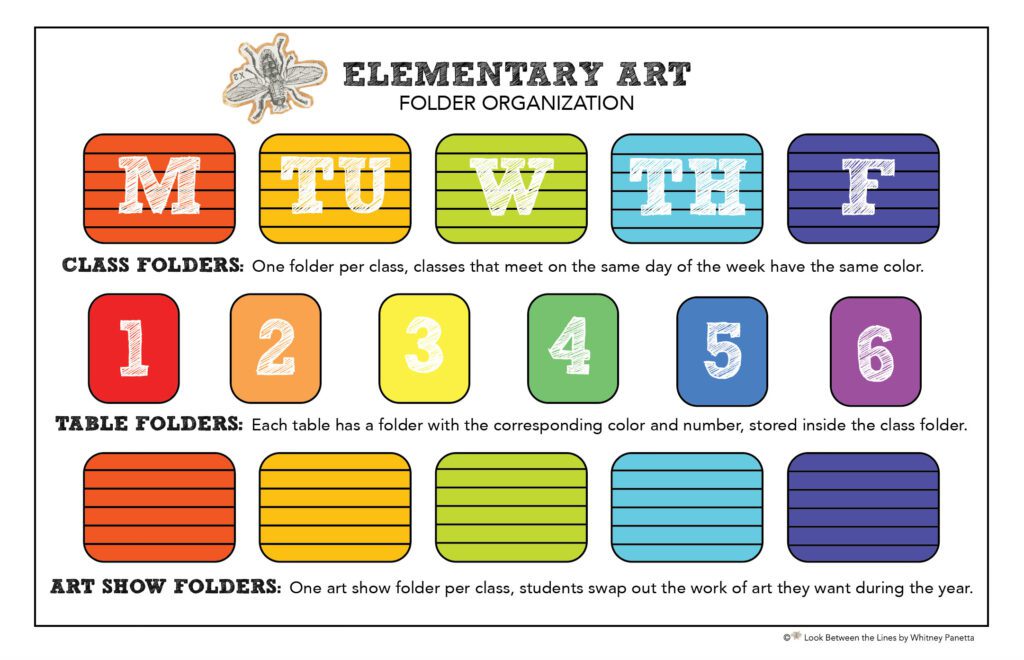
Many art projects require more than one class to complete. Try using large folders for each class to keep them organized and easy to store. I fold 18”x24” construction paper in half and label the front with the day of the week/time of the class, grade level, and the classroom teacher’s name. I choose one color for each day of the week (Monday classes red, Tuesdays orange, and so on).
Inside each large folder, I include a folded 9”x12” piece of construction paper numbered and in the color corresponding to each table. The artwork for that table goes into their table folder, then their classroom folder. I keep the classroom folders for students meeting each day grouped together on shelves to keep work organized by the day they meet.
In addition to class folders I also have an art show folder for each class. Students select one work of art to place in the art show folder. If they make a work of art they like better, they swap it out and take the other artwork home. This continues for the year until the art show when the work is pulled from the folders and displayed. This allows students to select their favorite work to include in the show and keeps you planning way ahead and not scrambling at the last minute.
7. Decide on Classroom Management:
CLASS RULES:
Create simple, easy to remember rules for your elementary art class. You can create posters or PowerPoint slides to display the rules to easily reference them on the first day of art and throughout the school year.
Introduce and review the rules during the first class. PRO-TIP: I make a quick 5-minute video with students illustrating the rules. The kids love seeing themselves and peers starring and I don’t have to repeat it to every class!
My go-to class rules are:
- Walk, don’t run!
- Use inside voices.
- Listen to instructions.
- Clean up after yourself.
- Have fun!
HELPER TABLES:
Every week I designate a helper table. This rotates throughout the school year to allow every student the opportunity to be my helper. After I introduce the lesson for the day, I ask the helper table to pass out the supply trays and class folders (more on this below!) to minimize student movement during class. Helper tables also help with clean up at the end of class, putting away trays and folders.
THE POST-IT NOTE:
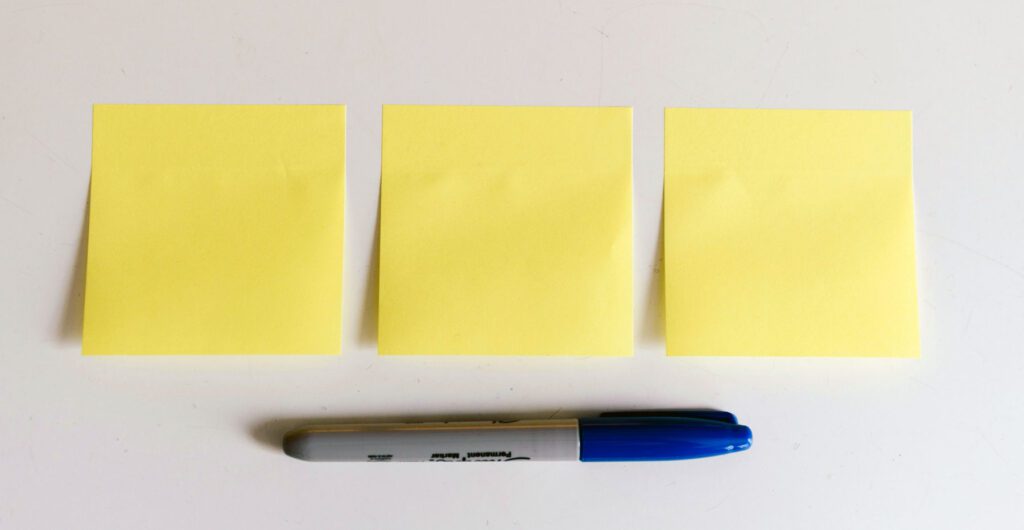
The quickest, least disruptive way I deal with misbehaving students is with a yellow Post-It note (or cut up yellow construction paper). When a student is misbehaving, rather than pausing the entire class to address them, I simply put a Post-It note on the table at their spot. This is their first warning. If the behavior continues, the student must write their name on the paper and I add an X. I then note it in my gradebook. If the behavior continues, I add another X to the paper, record in my grade book, and talk to the teacher. If needed I will move the student to an isolated spot during class. The student is watched closely the next class and is moved sooner if needed.
Think of it as 3 strikes or you are out. After the 3 strikes their behavior grade drops, I contact parents, their seat is moved, and privleges are dropped. Sometimes a student may need to be sent to the office for further discipline.
This process is explained to students at the start of the year. Often, I don’t have to add marks to the Post-It after it’s placed, the note is motivation enough for the student to correct their behavior.
I hope this helps give you ideas for back to school in your elementary art class. With so many students and classes to manage during the school year it can feel chaotic quickly. However, if you go in with classroom management and organization strategies you will feel in control (or as much as you can be) from day one!
Stay tuned for more ideas on what supplies to order, how to stagger projects, and fun activities in an elementary art class during the school year!
Don’t forget to follow me on Instagram and TikTok for weekly visual journal demos and other project ideas. Subscribe here to get freebies, project tutorials, and more straight to your inbox. Until next time!
Love the post it note , plan for discipline.
It’s such a good one! I love how un-disruptive it is for the class but it will 100% get the attention of that student.