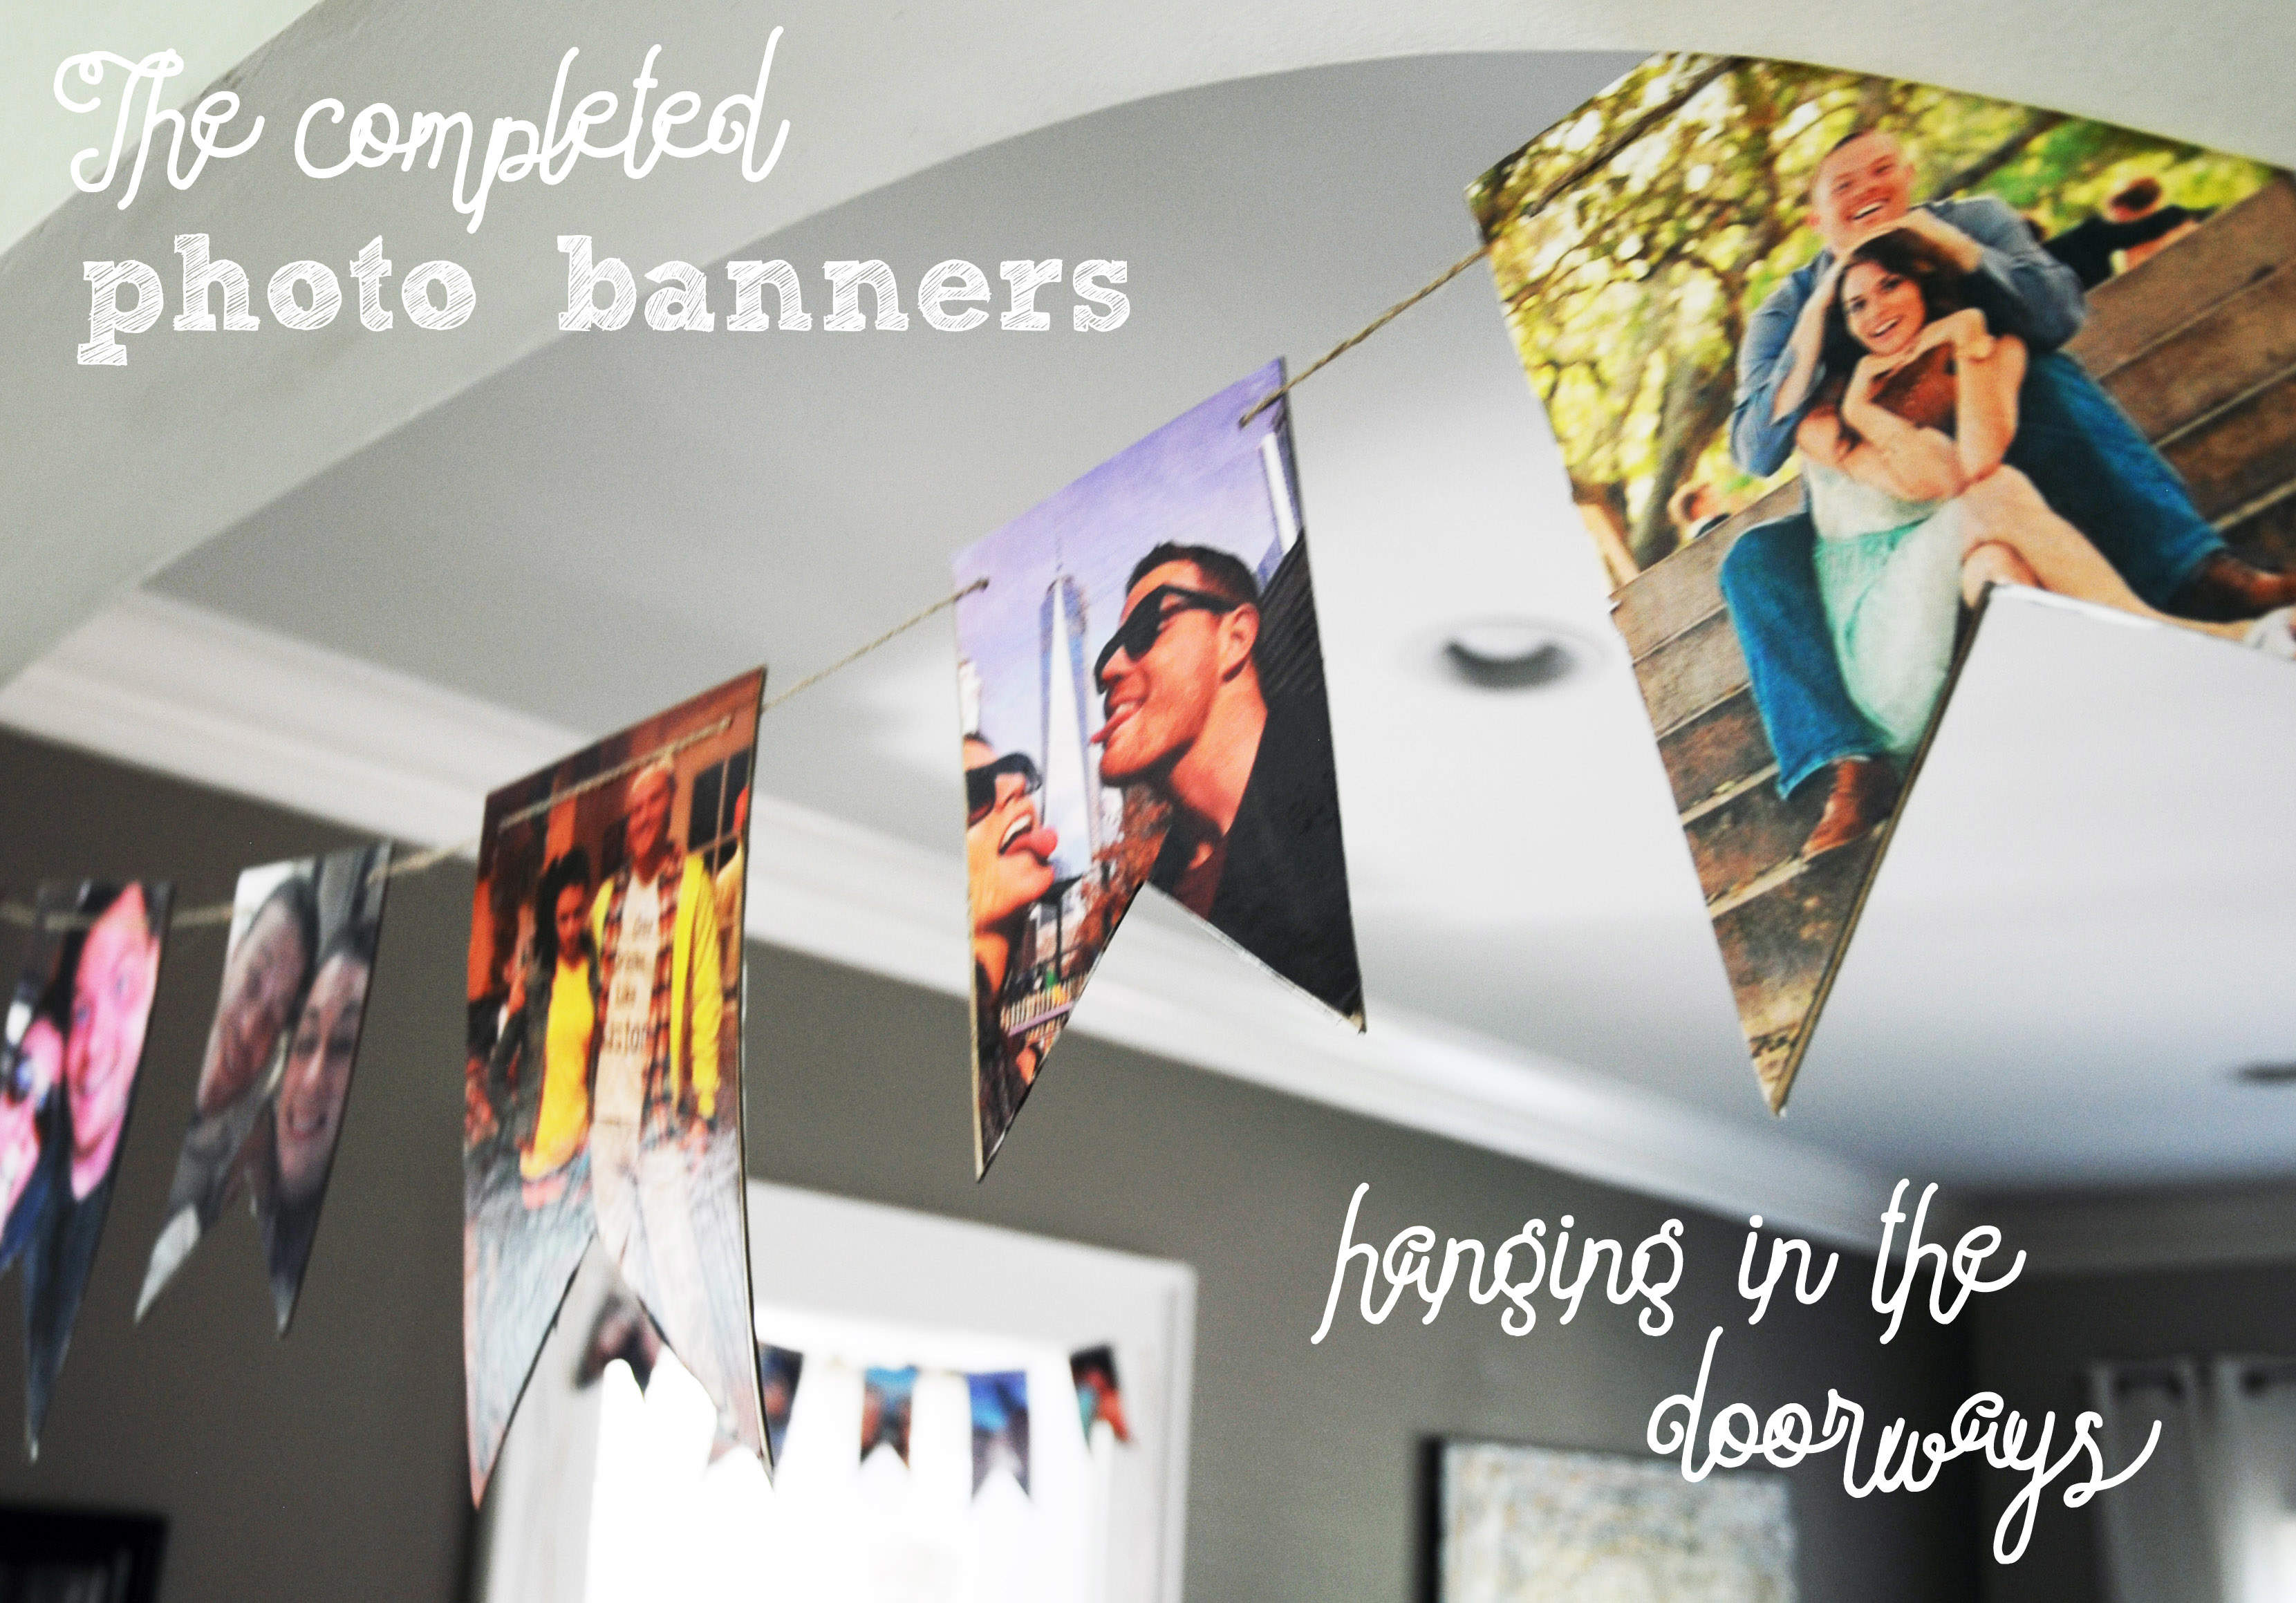
It has been a summer of showers. Really, it has been a few years of showers, but I don’t mind because I love hosting them and having the opportunity to celebrate my nearest and dearest. Most recently, I threw a shower for my newest sister-in-law, a couples shower cook out. It was non-traditional, filled with grilled meats, yard games, and a lot of booze, one of the more fun showers I have hosted. Although it was non-traditional, I still wanted a shower feel with sweet decorations and personal touches. These photo banners are one of the many crafts I completed for the big day, find out how I did it below!
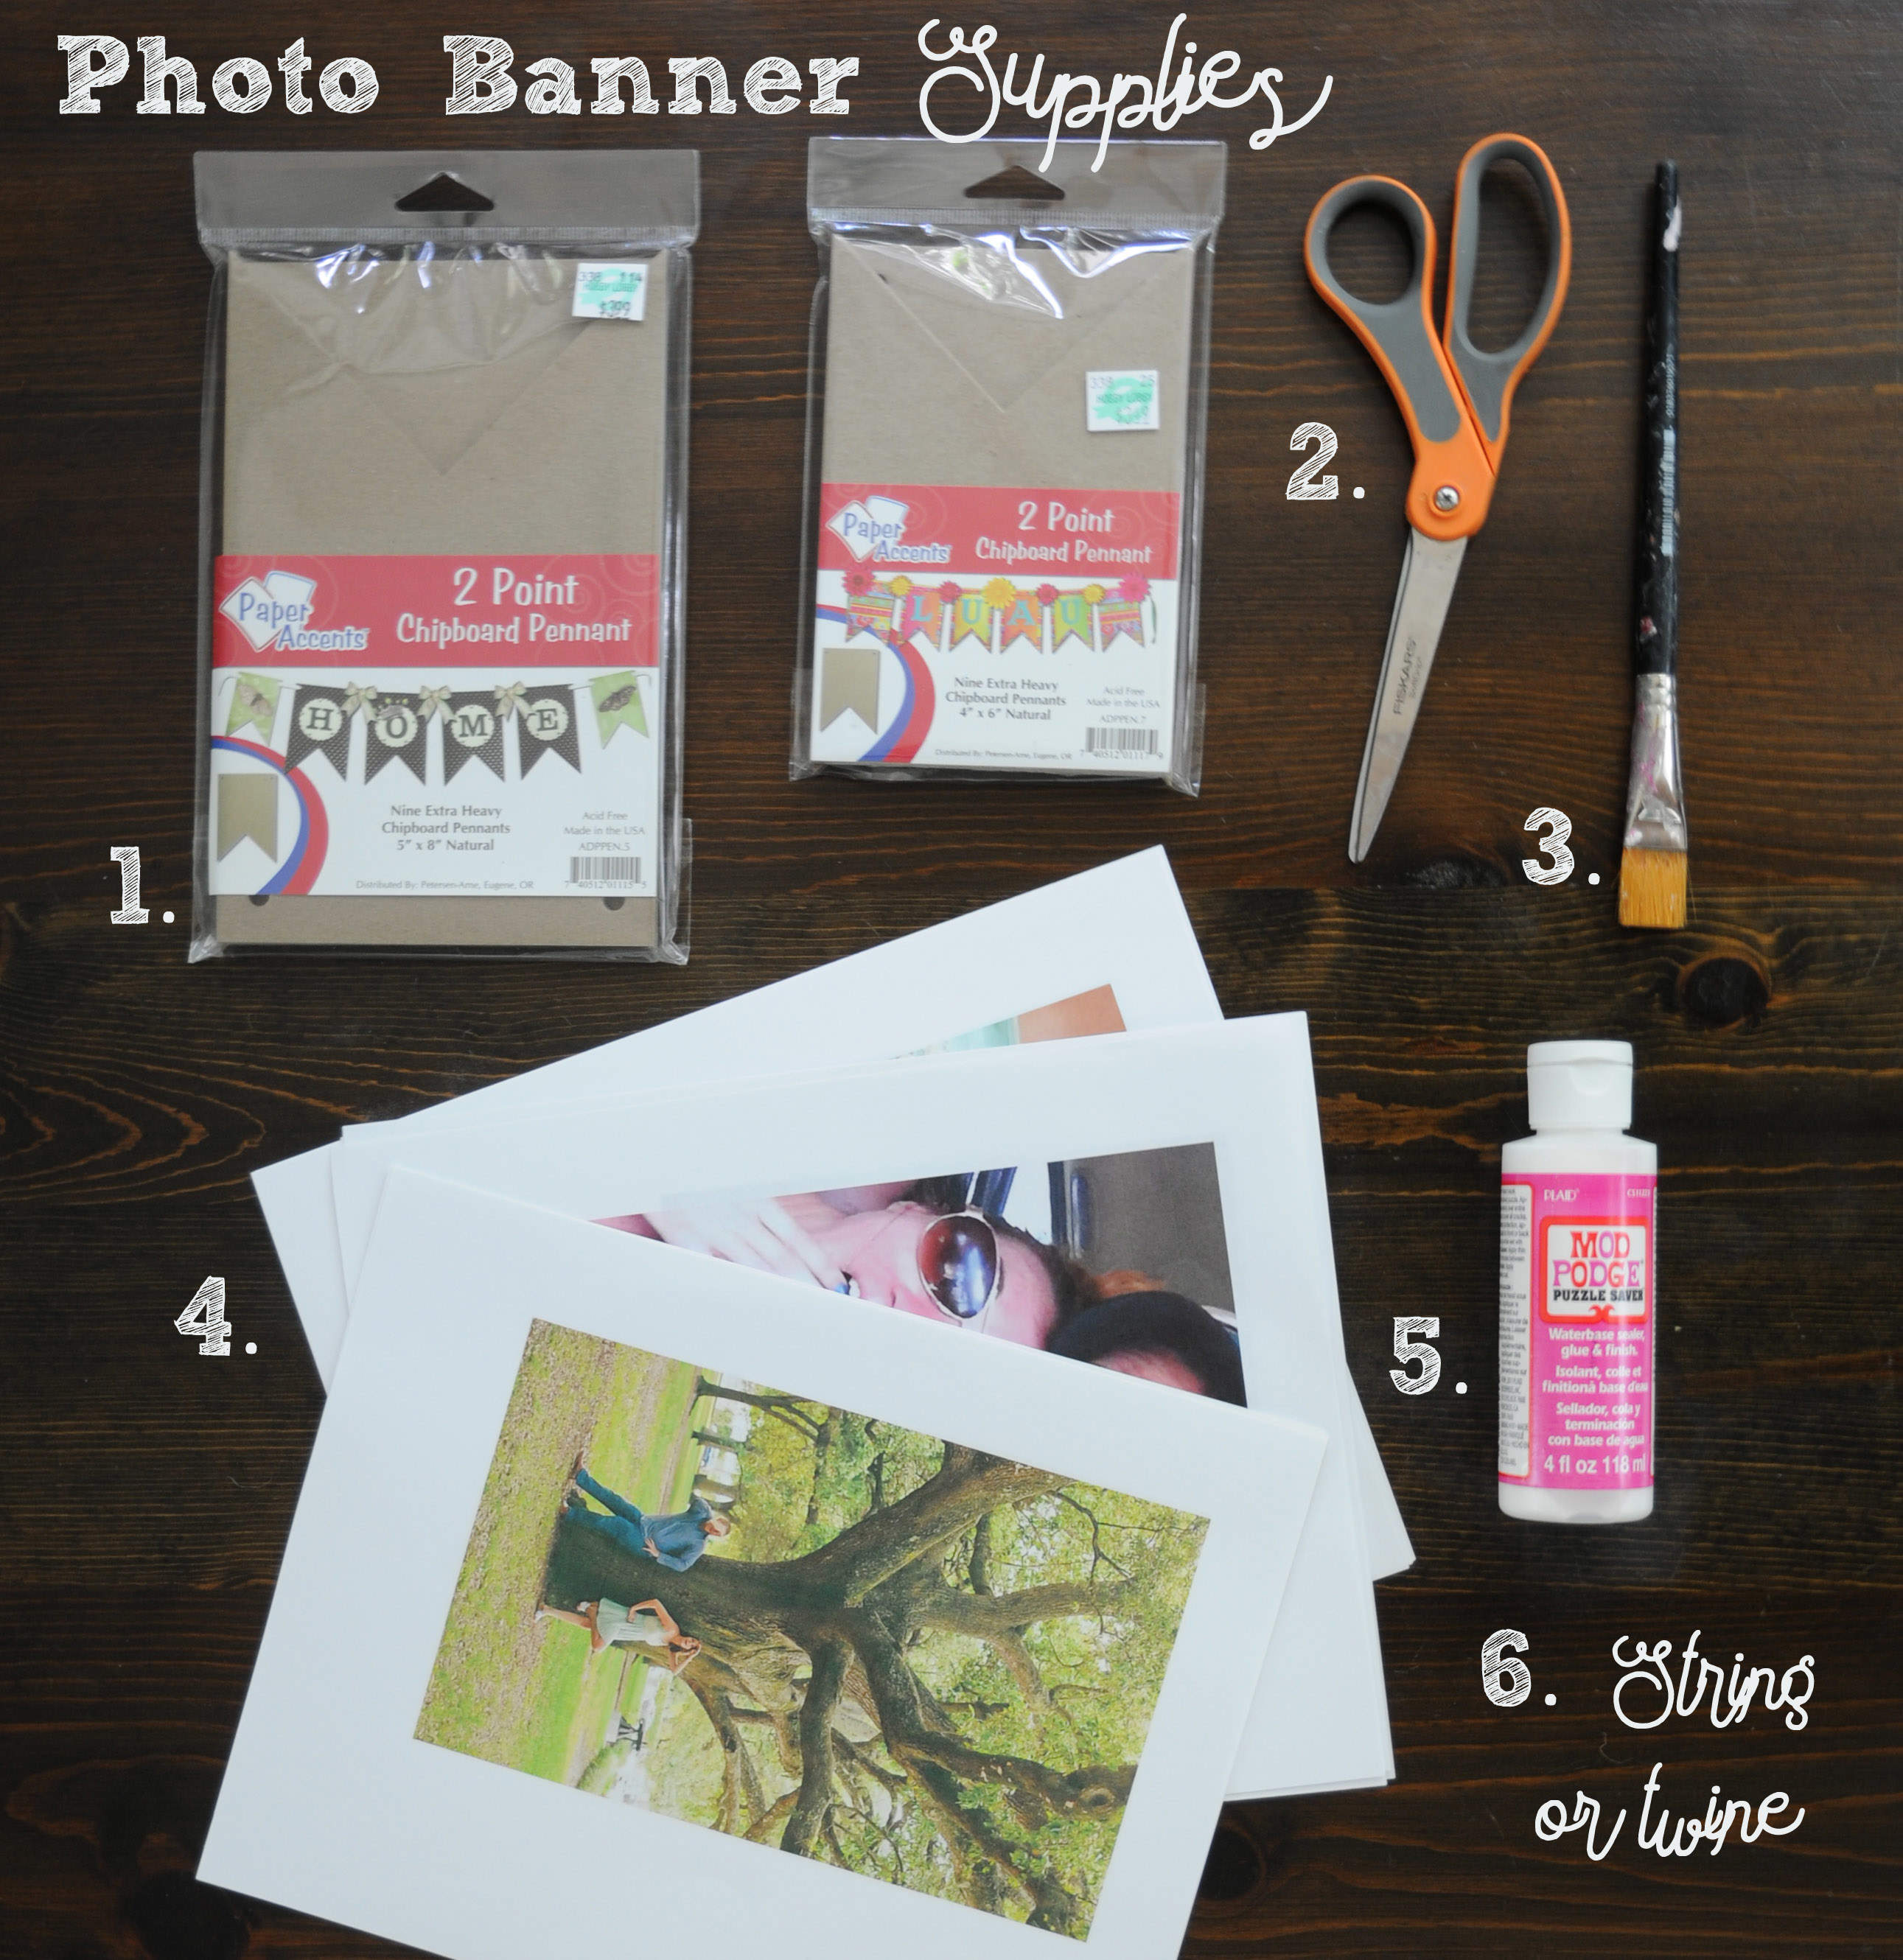
In order to create the banner you have to pick up a few supplies:
- Either cut out a banner shape from cardboard or thick card stock or purchase a pre-made set from your local arts and crafts store. I opted for option B, it saved me time, and at 50% off, it only cost a few extra dollars.
- Scissors to cut out your pictures and trim the string.
- A paintbrush to use to apply Mod Podge
- Picture print outs. Since the photo banners were going to hang in doorways I printed enough to do them front and back. I highly recommend printing on heavier paper. I had issues with the standard printer paper bubbling and trying to rip when I painted them with Mod Podge.
- Mod Podge or some type of adhesive.
- String, twine, yarn, hemp, whatever look you likes best to string the banner sections together.
HOW TO:
Step one:
First thing you have to do is pick up the supplies. All of these items can be found at your local arts and crafts store.
Step two:
Print out your pictures. size them all to the backing size, mine were 5″x8″ and 4″x6.” As I mentioned above, I recommend using heavier paper and a high-quality printer if you have access to one. I used my standard printer and standard printer paper, and had a few issues come up. Despite some bubbled images, once hung, they looked great.
Step three:
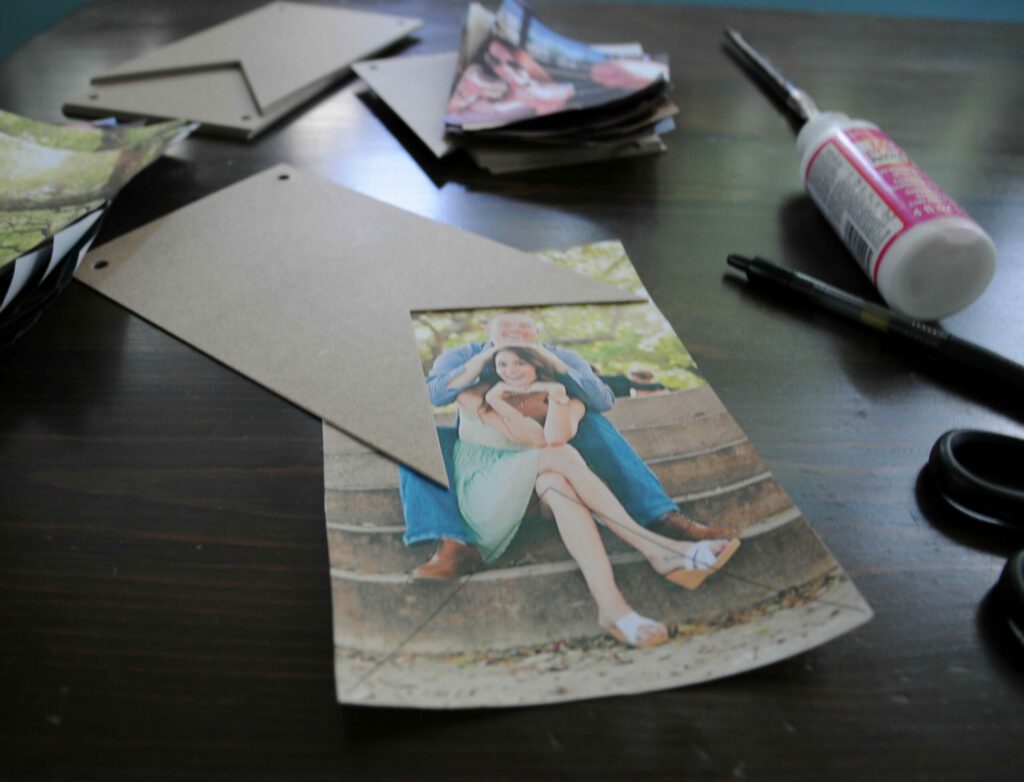
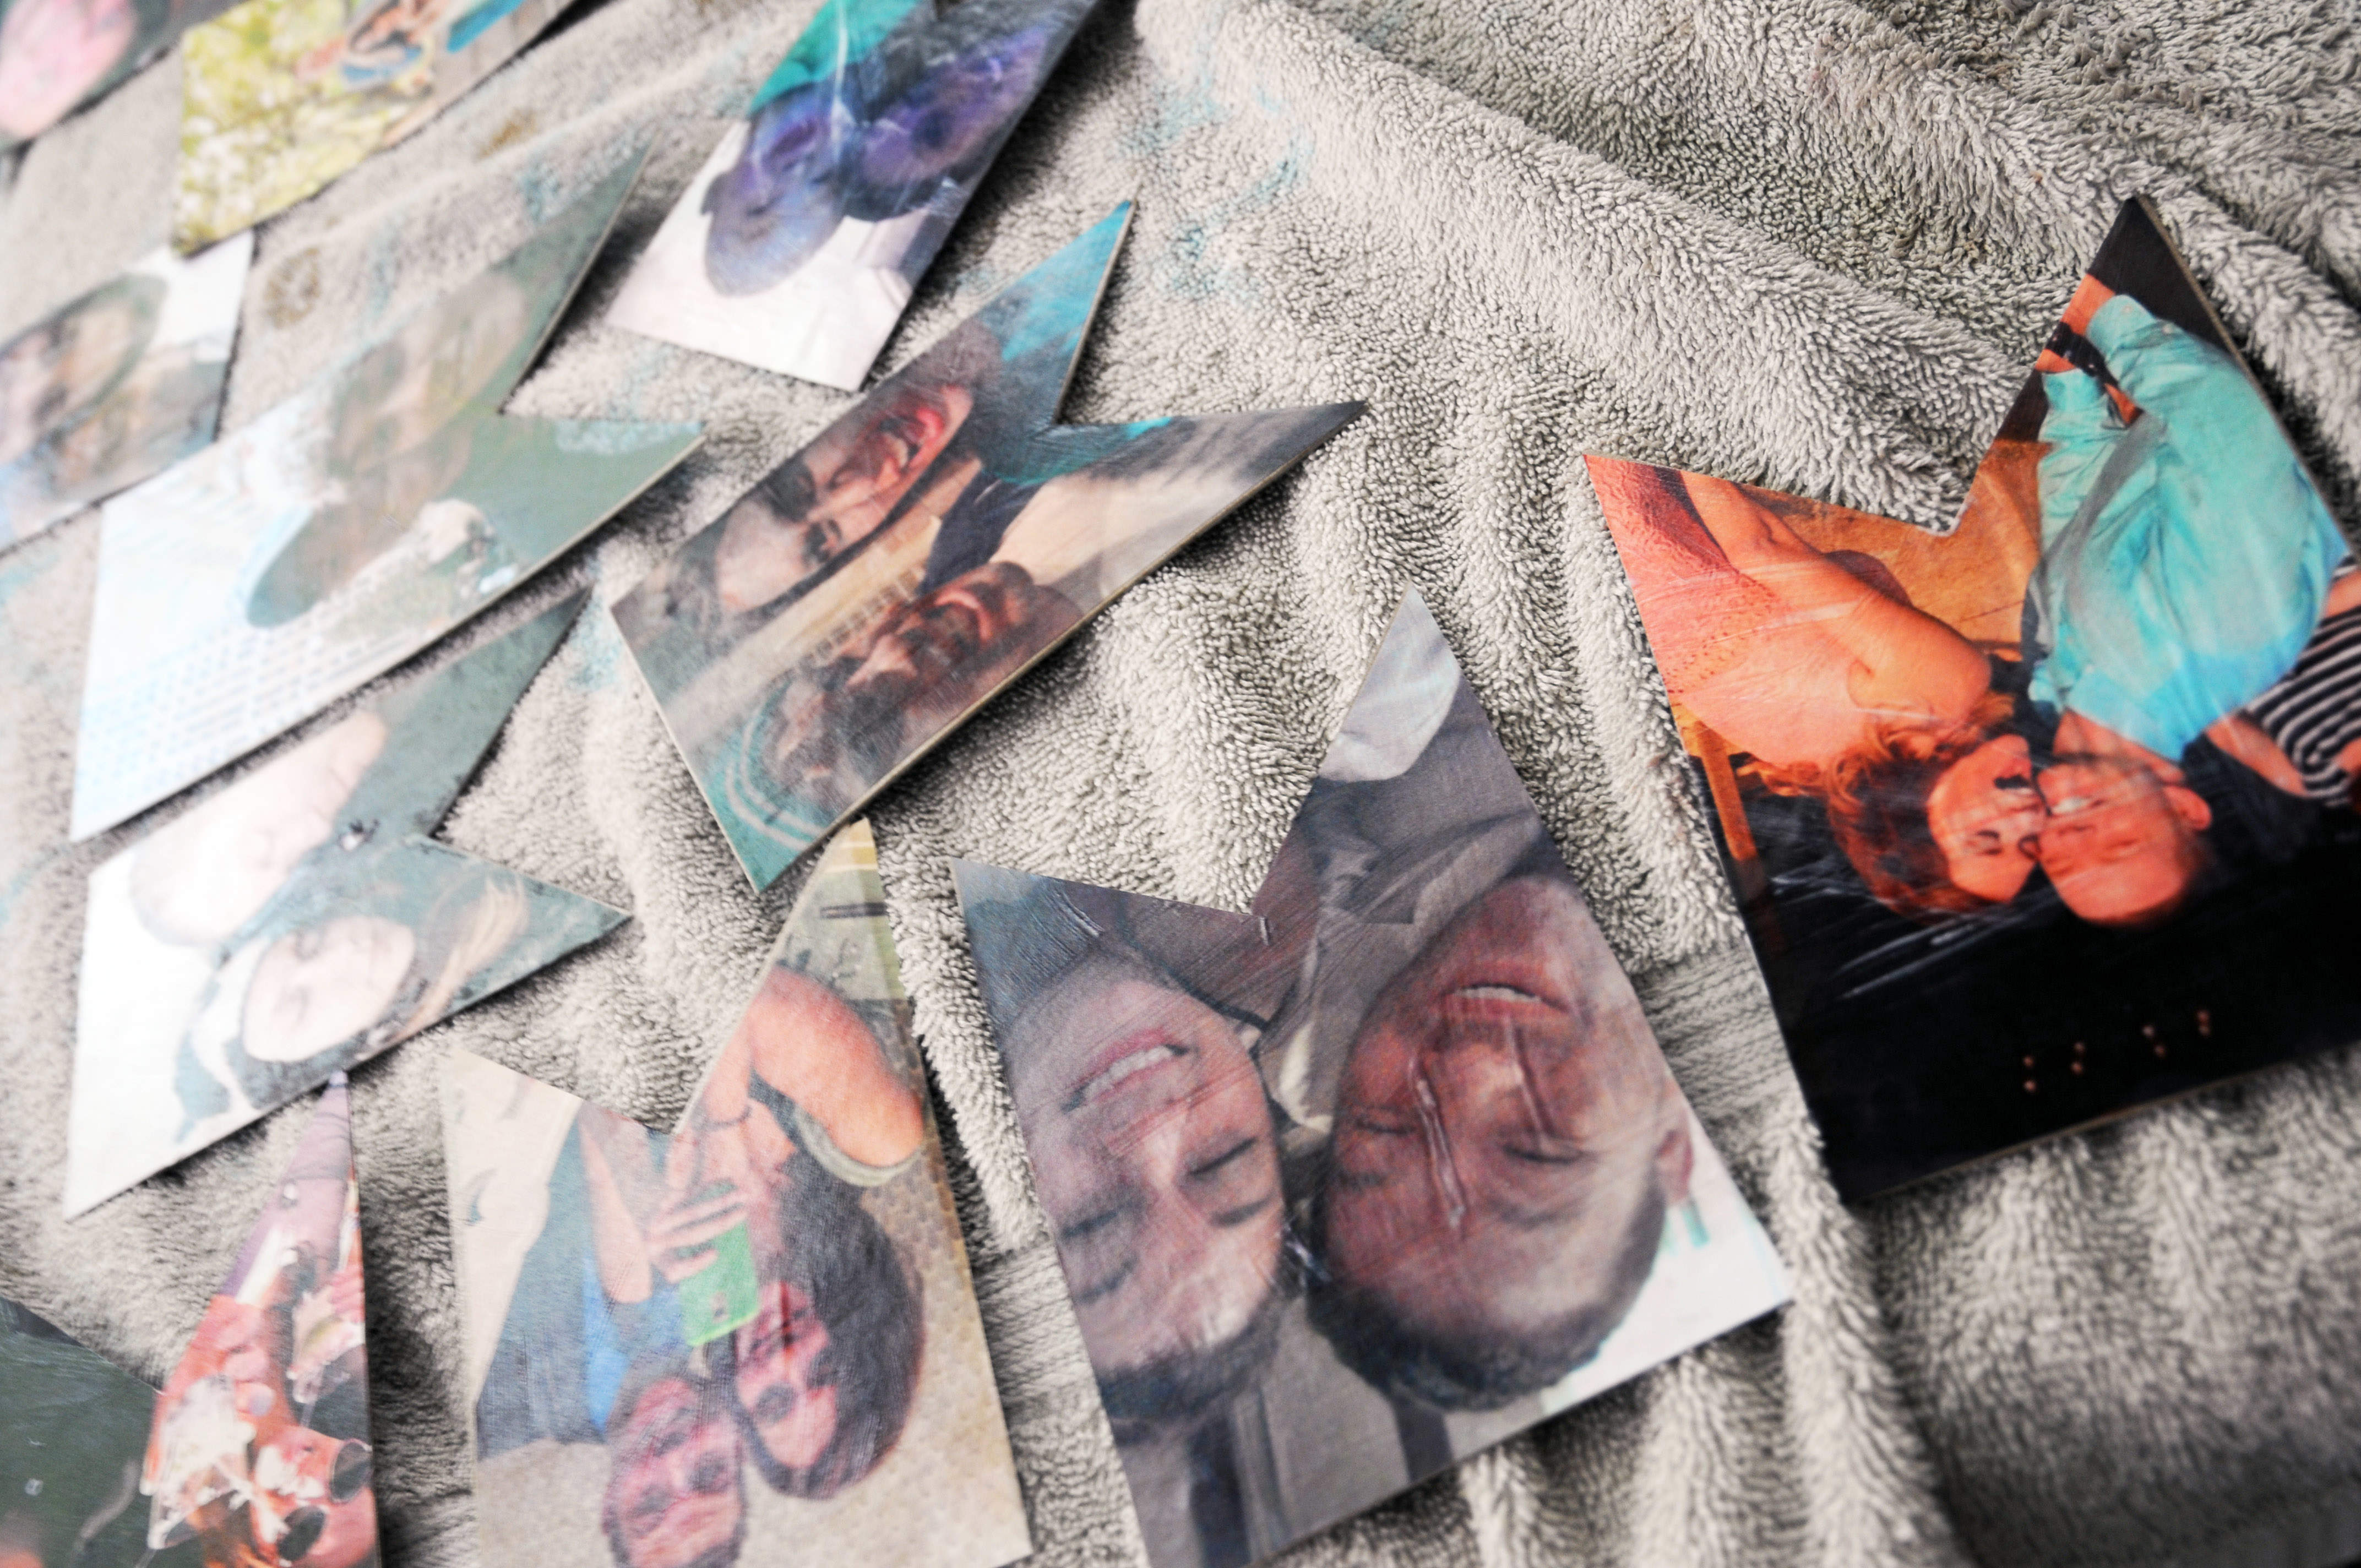
Trace the banner shape onto the picture print out, and trim as needed. Typically, I recommend doing this on the back of the image, to prevent pencil marks showing up on the front, but with this project I needed to see if any part of their faces were caught in the triangle cut out. Erase visible pencil marks when you are finished.
Step four:
Lay the image on top of the banner section, and make sure everything lines up. Use a pencil, pen, or sharp tool to punch holes through the picture, and the banner piece if holes aren’t already punched. Since mine were pre-made, the holes were pre-punched.
Step five:
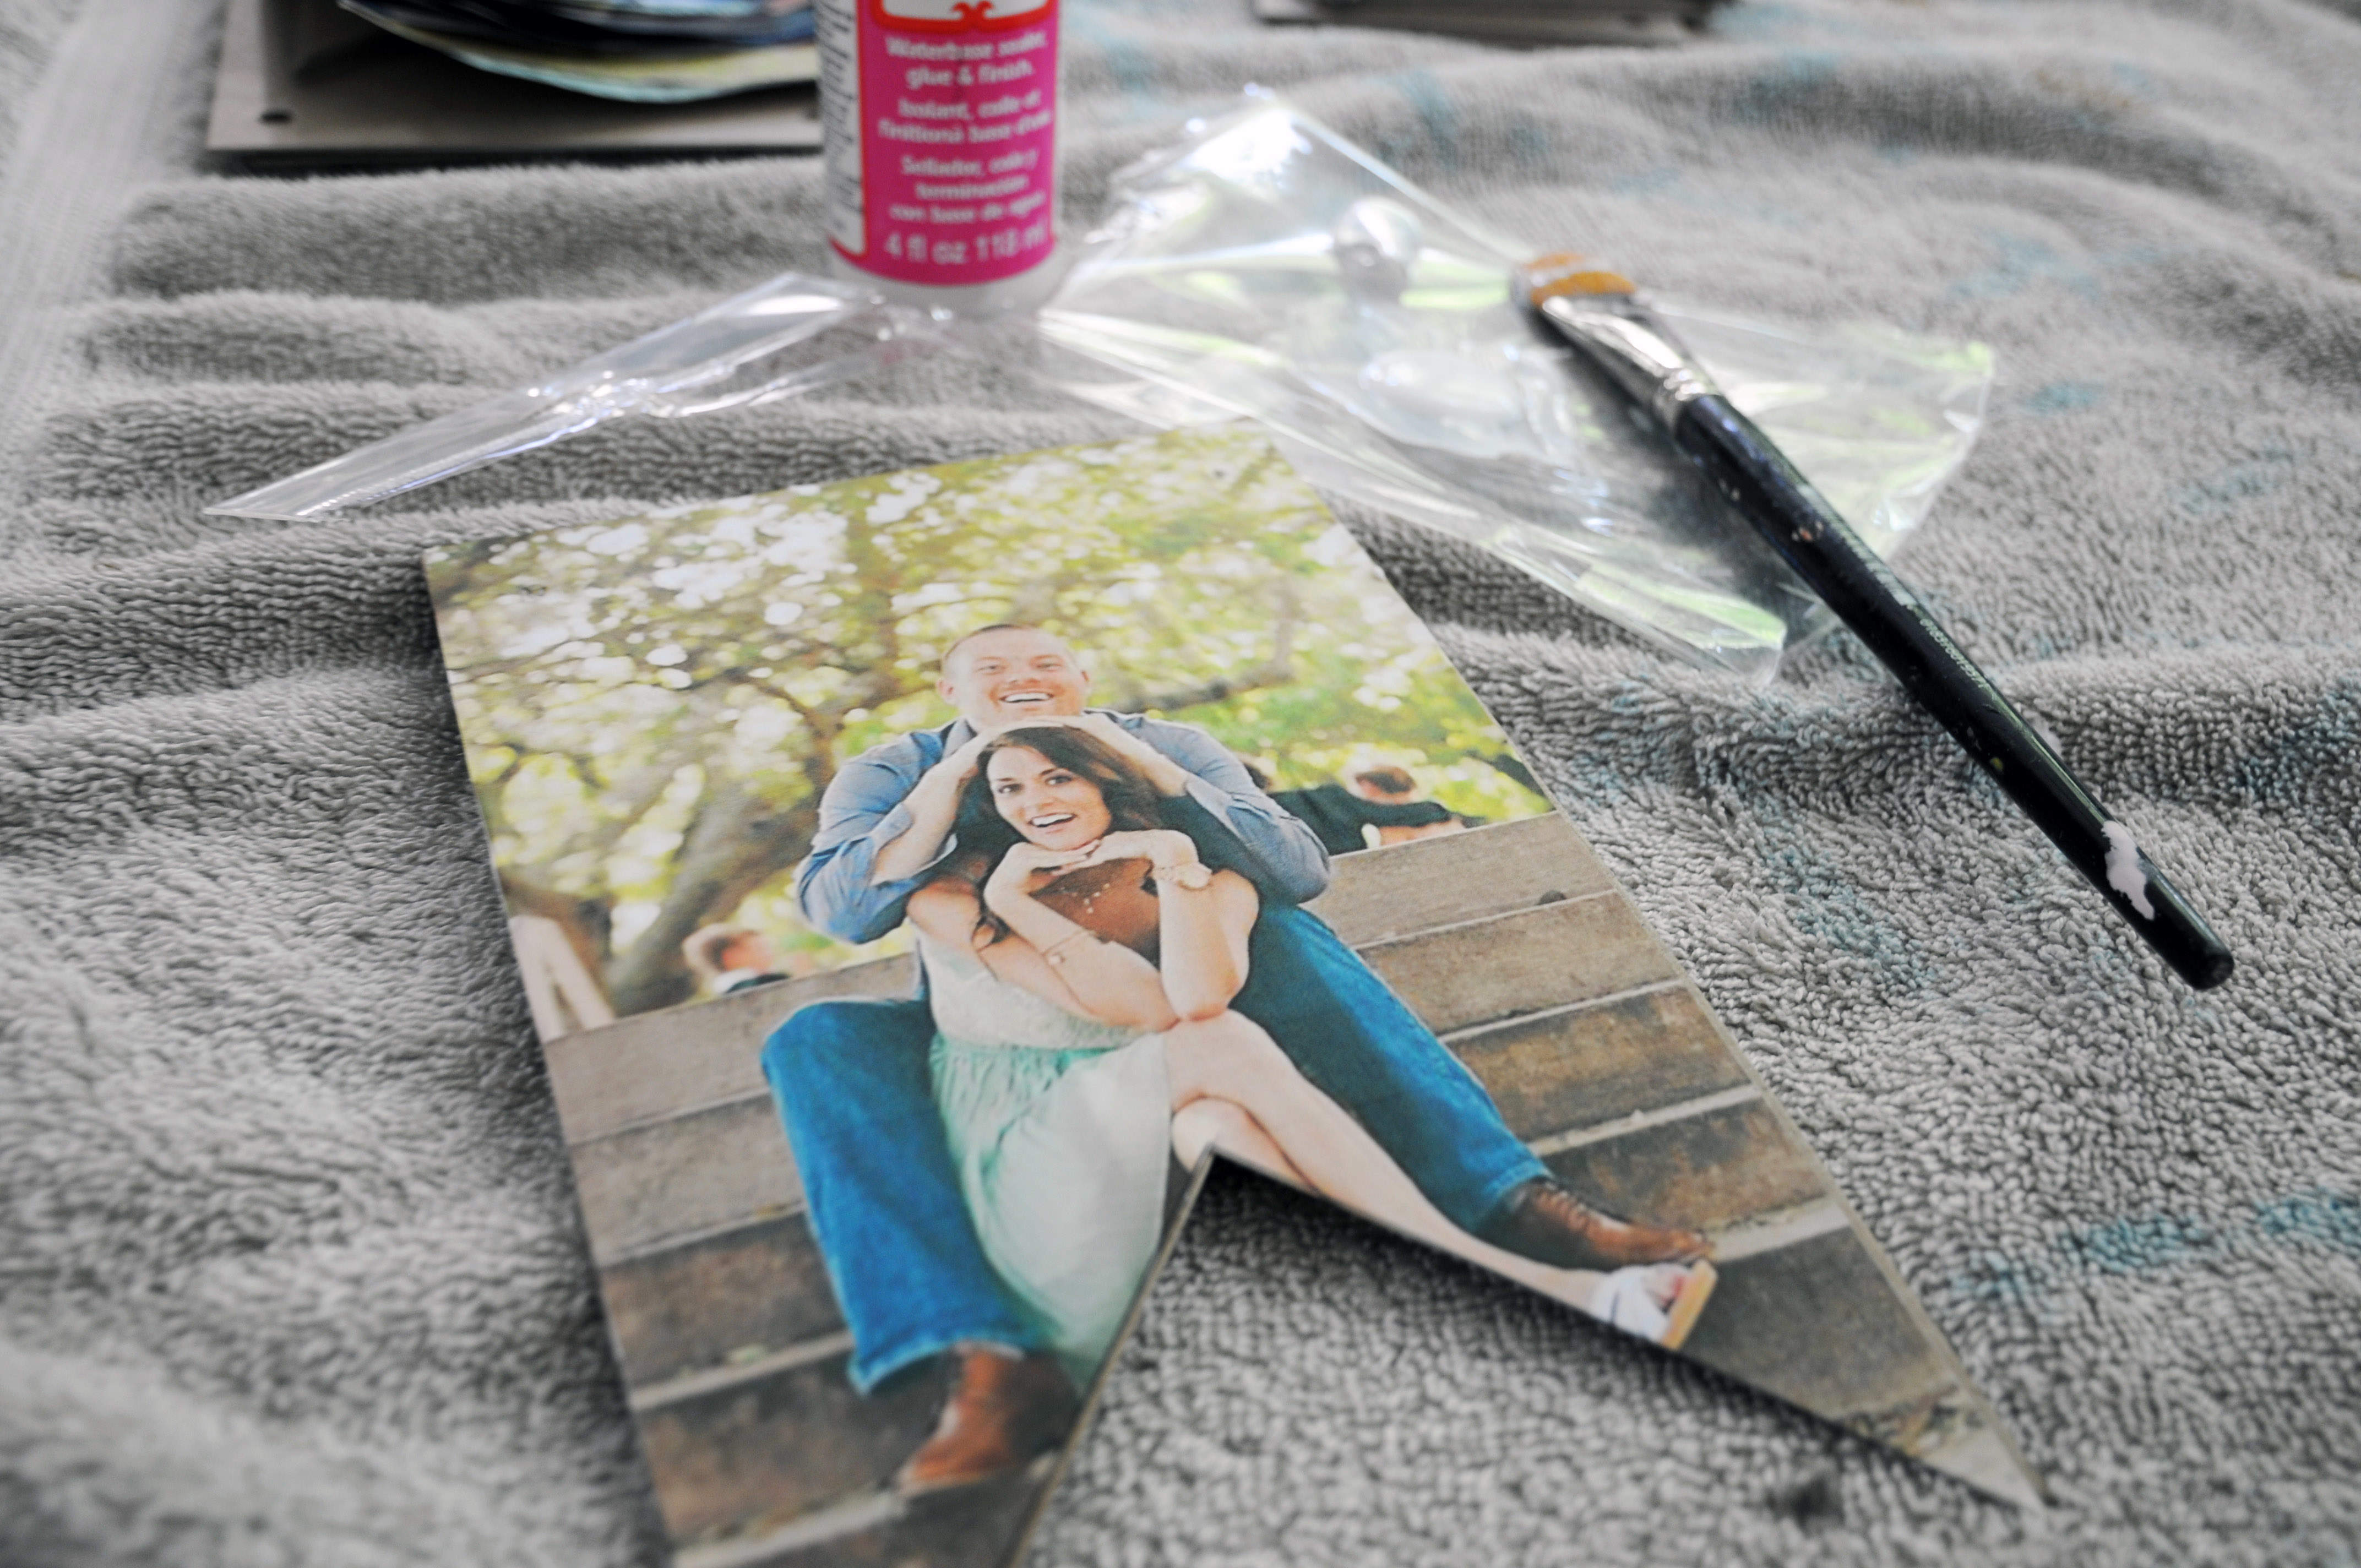
Coat the back of the picture with Mod Podge (or a type of adhesive) and press it to the banner backing. I chose to coat the front with Mod Podge to give it a more polished look. This picture shows firsthand the bubbling I experienced with a few images. Be as gentle as you can when applying the Mod Podge. If a section does bubble, lightly press it down. It is better to leave it alone, once it dries, you couldn’t tell unless you were close up.
Step six:
Allow all the pieces to dry.
Step seven:
Add string to connect all the sections together, and leave extra on either side to hang them up.
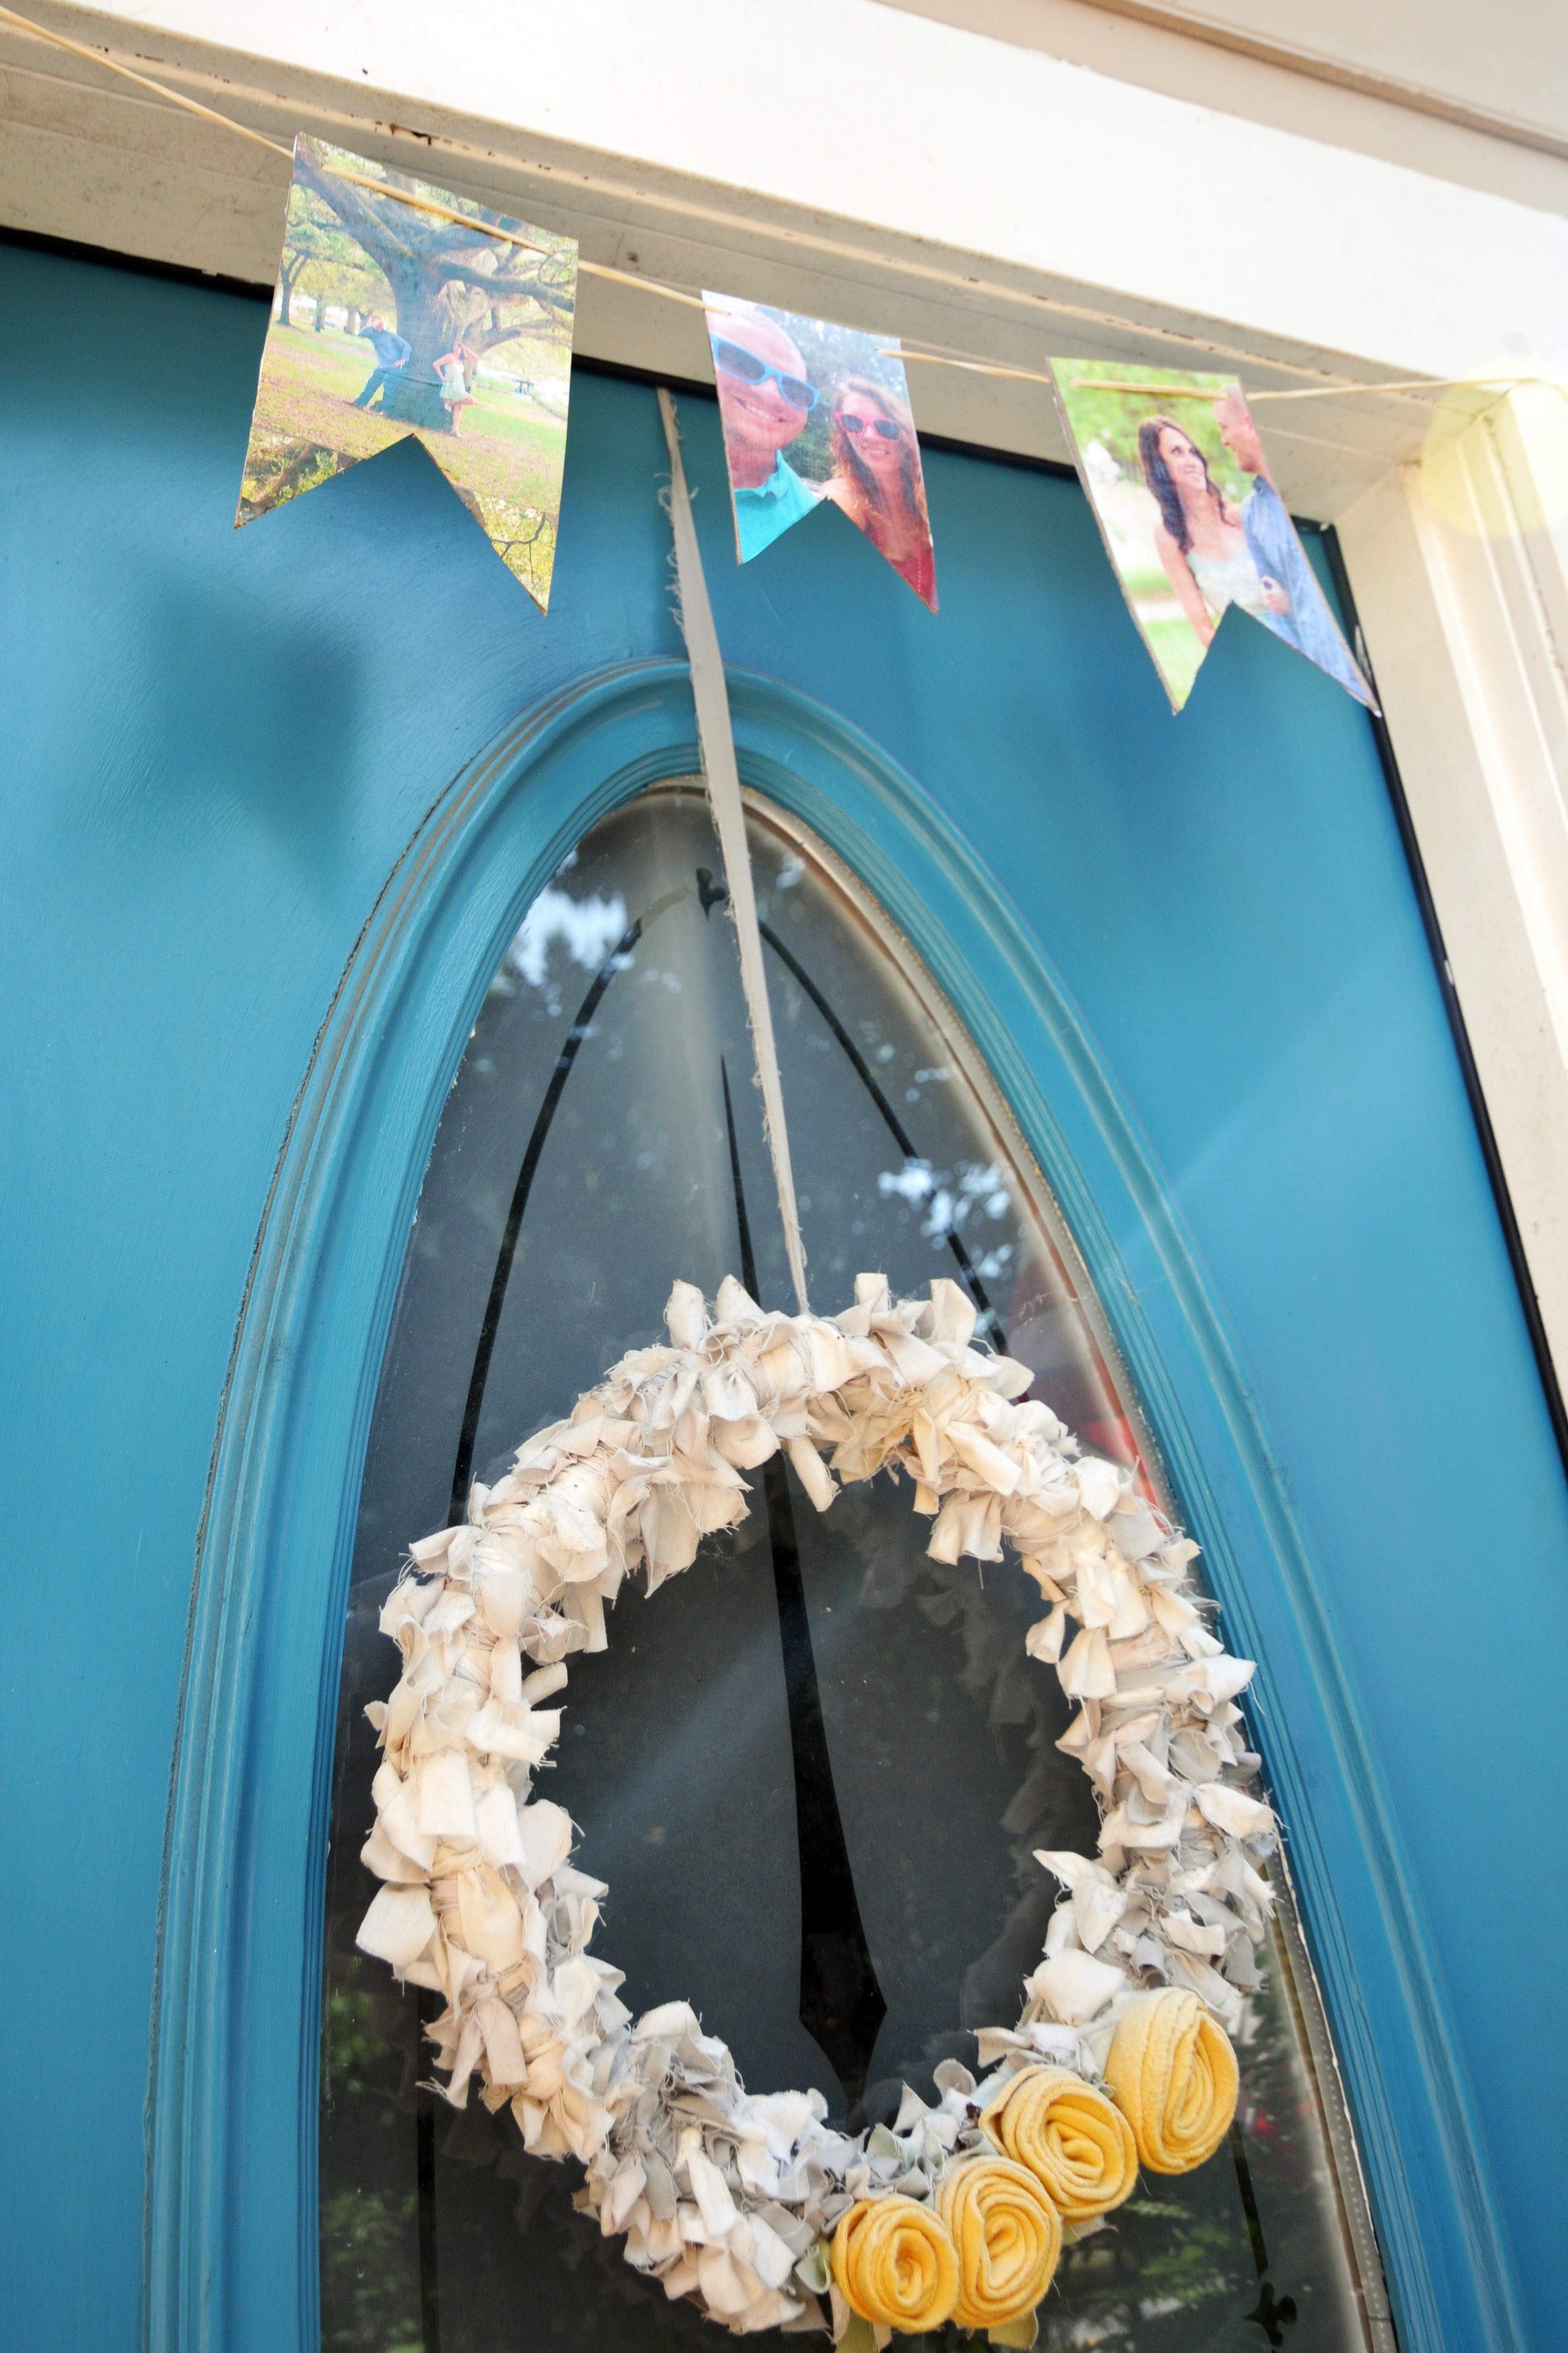
Tie your completed banners up, use tape to tack them to walls, or place the ends under heavy objects. I completed four in total, and hung them in the doorways of my front and back door as well as the opening between my kitchen, living room, and dining room. Every banner was double-sided, allowing me to include a wide range of pictures of the couple, from formal engagement pictures to Instagram snapshots.
This project didn’t take longer than an hour and it added a personal touch to the shower.
Thanks for taking the time to check out my blog and read about my latest DIY craft project. Help me spread the word by following and sharing on your social networking site (or sites) of choice. I would love to hear how your version of this project went, feel free to share pictures and comment below. Check out more blog posts here. Shop my education resources here. Don’t forget to follow me on Instagram and TikTok for weekly visual journal demos. Until next time!
Related Posts


Leave a Reply