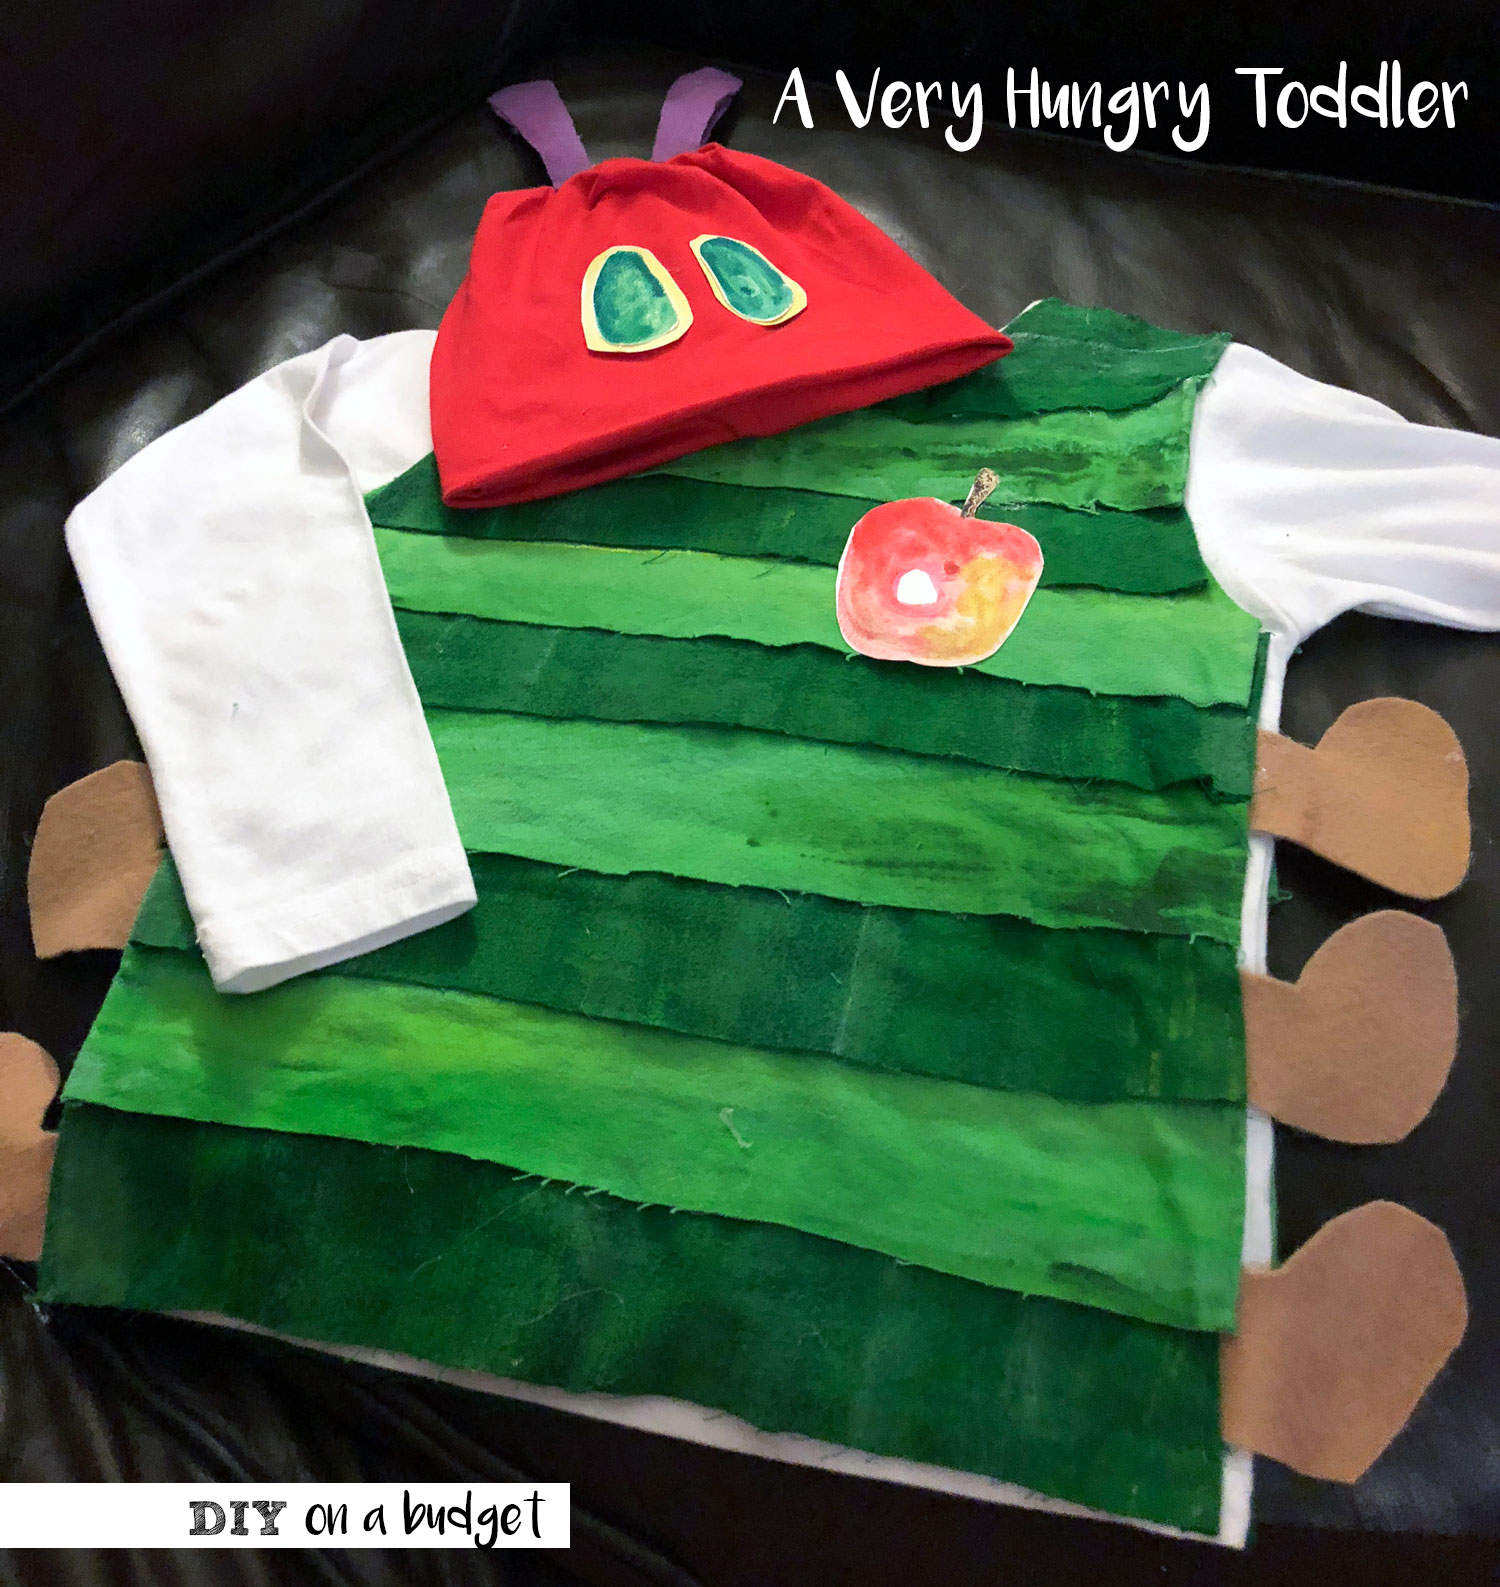
Check out how I pulled together this very hungry caterpillar costume on a budget and tight schedule. Supplies and how-to are below.
THE STORY
I am extremely lucky in my work situation. I get to do what I love, teach art full time, and bring my almost-two-year-old to school with me every day. My school provides on-site daycare for all its employees. It’s easily half the cost of standard daycare and he is on campus with me. This opportunity has kept me working, which is what I want to do. Before kids, I didn’t realize many women had to stop working due to the ridiculous cost of daycare. Even with baby number two on the way, we can justify the cost of full-time childcare for two while I stay in the classroom.
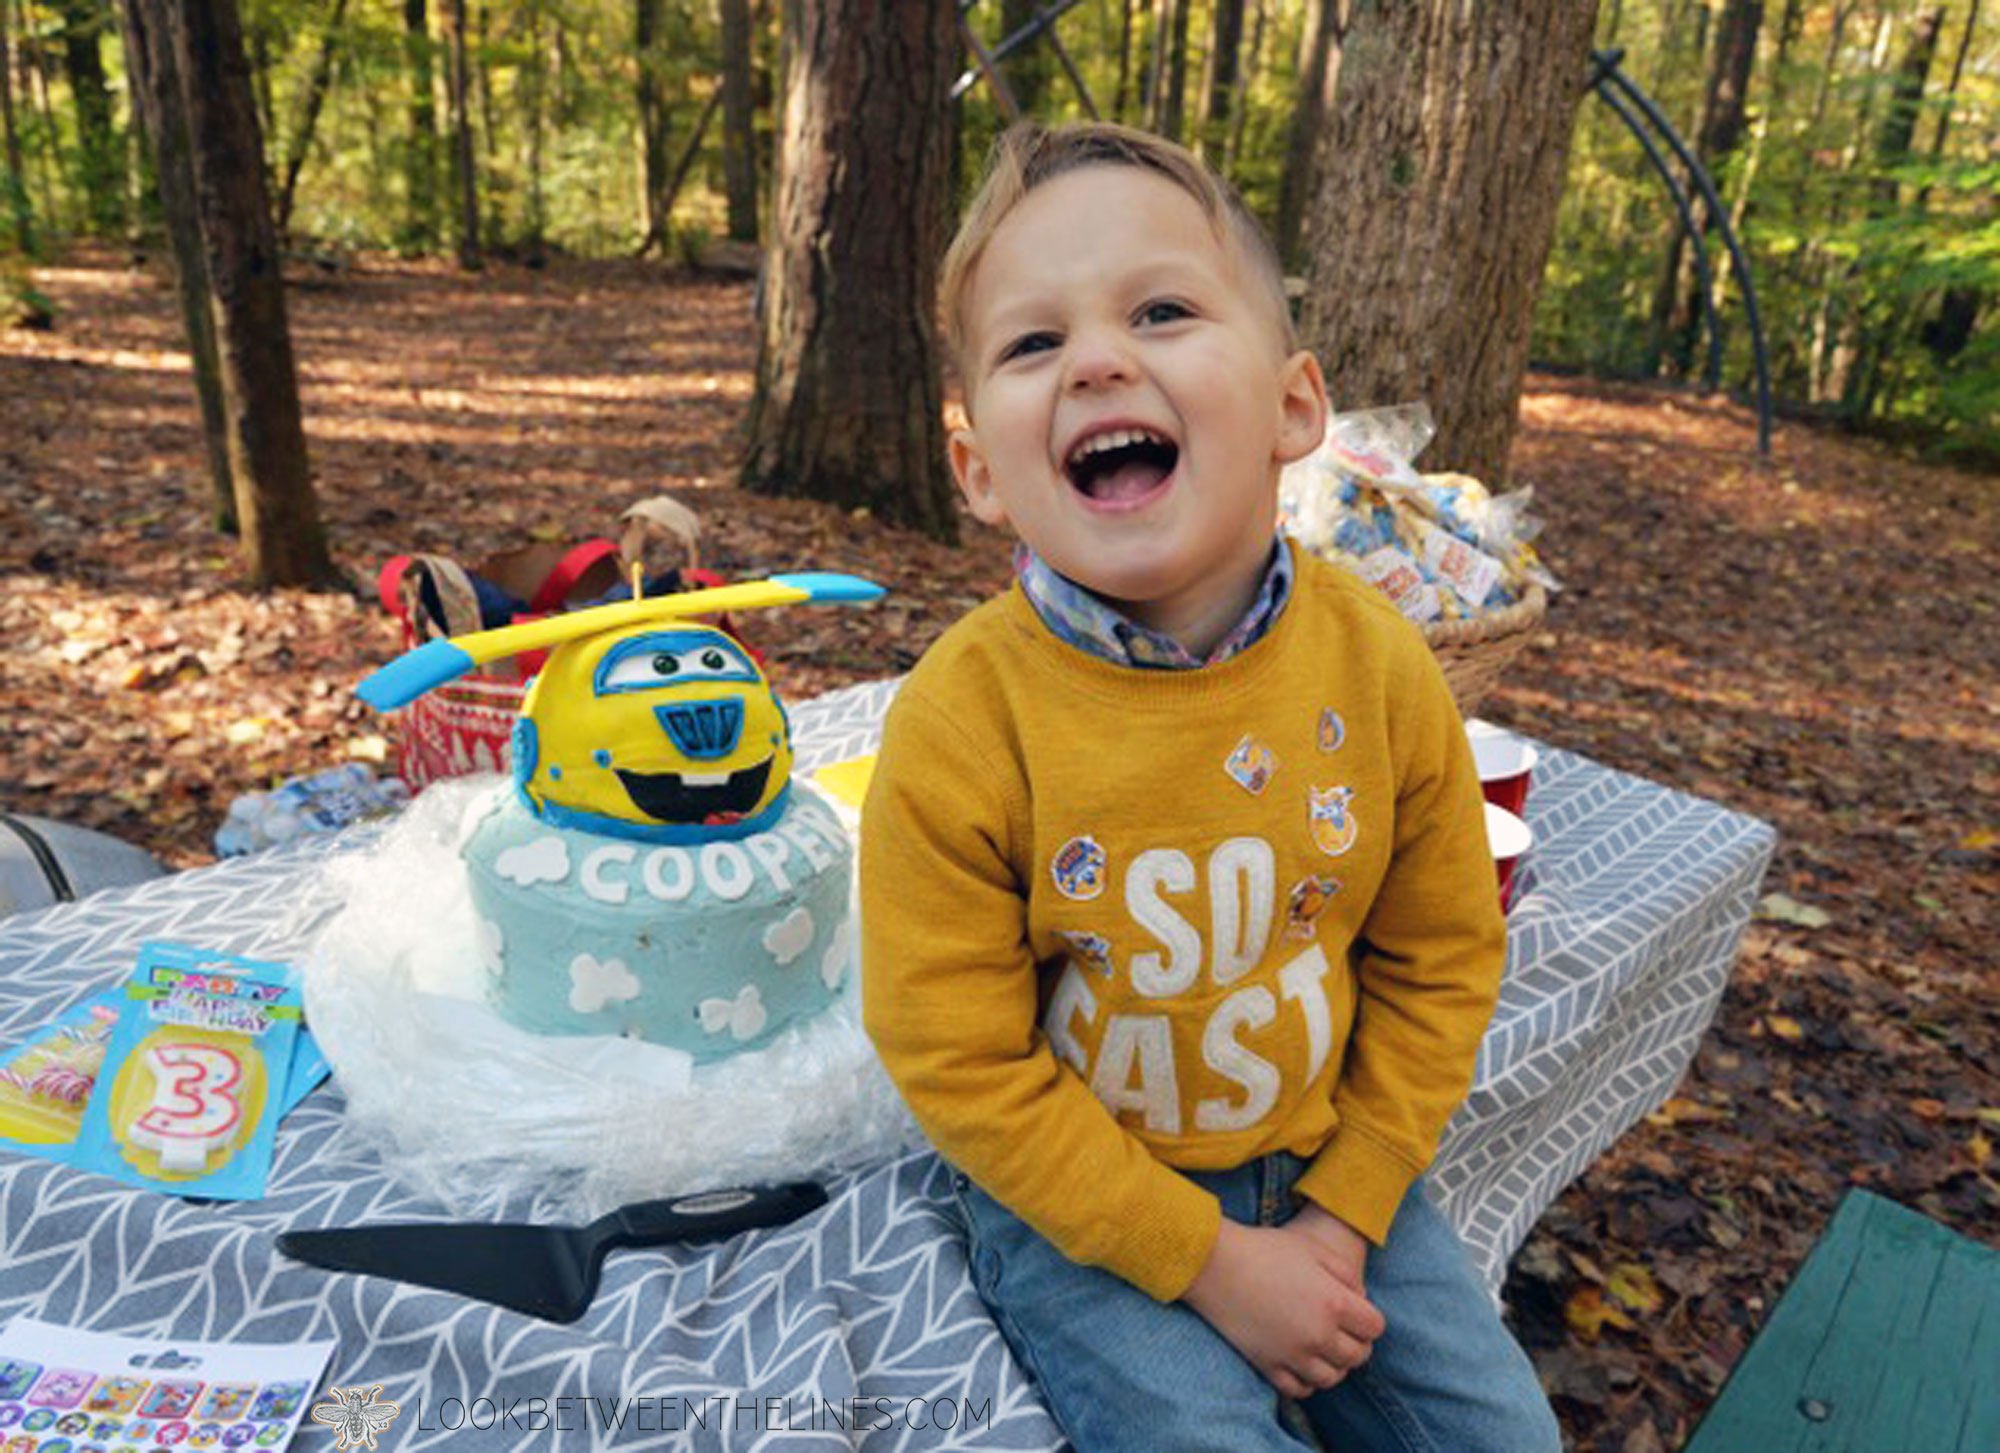
Cooper has been attending his “school” since he was four months old. We both get a nice summer off, but come August we are back at it. Although I teach high school, I work at a K-12 school. This makes daycare even better, the kids get a glimpse of life in elementary school and they get to participate in a number of their events. One such event is the annual book character parade. All the daycare and elementary students get to dress up as their favorite book characters and parade around the quad for their parents, middle and high school students, and faculty to see.
This was the second year Cooper got to participate, and this was the second year that I waited until the night before to pull it all together. Although I put myself in a stressful situation by procrastinating, it made me realize that I love making his outfits for events like this and I can do it on a budget and tight timeline.
SUPPLIES:
For his Very Hungry Caterpillar costume or as I like to call it “The Very Hungry Toddler” costume I had fabric leftover from his book character the year before, the “Chicka, Chicka, Boom Boom” tree. It made the project that much easier to have most of the supplies on hand.
- White shirt (or any old shirt you have laying around)
- Red beanie
- Purple, dark green, light green, and brown felt
- Brown, purple, green, yellow, and white paint (I used acrylic paint to make sure it stayed on if it got wet. Fabric dye is also a good option)
- Green and yellow construction paper OR if you feel artsy, watercolor paper and watercolor paint
- Cardboard (thin strips to help the antennas stand up)
- Hot glue gun/hot glue
- Scissors
- Paintbrushes
- Water
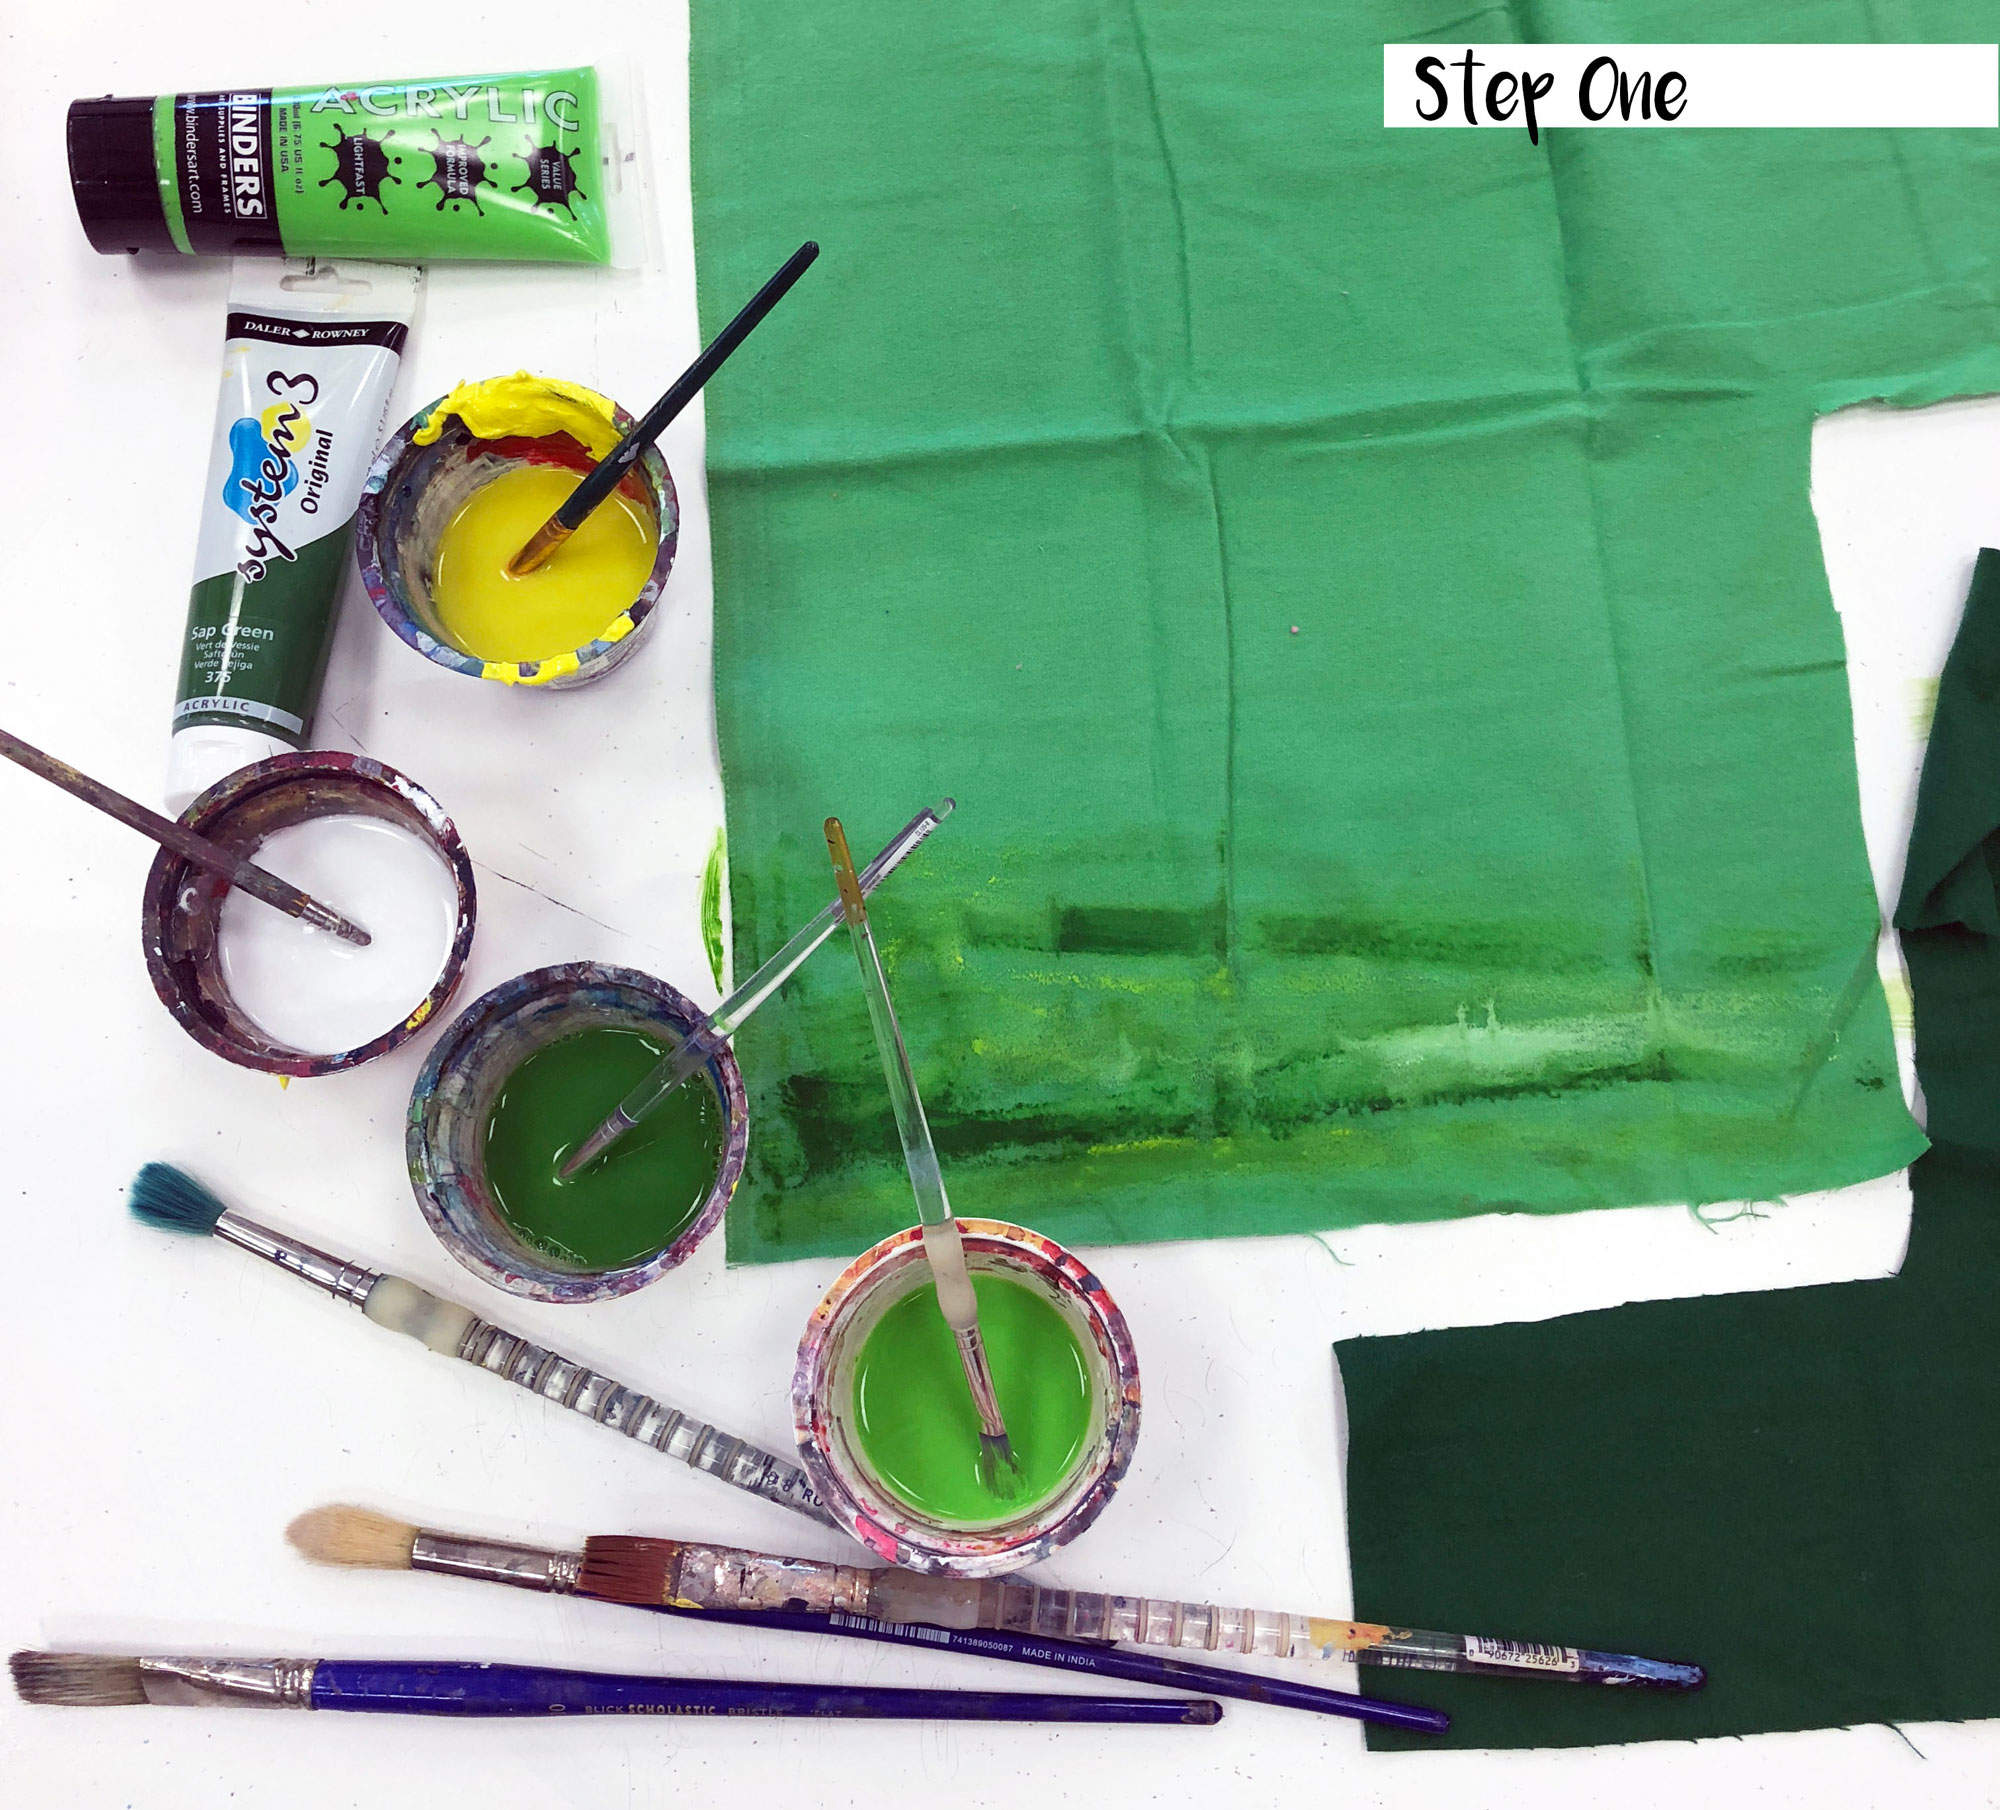
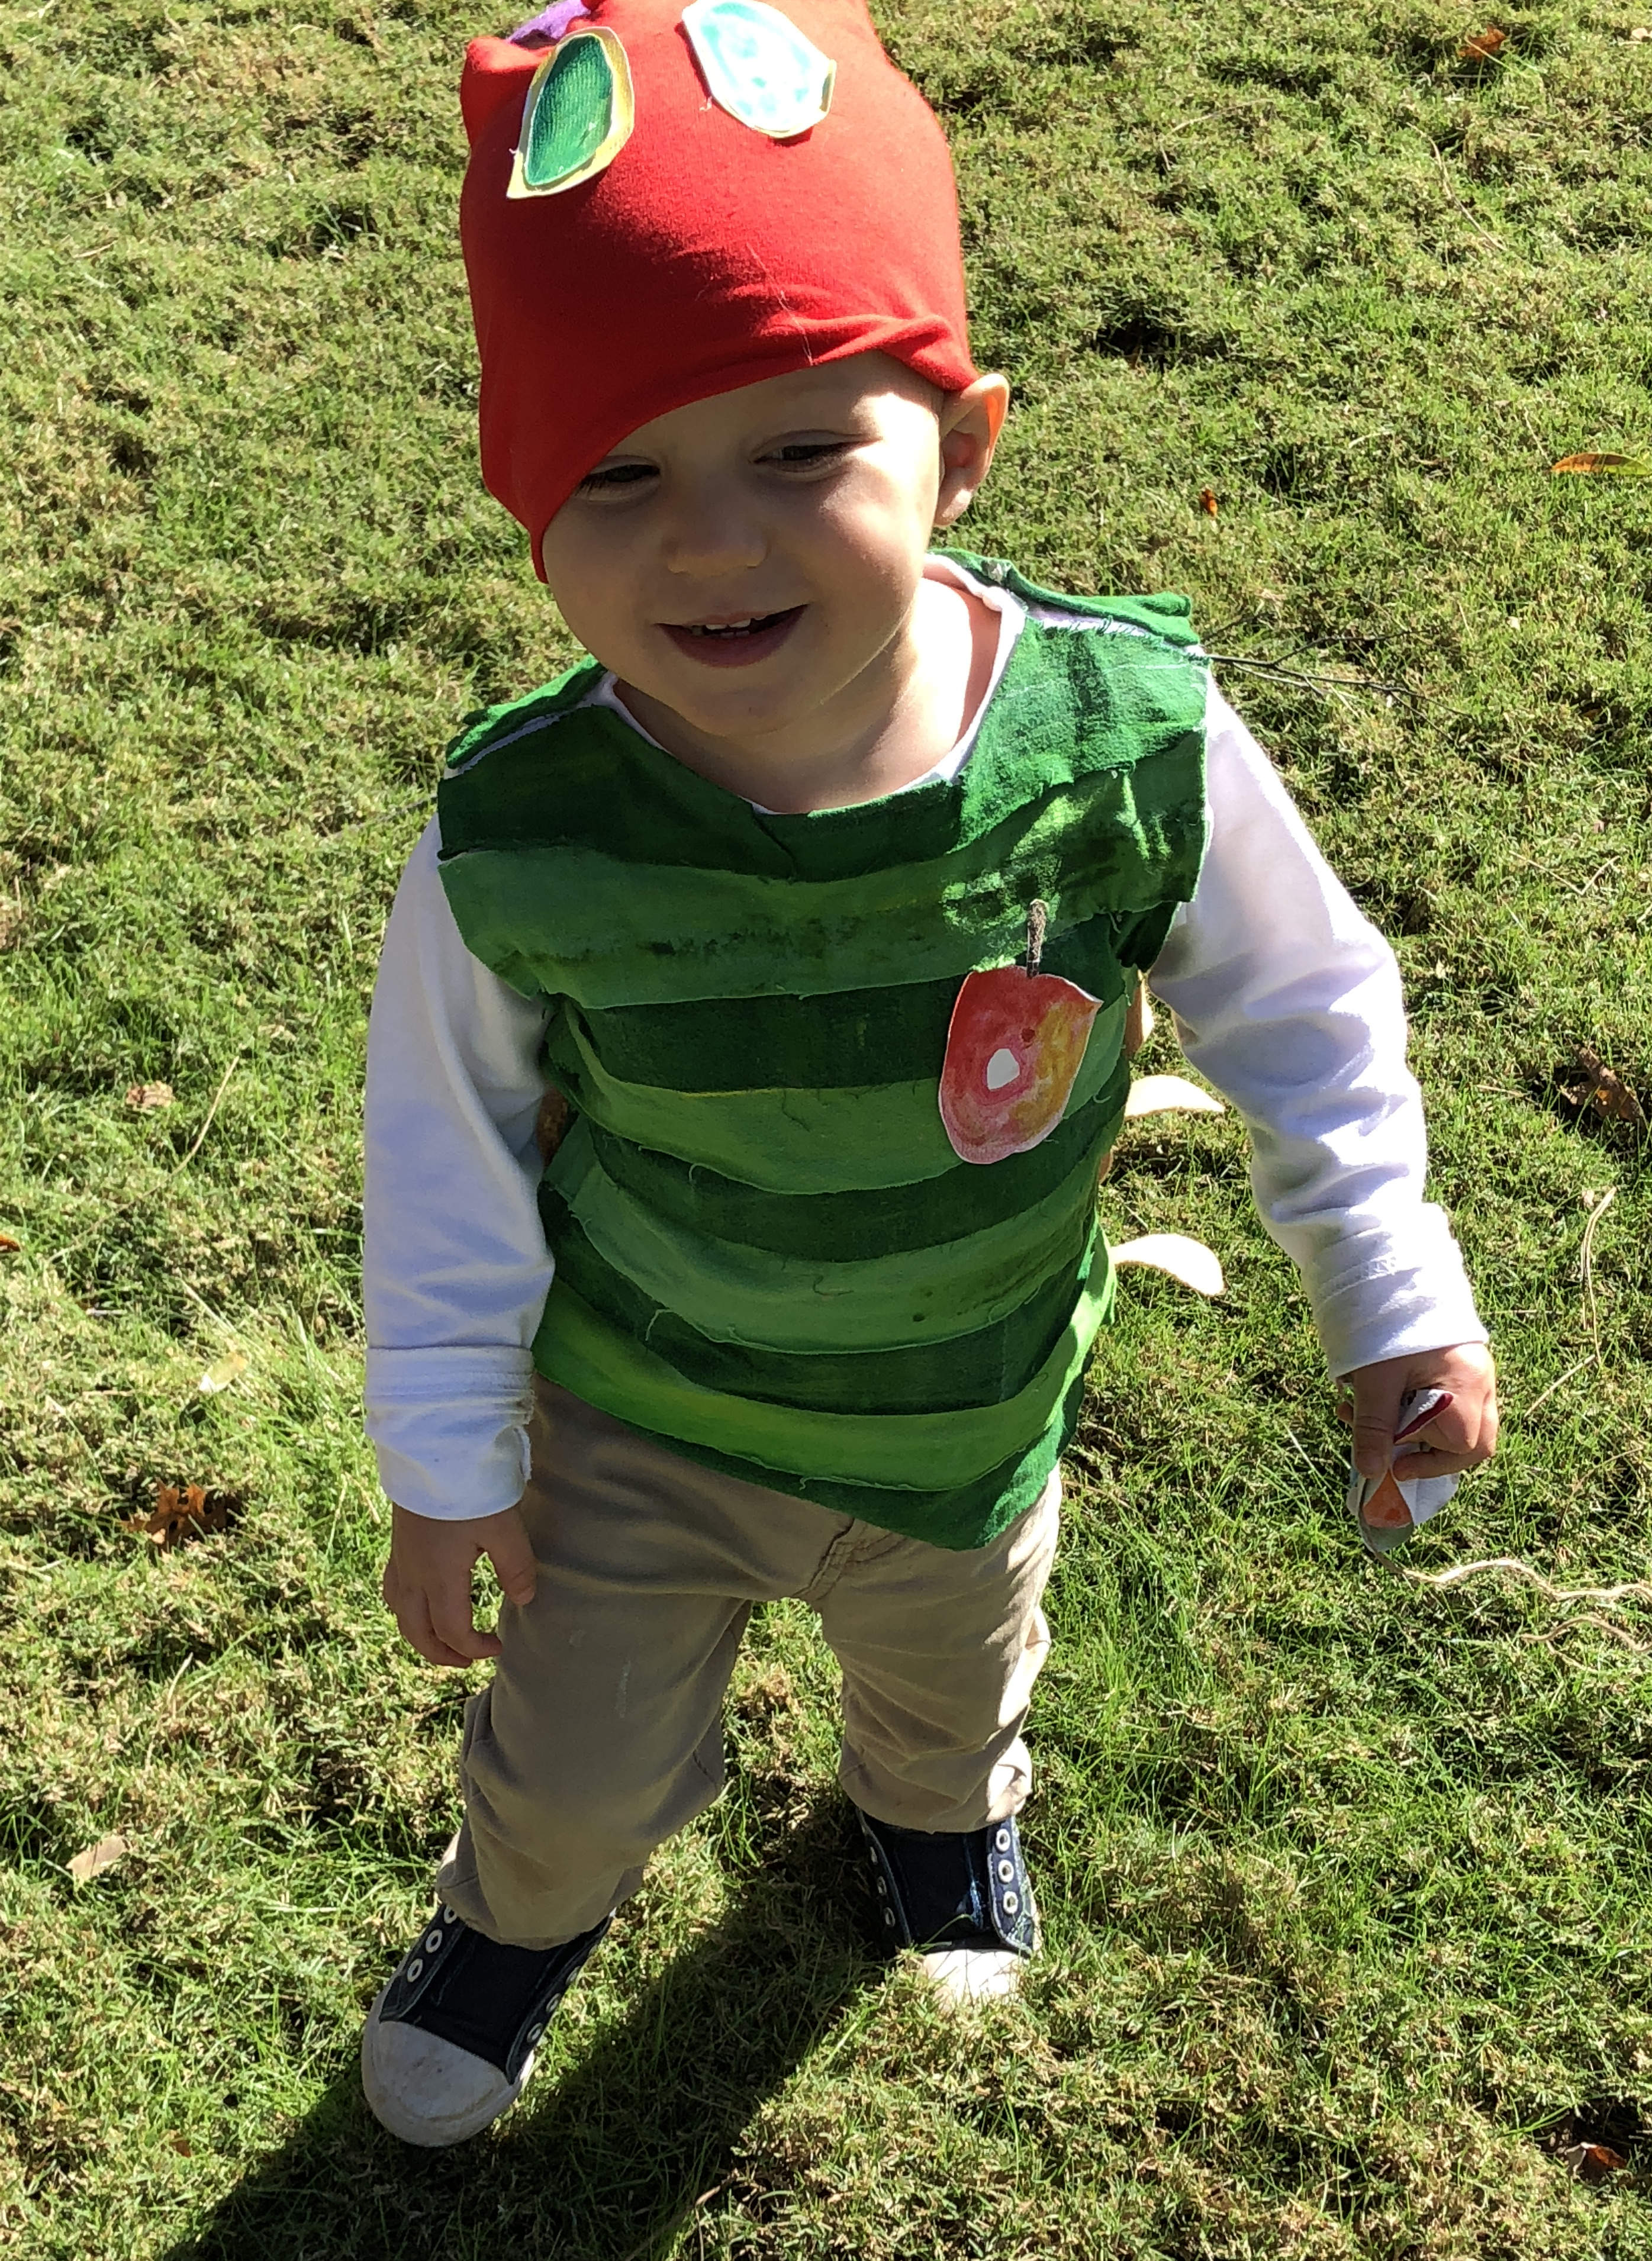
To get the Eric Carle illustration look on Cooper’s costume, I painted on top of the fabric. His illustrations have a beautiful range of value in each object. You never see something one solid shade of green. Instead, you may find a range of values from yellow to yellow-green to light-green to dark green, and even more in between.
I picked two shades of green, yellow, and white paint to mix together on my green base fabric. I watered down acrylic paint, and loosely added color with big paintbrushes. I painted the fabric before cutting it up to make it easier to paint and to give it an, even more, Eric Carle look. I tried not to follow a stripe pattern. I randomly introduced colors, blended them together, and made a mess in general.
I used the same colors on the dark green fabric. On the purple fabric, for the caterpillar feelers, I used a different shade of purple and white. On the brown fabric I used yellow, another shade of brown, and white paint.

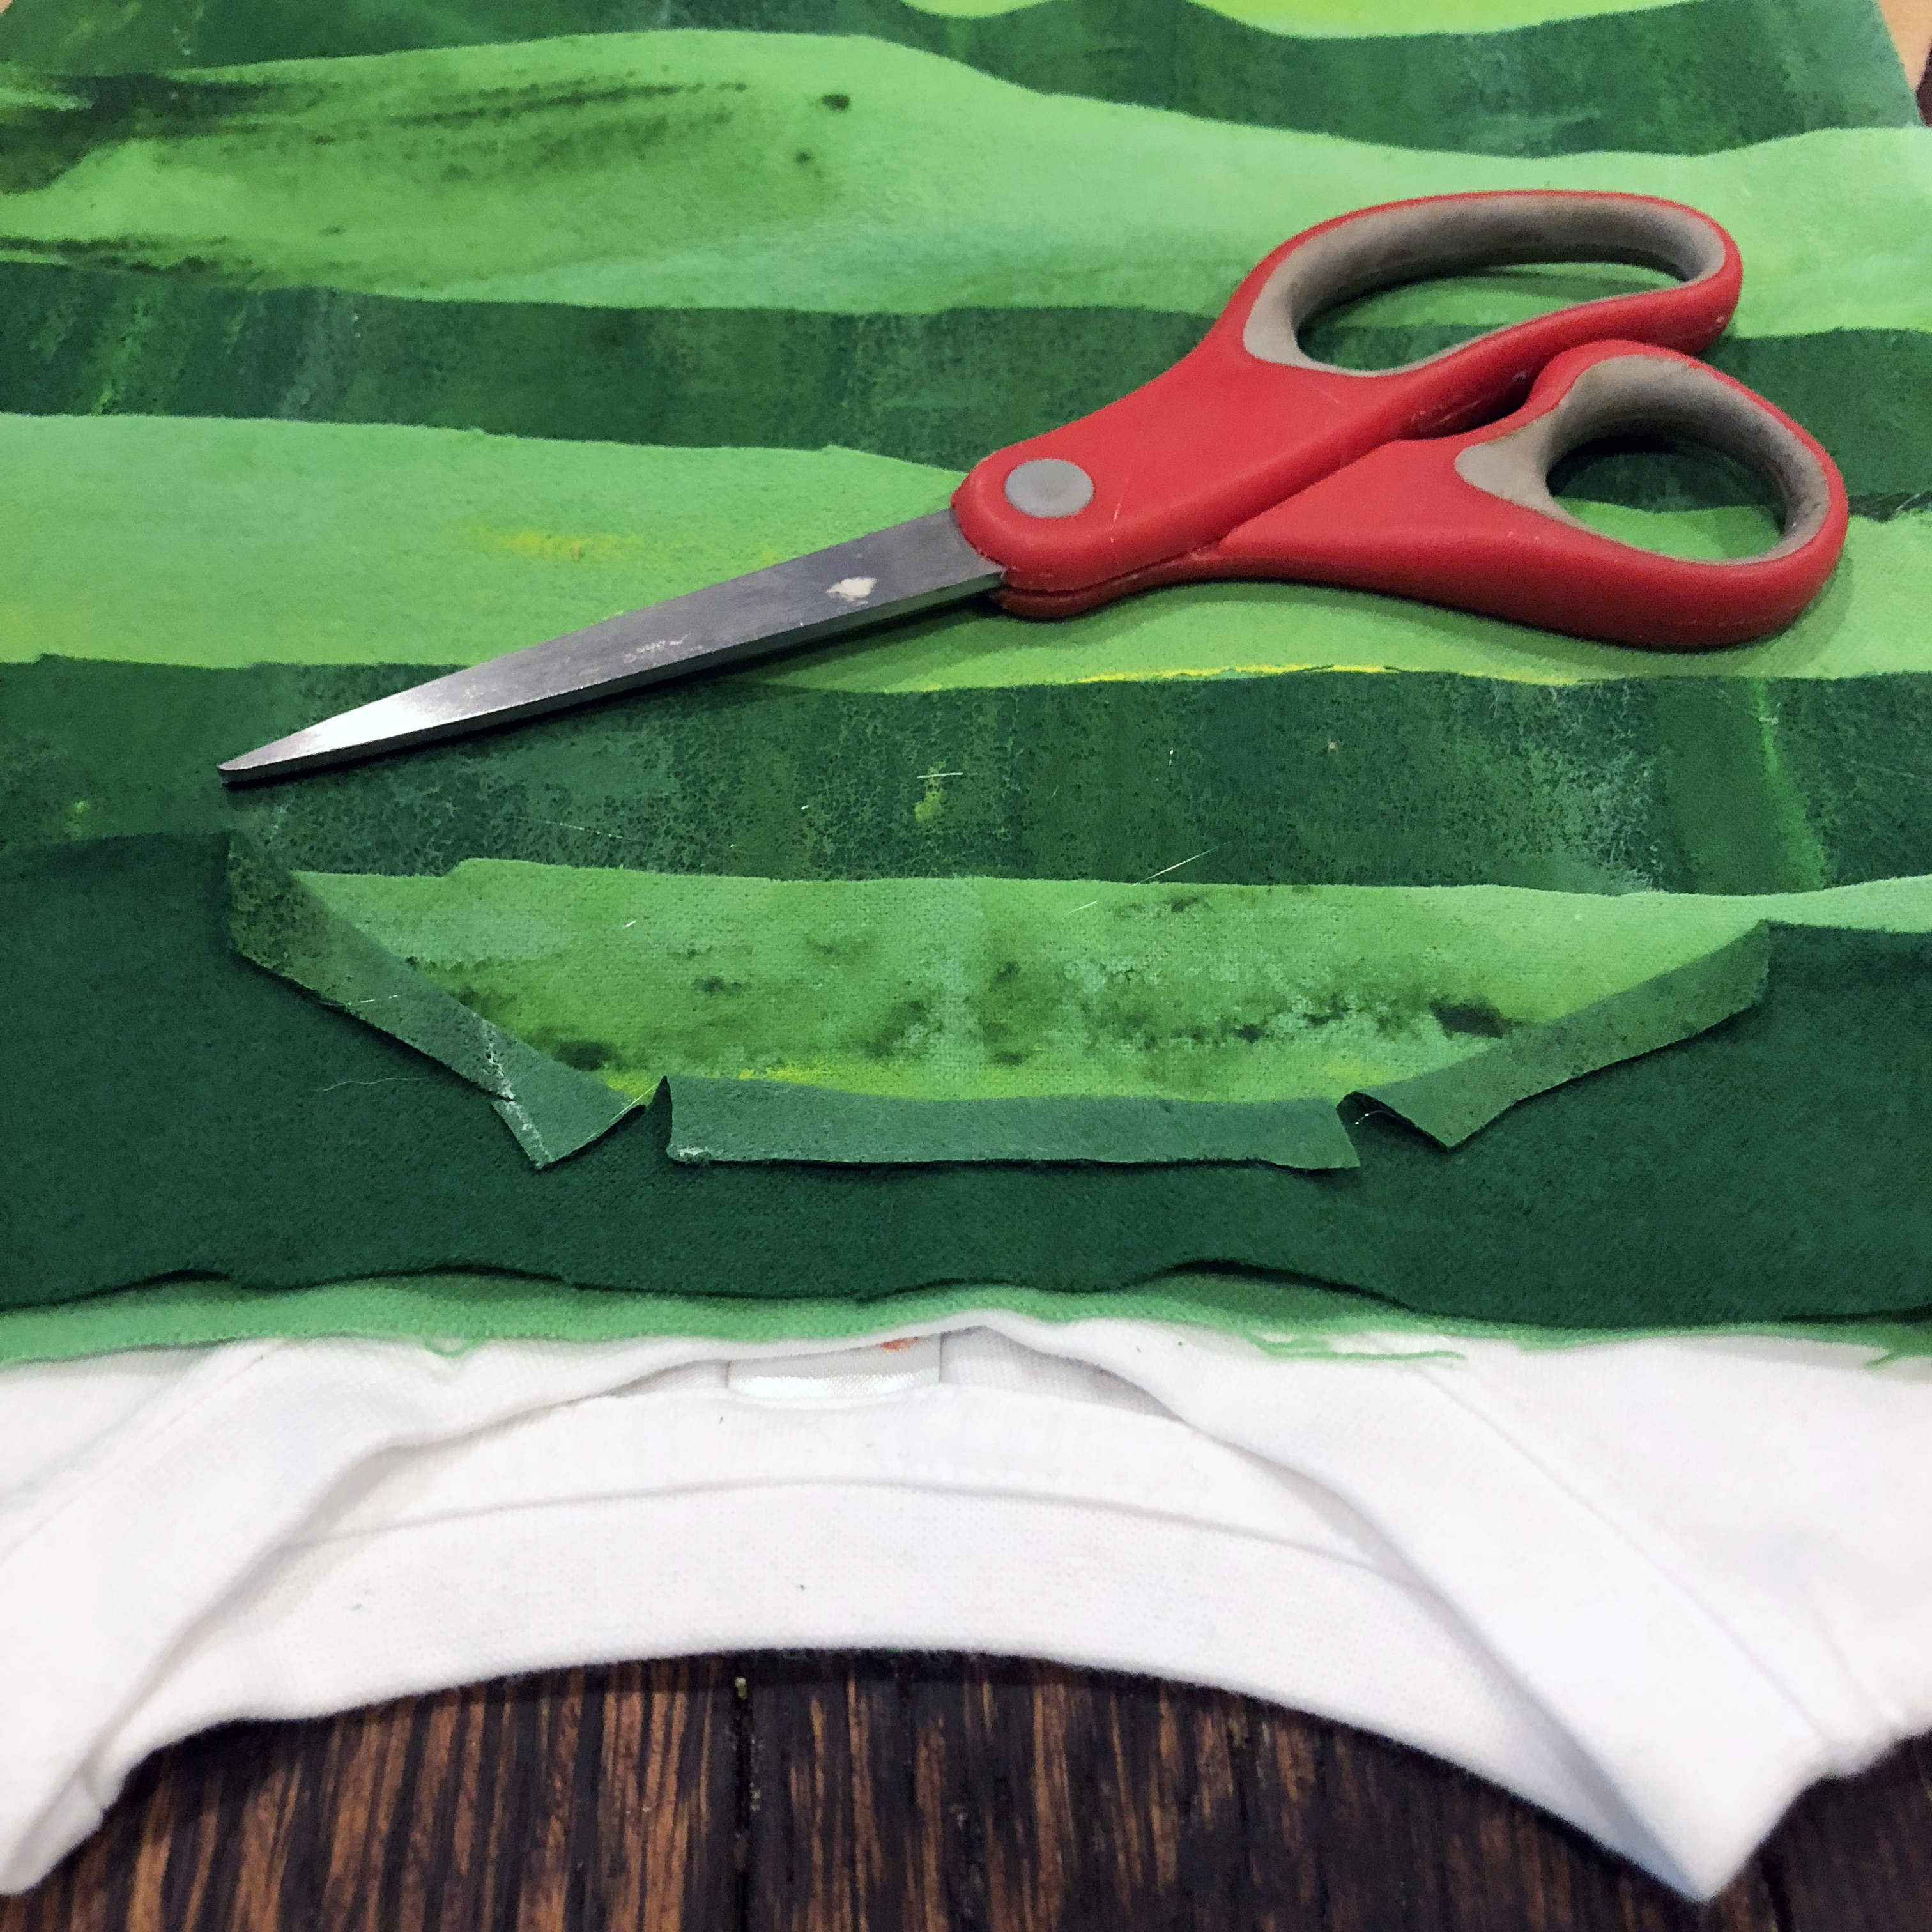
After letting the fabric dry, I started cutting everything out. I cut strips for the body of the caterpillar, round foot shapes for the feet, and long narrow pieces for the antennas. This is the type of crafty project that looks cute and crafty, so I did not worry about fraying edges or uneven cuts. In situations like these, I tell myself if everything looks a little funky it all comes together to create a beautifully funky end result.
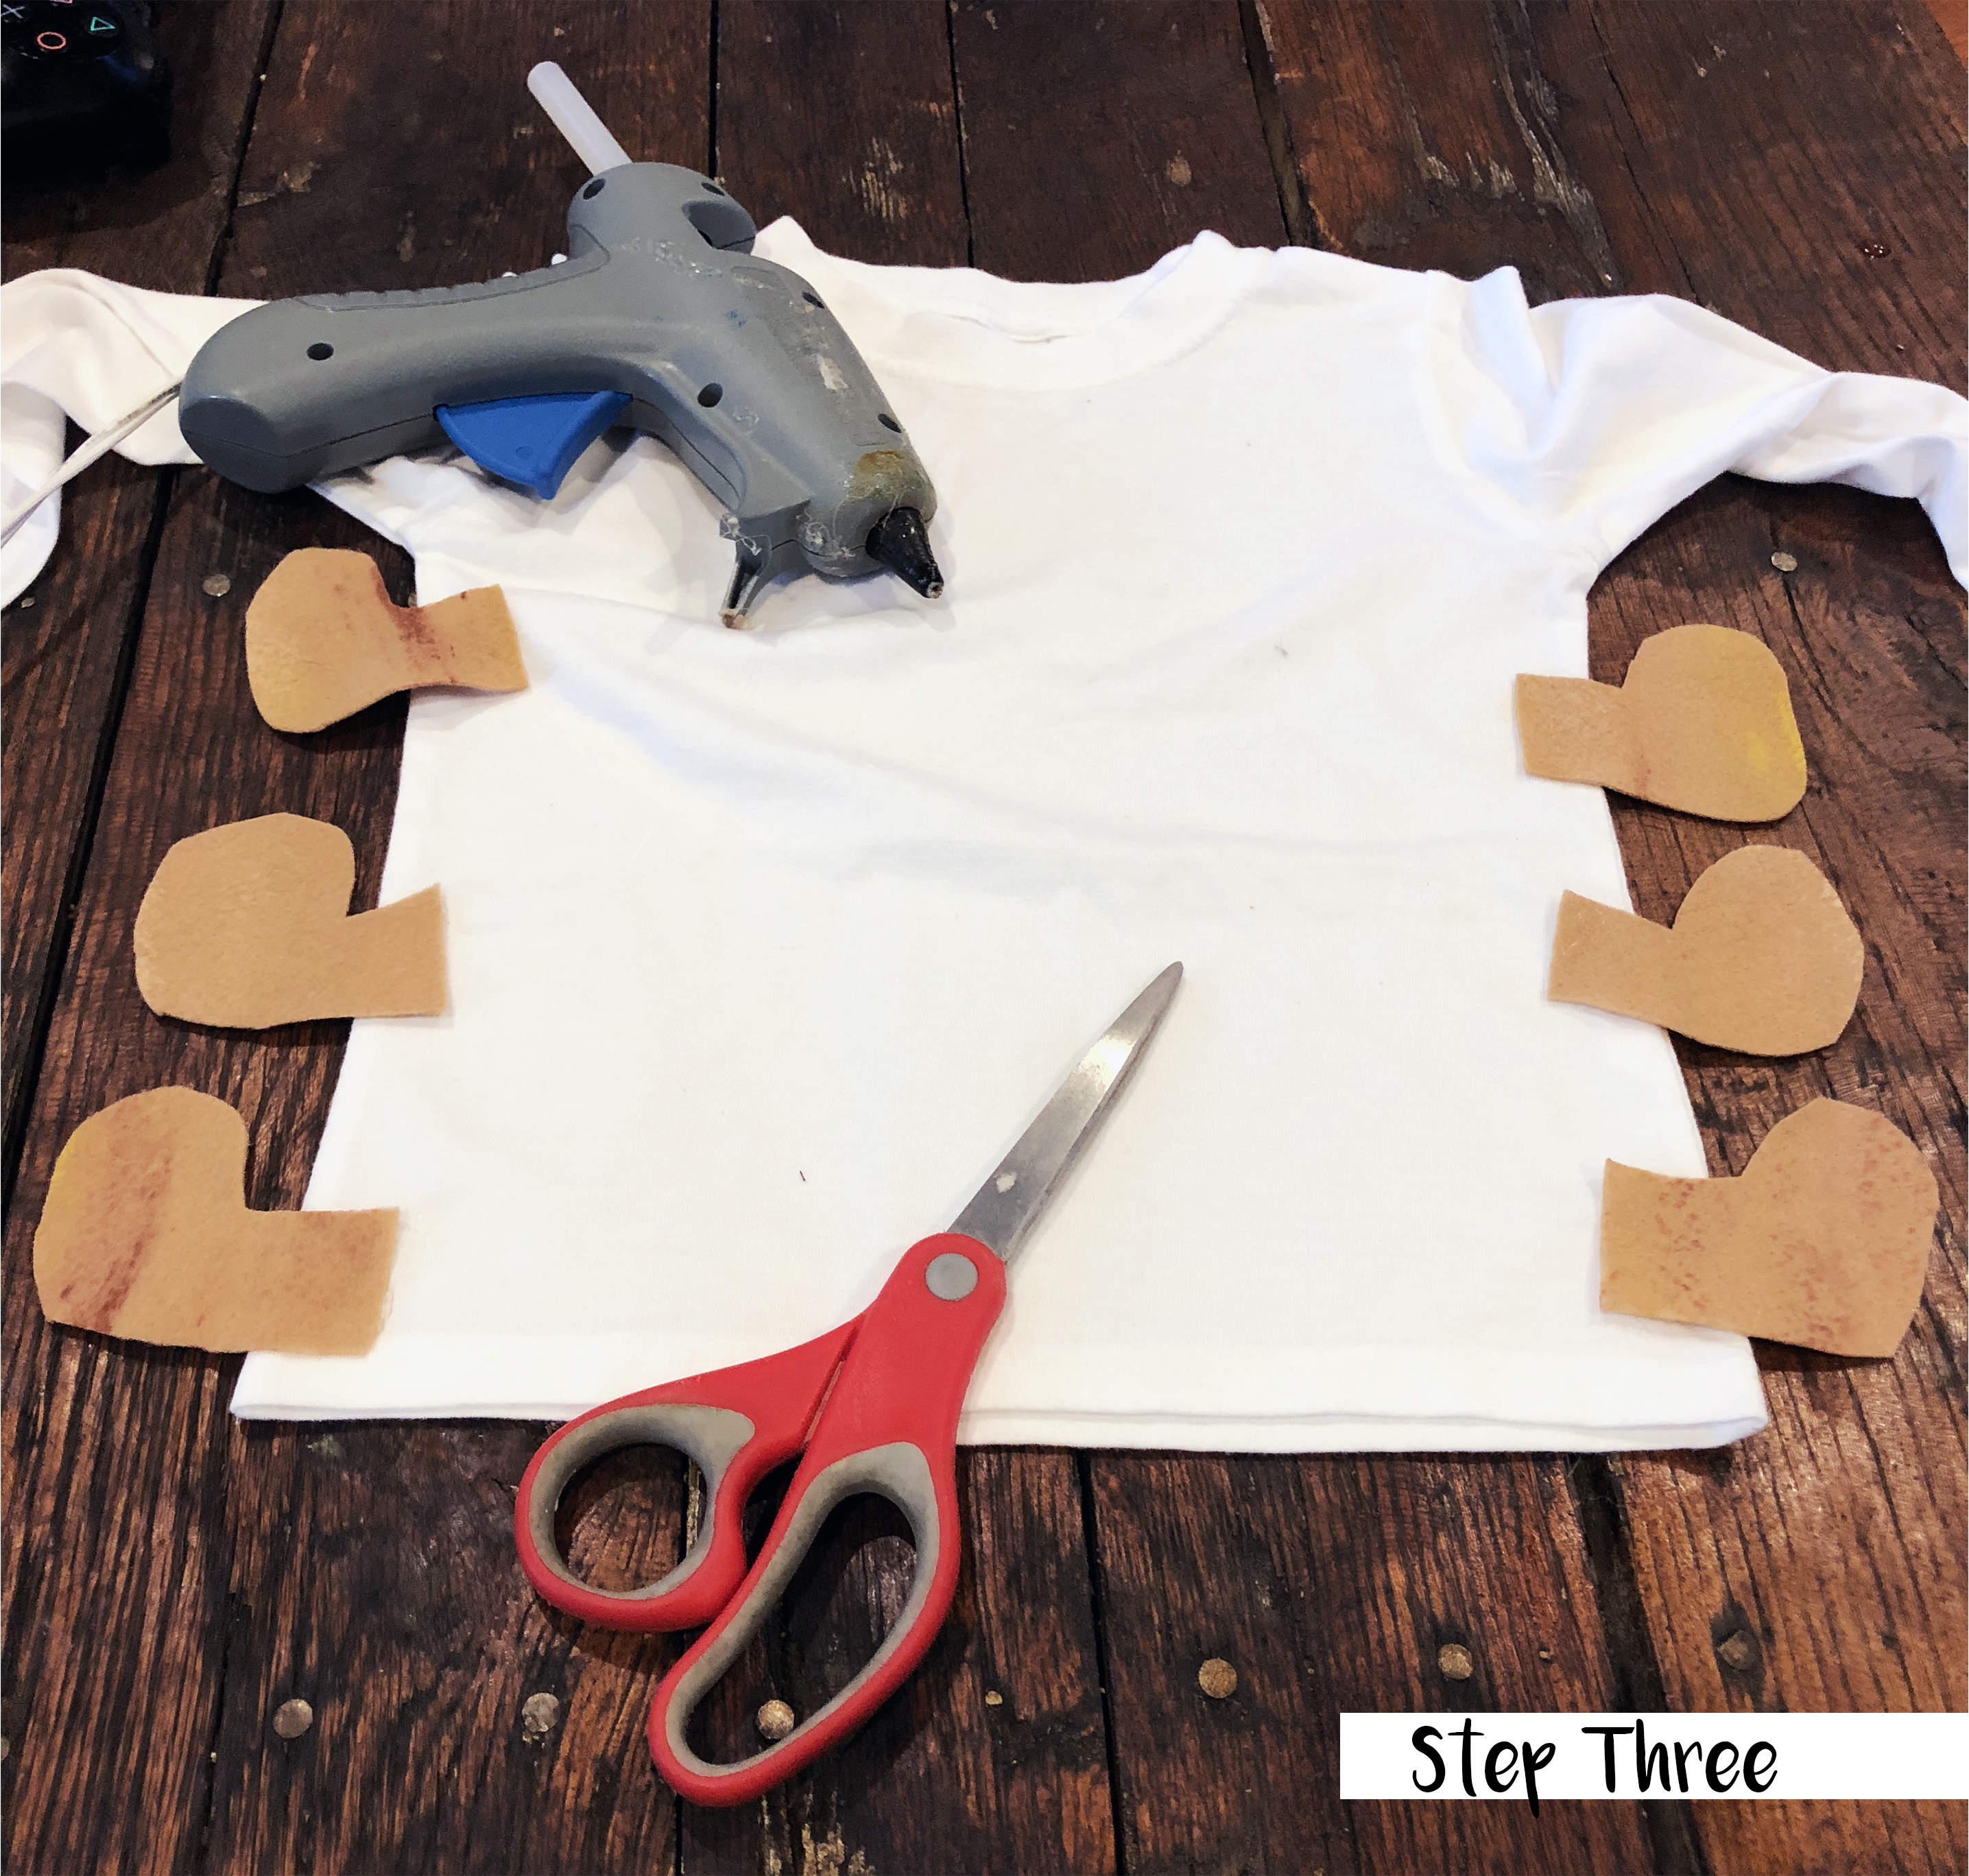
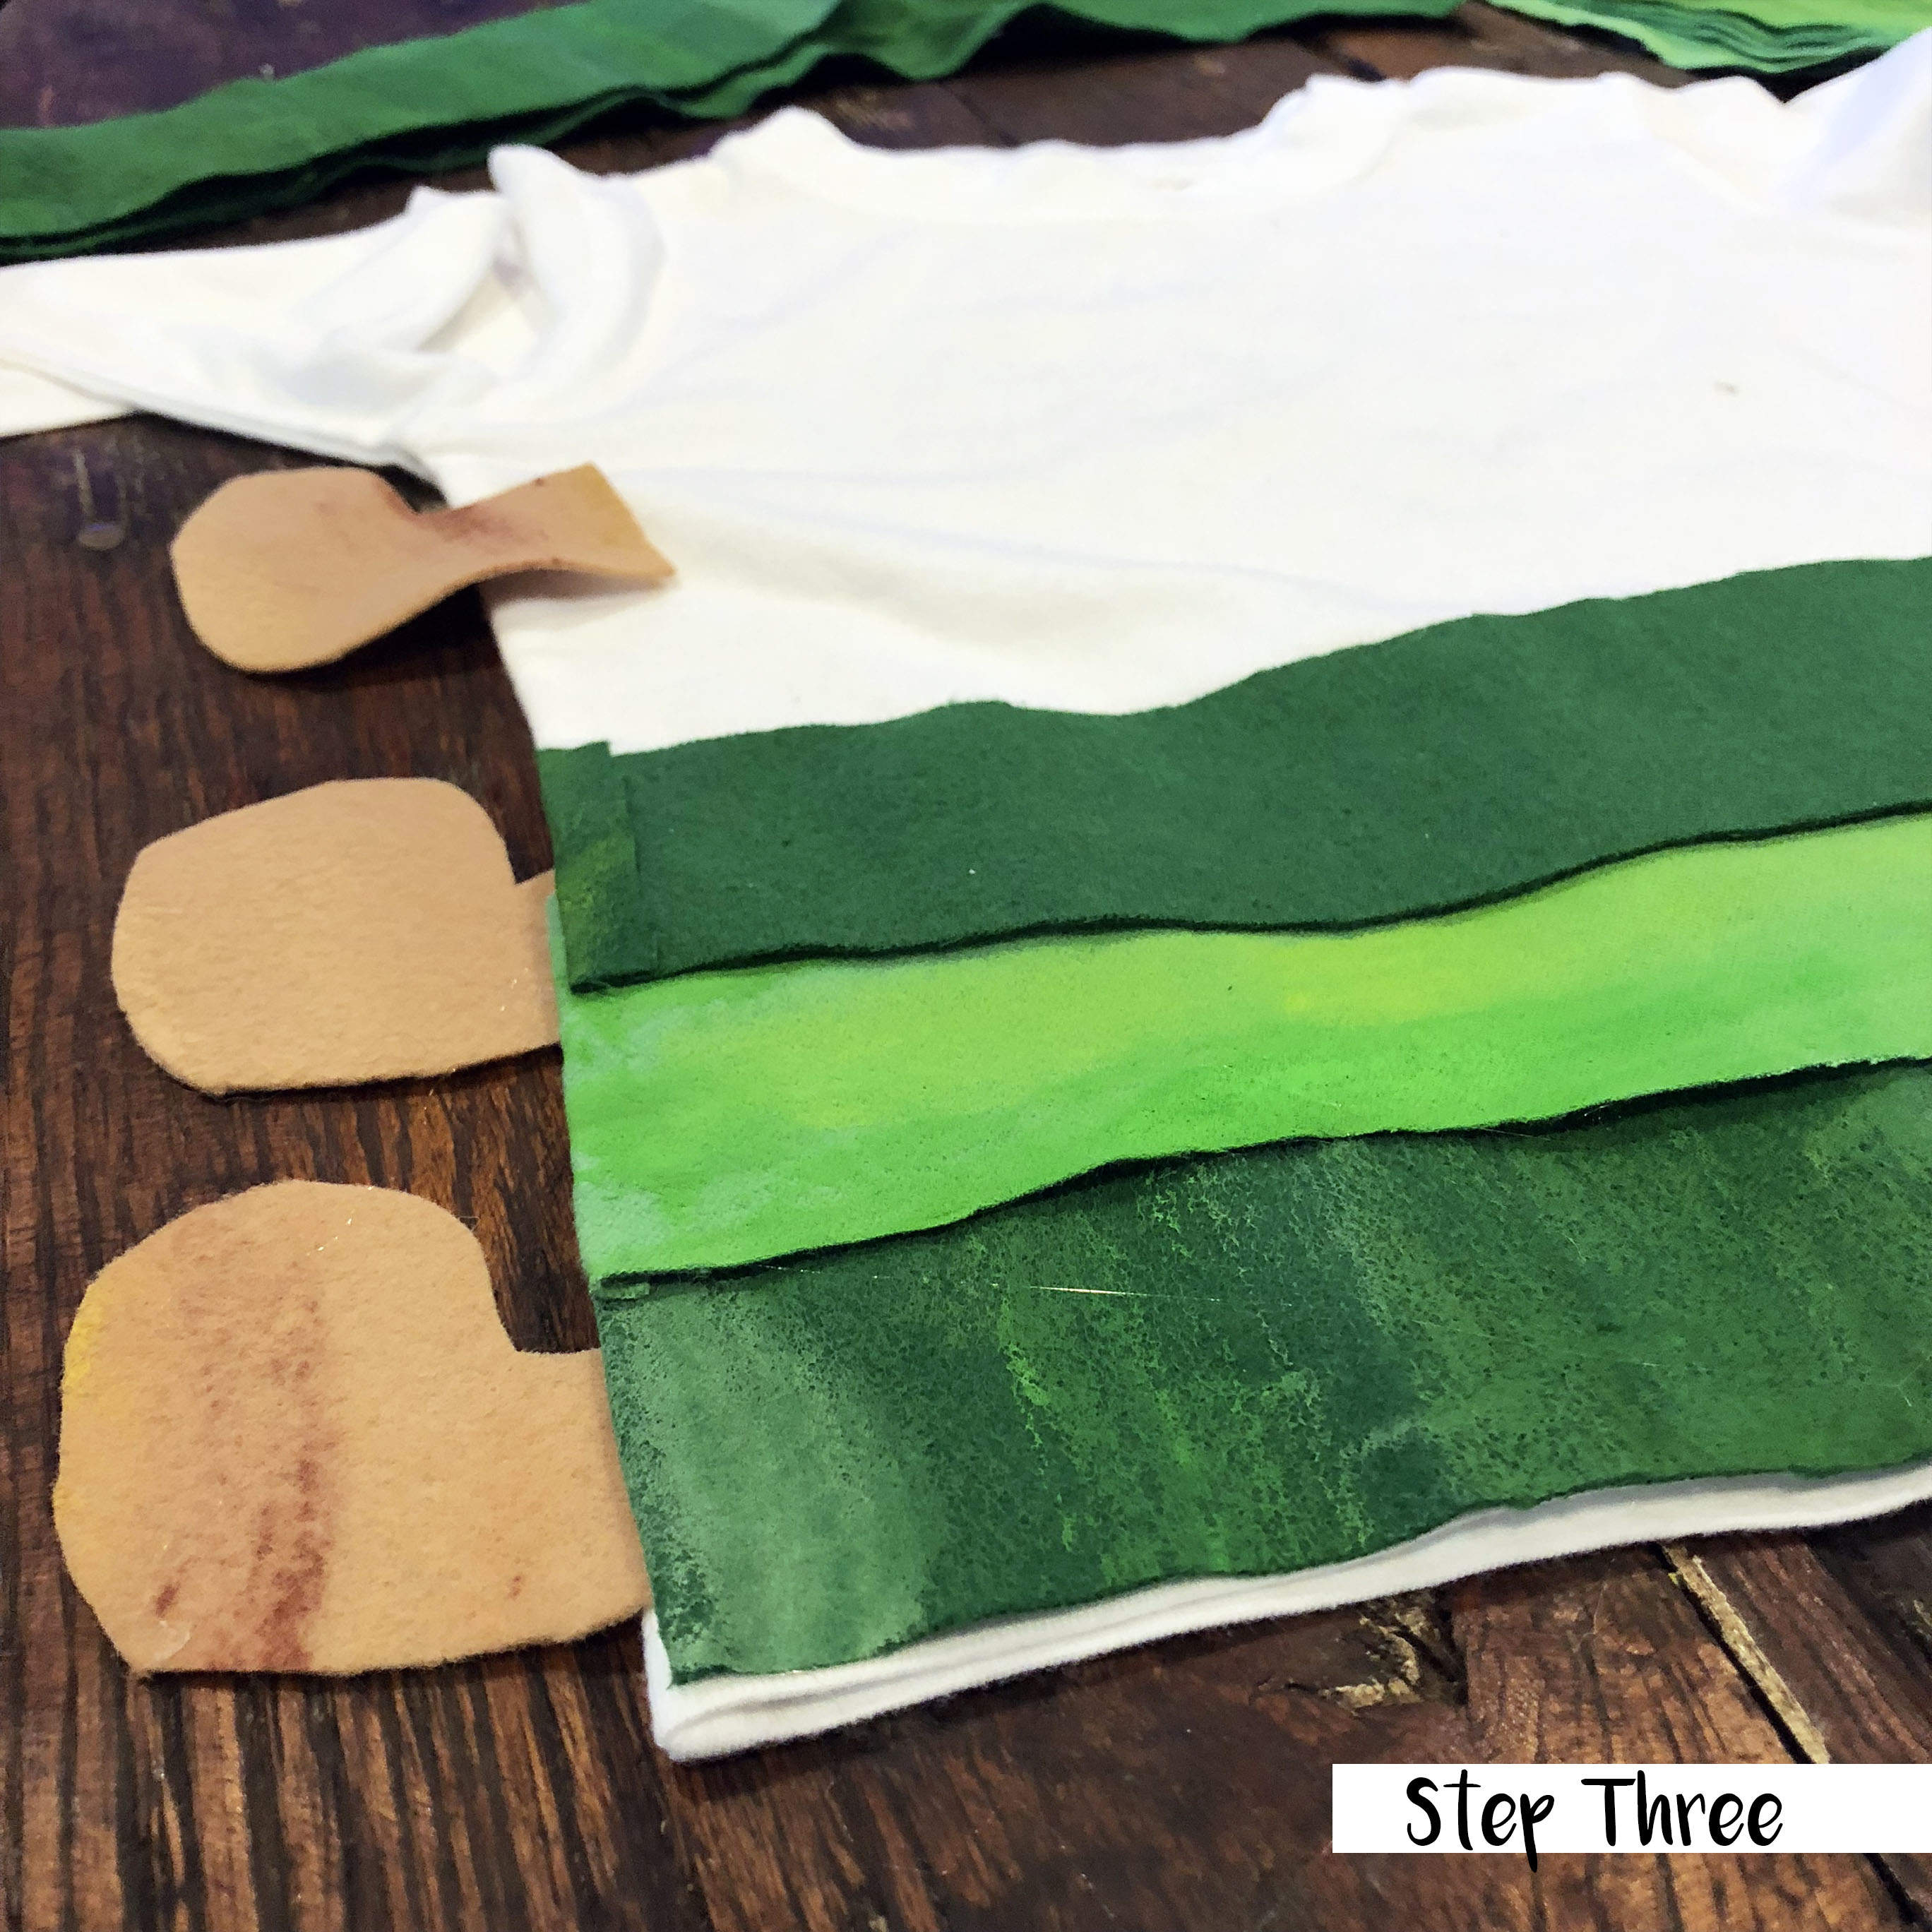
Next, I started hot gluing all the pieces to his white shirt. I started with the feet, overlapped them on the front, and glued them down. I then added the strips of green, alternating between dark and light. I wanted the sides of the stripes to look cleaner, so I folded the ends and glued them down. I then glued them directly to the shirt. I left the seam line exposed, covering the front completely, then adding the strips to the back of the shirt. This allowed the shirt to still stretch (somewhat) to put it on him.
Since the parade happened in mid-October, it was a little chilly outside. I opted for a long sleeve white shirt (bought on the cheap from Amazon), but decided to only add the green stripes to the center of the shirt. It also made it a lot less complicated not adding them around sleeves.
It was tricky adding the pieces to the collar. A lesson I learned from last year’s costume is to leave the seam line on the shoulders exposed. After attaching all the leaves for the tree around his collar, there was no stretch left in the head opening. Cooper has an unusually large head, so I ended up cutting slits on either side just so we could put it on.
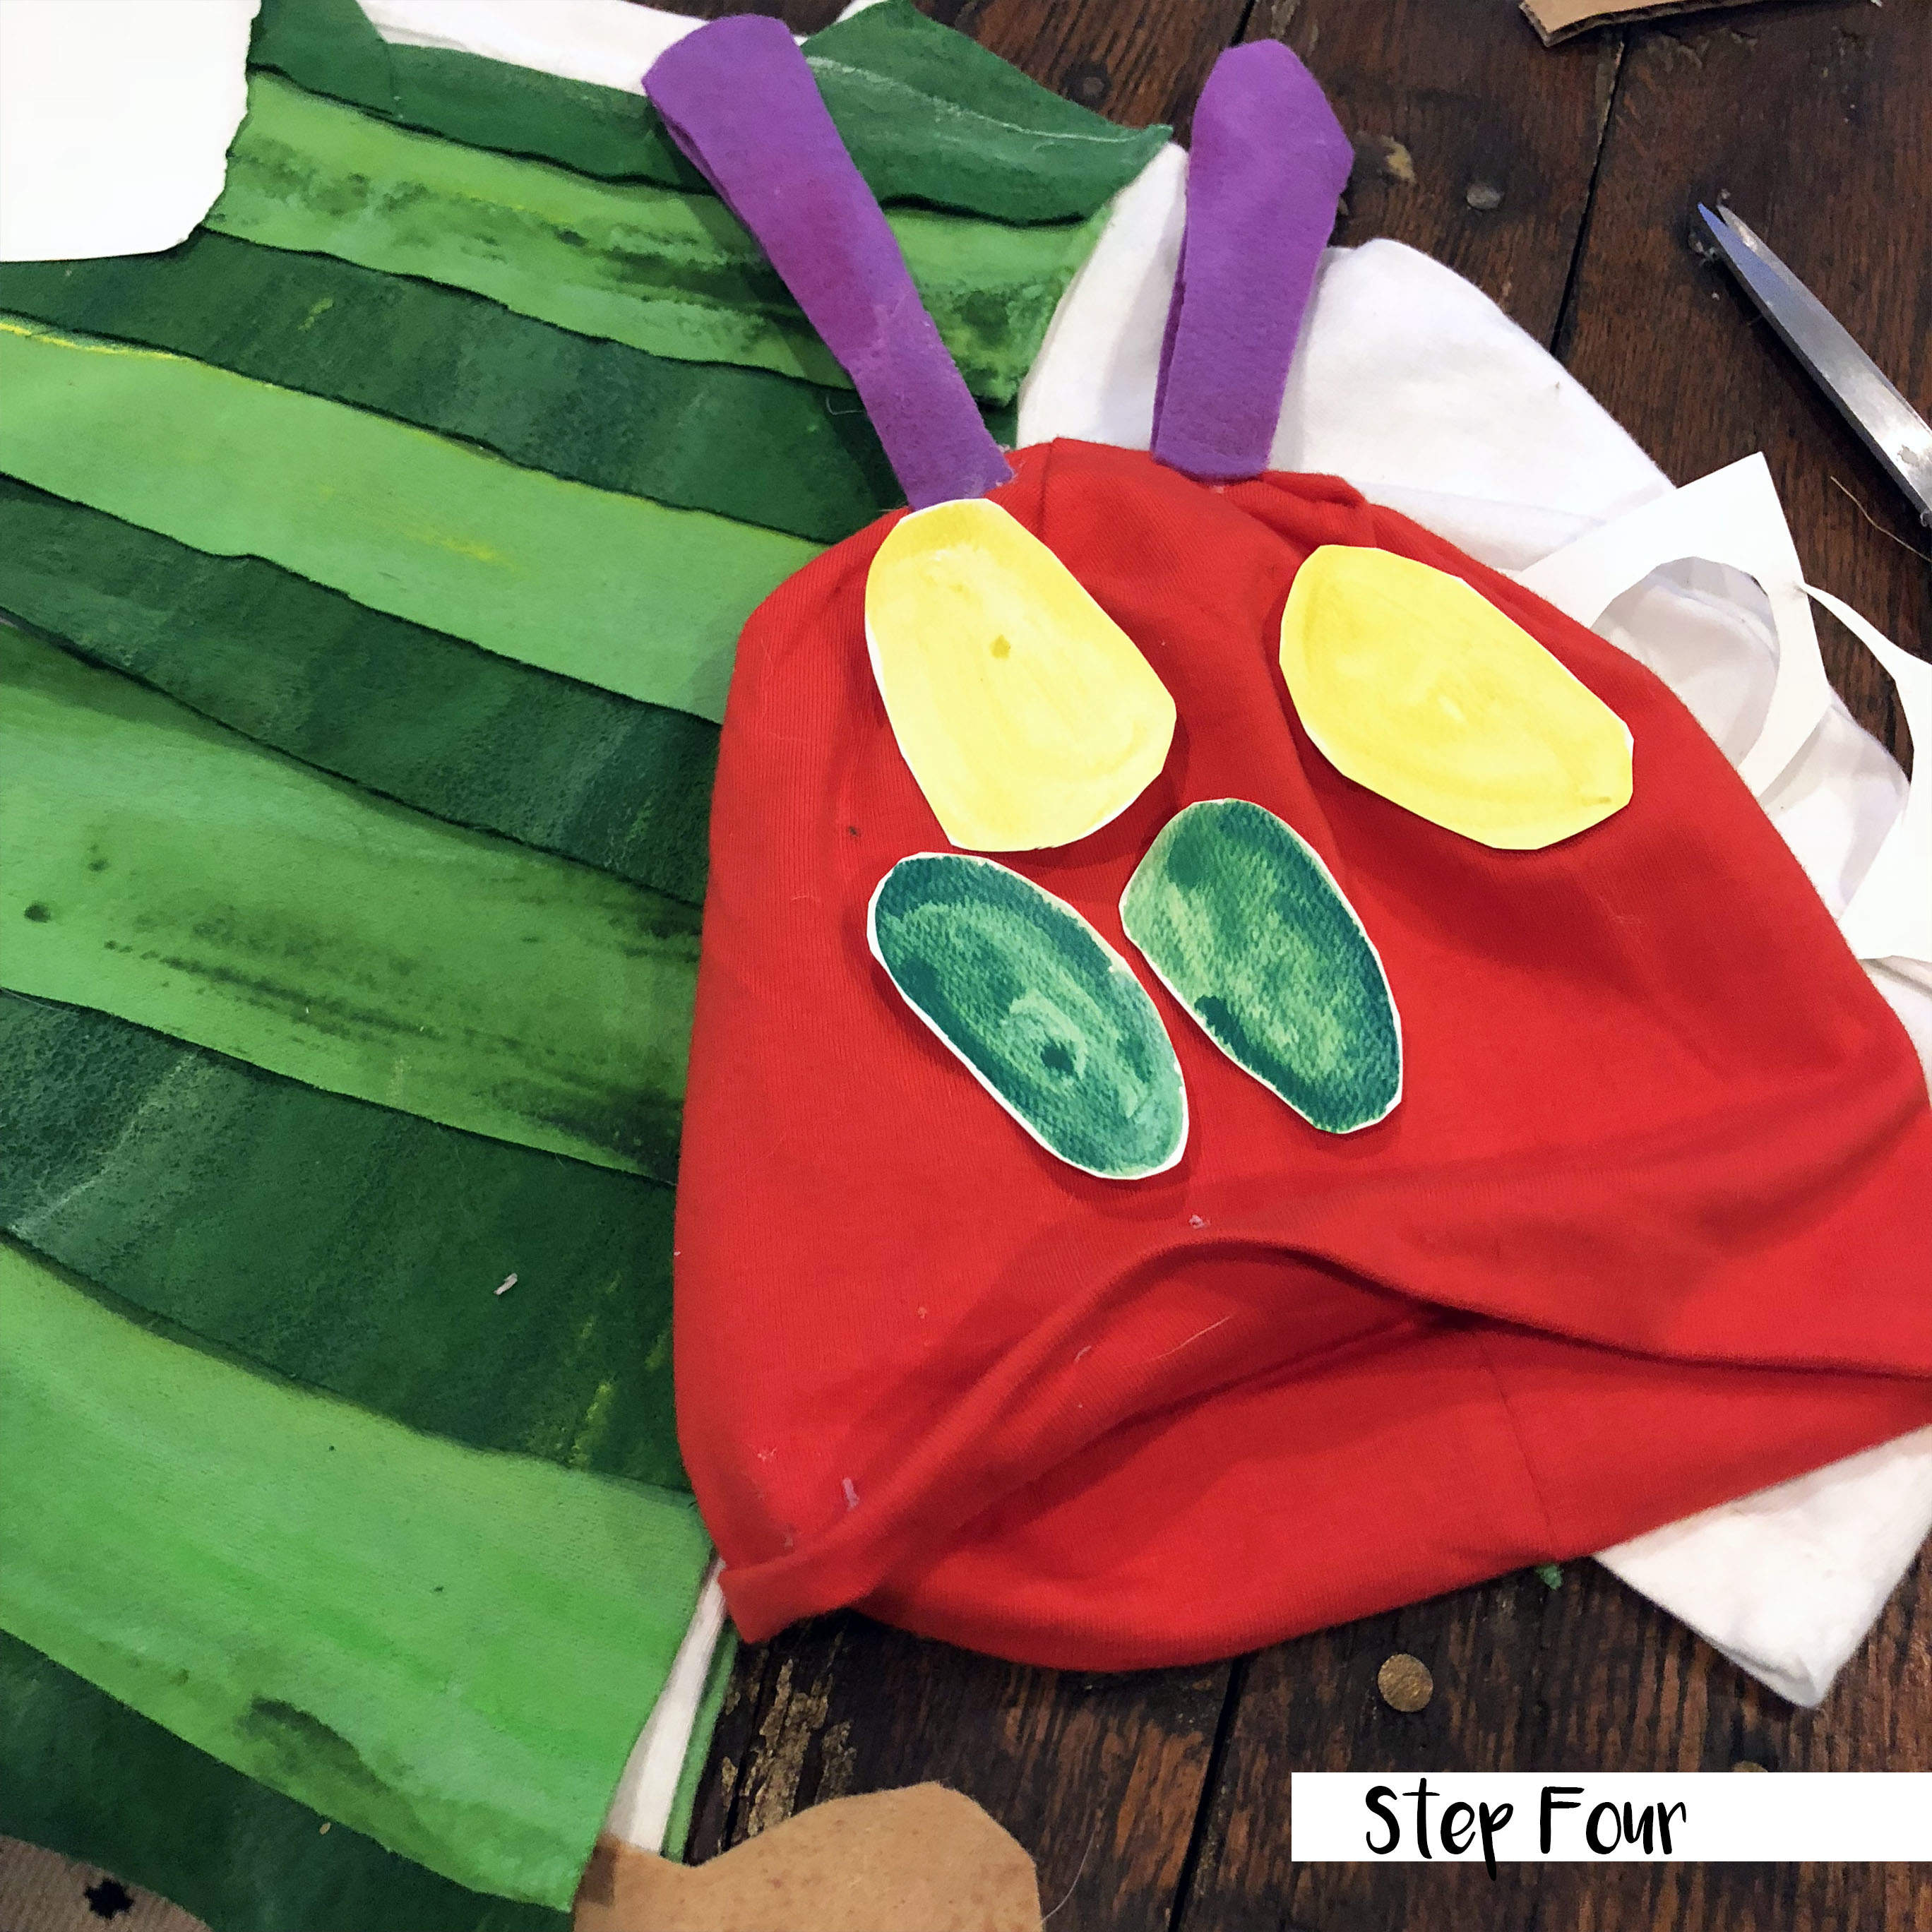
After the shirt was complete, I moved onto the beanie. I cut out four, thin purple strips of fabric, hot glued a piece of cardboard to one, and covered it up with another piece of purple fabric. I left a little extra fabric at the bottom, so I could “pinch” it to the hat using hot glue.
Next, I hot glued the eyes. You could use yellow and green construction paper, cut out ovals, and overlap them. I decided to paint them with watercolors on watercolor paper, then cut them out. I wanted to continue the painterly look of “The Very Hungry Caterpillar” illustrations.
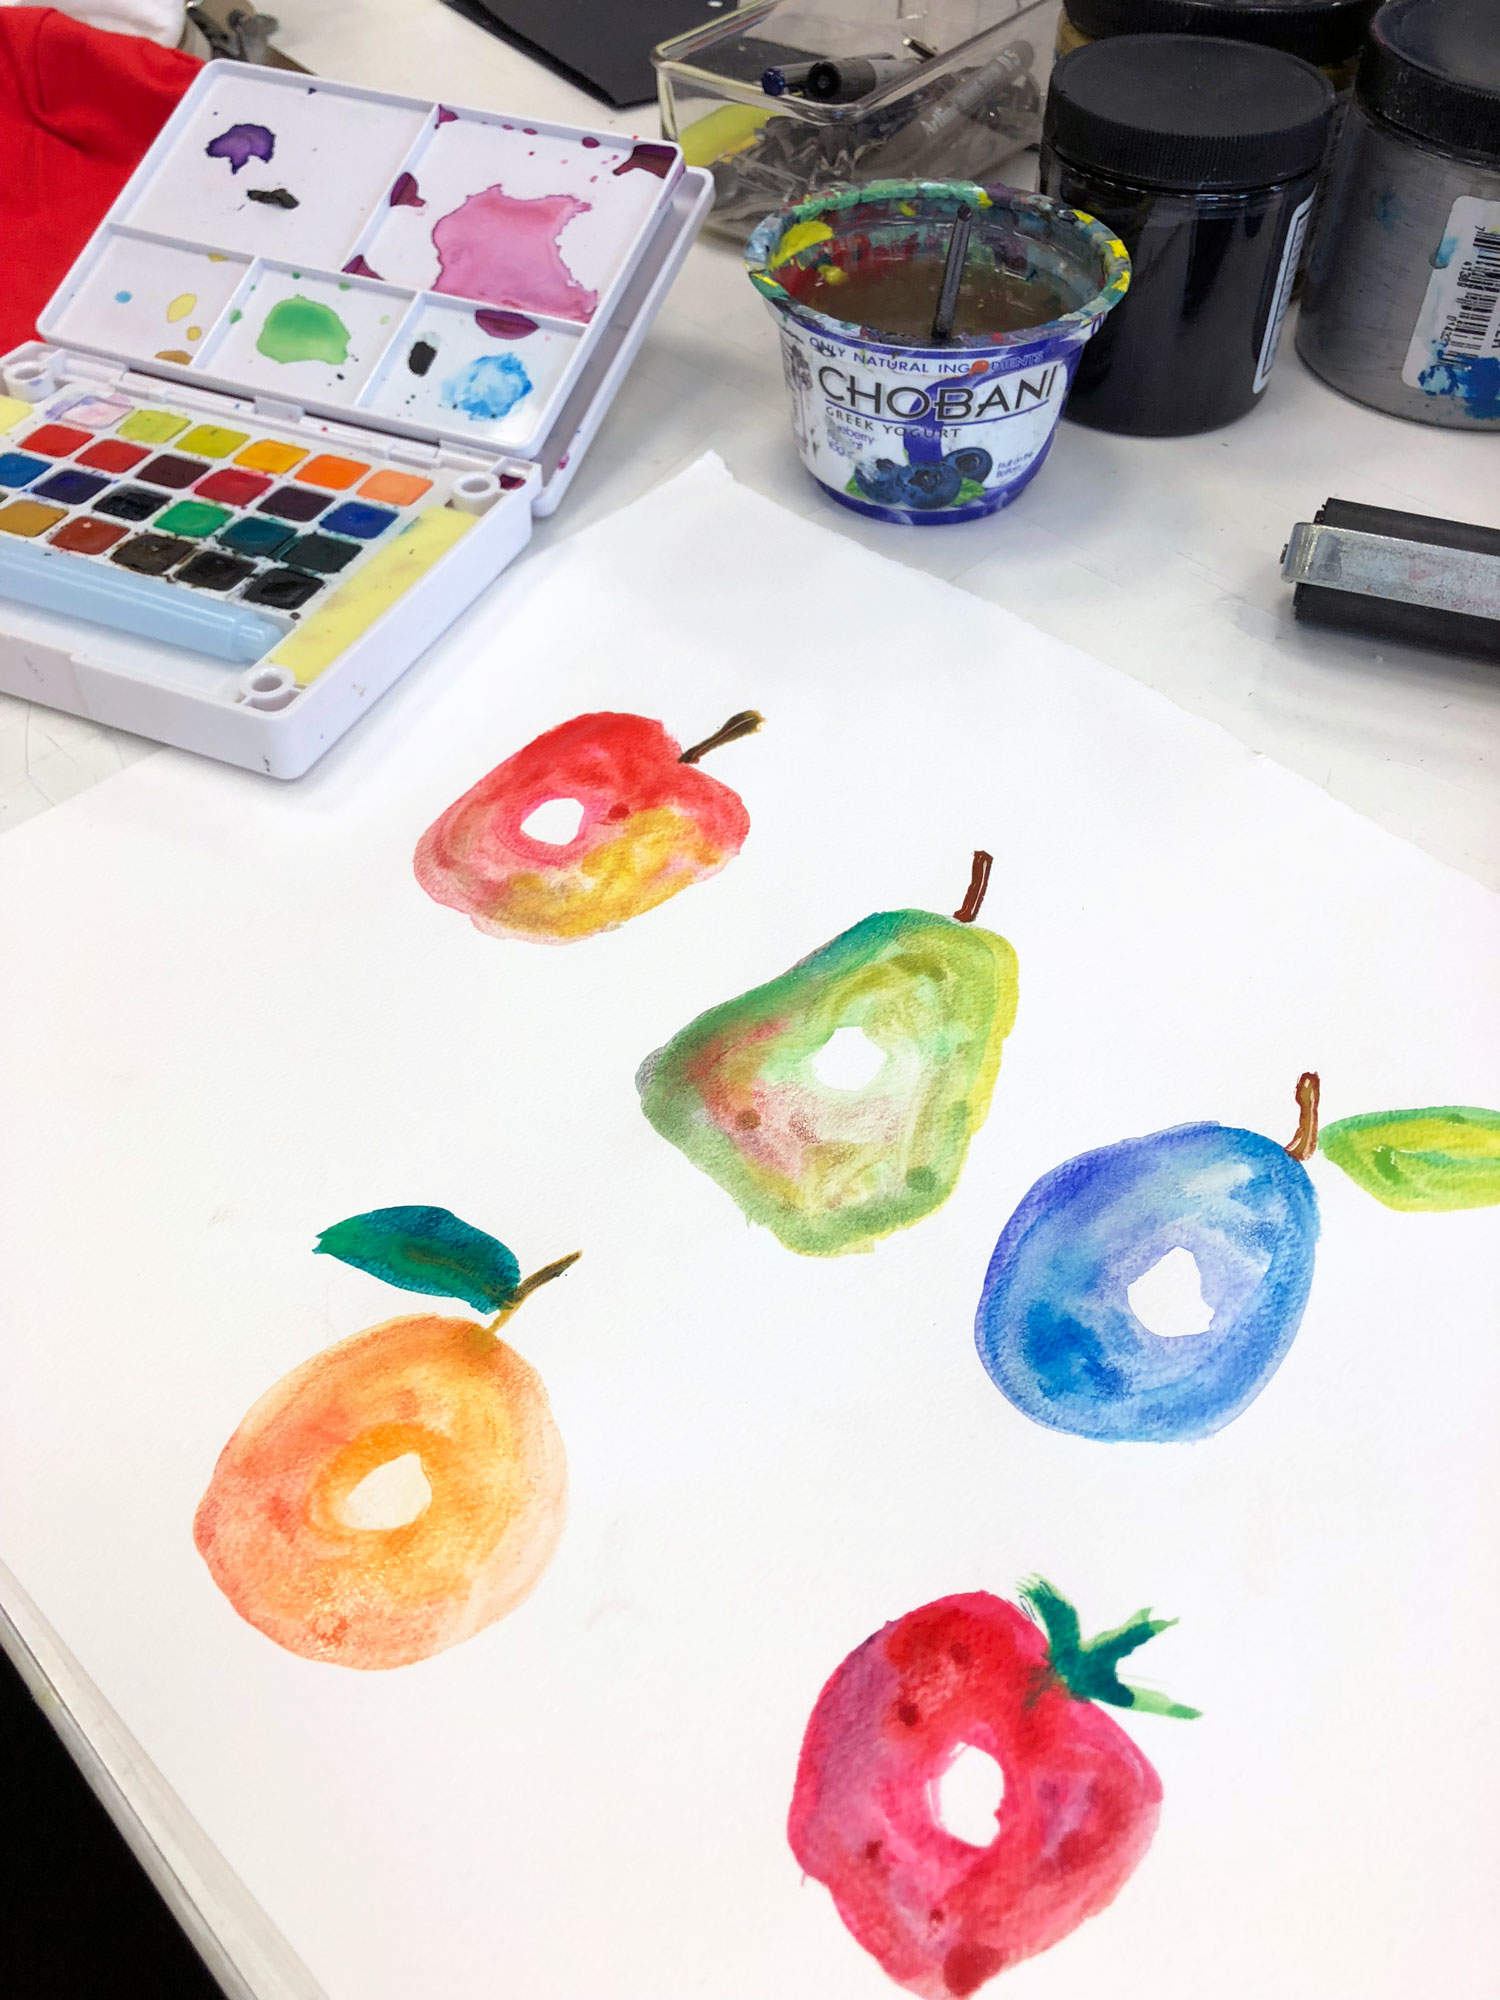
In addition to painting the eyes, I also painted a few examples of the fruit the caterpillar ate. I used watercolors and combined multiple colors to imitate the color variation in the book. I wasn’t sure how to incorporate them into the costume but decided to have them on hand in case an idea struck me. In the end I glued the apple to the front of his shirt and attached the rest on a string for him to carry during the parade.
If you don’t have access to these supplies or don’t have the knowledge on how to do it you can always print pictures of the illustration and add them to the costume.
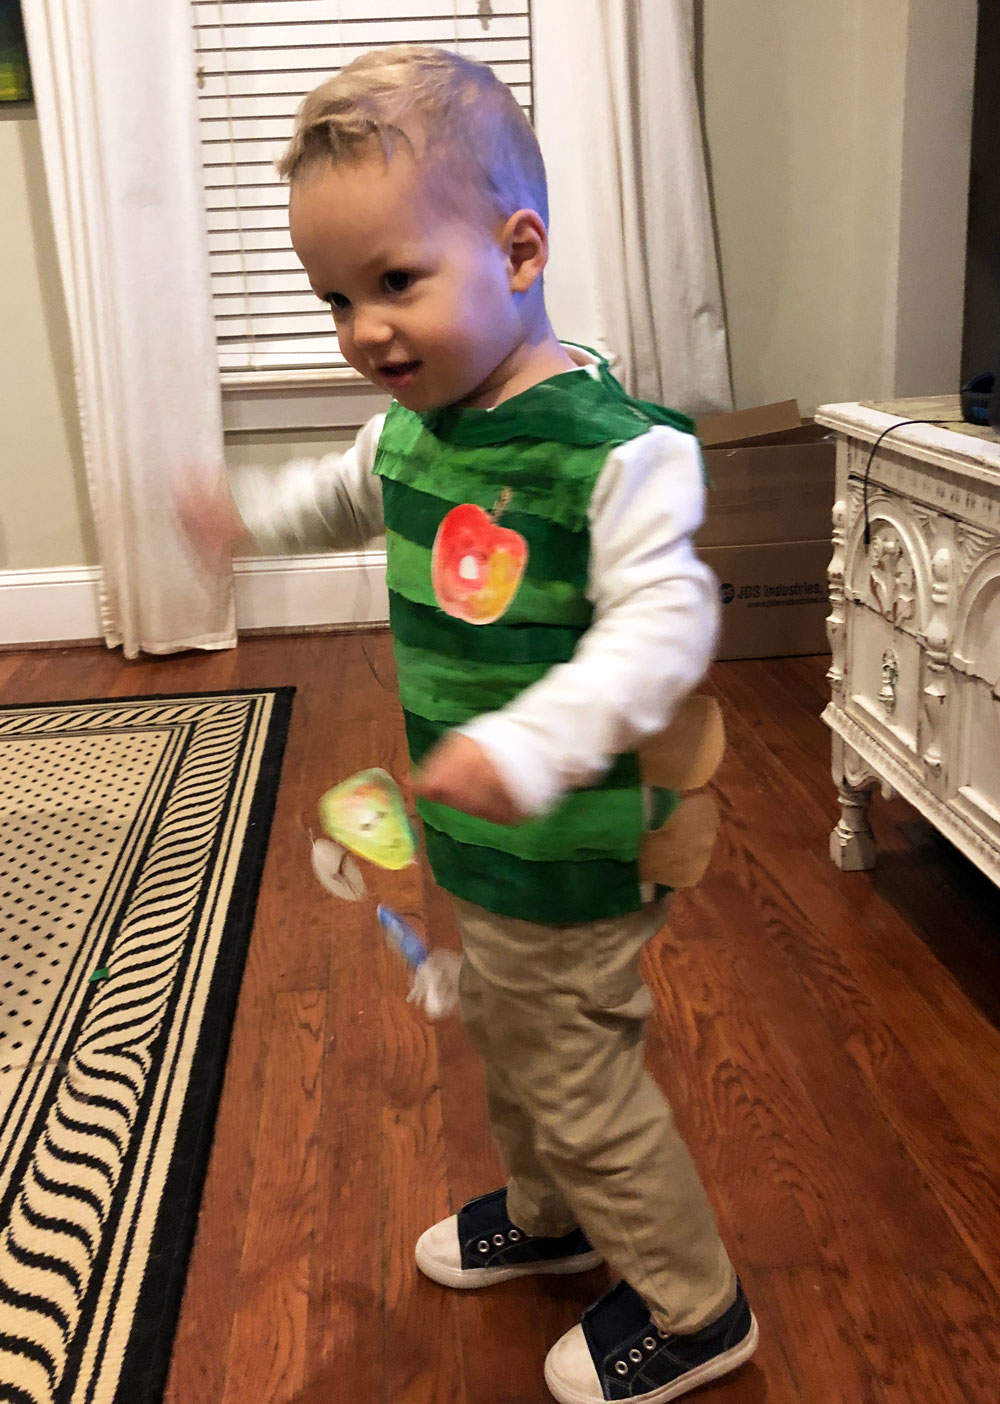
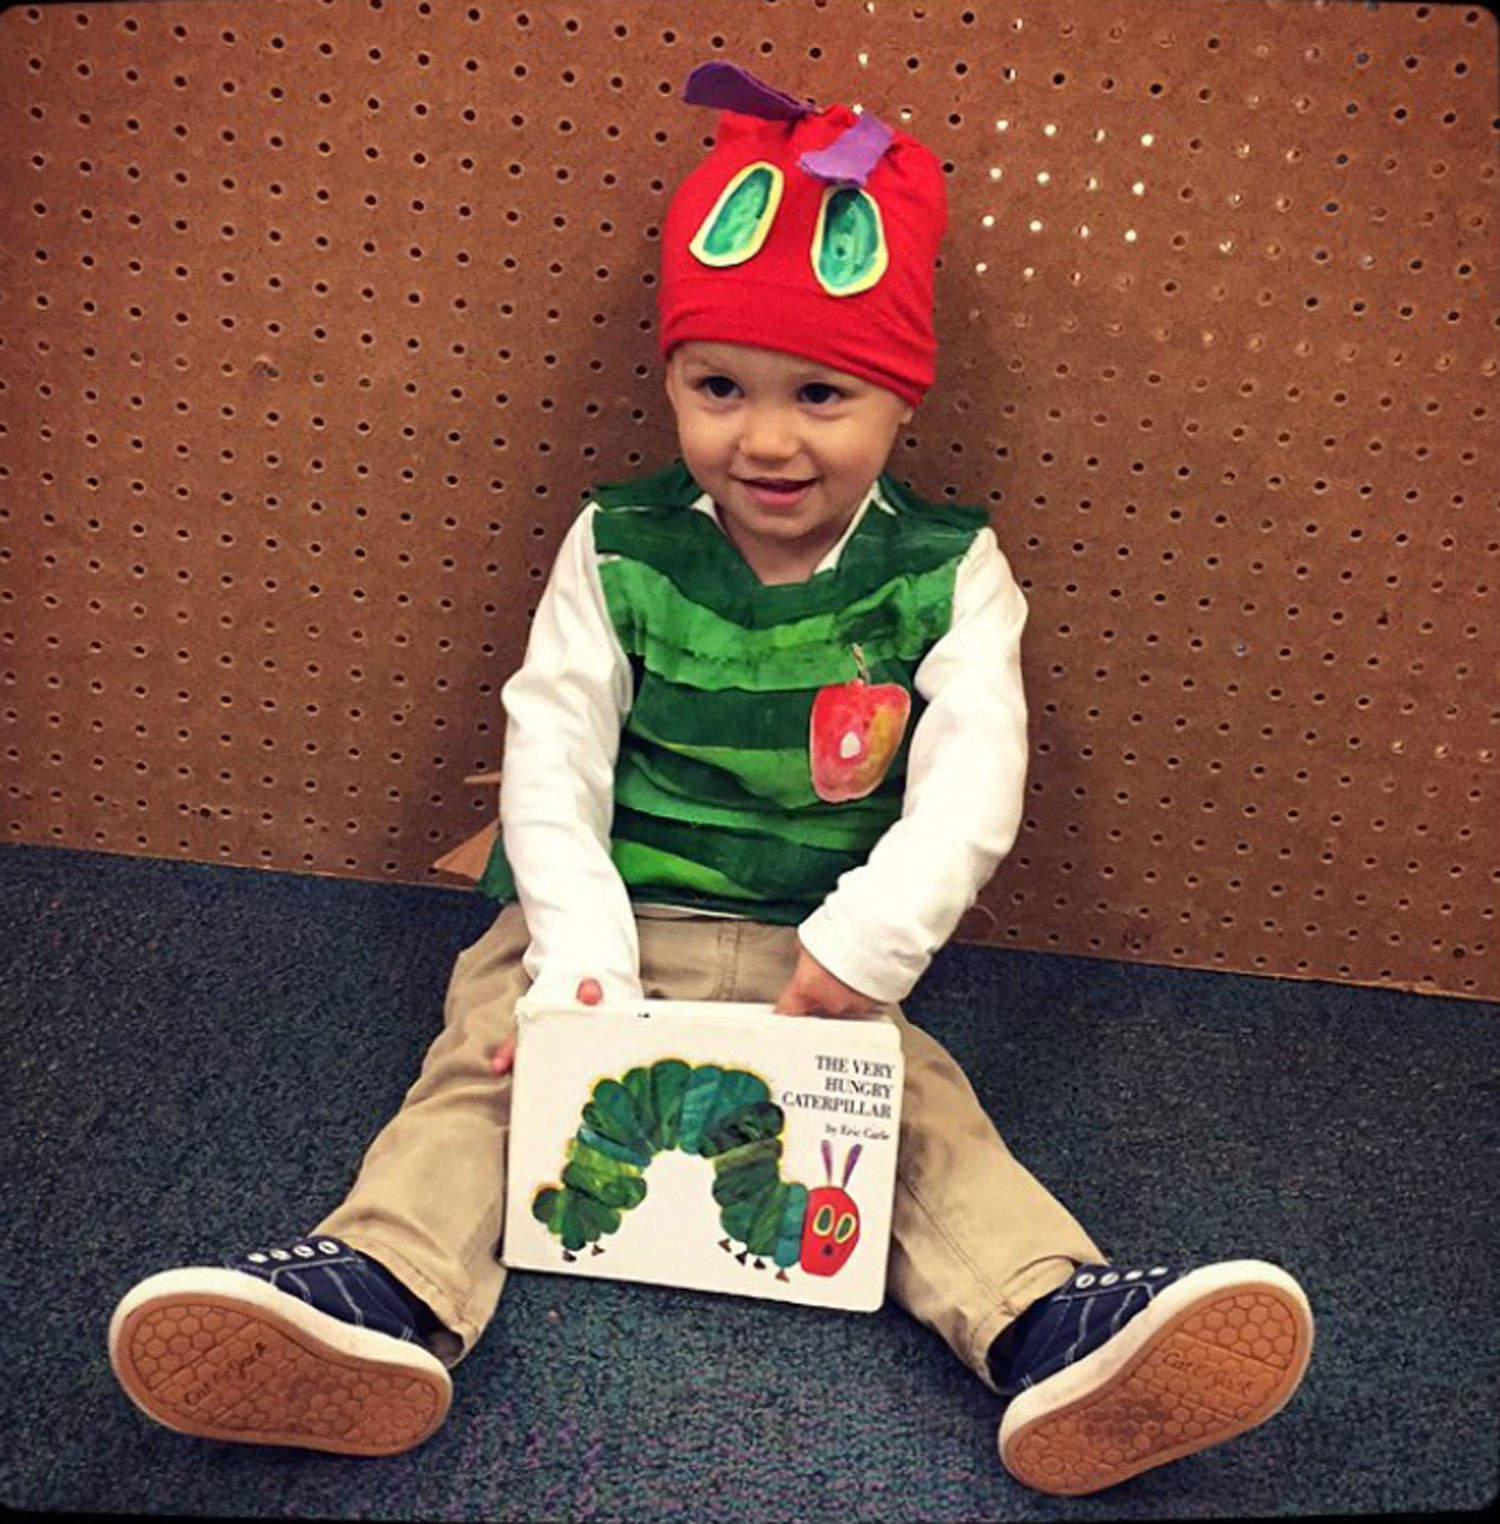
He loved shaking the fruit on the string. This is the best picture I have of him holding it, and it barely lasted the day, but I loved the touch it added.
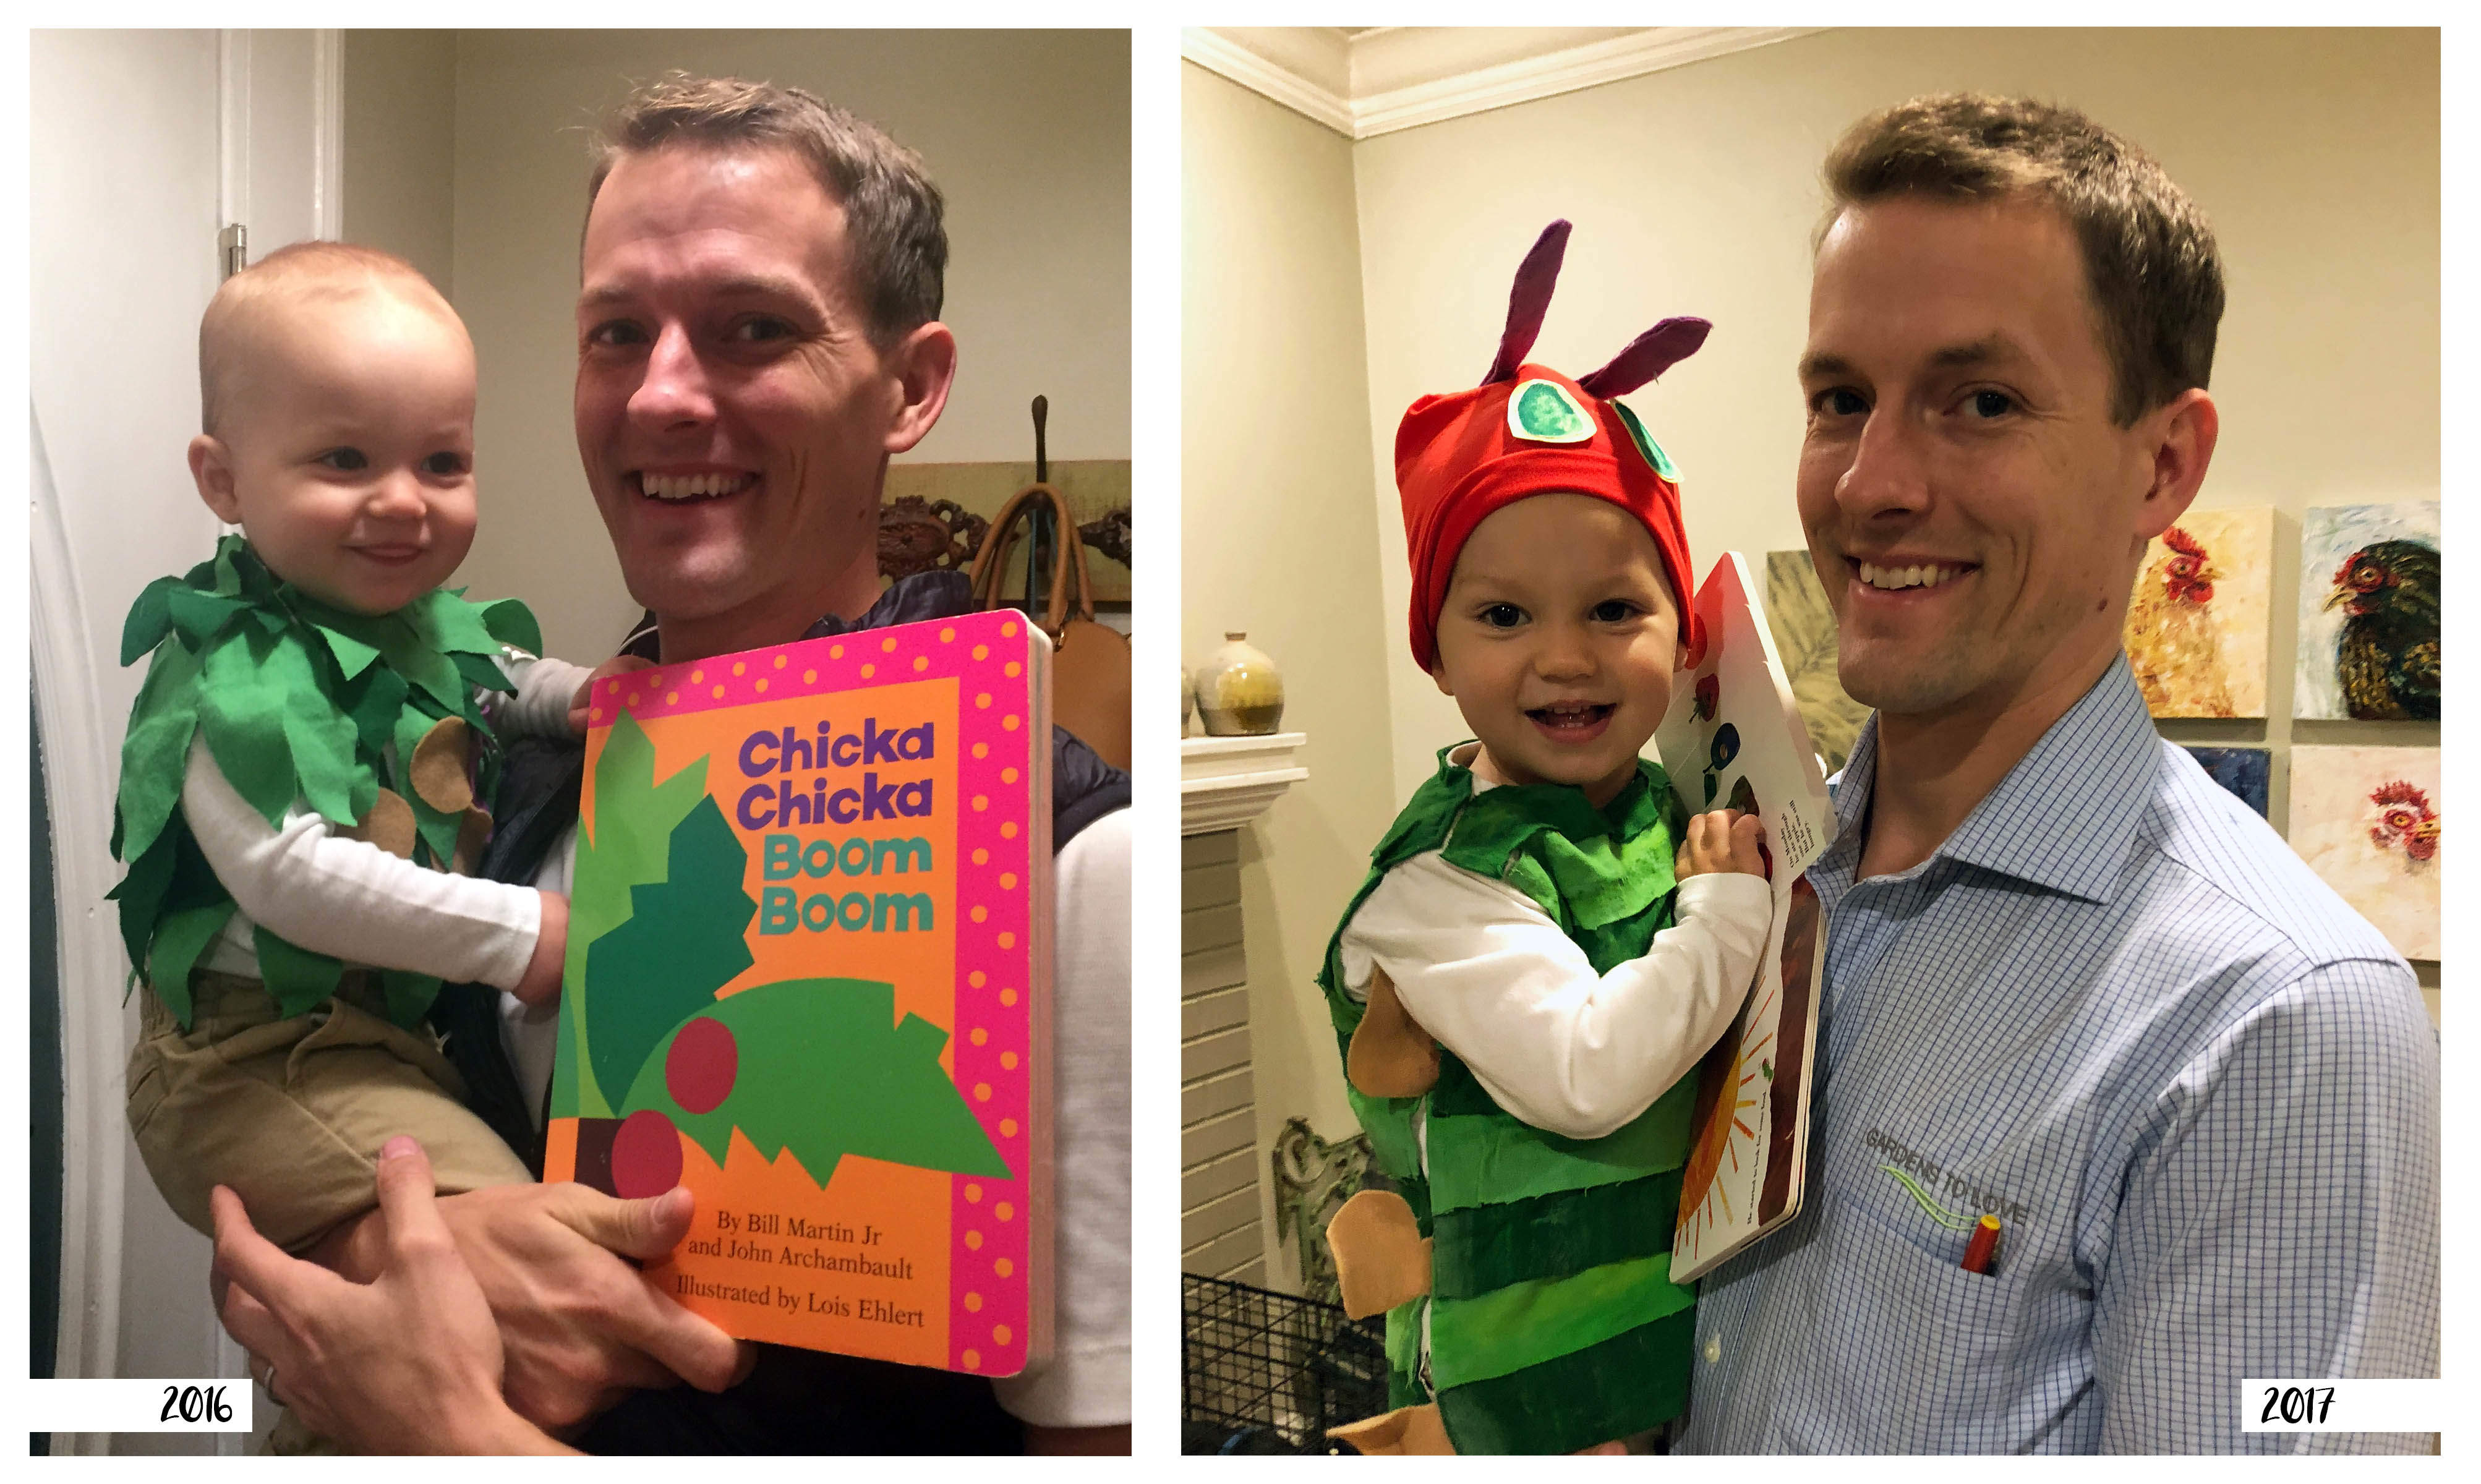
Cooper in his “Chicka Chicka Boom Boom” costume in fall of 2016, almost at a year old, and in his “The Very Hungry Caterpillar” from this year. I can’t believe how much he has grown in a year!
Although these are short-term costumes, I love being able to make something for him. My wallet also appreciates it. Thanks for taking the time to check out my latest how-to post. Help me spread the word about DIY, crafts, and all things art by sharing with others. Check out more visual journal blog posts here. Shop my education resources here. Don’t forget to follow me on Instagram and TikTok for weekly visual journal demos. Until next time!
Related Posts

Leave a Reply