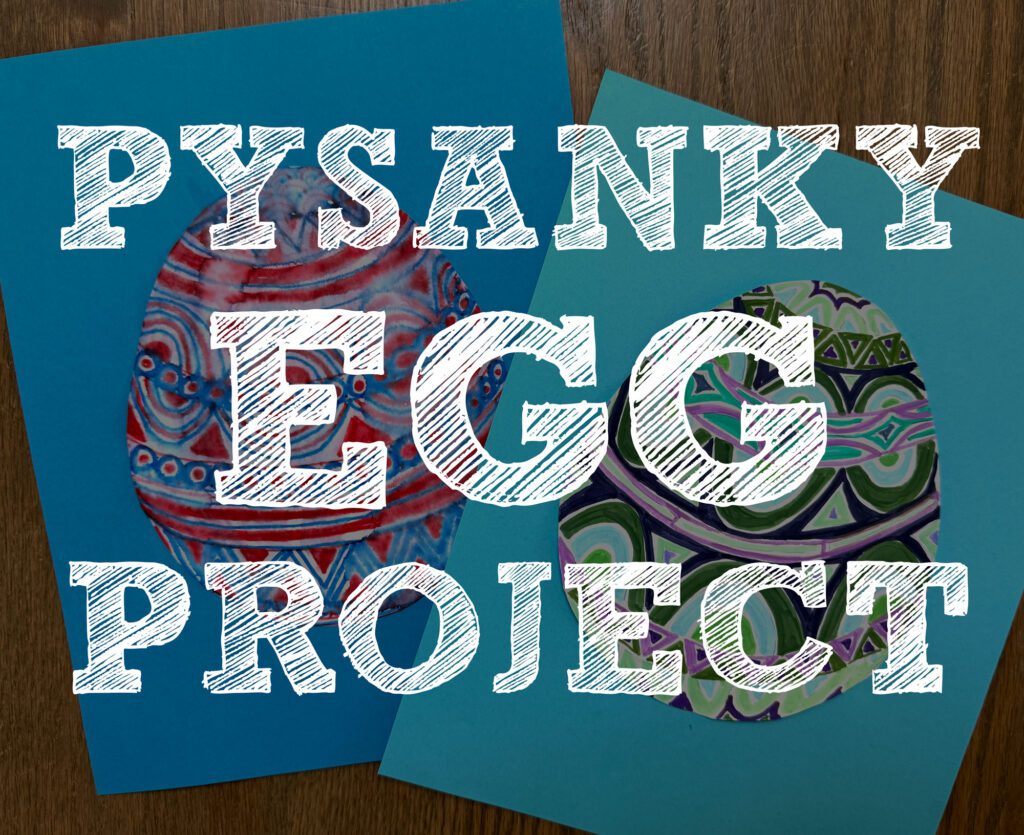
In art education, finding projects that engage students across various age groups while teaching them about cultural traditions can be challenging. However, one art form that is perfect for spring, includes creativity, and heritage is a Pysanky egg art project. Originating from Ukraine, Pysanka eggs have a rich history dating back thousands of years, bringing art history and a quick art-making project into your classroom.
Read below for details on how I teach this art project in elementary through high school classes or hit the easy button and get everything you need to teach it (minus the supplies) in my lesson pack here.
A Brief History of Pysanky Eggs
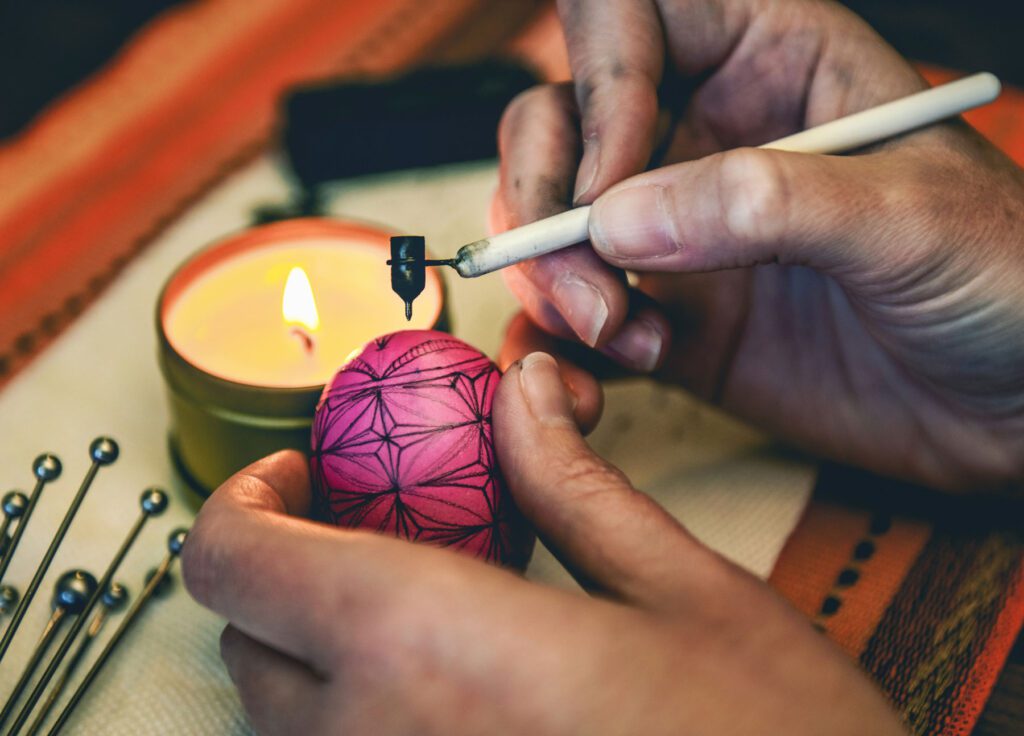
Pysanky eggs, pronounced “pih-sahn-kih,” are intricately decorated eggs created using a wax-resist method. The tradition of making Pysanky eggs can be traced back to ancient times when people believed in the power of eggs as symbols of life and rebirth. Early Ukrainian cultures used Pysanky eggs as part of spring rituals to ensure fertility and protect against evil spirits.
The process of creating Pysanky eggs involves using a stylus called a “kistka” to apply melted beeswax onto the eggshell in intricate patterns. The egg is then dyed, with the areas covered in wax remaining the original color of the eggshell. This process is repeated, layering wax and dye until the desired design is achieved. Finally, the wax is melted away to reveal the vibrant colors and intricate patterns underneath.
Pysanky Egg Art Project: Lessons for Students
Elementary Art Lesson
For young elementary art students, exploring this Pysanky egg art project is the prefect way to focus students before spring break. This lesson can be taught to kindergarten students and up. Here’s a simplified lesson plan tailored for this age group:
- Introduction to Pysanky Eggs: Begin by introducing students to the history and cultural significance of Pysanky eggs. Show examples of traditional designs and discuss the symbolism behind them.
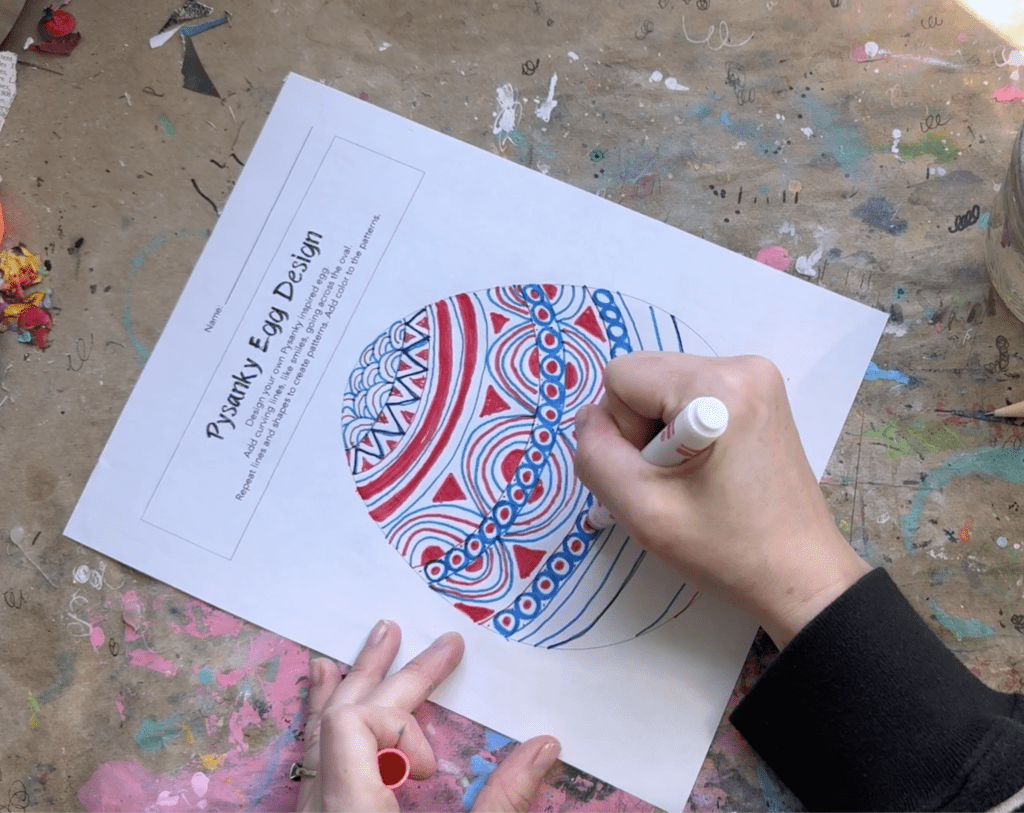
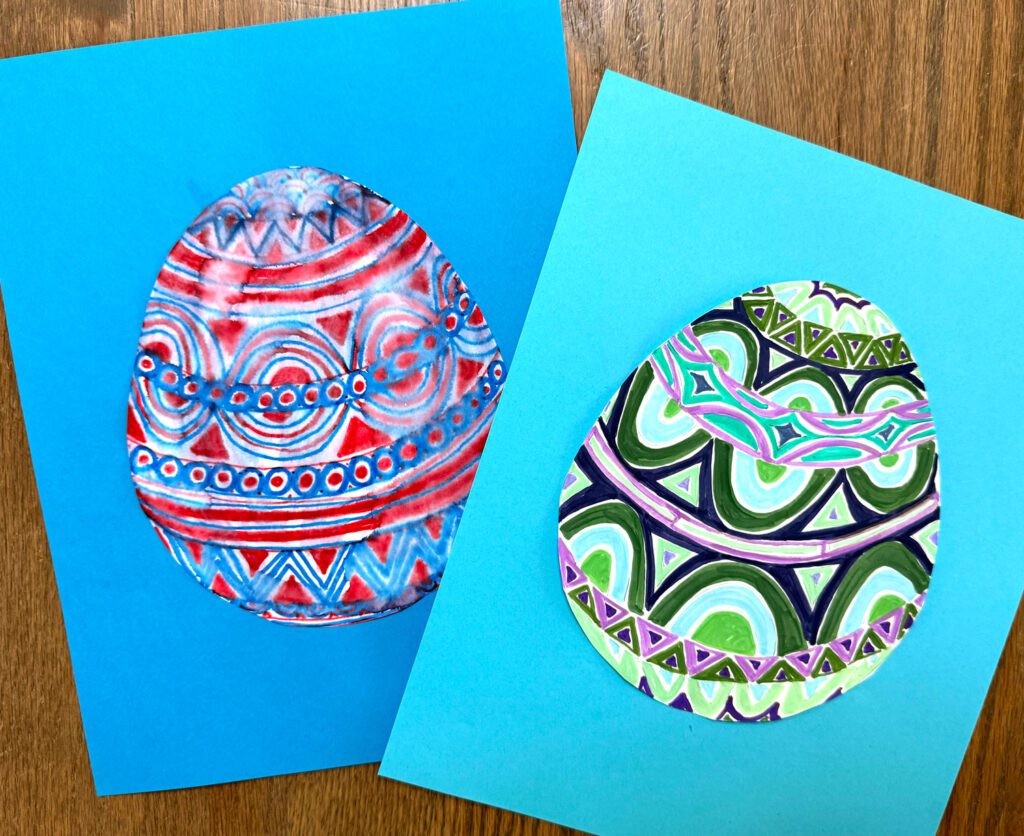
- Dividing the Egg Shape: Provide students with egg-shaped templates or have them draw an oval on a sheet of paper. Instruct them to divide the egg shape into sections using red and blue markers. The lines should curve like a smile.
- Adding Patterns: Encourage students to add lines and shapes within each section to create patterns. Emphasize creating a repeating, predictable pattern in each band. Students should use more red marker than blue.
- Blending Colors: Using a damp brush, instruct students to paint over their drawings with water. This will blend the red and blue colors to create purple while preserving the design. This is a great way to see primary colors mixing to create secondary colors in action.
- Discussion and Reflection: Once the eggs are dry, gather the students for a discussion about their creations. Ask them to reflect on the process and share what they learned about Pysanka eggs. Cut out their eggs, mount them on the student’s choice of construction paper color.
Art Lesson for Older Students
For older students, a more advanced lesson can be designed to challenge their artistic skills and creativity:
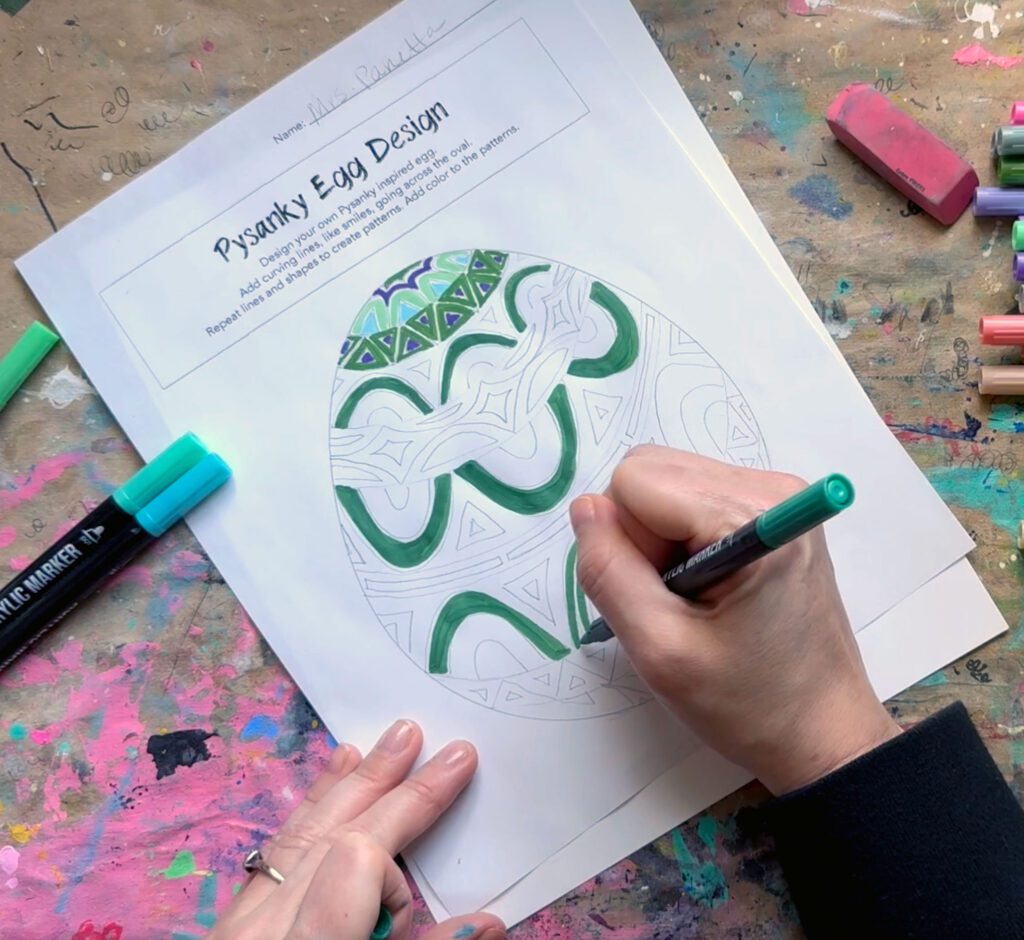
- Design Development: Provide students with egg templates and instruct them to sketch a design using pencils. Encourage them to focus on creating intricate patterns and compositions. They should divide their eggs into sections using curving lines. Add predictable, repeating patterns in each band.
- Color Selection: Have students select a color scheme for their designs. This is a great time to review or teach the color wheel and basic color schemes. To extend this to a two-day project have students fill out a color scheme handout or record them in their sketchbook to visualize color schemes before selecting one.
- Filling in Colors: Instruct students to fill in the spaces between the pencil lines with their chosen colors. Students should do their best to color close to the pencil line without crossing it! Markers and paint pens are ideal, colored pencils or crayons will also work!
- Erasing Pencil Lines: Once the colored areas are dry, students should carefully erase the pencil lines, leaving behind white lines between the colored shapes. This technique creates a striking contrast and emphasizes the intricate patterns, similar to the dyed Pysanka eggs.
- Finishing Touches: Encourage students to add any final details or embellishments to their designs. They can use metallic markers or glitter to enhance their Pysanky egg art project further. The finished eggs should be cut out and mounted on construction paper.
This Pysanky egg art project not only teaches students valuable artistic techniques but also gains a deeper appreciation for cultural traditions and heritage. This is the perfect project to celebrate spring or fill the final days leading up to spring break. Whether creating simple patterns with markers or intricate designs with colored pencils, exploring Pysanka eggs opens up a world of creativity and exploration for students of all ages.
Check out more spring art project ideas in a blog post here. Don’t forget to follow me on Instagram and TikTok for weekly visual journal demos and other project ideas. Subscribe here to get freebies, project tutorials, and more straight to your inbox. Until next time!
Related Posts


Leave a Reply