
Check out how I completed a kitchen cabinet repaint job with zero experience or knowledge. Supplies and how-to below.
 a.k.a Making it Work is Cheaper than Moving
Over the past 7 and a half years since we moved into our historic Atlanta bungalow our family has expanded, but the walls of our house have not. With each passing year, and addition of more stuff and tiny humans, I feel our 1400-square-foot house getting smaller and smaller. Now with baby number two on the way, we are having to get creative with our storage.
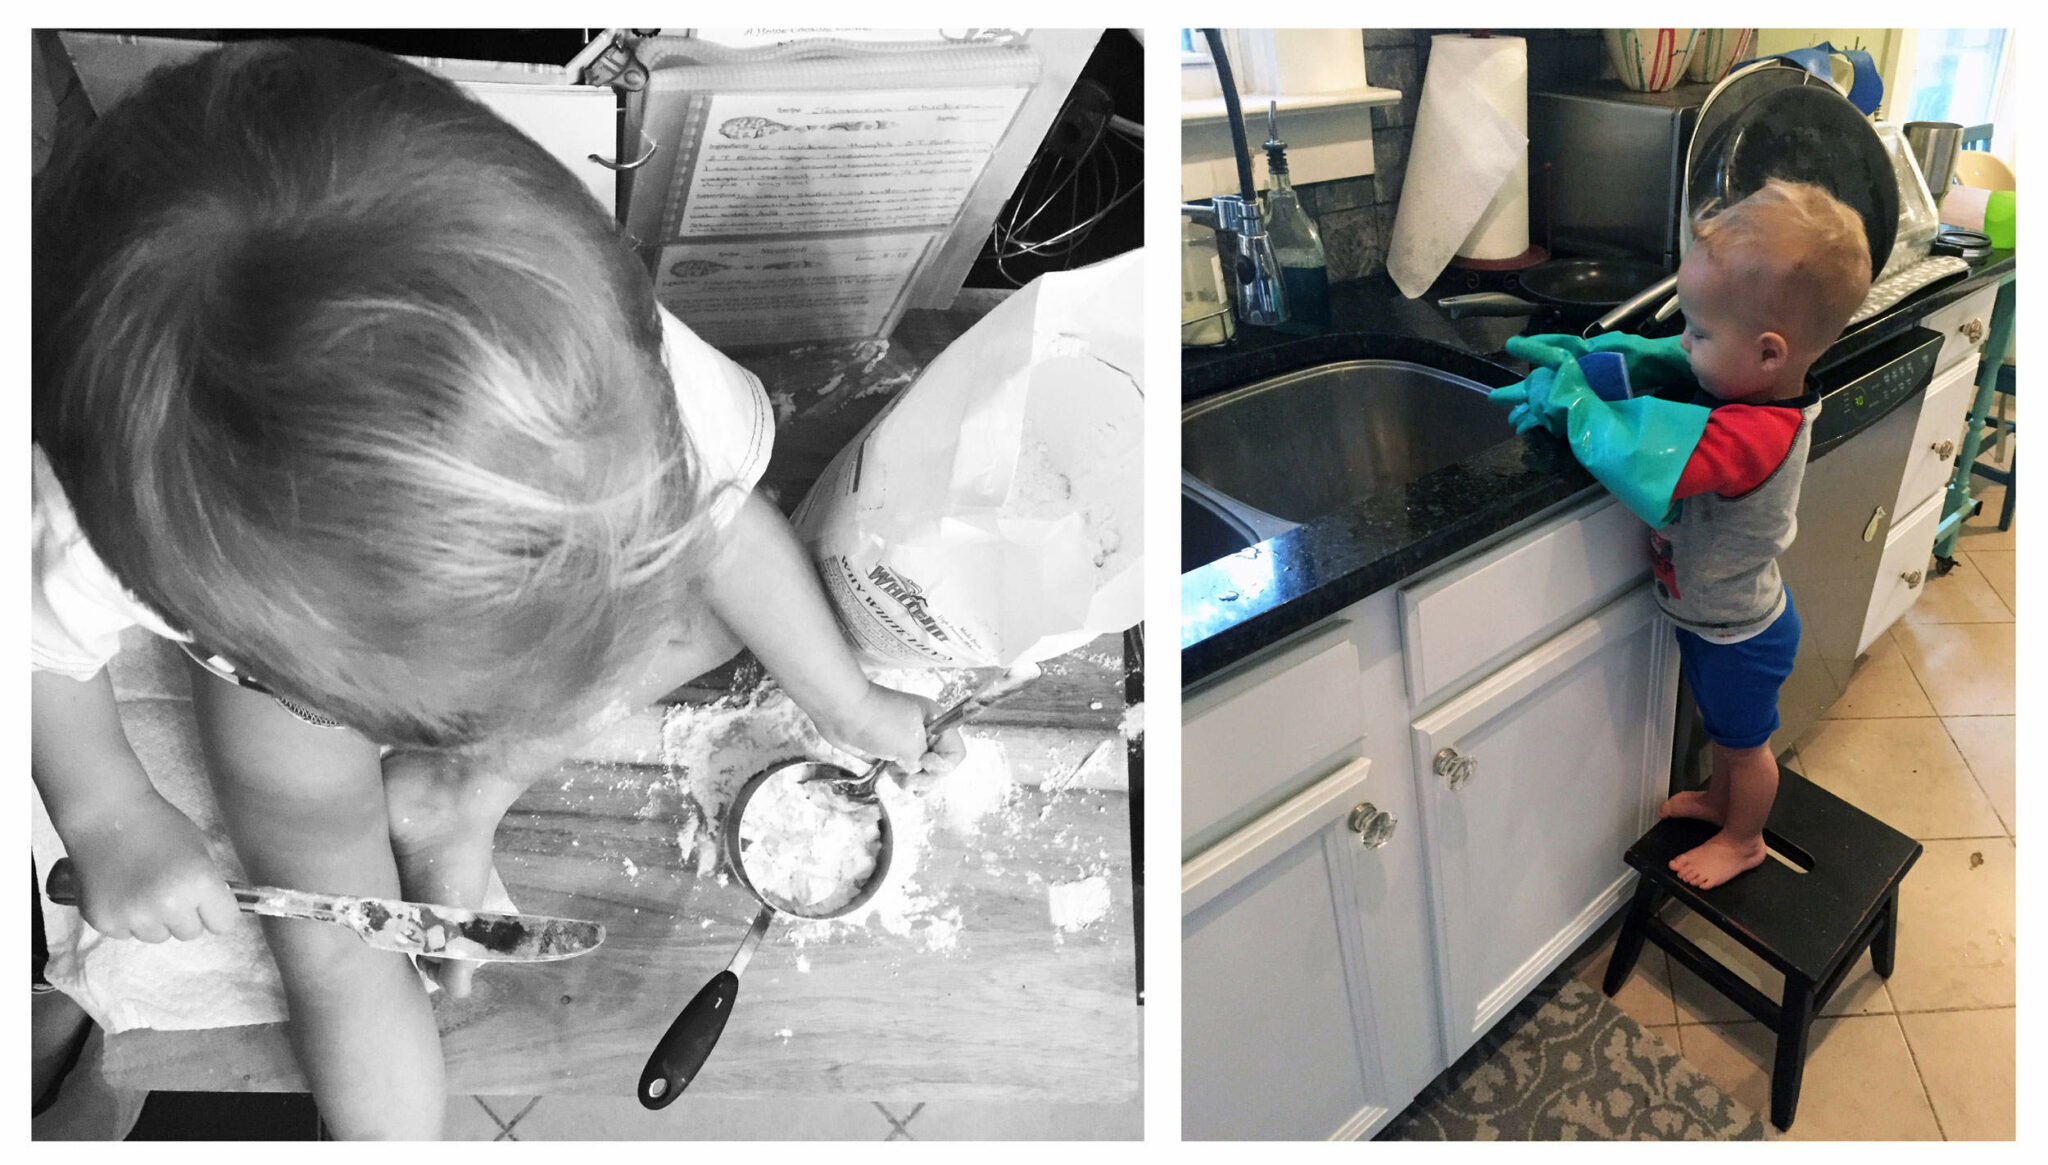
Over the summer I finally hit a wall with our kitchen. I realized that I needed space for Cooper’s toddler food items as well as baby girl’s (coming end of November, yikes!) baby feeding items. You would think such tiny humans wouldn’t require much space, but it took a great deal of reorganizing and purging just to clear a single shelf to accommodate Cooper. Plus I was sick of dishes, pots and pans spilling out of my cabinets every time I opened a door. In addition to the cabinet space issue, the overflow from our pantry to the top of our refrigerator had also found it’s way to the top of our cabinets making our kitchen look like a complete mess even at it’s most picked up.
I was over it. Something needed to change and Nick and I decided moving was too much. This kitchen is my reality for the foreseeable future, it was time to make it work.
So my wheels started turning. There was enough space at the top of our current cabinets to fit another row of cabinets to give us more storage space. I began researching our brand of cabinets and my options. It was quickly discovered that even cheap, laminate cabinets are pricey and they didn’t make the size I was looking for. I started on plan B, what creative way could I add space? I thought about building something custom, with stain glass window doors, and all kinds of fancy things. But the reality was all the fancy things came with fancy thing price tags and it was going to be difficult to match the stain of our cabinets, which I was not a fan of anyway.
Plan C: I began researching all styles and finishes of cabinets. If I could find something cheap, I could bite the bullet and commit to fully repainting our cabinets. This plan started to develop into reality when I discovered the perfect height and unfinished cabinets, for a cheap price tag, at Home Depot (check out what I found here). The width of the cabinets was limited to two sizes, which meant they wouldn’t perfectly line up with our current cabinets, but I thought I could make it work regardless.
Next, I began researching how to refinish laminate cabinets and realized it was a lot less overwhelming than I thought. I knew it would be a time consuming project, but it was summer vacation, and I was ready. I used Bob Villa’s tips on cabinet refinishing as my guide, check it out here.
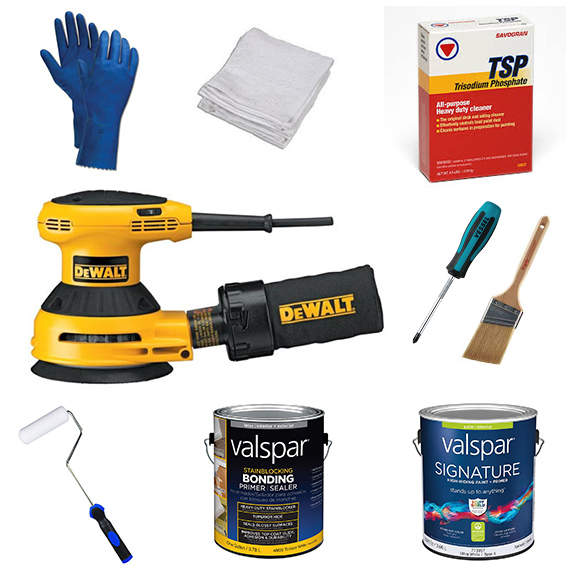
As soon as I had my strategy worked out, I was ready to immediately get supplies and get started on my kitchen cabinet repaint project. For this project I needed:
SUPPLIES
- A screwdriver, to remove the cabinet doors and all hardware from the cabinets
- Rags, gloves, and a product called TSP to heavy duty clean the sticky, kitchen dust and grim that had accumulated on my cabinets. Gloves with TSP is a must, it’s a not very environmentally or human friendly product, but I tried to be very responsible while I used it and it seriously got the job done. I purchased heavy-duty gloves for this.
- A power sander and 120 grit sandpaper to rough up the surface of the cabinets. I pity the person who attempts to do this project without a power sander, my arms don’t need to see that kind of action. Bob Villa recommended 120 grit to rough up the surface without damaging the laminate surface.
- An angled paintbrush plus foam cabinet rollers. The cabinet rollers were cheap, cheap, cheap. I went through 1 and 1/2 packages (each packaged had 4 rollers) for my project, they tore up very quickly, but they were so worth it. The rounded end allows you to press paint into all the nooks and crannies and the finished surface was very smooth. My hubs, who is full of constructive criticism, even commented on how nice the finish looked.
- The paint department employee told me to purchase a primer that specifically said “bonding” on the front to ensure the paint stuck to the laminate surface. I doubled down and bought a primer/paint combo for my top coat, although I still had to paint 4-5 coats to get a solid look. I went with a bright white for my cabinets.
STEP ONE
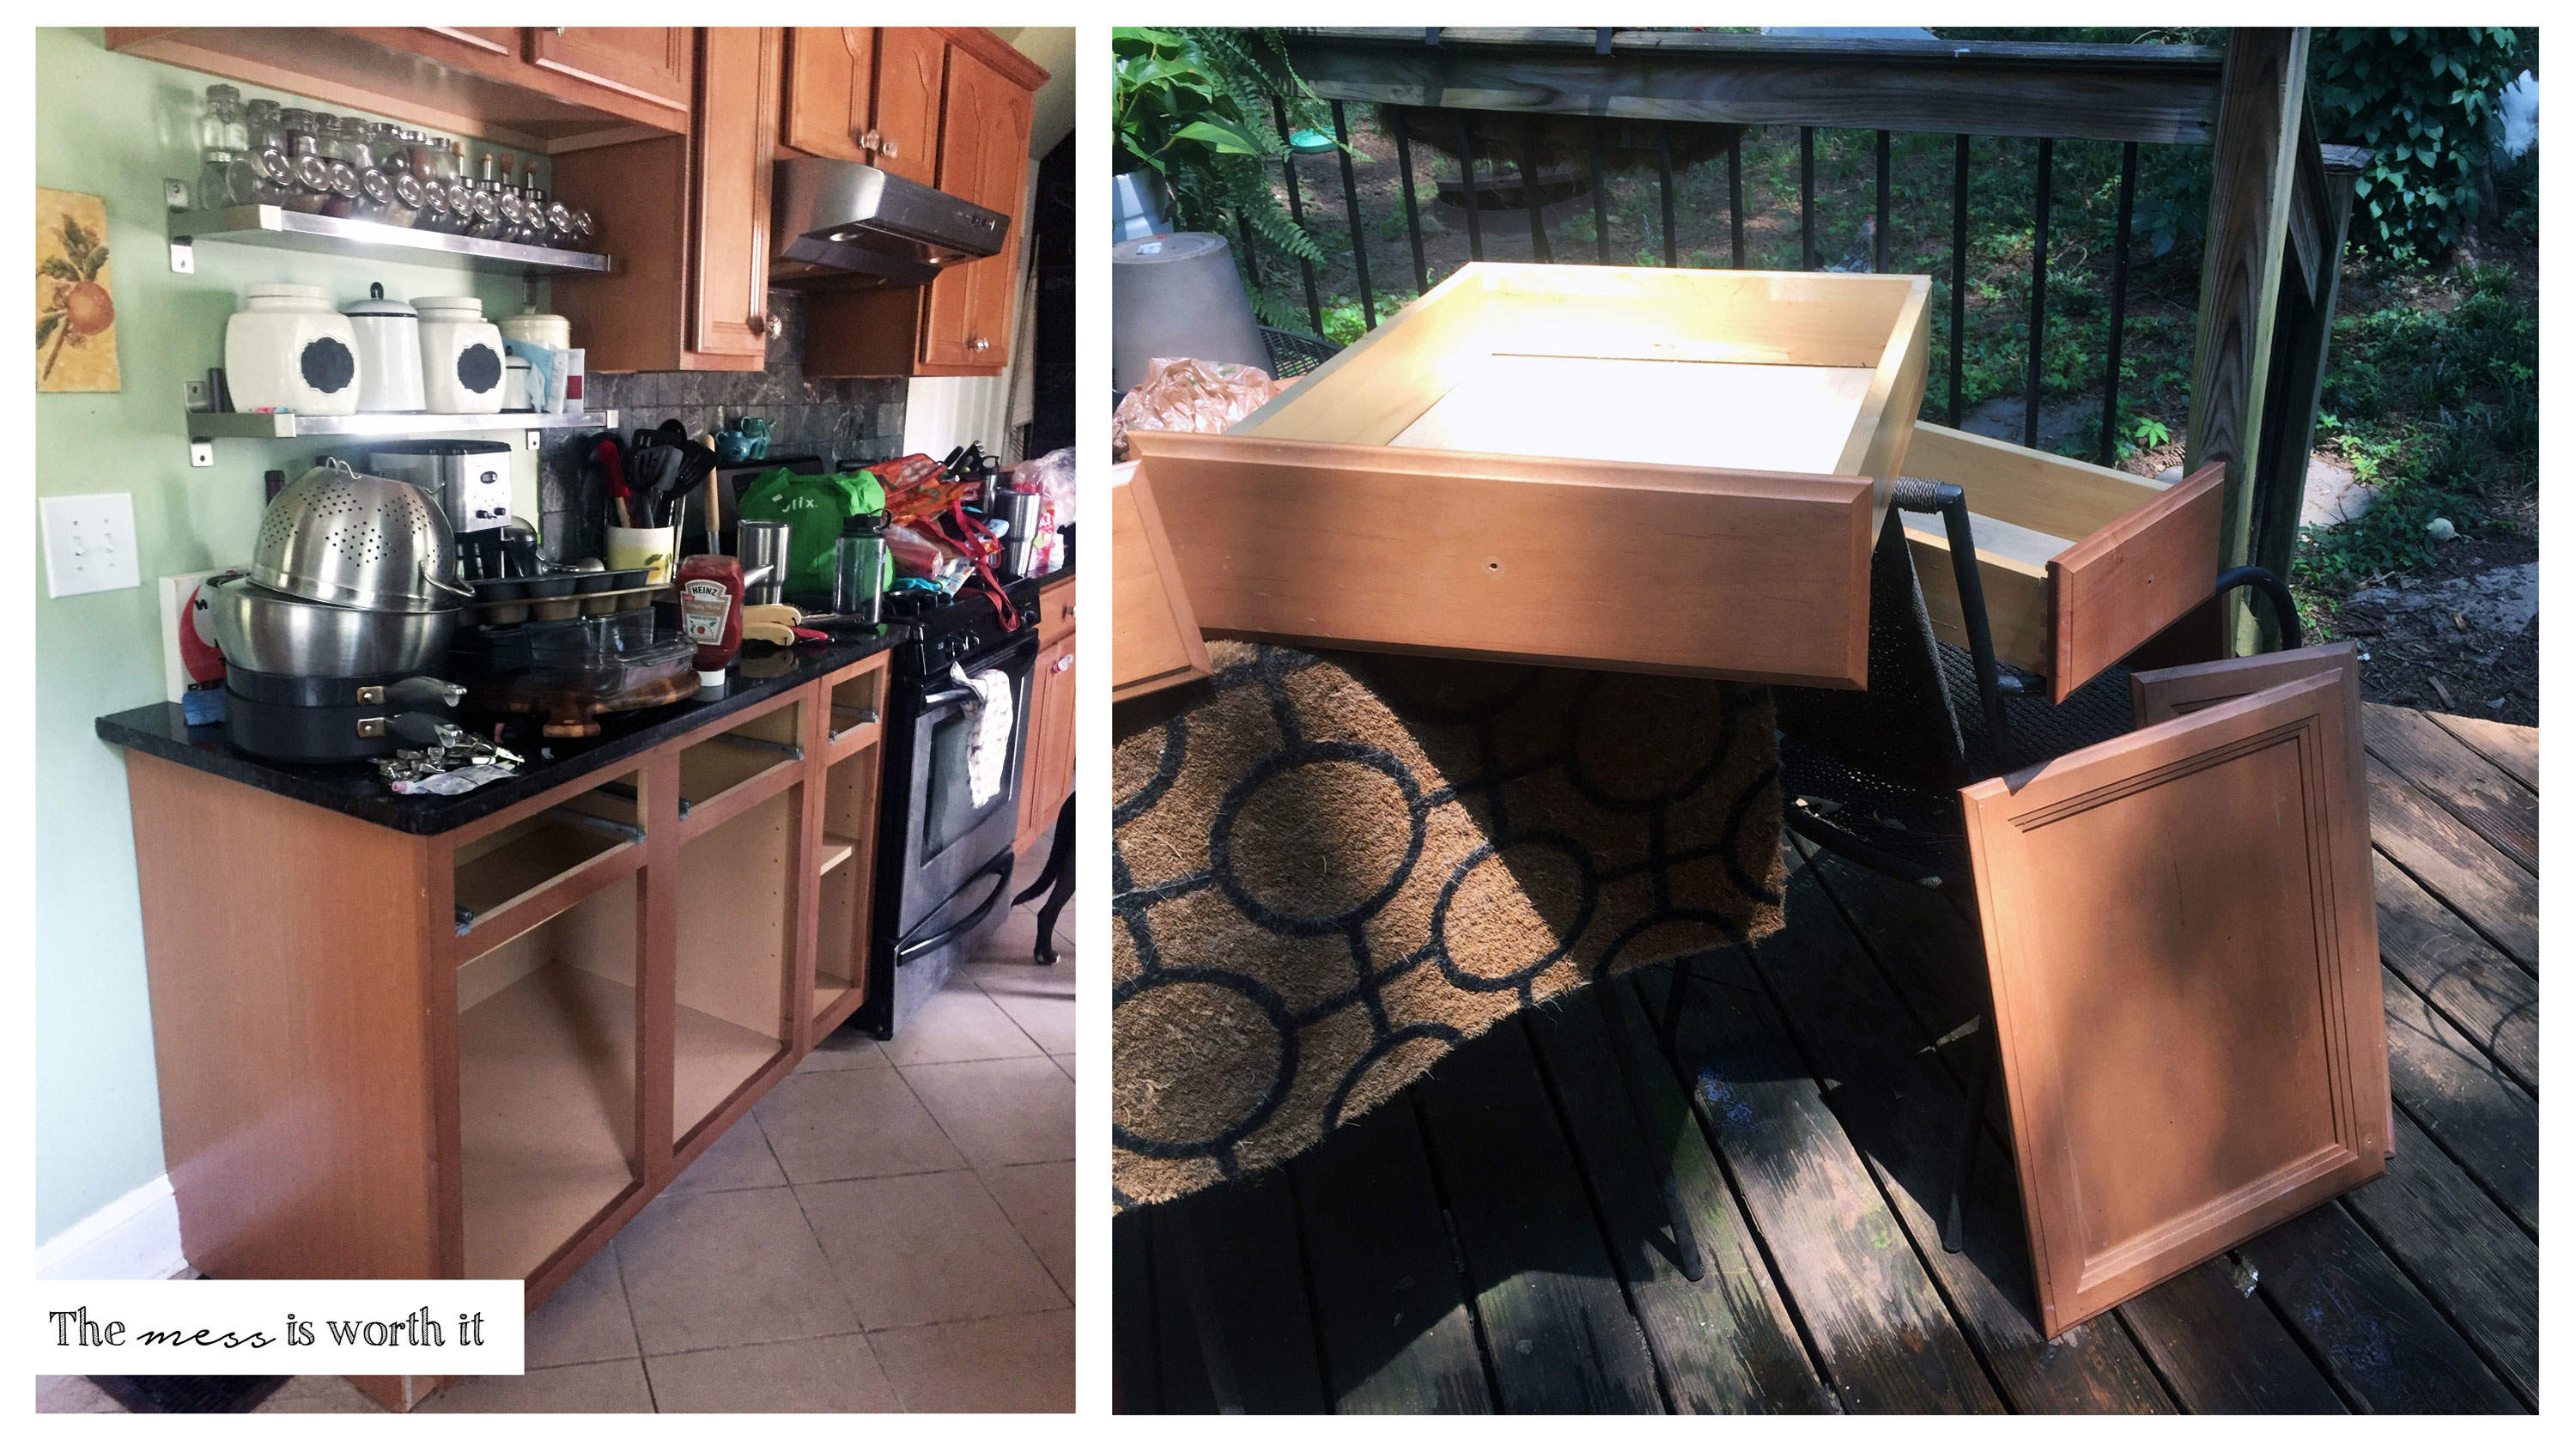
I hit a moment very early on when I felt overwhelmed and questioned what I was doing. Simply seeing the amount of junk we have in our cabinets piled all over our kitchen, with a 2-year-old trying to get into everything, was enough to make me want to quit. But, the mess is worth it, I promise. I moved all my drawers and cabinet doors to our deck to clean, sand, and paint them. For everything else, I had to leave windows and doors open, to ensure I had good airflow, and clean, sand, and paint in my kitchen. The TSP did the trick, but it did discolor the wood as soon as it touched it. That was the point of no return.
STEP TWO
After cleaning everything with TSP and allowing it to dry, I sanded everything down. I went over it enough to feel a slight texture when I ran my hand across the wood. I then wiped everything down with a damp rag to make sure no sawdust was left behind. Over the course of the next two days I felt like I was in a constant loop. I would put a coat on the front of all drawers and doors, move inside and put a coat of paint on all the hanging cabinets. By the time I made it back outside, the paint was dry to the touch, I flipped everything over, and painted the backs and interiors of the doors and drawers. I went back inside and continued the cycle.
STEP THREE
I was wishfully hoping for a single coat of primer and a single coat of paint to complete the job. In reality it took a layer of primer, two layers of paint, and two more quick layers of paint. Once everything was dry and re-installed, I continued to touch up any spots I could see.
STEP FOUR
Once all the cabinets were painted, I had hubby help me place the new cabinets on top of the original ones. We removed the molding from the top of the original cabinets, and calked the seam. We then reinstalled the molding along the top of the new cabinets. The cabinets were secured by screwing the backs into studs in the wall.
This process also allowed me to clean the inside of my cabinets, put liners on every shelf, and reorganize everything. It felt great to move back in and donate a 1/3 of the items we were previously storing in our tiny space.
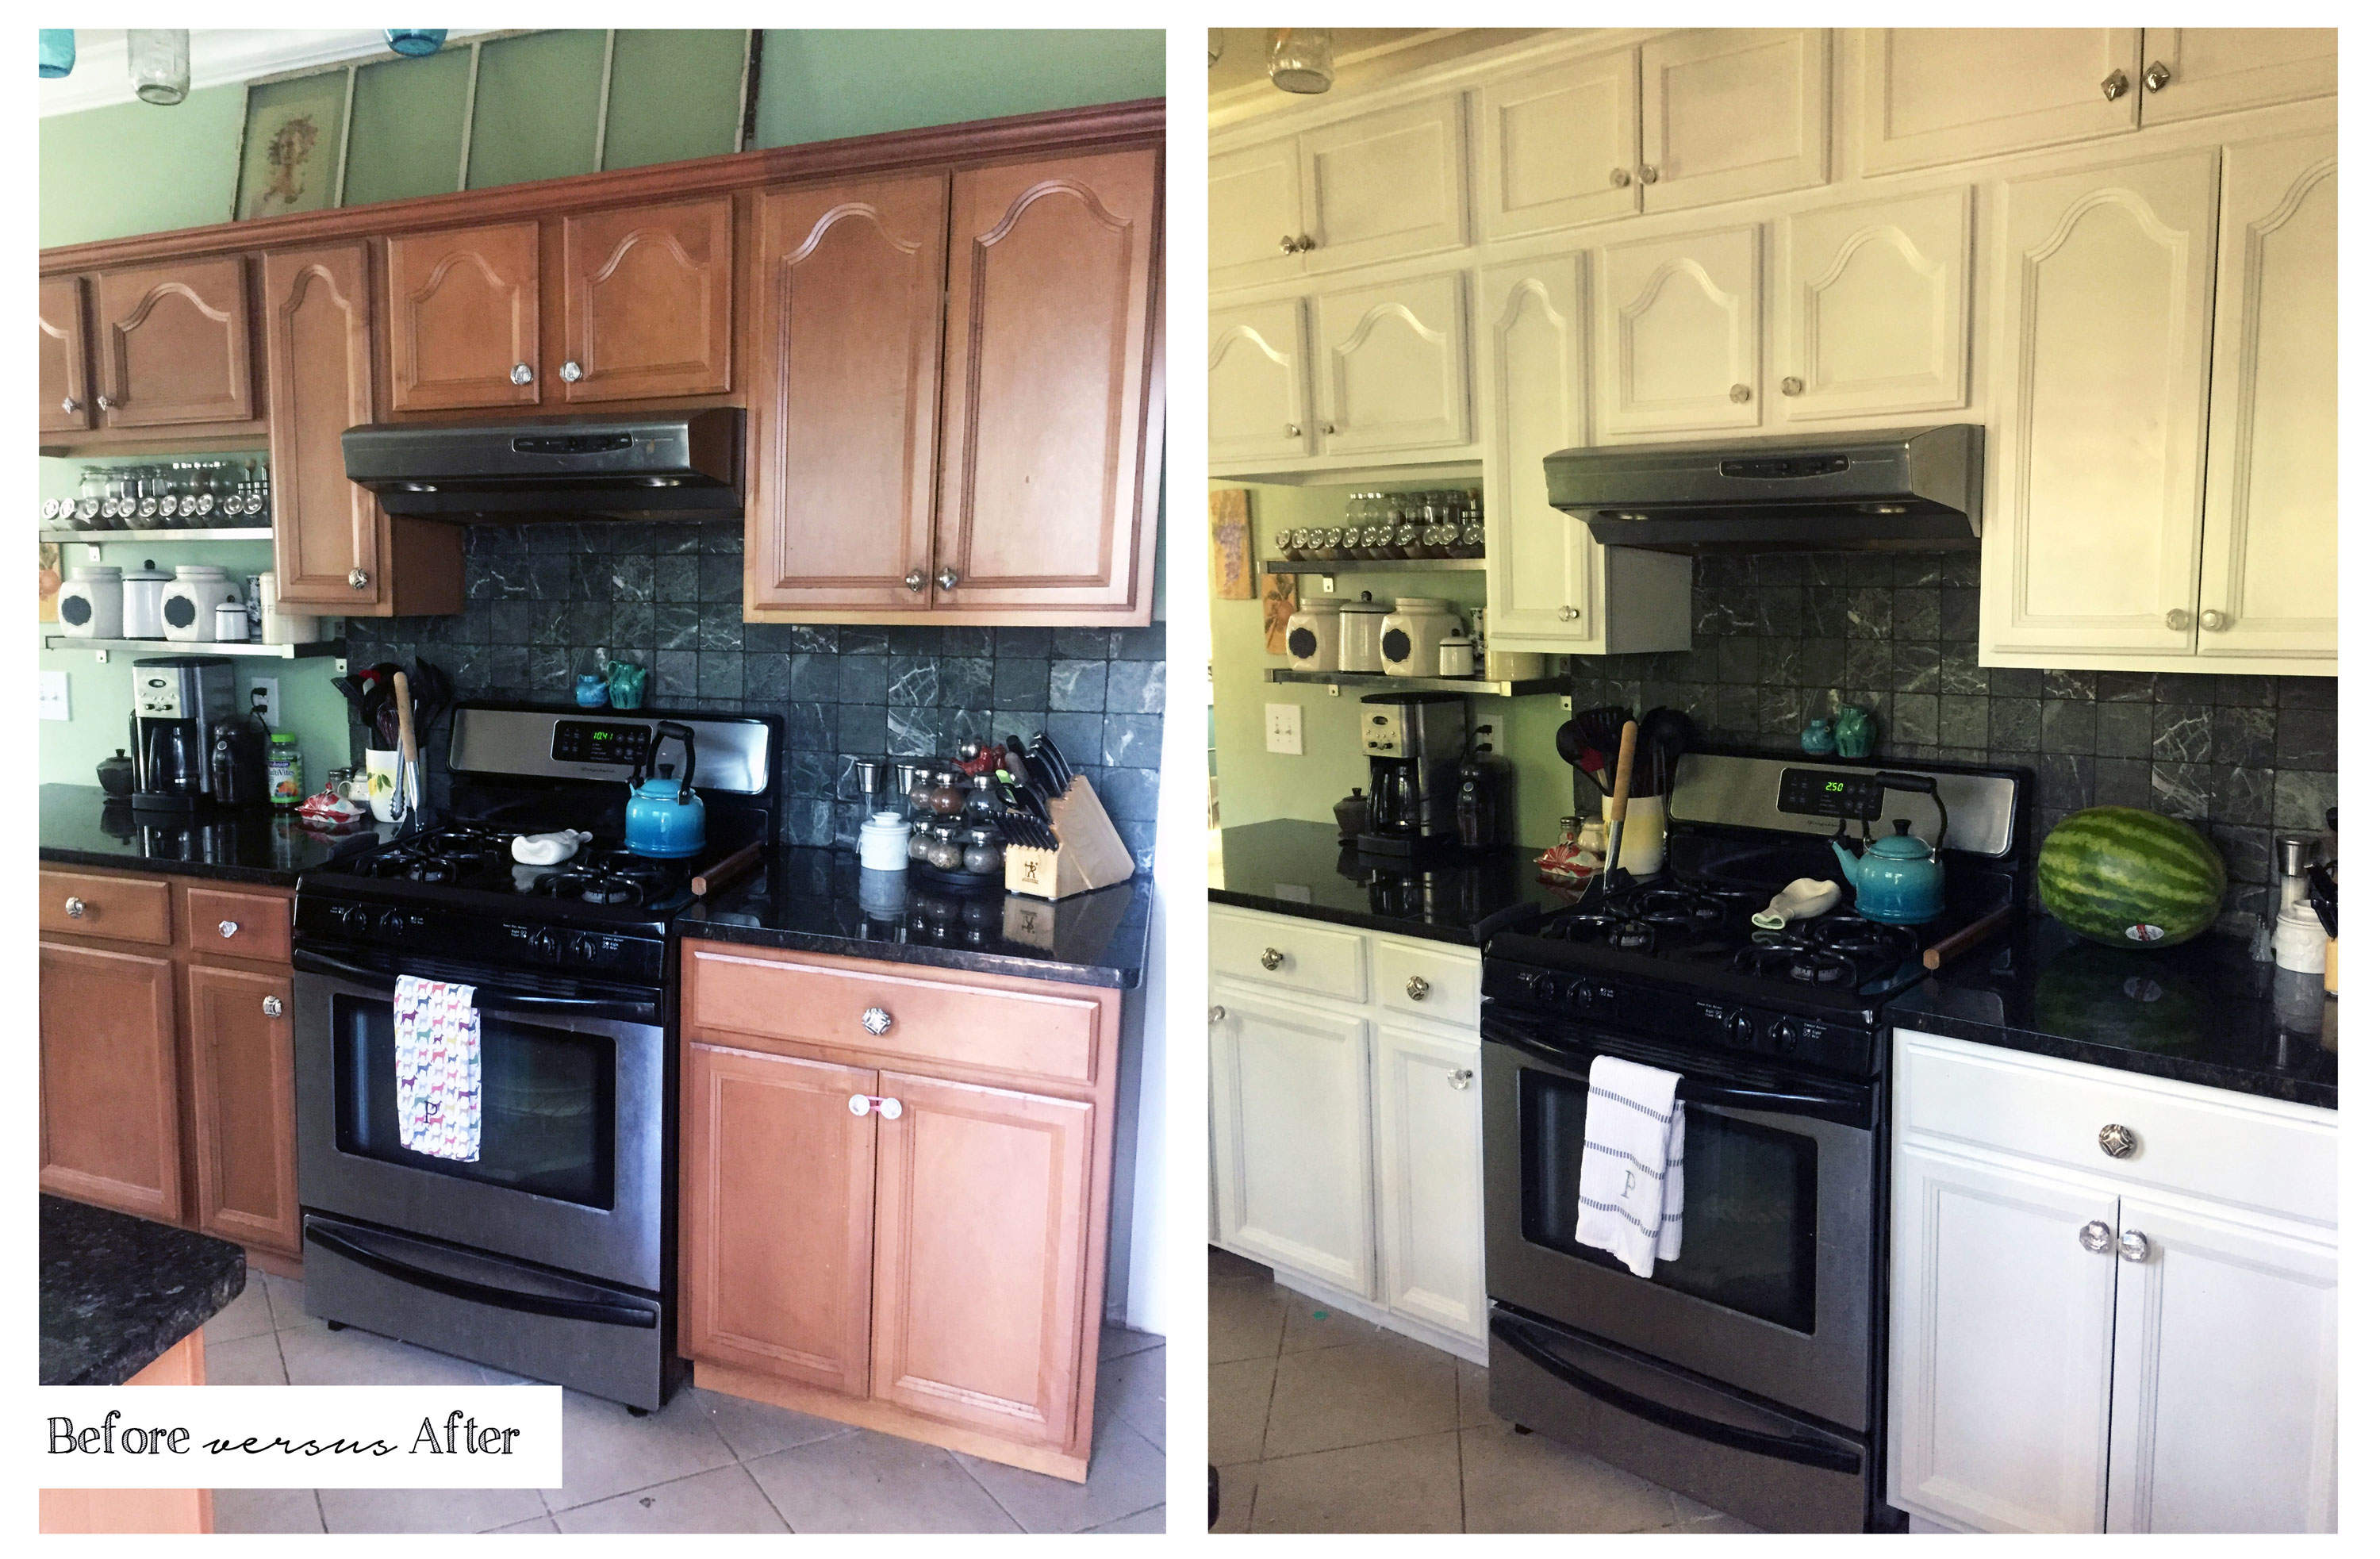
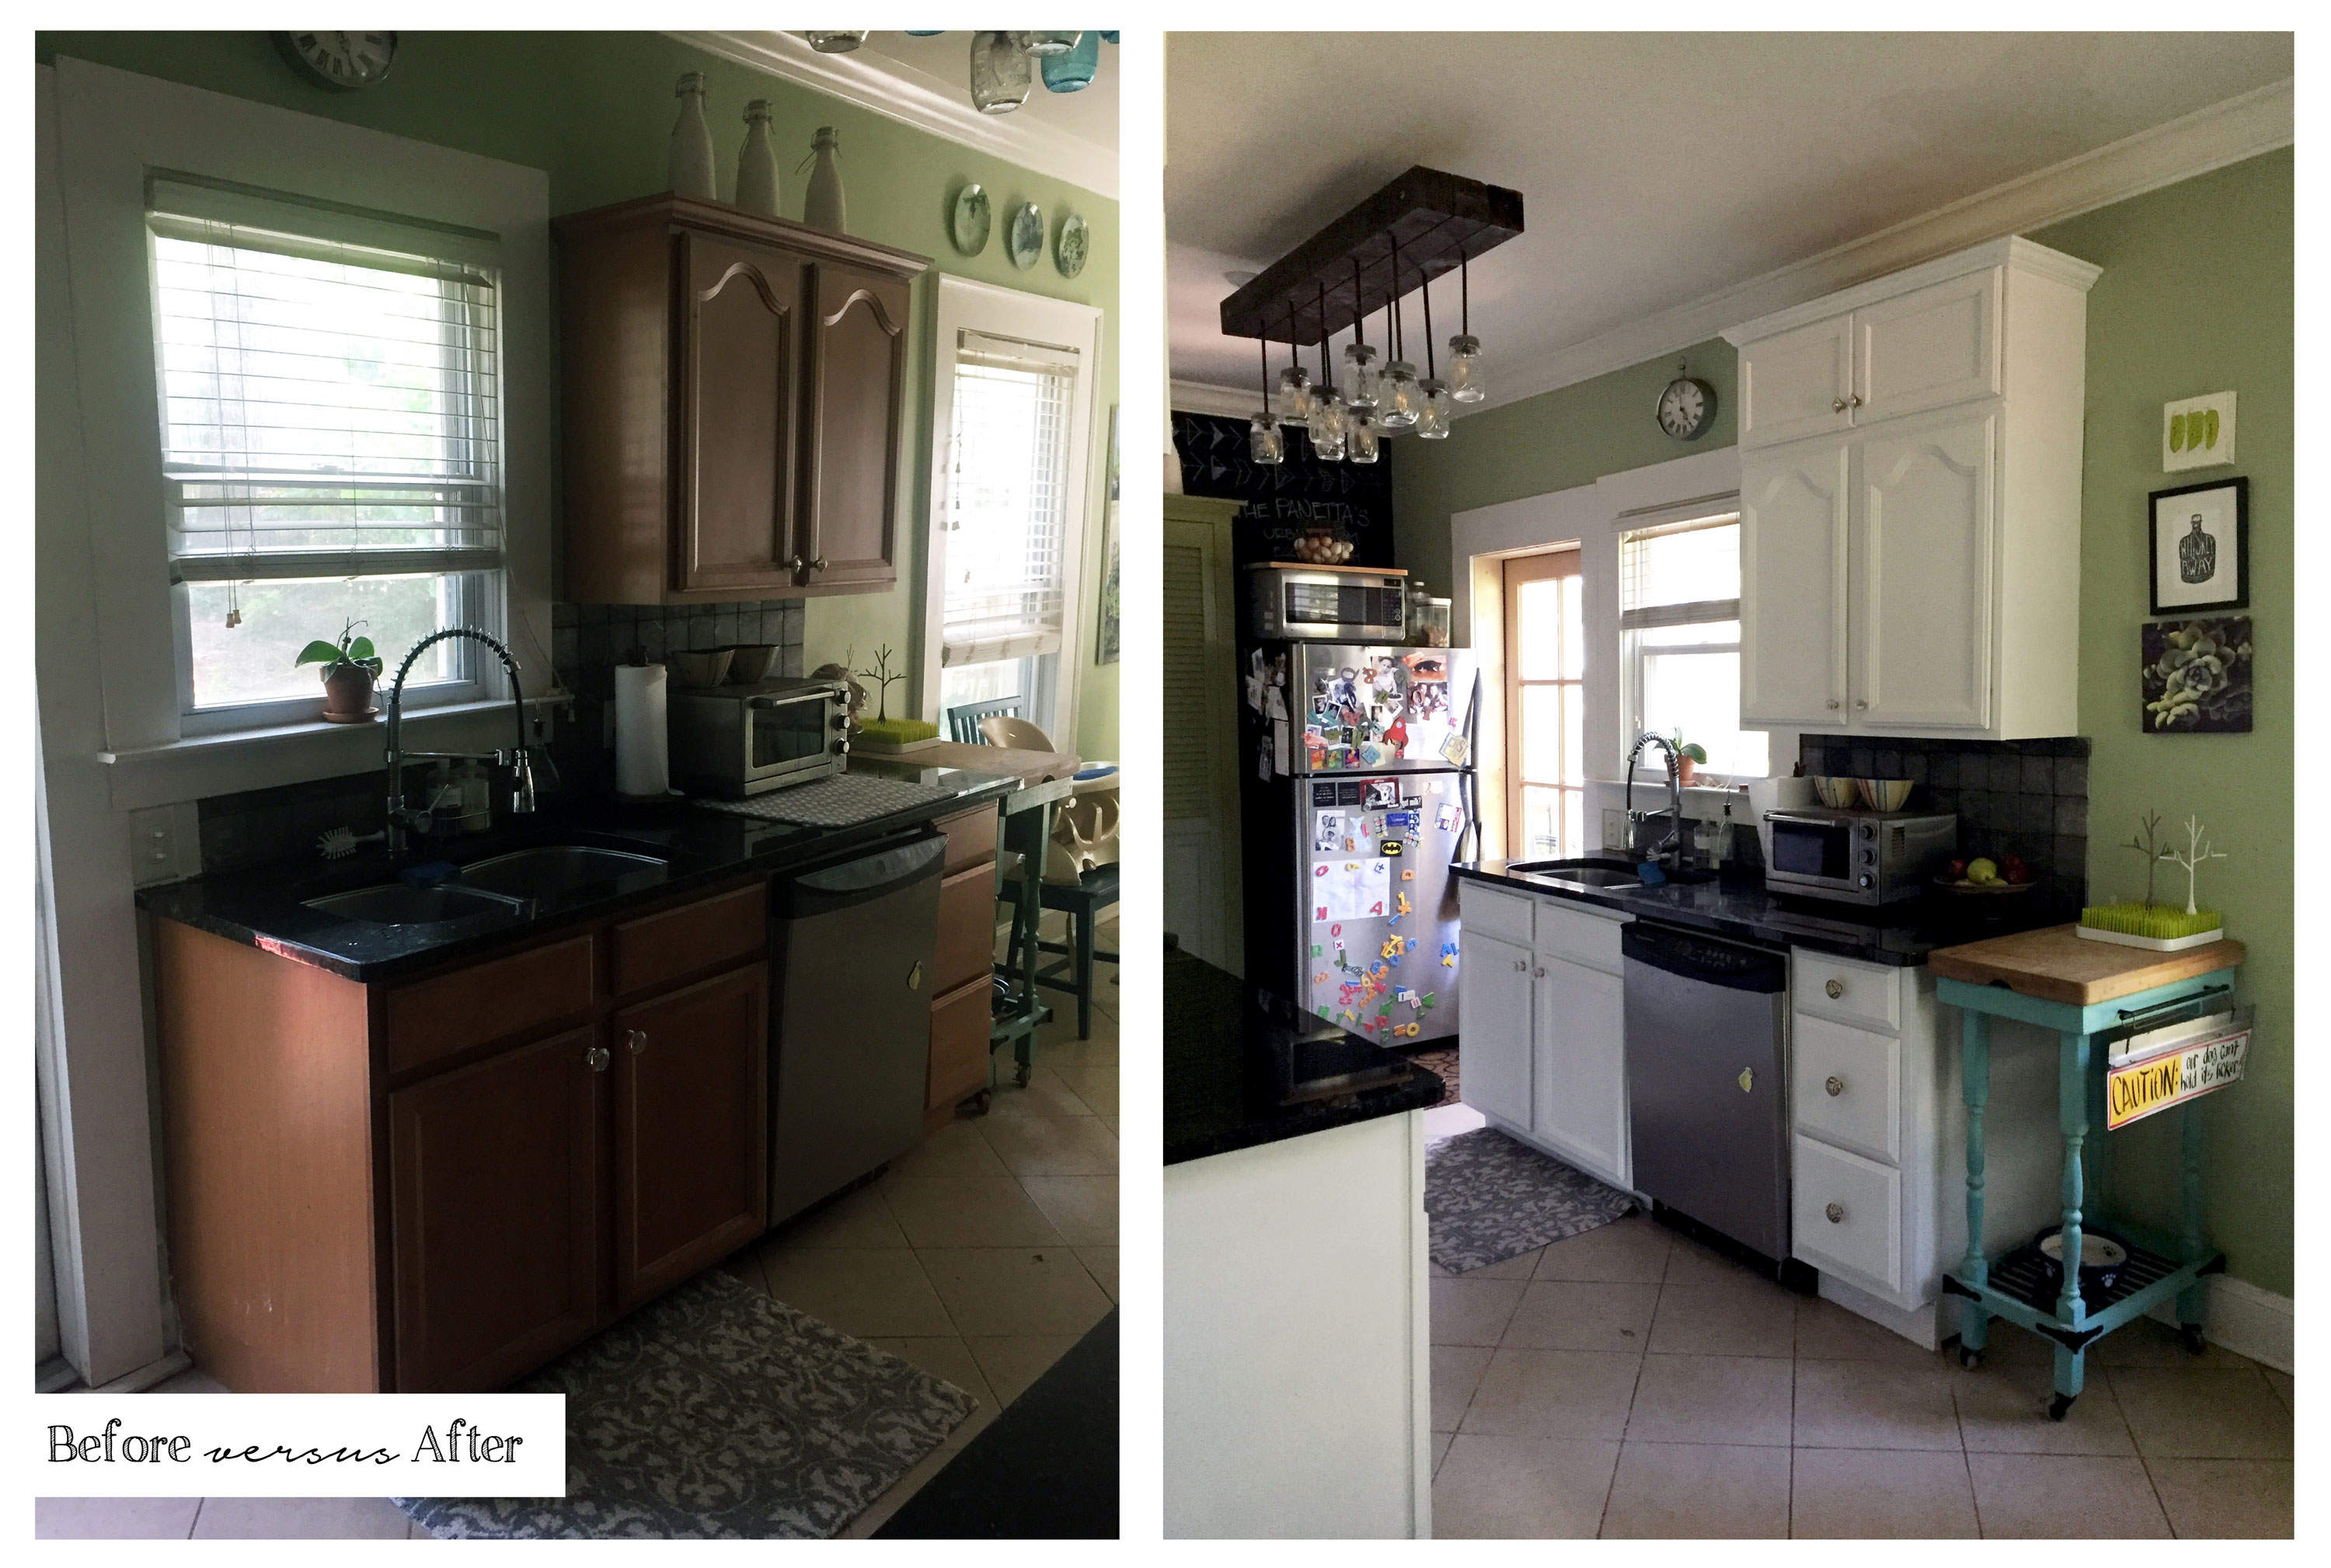
Although the lighting is terrible in this picture, I felt it really showed the additional storage space we were able to achieve. We may not have a brand new, top-of-the-line, modern kitchen, but it aligns much better with my aesthetic and storage needs. I felt my kitchen cabinet repaint was very successful looking back at these pictures.

It’s amazing how much brighter our kitchen feels with the white cabinets. We already get a lot of light in there, especially in the morning, but something about the white makes it feel more airy and larger.
I no longer have to stare at piles of dry food and Costco size oil, plastic wrap, and dog treats on top of my refrigerator and cabinets. I love the clean look.
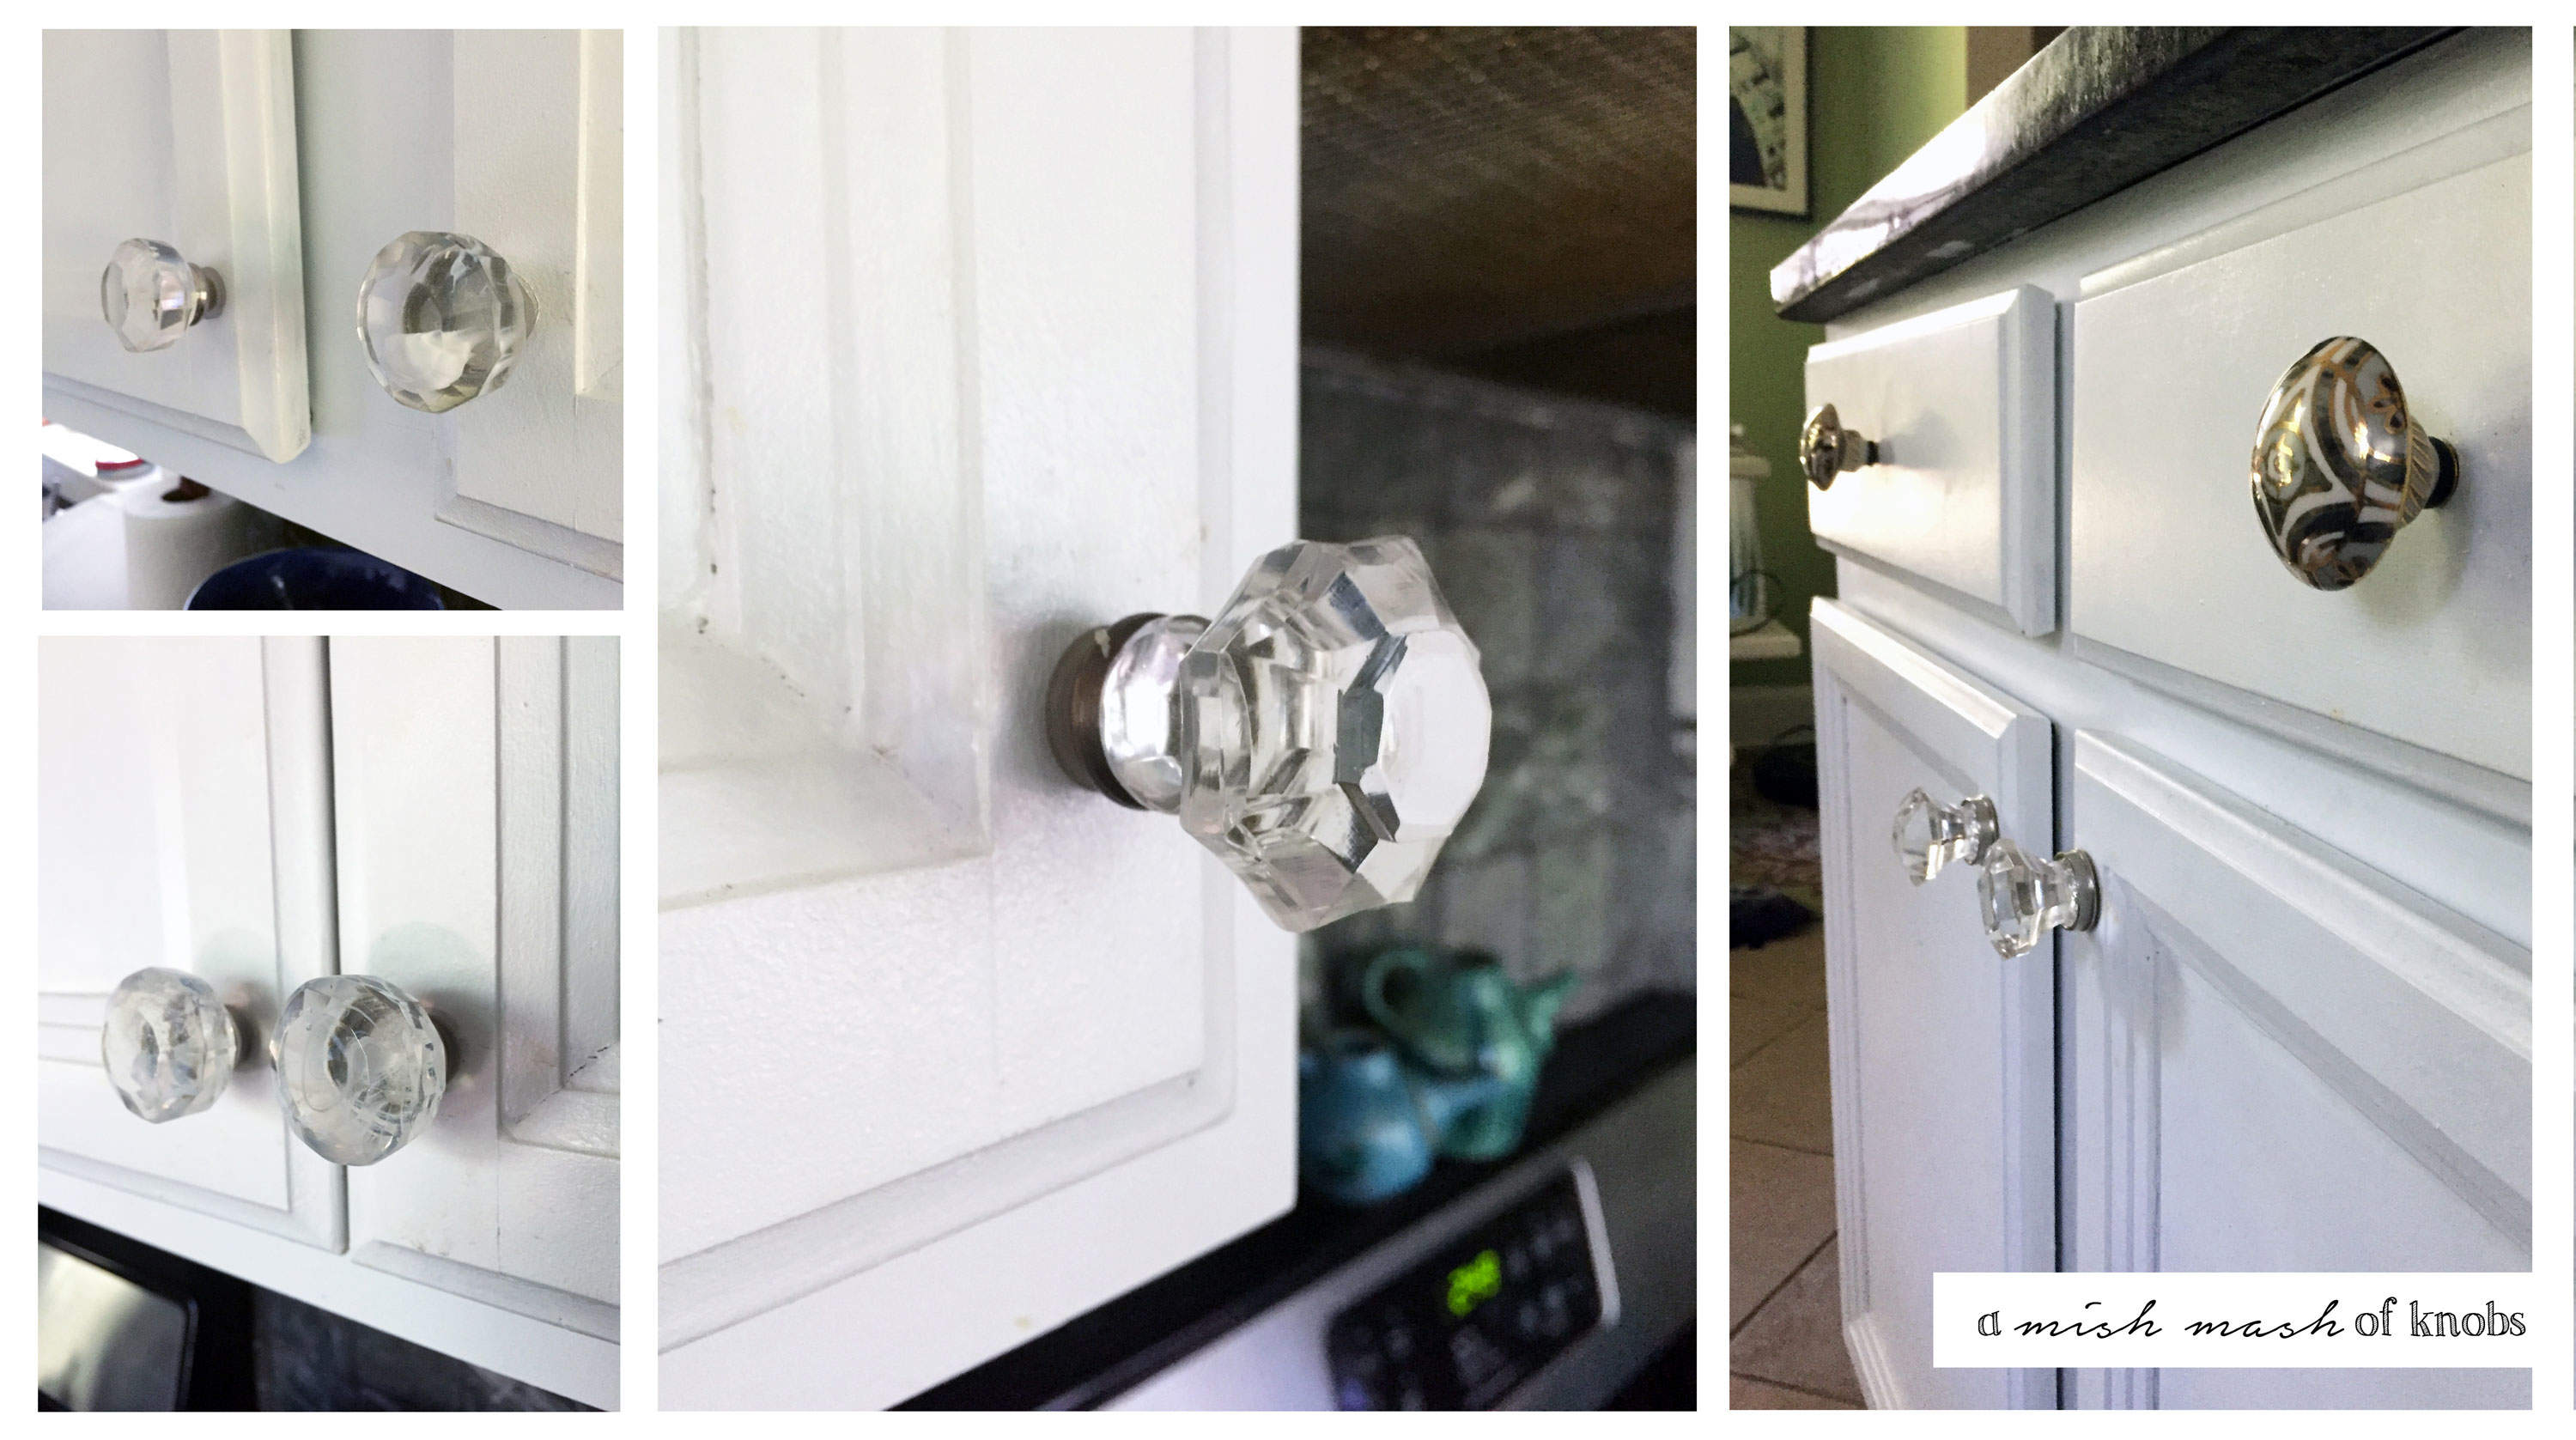
In addition to refinishing the cabinets, I also decided to ditch my old stainless steel knobs for something a little artsier. I cleaned out Anthropologie’s sale knobs during one of their additional 30% of sale item deals, and ended up with an assortment of knobs. While they are all different, there is some reasoning to it. All the cabinet doors have clear glass knobs, some with hints of white, silver, and different shapes. All of the drawer knobs are a round, ceramic design with gold, silver, and white patterns. I love that not everything matches.
It didn’t take long for my perfectly clean and organized kitchen to start resembling it’s old self with stains, drying dishes, and clutter. But, overall we have maintained the organization and nothing has found its way back to the top of the fridge or cabinets. At this point, we are back to full capacity in our kitchen, it’s organized, but there is no extra space. And of course, as it is with all projects, as soon as you fix one thing another issue becomes apparent. Now I realize how much I hate our kitchen tile, not only because of all the cracks and holes that have developed over the years, but also because hardwood would look so much nicer next to my white cabinets. I am so happy with my kitchen cabinet repaint.
Perhaps the next step will be the home expansion I have been dreaming about for the last couple of years.
Thanks for taking the time to check out my blog! Help me spread the word about DIY, craft projects, and all things art by sharing on your social media site of choice. Help me fundraise for my home renovation by checking out my TPT store here and my Etsy shop here. Check out more blog posts here. Shop my education resources here. Don’t forget to follow me on Instagram and TikTok for weekly visual journal demos. Until next time!
Related Posts


Leave a Reply