While I was in college one of the ceramics teachers did a clay whistle project with their class. When I heard about it I was bummed I wasn’t in his class, because it sounded like a fun project. However, after hearing all of the moaning and groaning from the students in his class about how difficult it was, I was thankful I wasn’t in his class, but the project still stuck with me.
As a teacher I try to choose projects that will challenge my students, but still allow them to be successful at varying levels of ability. This is as difficult as it sounds, which is why it took me three years to gain the courage to try this project in my sculpture class. It all came together at the beginning of the school year when I was trying to map out my projects for the year. I was talking with the middle school art teacher about project ideas, who is very knowledgeable about clay. I was trying to come up with an introduction to clay project that would include pinching, slab rolling, and coiling techniques all in one. After chatting for a minute he made a good point, they are all important enough skills to focus on individually, and not skim over with one quick project.
That solidified it for me. I would come up with a project specific to each technique, and what better pinch project than clay whistles? I took a deep breath and sat down with a pile of clay and began making my very first whistle, and it was hard. It took longer than I expected to get it to whistle, plus two failed versions in the trash. This youtube video ending up helping me get that first whistle working. The minute I heard the nice sweet sound my whistle produced, I was hooked! I started a second one just to make sure the first wasn’t a fluke. The second was quicker and even more successful. The whistle was clearer and deeper, it was perfect! Now it was time to introduce it to my students… I wasn’t sure how this was going to pan out.
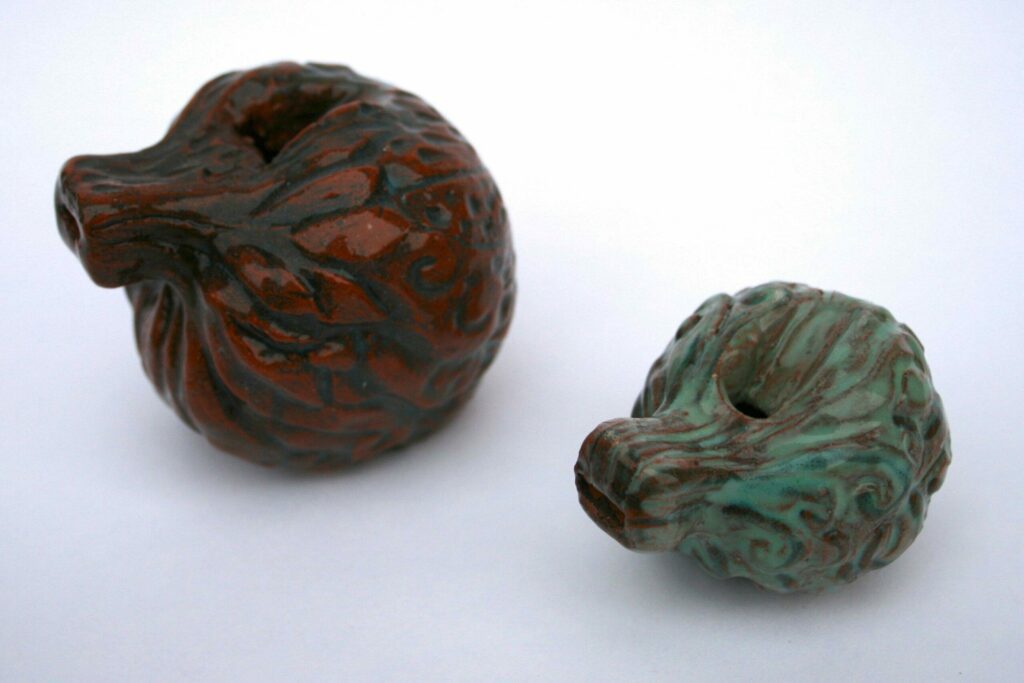
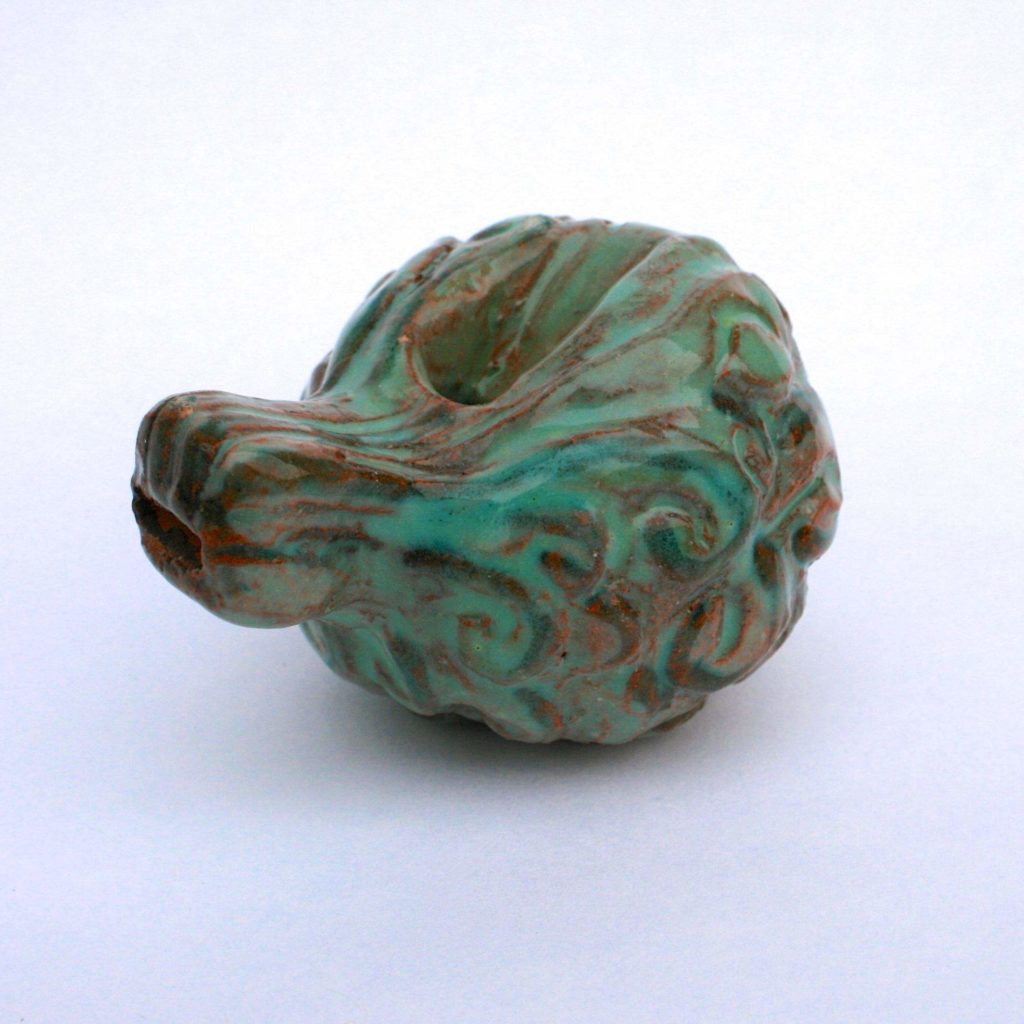
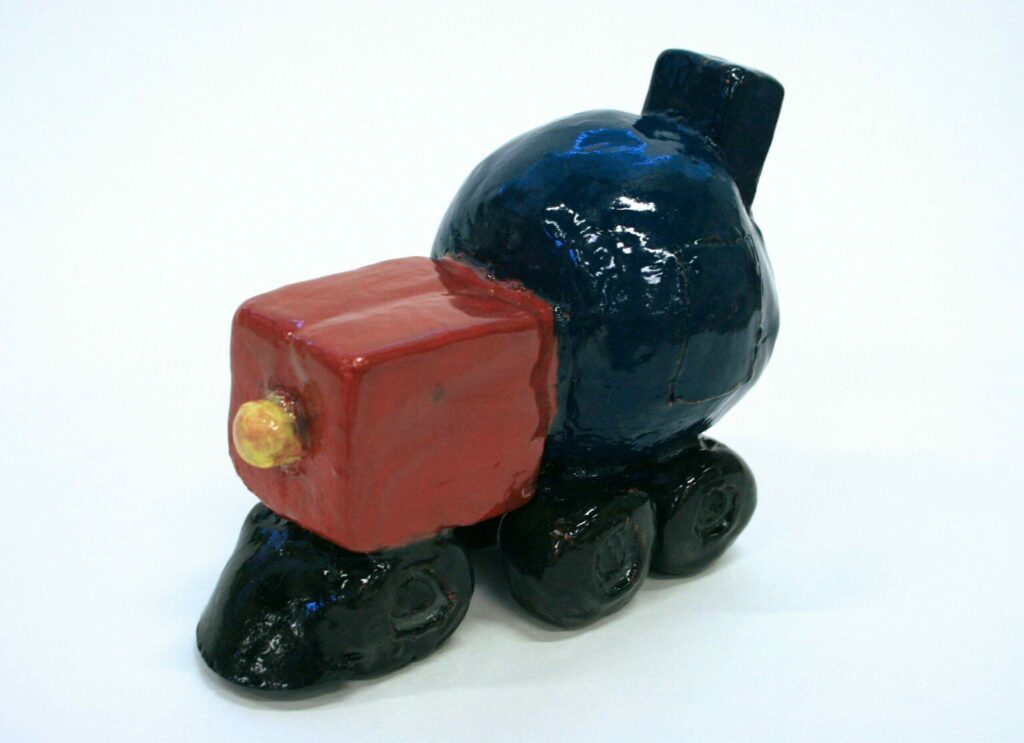
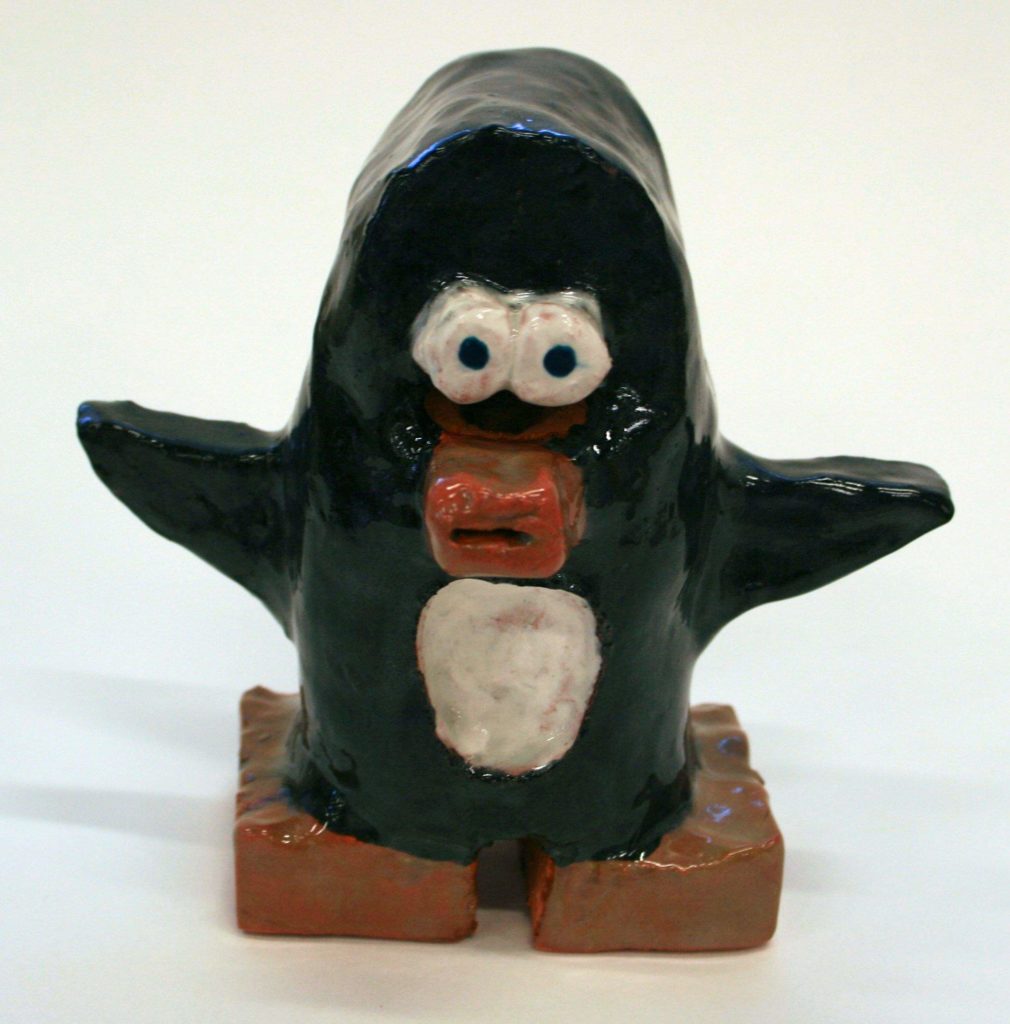
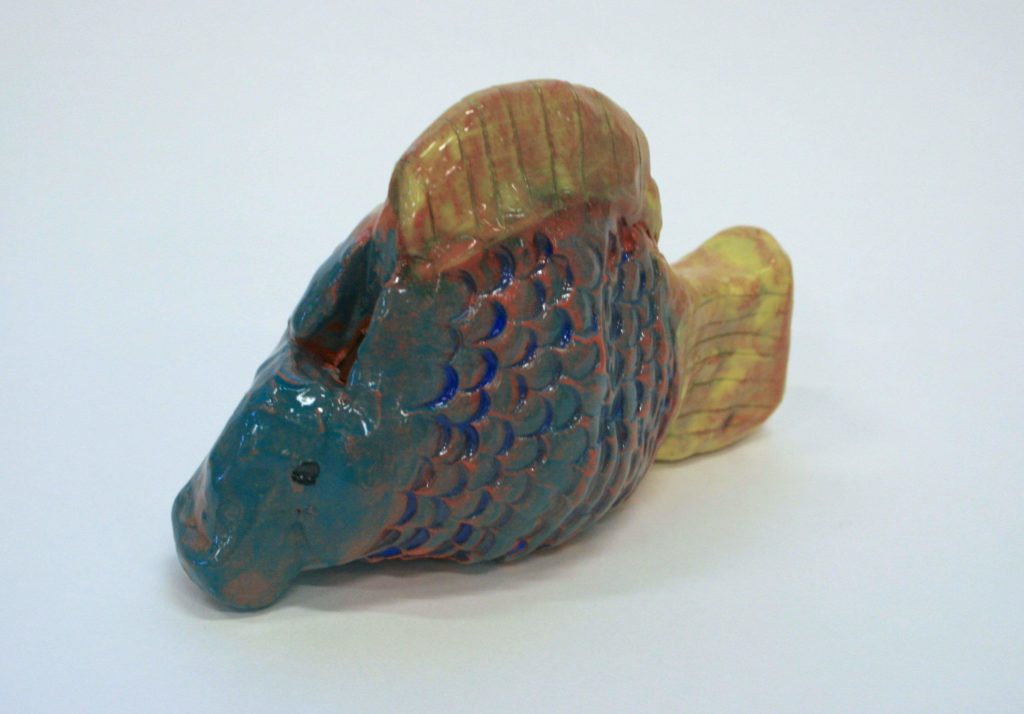
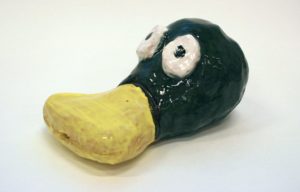
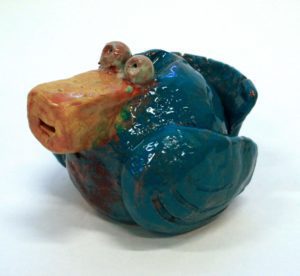
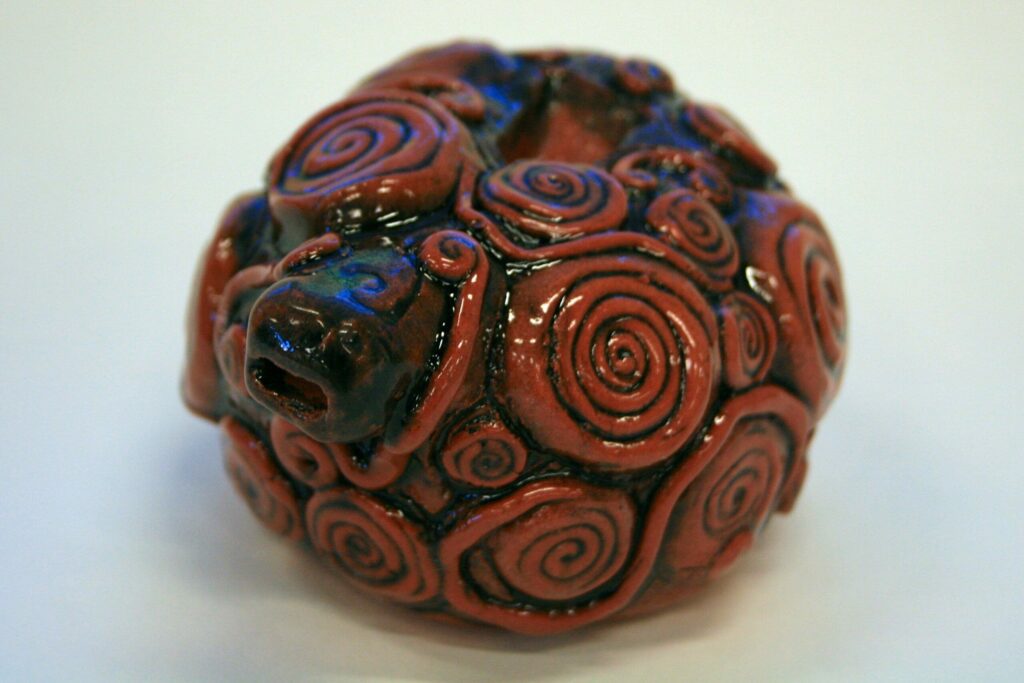
I always use PowerPoint to introduce my projects, and this assignment was no different. Since it was the first clay project I started by introducing the history of clay, crash course style. We talked about how far back clay sculpture dates, we looked at some of the earliest discovered clay pieces, and we moved into discussing the clay itself. We discussed wet clay vs. leather hard vs. bone dry vs. bisqued, etc. We talked about the kiln, how it worked, and the steps they would have to take to create a finished piece from wet clay to glazed. Typically I also include an artist exemplar, but I didn’t run across a clay whistle artists, so in lieu of an artist I included examples of whistles I found on the internet. If anyone knows of a clay whistle or pinch pot artist I can include in my presentation next semester please let me know! (The following images are all student examples from this past Fall semester, if you have questions about any of them please ask!)
In the PowerPoint I also included images of the steps they would take to create their whistle, for this I relied heavily on this website which had great graphics of the steps(which also has other great lessons if you haven’t already discovered it!). I also printed the images out, made copies, and gave one to each student to reference while they made their whistle. In addition to going through the steps via photographs, I also did a demonstration after the PowerPoint. This may seem like a lot of repetition, but it helps the students to see it multiple ways before they try it out themselves.
Once I was tired of talking I set the students out to create their whistles. They all had to start with the basic round shape, but once they had a whistling whistle they could turn their shape into anything they wanted, as long as they included both additive and subtractive techniques (scoring and slipping something onto it and carving something out). They could do something more abstract, like my examples, or create an animal or object form, which a lot of the internet examples were. Whenever possible I like to have an opened assignment to allow my students to personalize their creation. They all have different tastes and interests, so why force them all turn their whistles into animals or patterns if they don’t want to?
I was shocked at how quickly some of my students got their whistles to work. Others struggled, but I encouraged them to help each other out, and more often than not the finished early kids got the other students’ whistles whistling. At some point in time every students’ whistle worked. Once they began adding to their designs, sometimes their whistles stopped working, and it took adjusting to get it back again. I did have a couple that didn’t whistle by the time it was turned in, which cost them a few points, but the majority of them worked. If you do this assignment remind your kids to continuously check their whistle.
Once they were finished and dried out, we bisque fired them, then glazed them. I had everyone use underglazes for this first project, and we put a final coat of clear glaze on top to make them shiny. I chose underglaze to allow them to paint their creations with specific colors and patterns, that would stay put during the glaze firing process. When we were done we did a group critique, each student blew their whistle for the class, and we discussed the sound, design, and glazing techniques.
Overall the students were really invested in this project. I cannot even express the sense of accomplishment they displayed when their whistle started working. It cracked me up to watch all of their heads jerk up every time another one found it’s sound! I will definitely be repeating this for my 3DI class in the spring!
I apologize for the slightly dark images and not having any in progress images! I plan on being more diligent about photographing my students at work next semester. I hope you enjoy the post regardless, and I hope it helps you plan future assignments! Please share the love by liking, tweeting, sharing, e-mailing, subscribing, and commenting!
Thanks for checking out one of my early art projects, check out more blog posts here. Interested in tools to help make your teaching life easier? Check out my art education resources here. You can even get everything you need for this lesson in my ceramics curriculum here. Don’t forget to connect on Instagram and TikTok for tutorials and more.
I really like this website. I honestly think this is the best clay whistle website. They have great ideas and it helped with my grade in art class. It raised my grade from a f to a a
Thanks for the compliment! I’m so glad you found it helpful, and I’m glad to hear you were able to raise your grade. Good luck with the remainder of your art class!
Love this project of yours! Lucky students! Have you heard of the whistling vessels from ancient Peru? Made around 1000 AD to 1500 AD. Used by Incan shamans. Written about by Daniel Statnekov in a book “The Animated Earth” . I have heard replicas in action – 6 played in unison all with slightly different notes…. an amazing auditory and spiritual experience!
I haven’t heard of that!! Thanks for sharing. I am going to go look that up right now, it sounds amazing!