Check out how I planned my son’s 1st birthday party, a monster theme party.
THE STORY
Today my sweet little man turns three. I have no idea where the time has gone. I have heard the saying, “The days are long but the years are short,” so many times I roll my eyes a little more every time I hear it. But, today it just rings so true.
Two years ago Nick and I planned Cooper’s first birthday party. In the weeks leading up I had a schedule and plan for completing the decorations, sending out invites, and getting the food ready,. It had to be perfect. Two years ago I also took pictures as I went through the process and finally I am sharing what I did to throw his party.
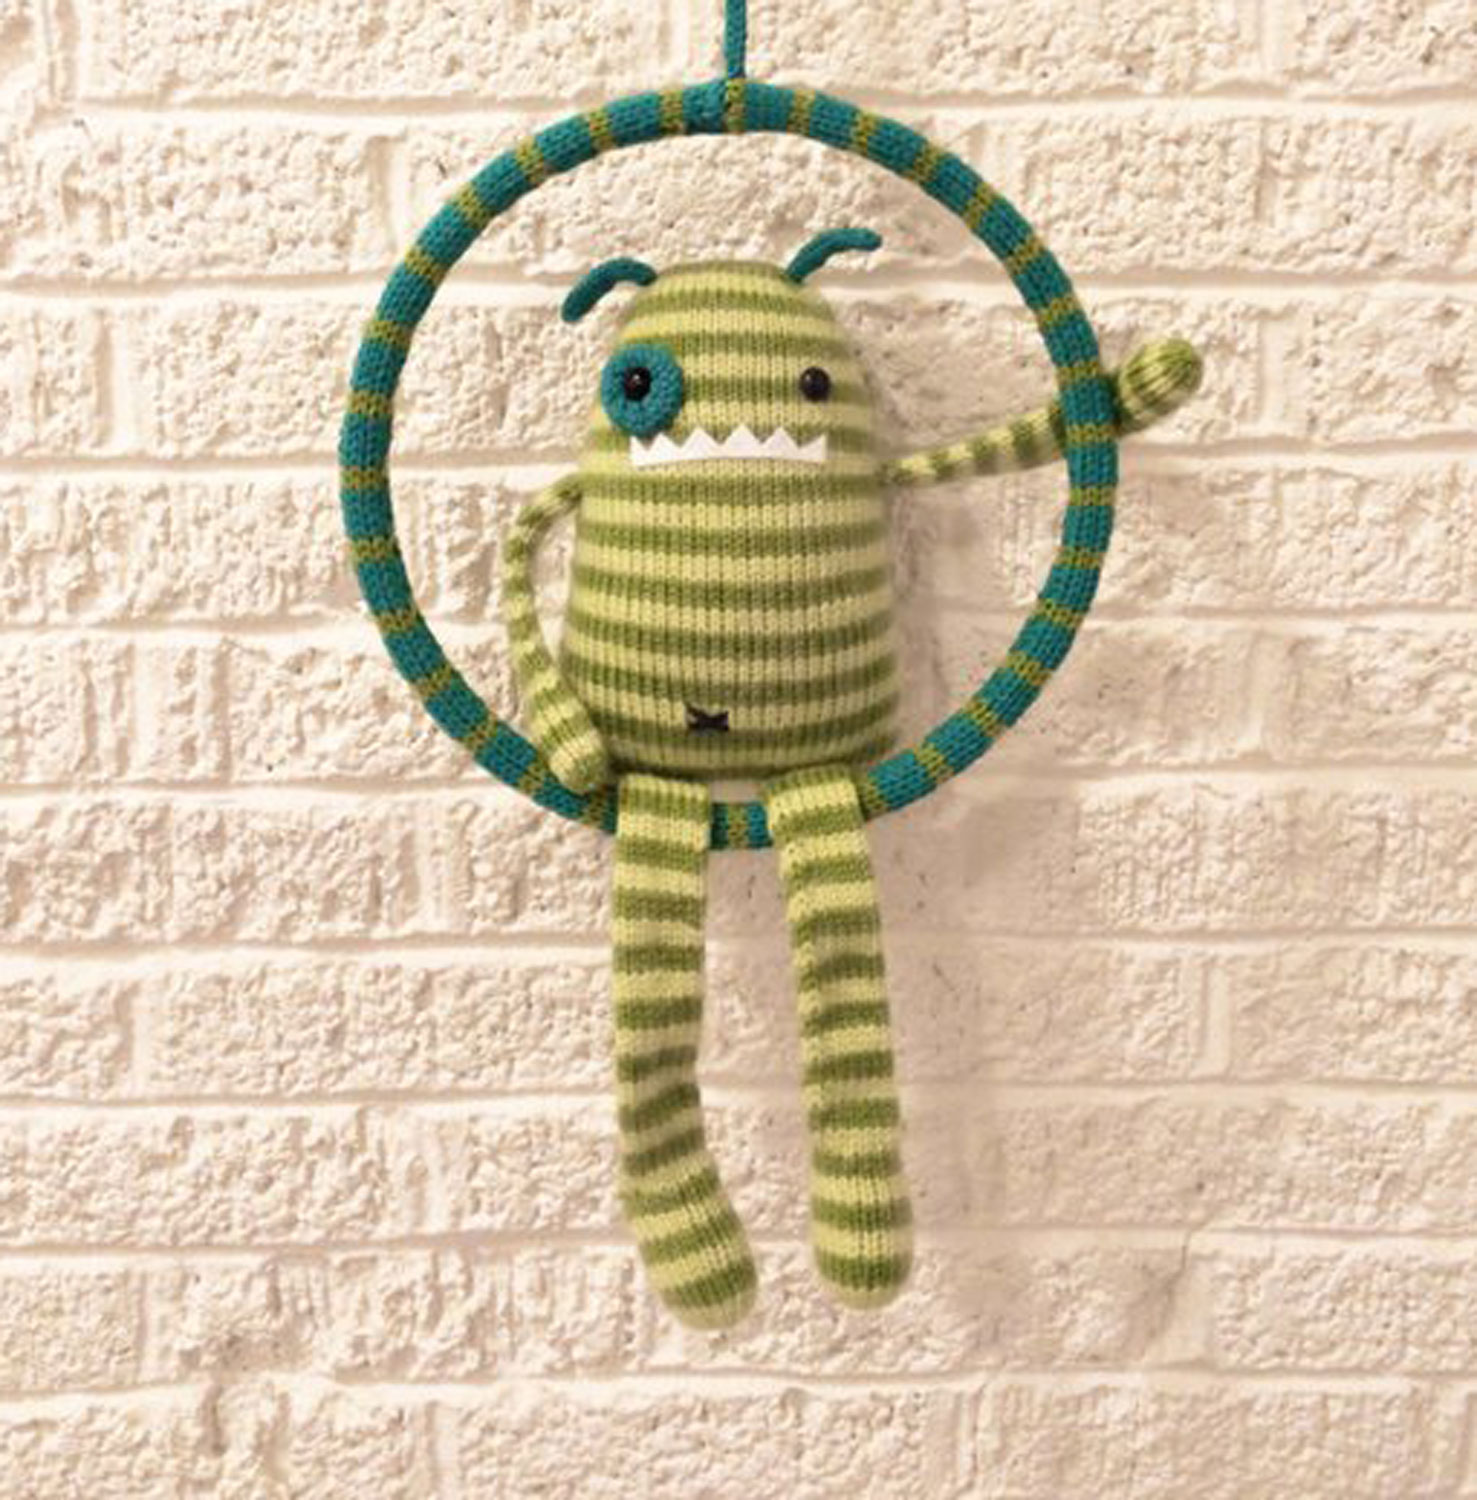
The entire event was inspired by this sweet monster. I was brainstorming birthday present ideas and thought a handmade plush would be fun. When I ran across this fella, from Adrian Rae Studio, I suddenly found myself planning an entire monster theme birthday party centered around him.
THE DETAILS
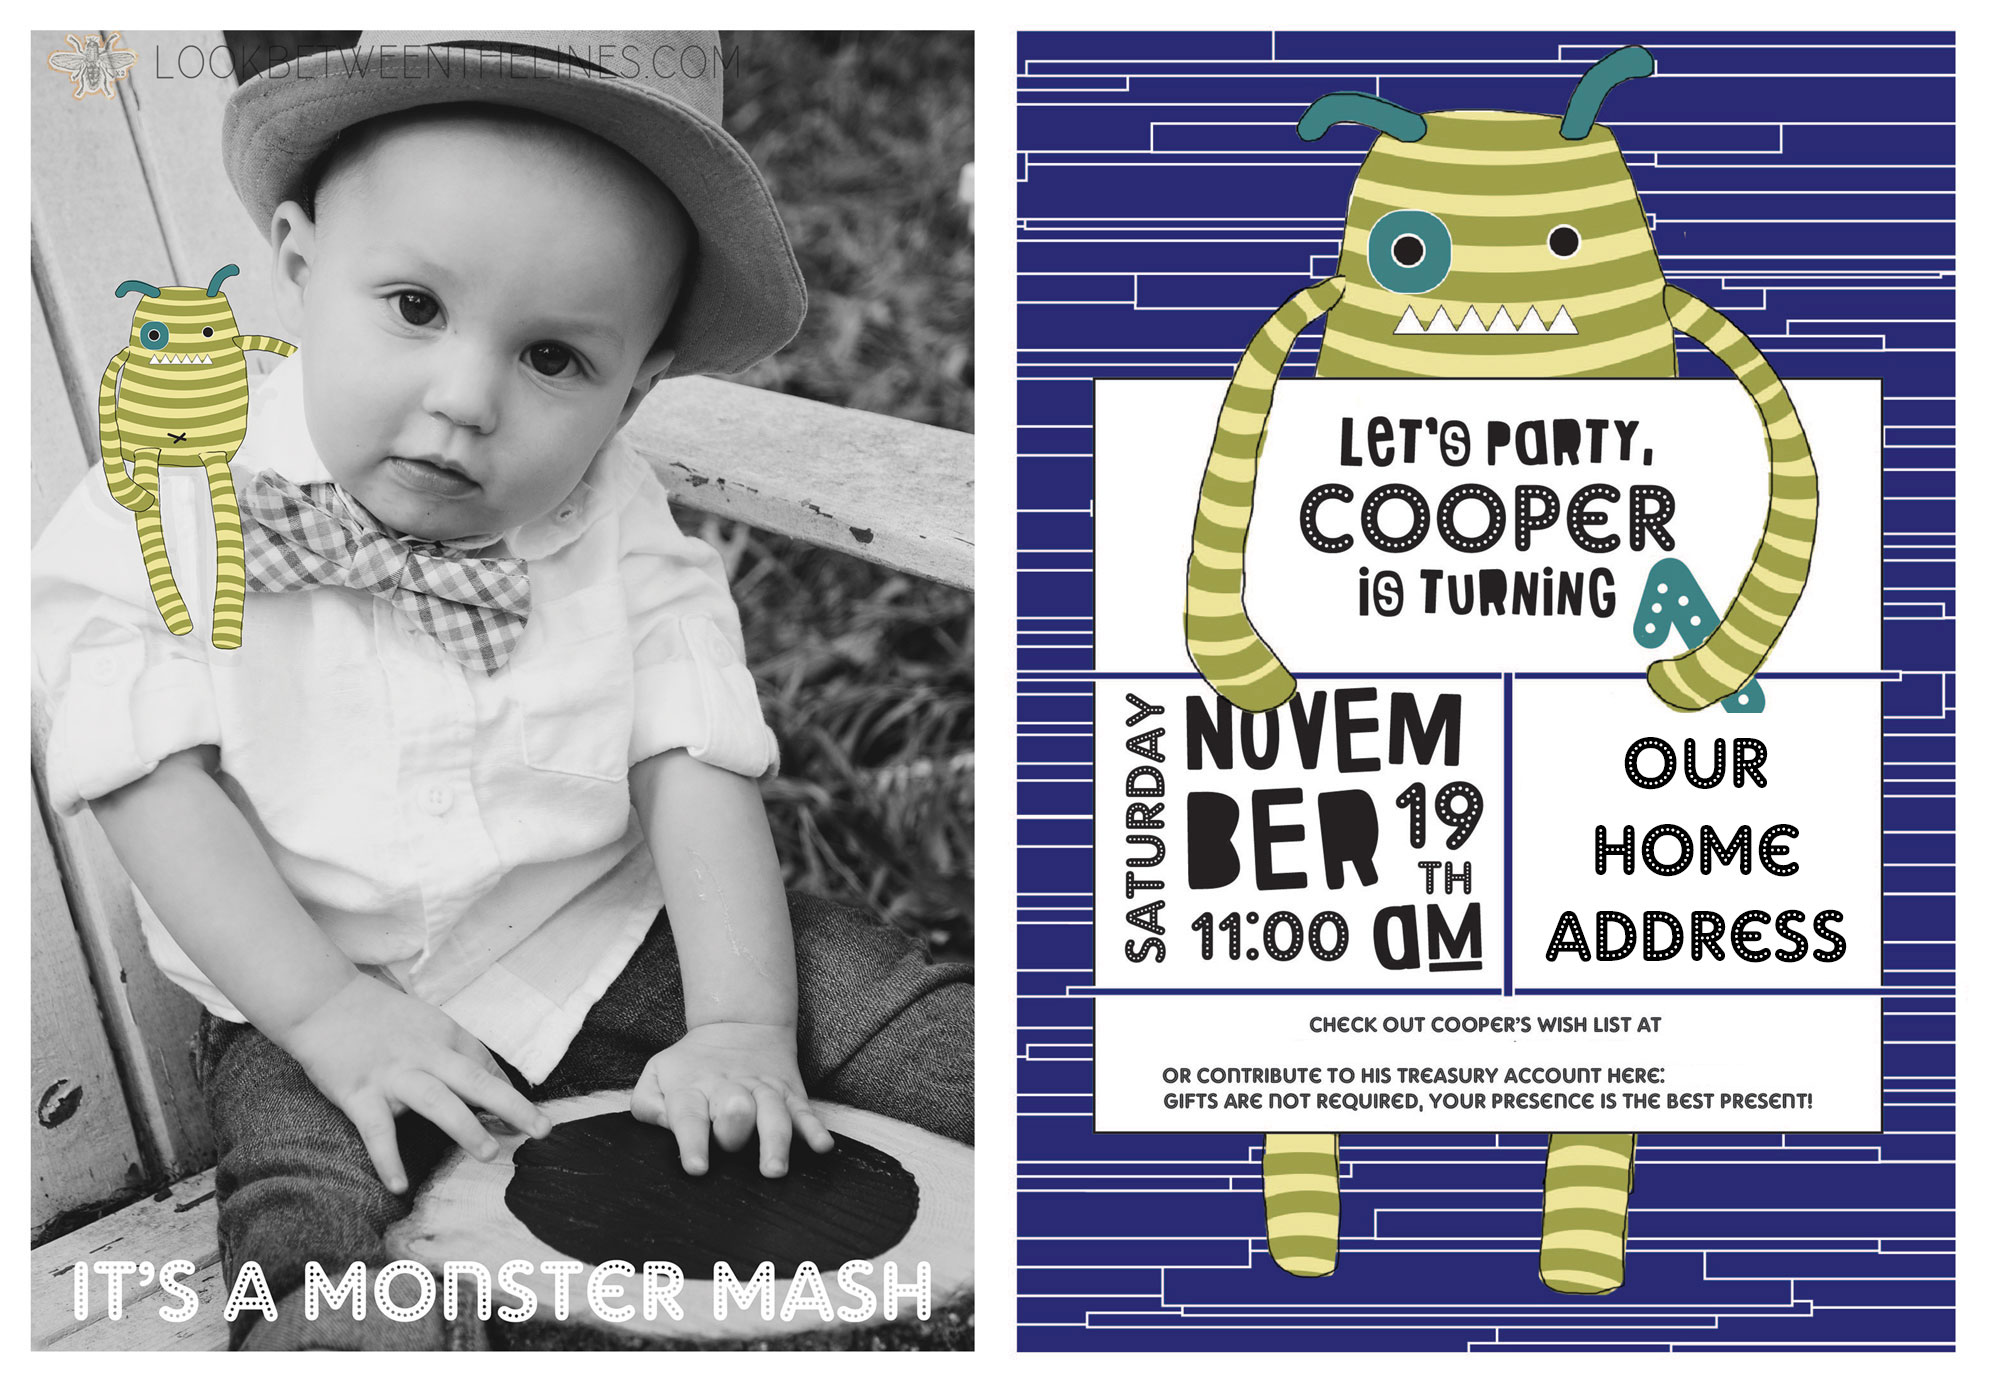
His first appearance was on Cooper’s invitation. Over the years I have practiced more and more with graphic design and at this point, I always design my own cards for get-togethers. I often create pieces by hand, scan them in, and rearrange them, but this one was completely digitally designed.
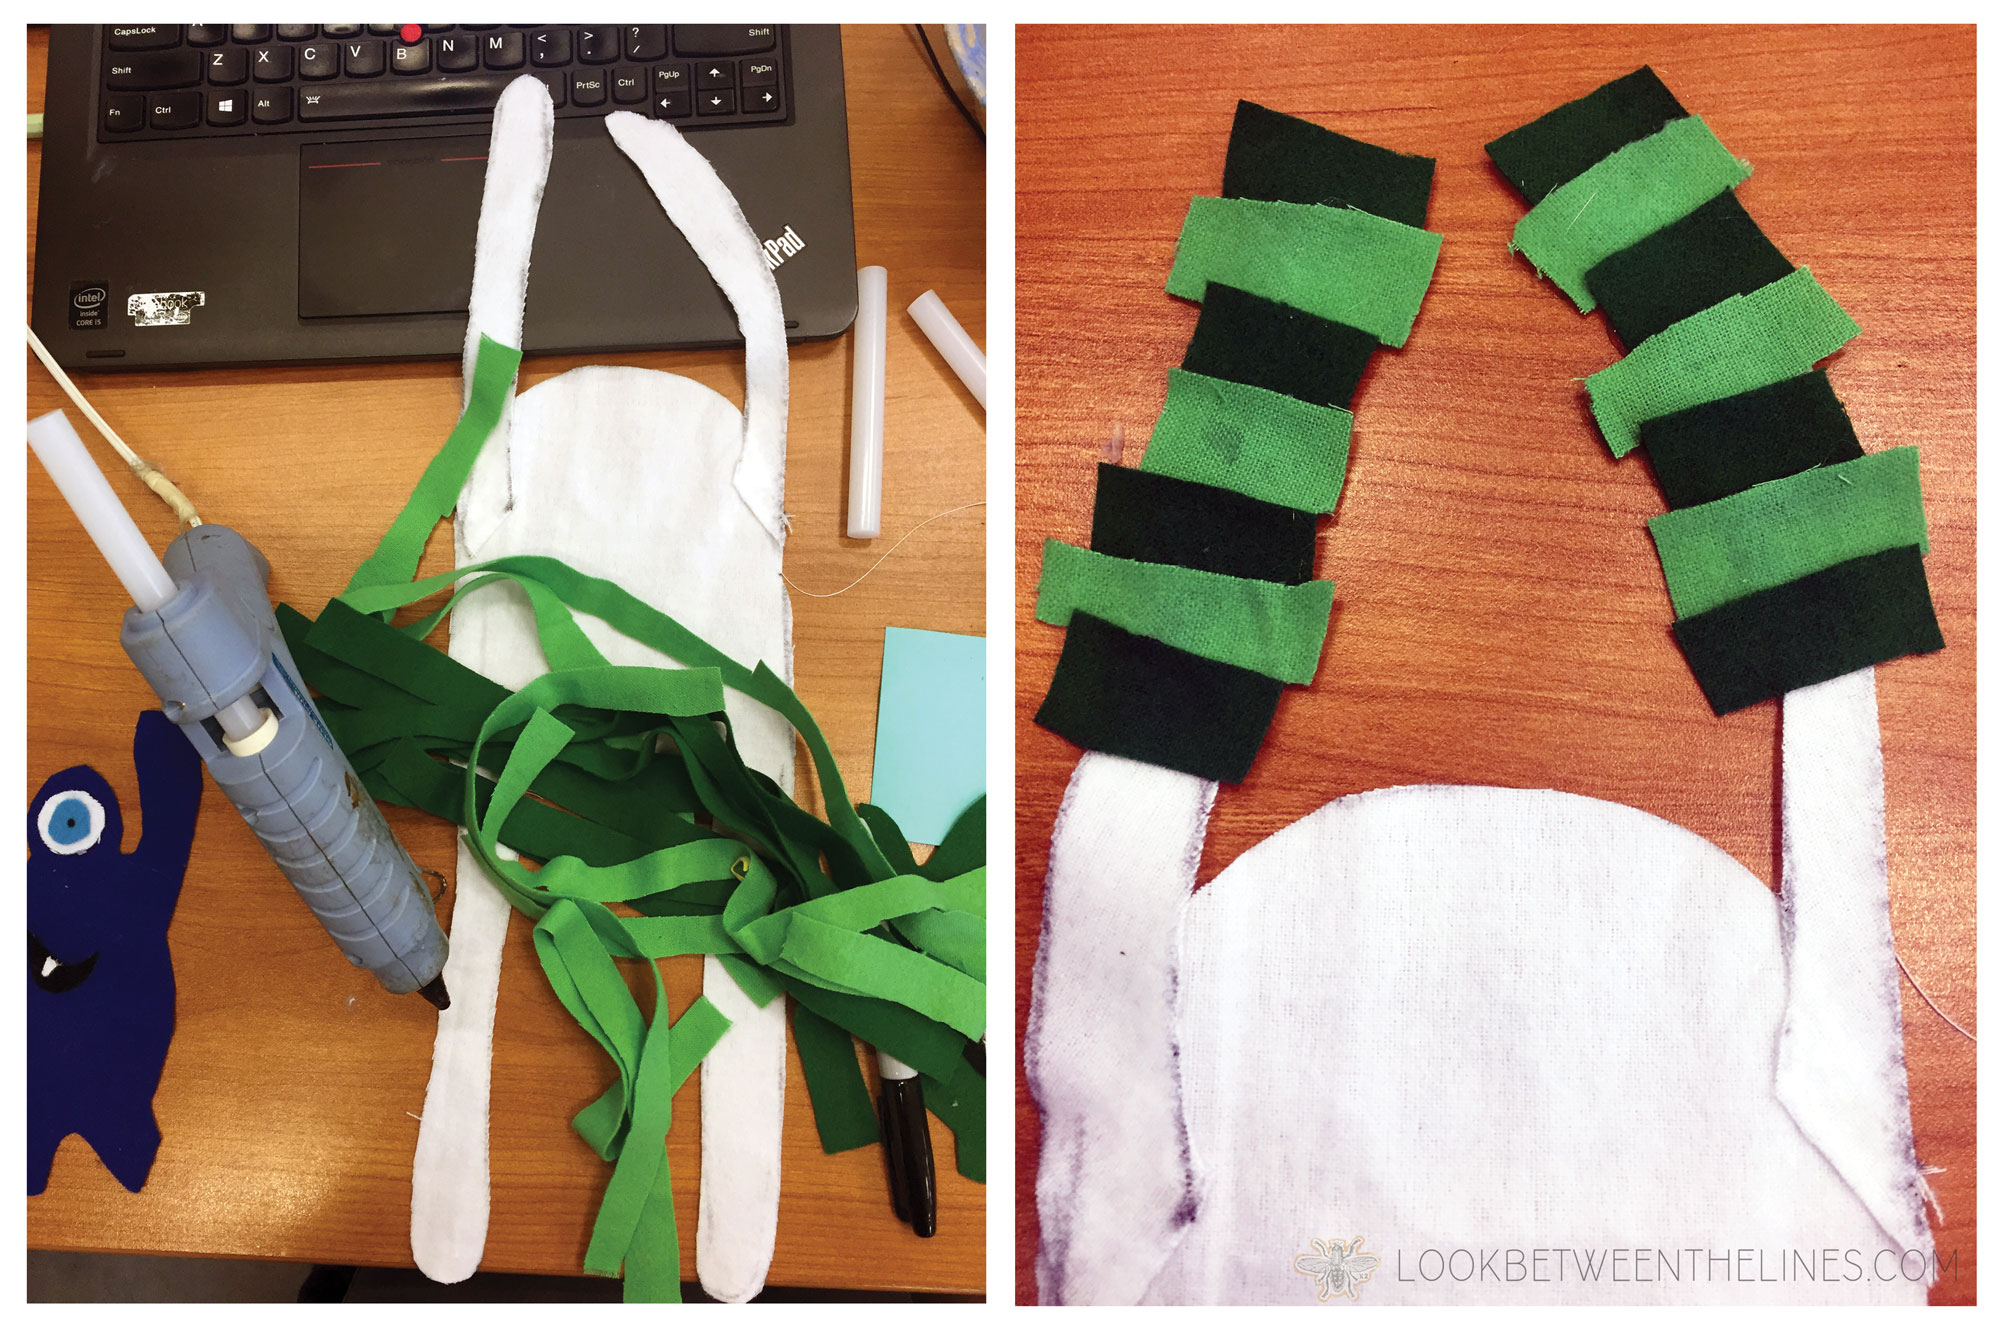
After sending out the invitations, it was official, I had to start planning decorations for the big day. I am such a sucker for banners at parties (check out posts on making a tassel banner, photo banner, and paper banner.) and I obviously had to create a banner for Cooper’s birthday. Once again, focusing on the monster, I decided to create a monster banner with the green-striped monster in the center. I purchased cheap fabric in blue, green, white, and gray from Hobby Lobby. For the larger monster, I cut the base out of white. Next, I cut strips from two different shades of green, then used a hot glue gun to stripe the monster shape base. 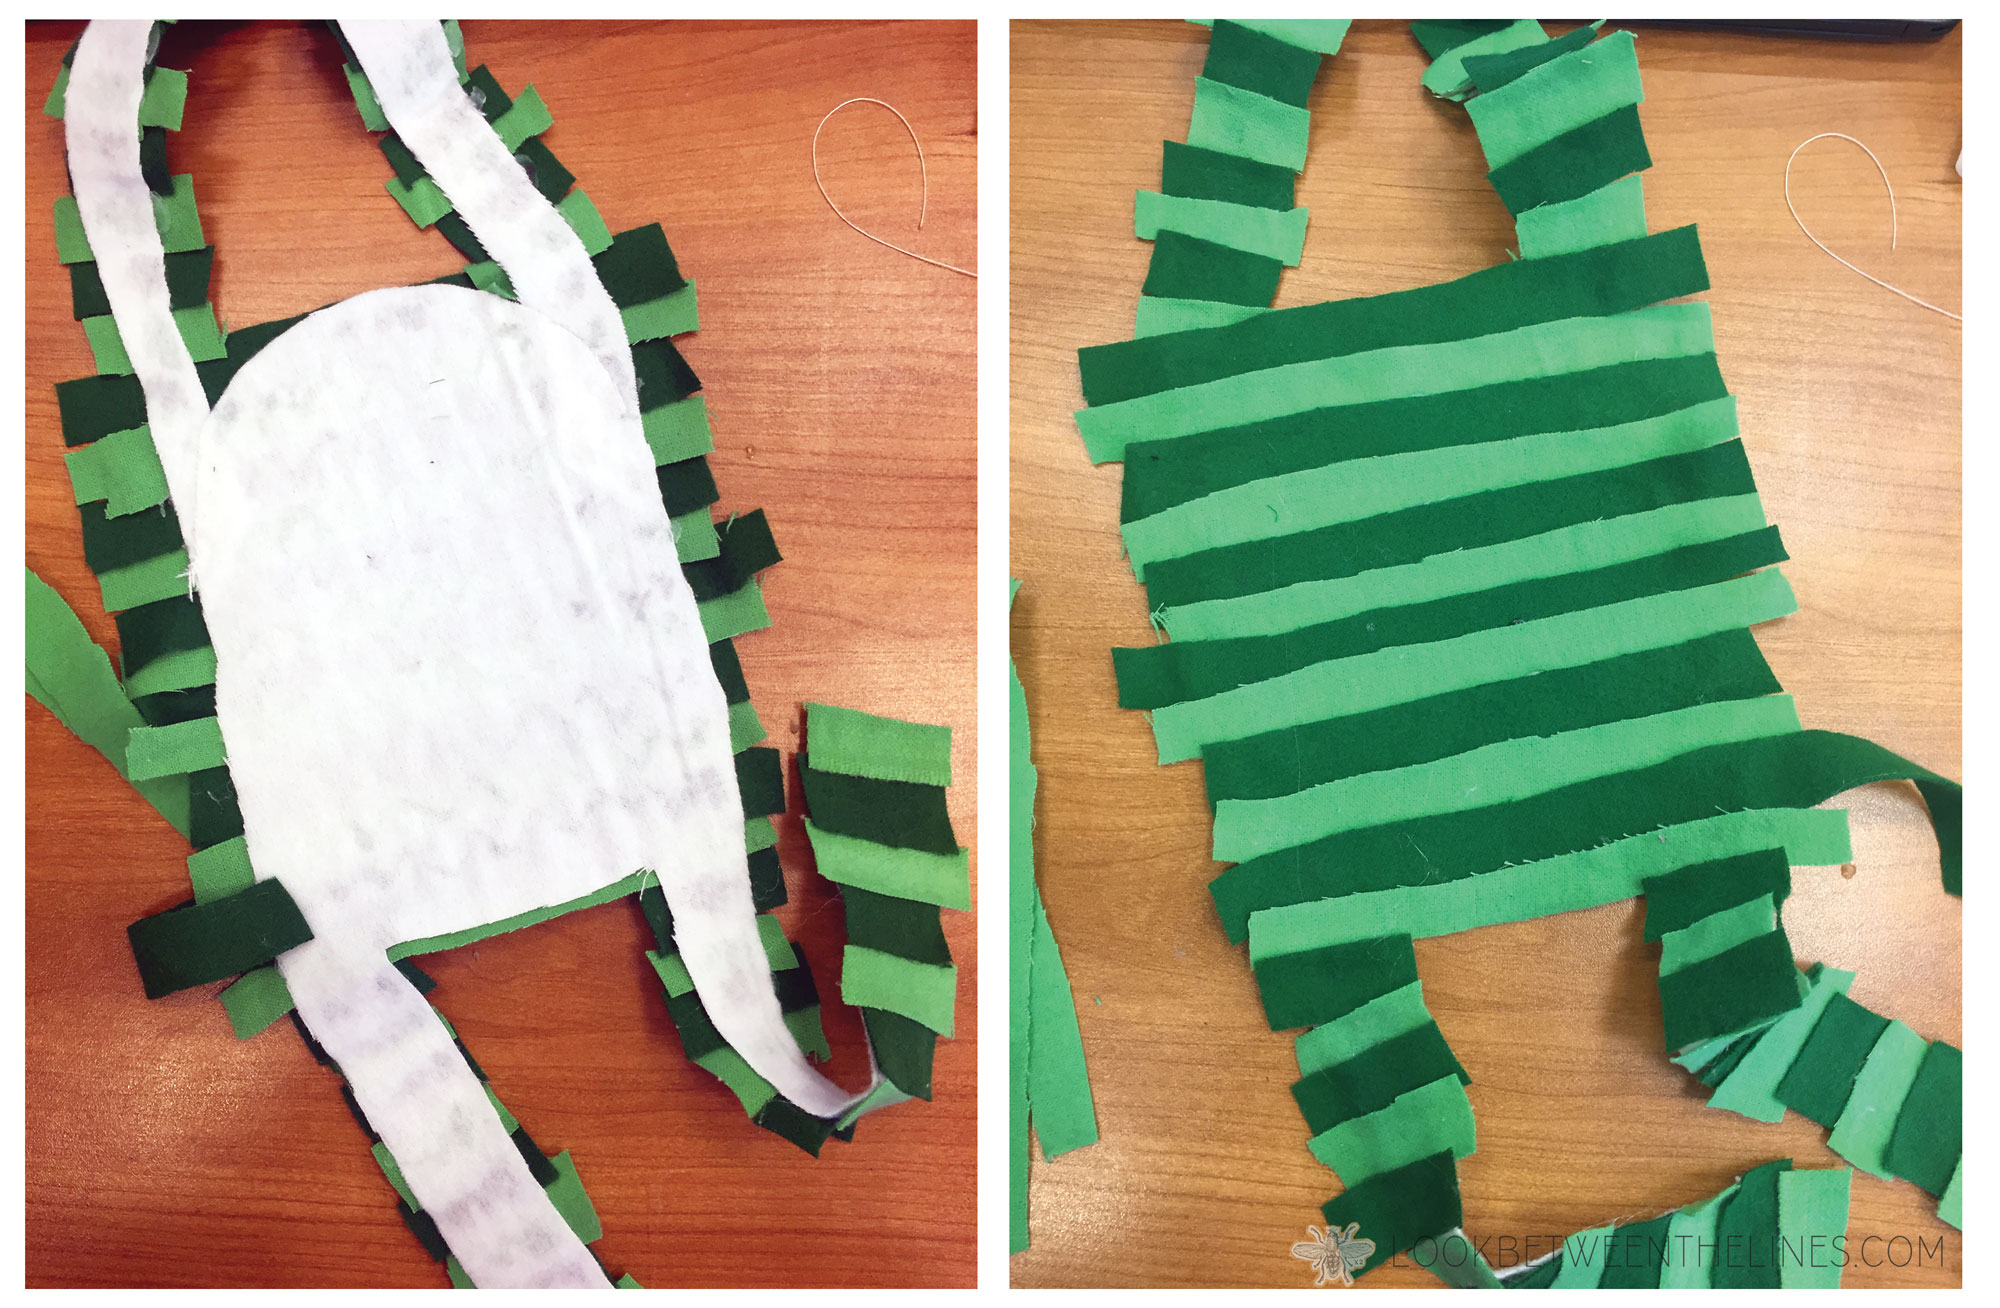
I continue to glue the fabric until the entire shape was filled up. I didn’t worry about cutting every piece perfectly to match the monster shape. Instead, I glued the strips down then used scissors to trim the excess after. Next, I added circles for the eyes and white fabric for the teeth.
As I gathered my pictures to prepare for this post I realized I had a lot of holes. I never took a final picture of the completed monster banner up close, so this is as good as it gets. I promise, it was adorable
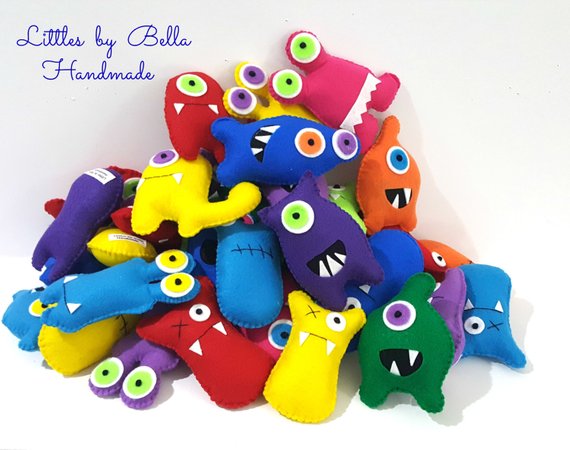
The next piece of inspiration for Cooper’s party decorations were these adorable felt monsters by Littles by Bella. I fell in love with them as soon as I saw them and immediately placed an order for a batch as party favors. I requested navy blue, dark green, light green, turquoise, and gray, to match his color scheme.
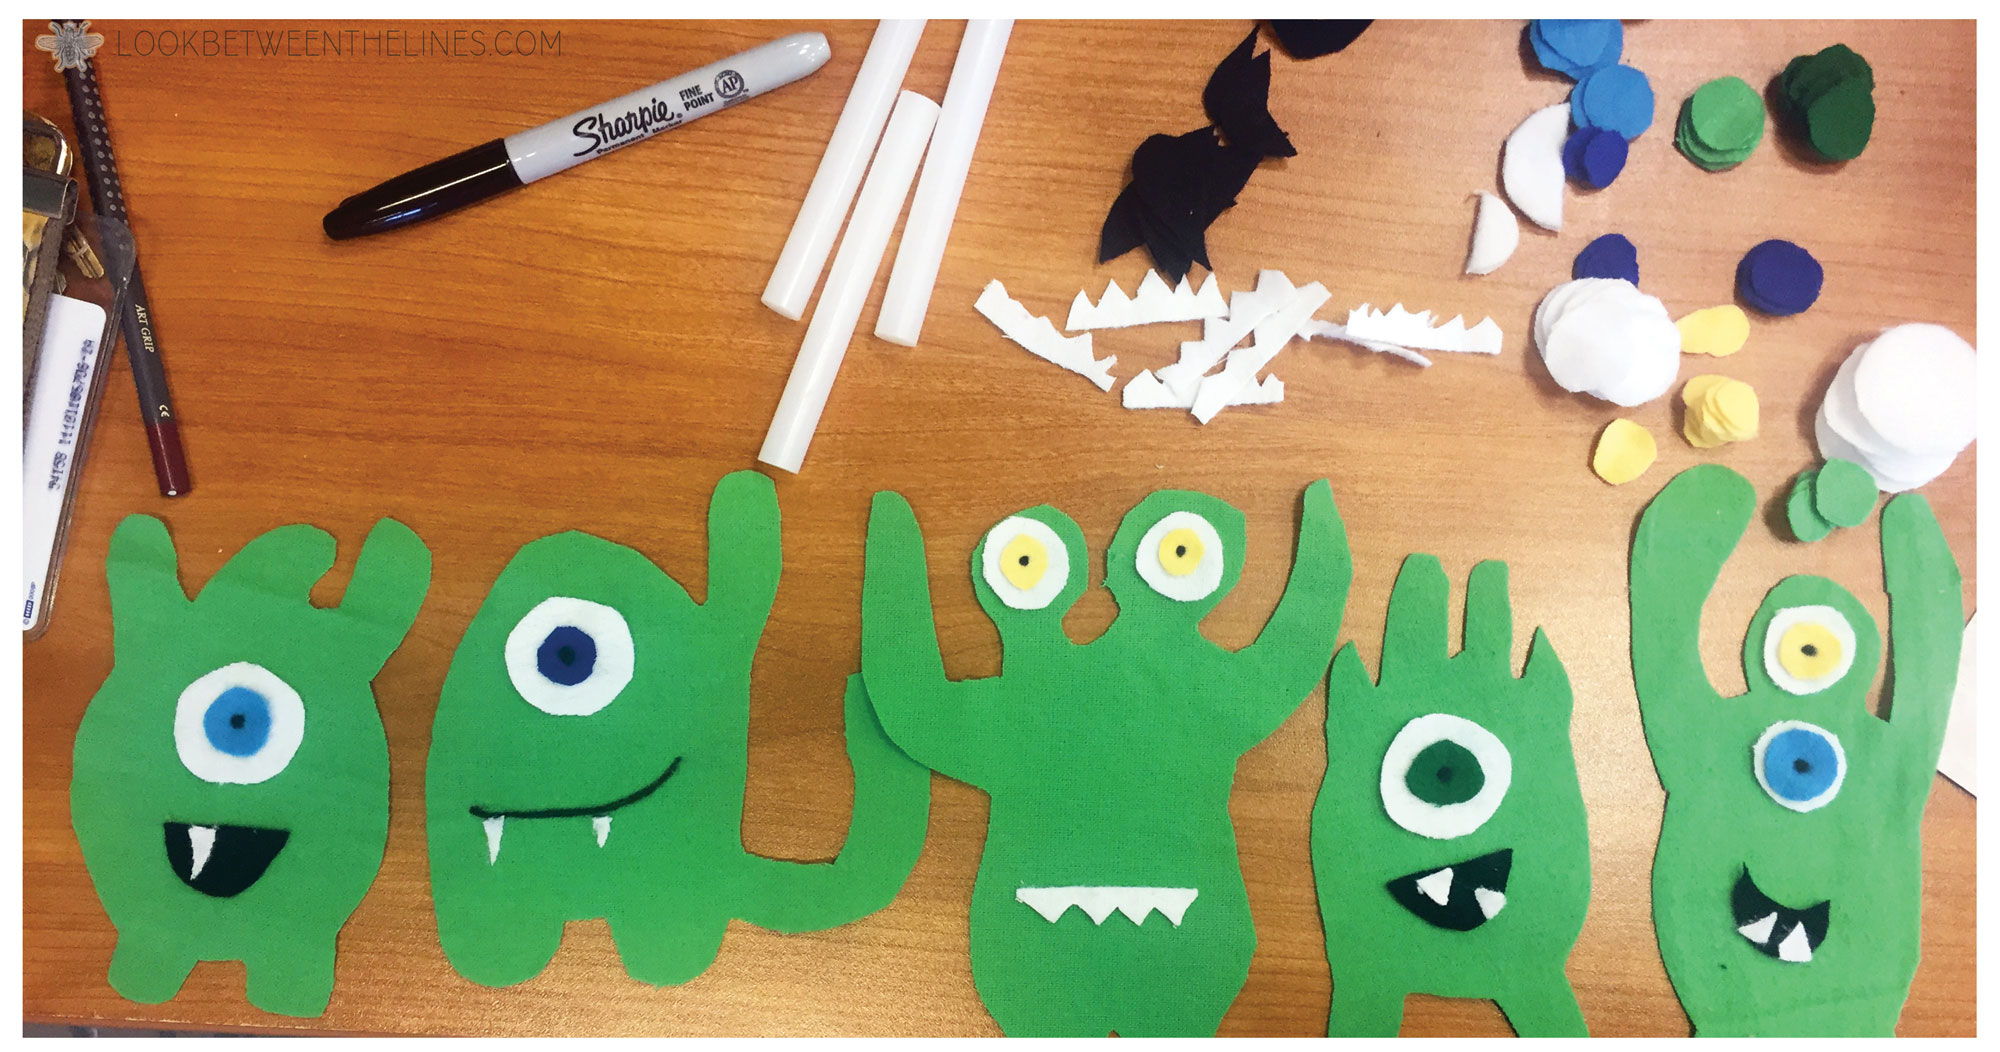
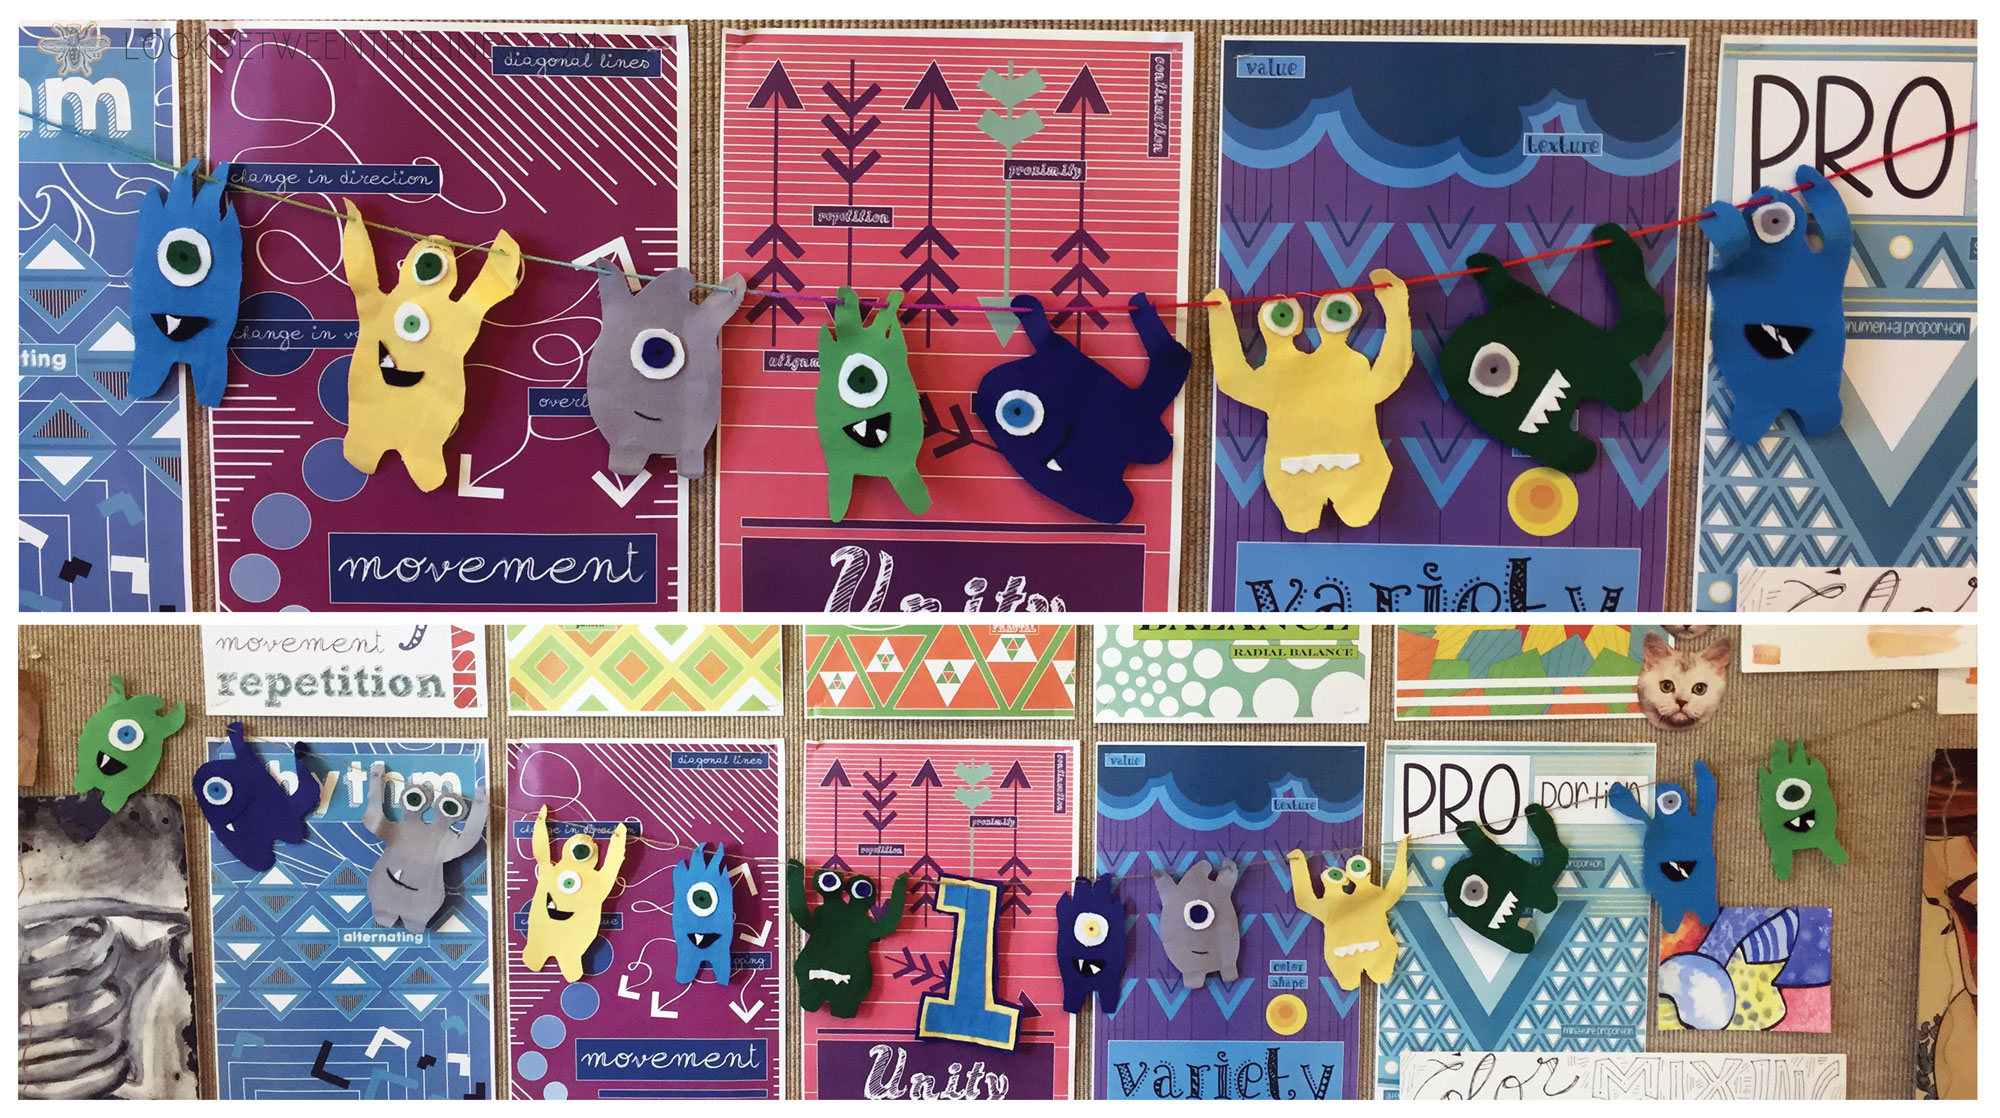
These little guys also inspired more monster banners that I hung throughout the house for the party. I sketched the monster shapes out on a sheet of paper, referencing the felt monsters for the design. I used the outside edge as a guide to cut the fabric out in the monster shape. Next, I cut out medium size white circles for the eye base, and slightly smaller circles from the rest of the colored fabric, for the iris of the eye. I used sharpie to add the pupil and cut up jagged pieces of white for the teeth.
I used a hot glue gun to add the details to the monster bodies. Sharpie was used to add the pupils and thin mouth lines.
The only close-up picture I took of these were in my classroom with terribly busy posters in the background. Sorry for the bad final pictures! Don’t judge… I had a one-year-old at the time.
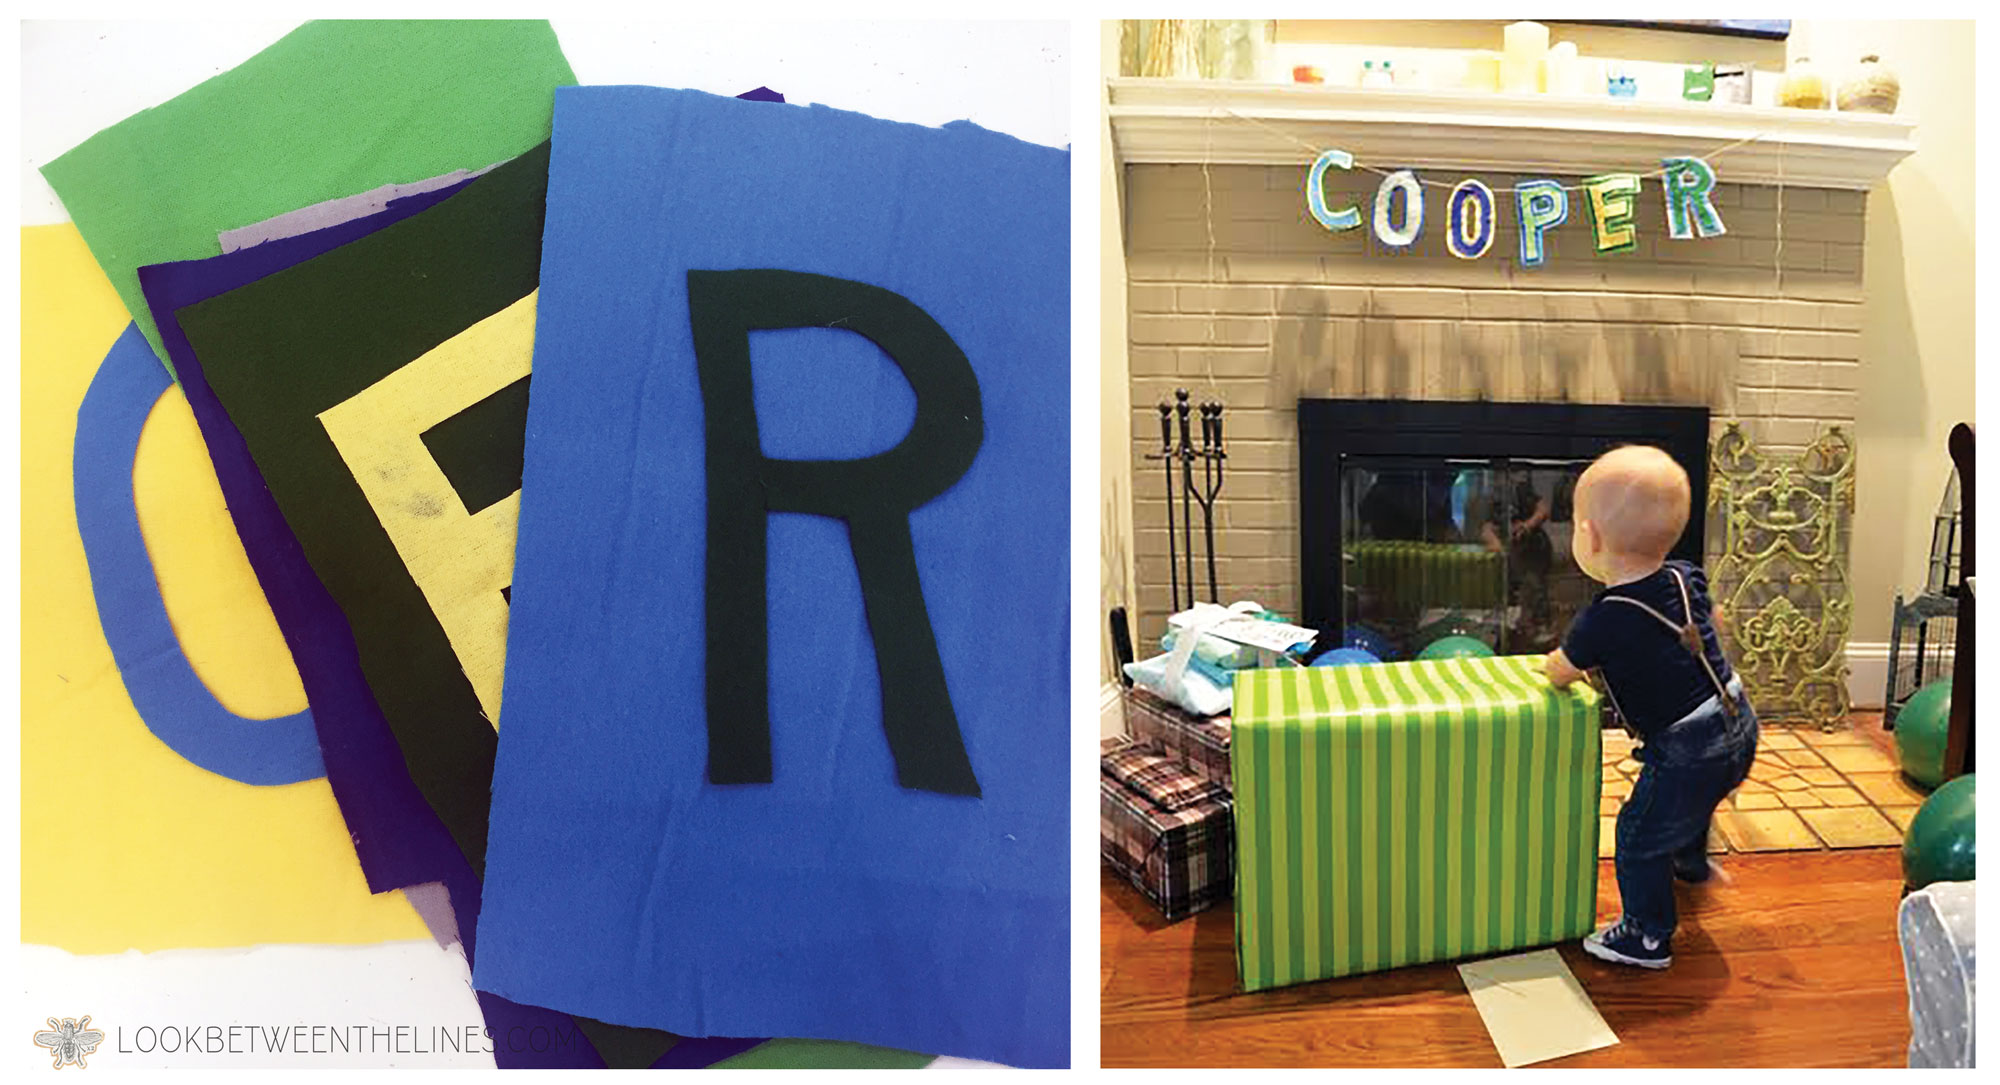
Although at this point I had already created 4 banners, I couldn’t skip the name banner. I decided to use the extra fabric to cut his letters out and strung it up using twine. After many years of doing this, I have found the easiest way is to draw the letters on the fabric with pencil and cut them out. Then glue them onto the next color fabric, to create a pretty edge, then cut them out again. Keep repeating until you have the look you want. I ended up doing three colors for each letter.
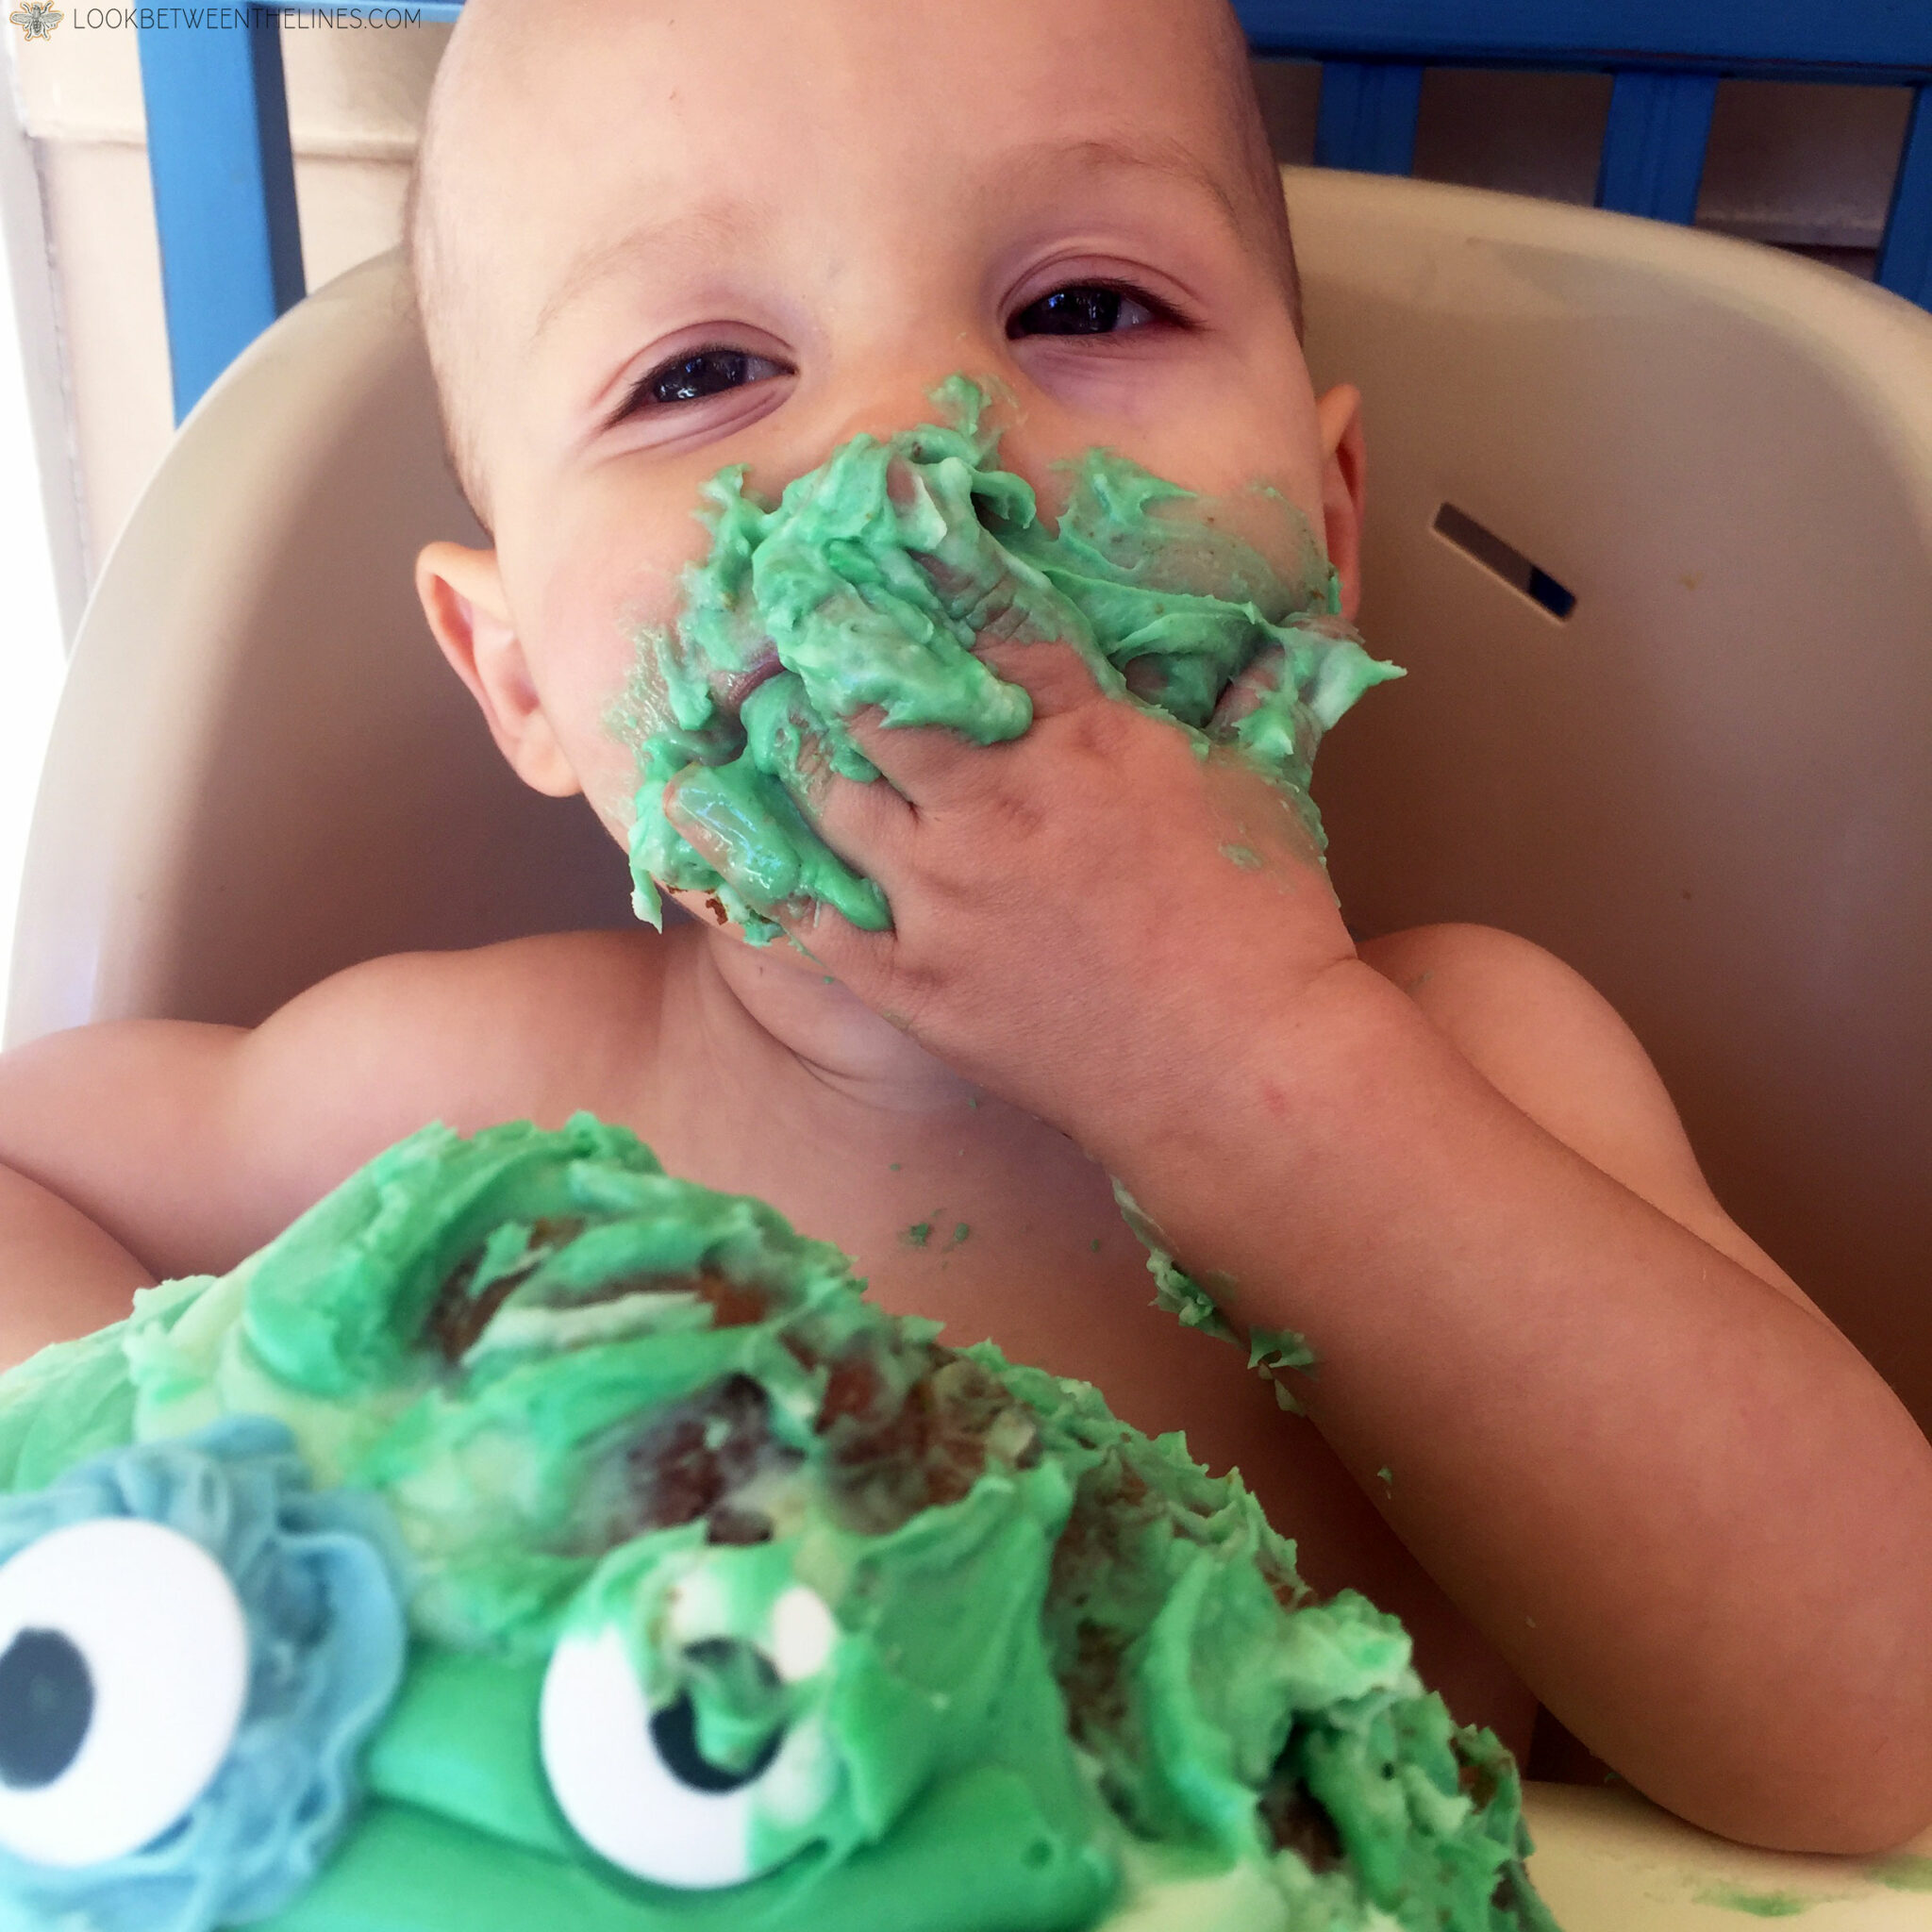
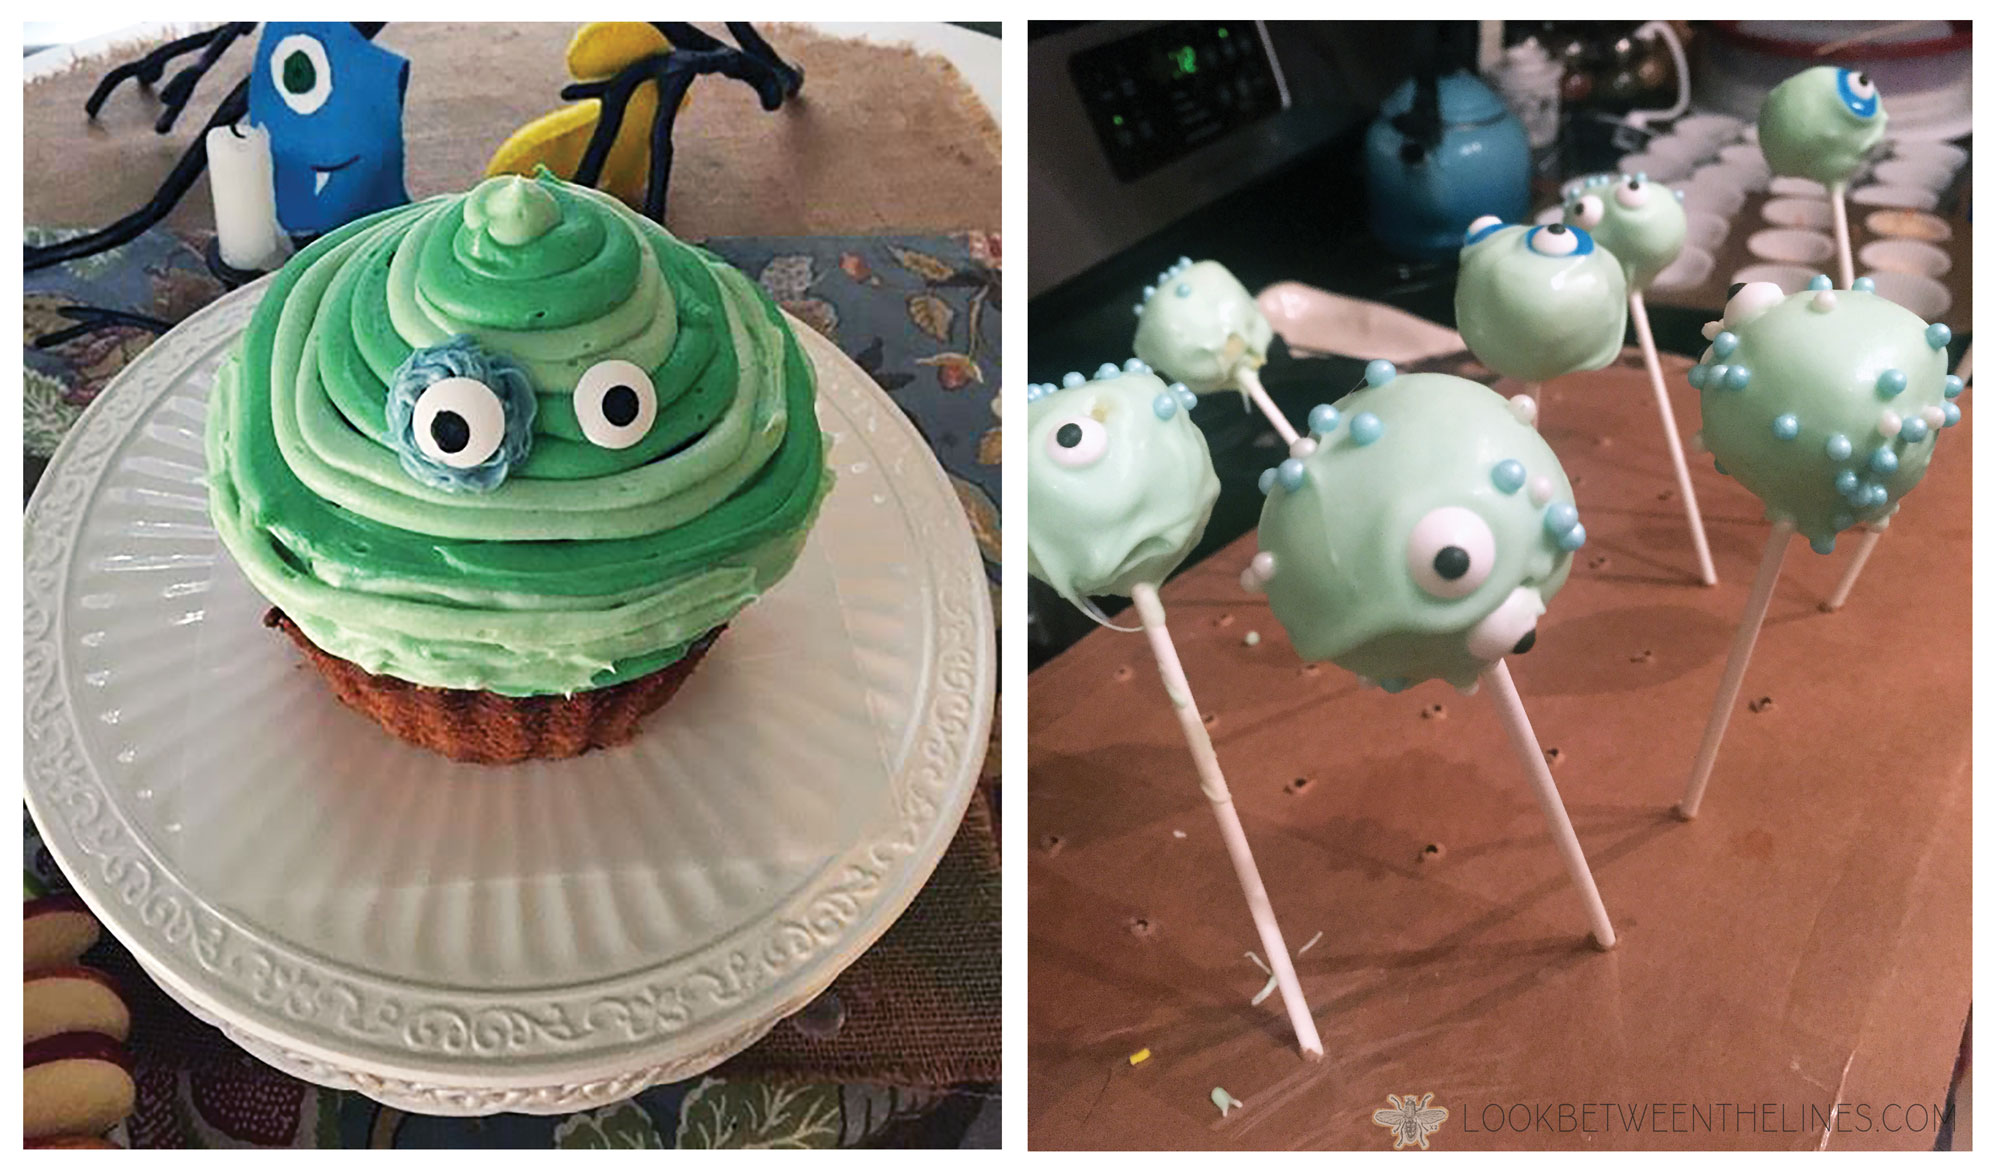
The night before Cooper’s big day I was baking up a storm. I made cupcakes for the guests and found a cupcake cake pan on amazon for Cooper’s smash cake. I added icing to the top to look like the stripes on his monster plush. I also made cake pops for another party favor and made them look like monsters using edible eyes from Hobby Lobby. This was my first attempt at cake pops, and although they were time-consuming, they were easier than I expected. It helps when you are creating monster pops that don’t require a perfectly smooth icing application.
MONSTER THEME BIRTHDAY PARTY
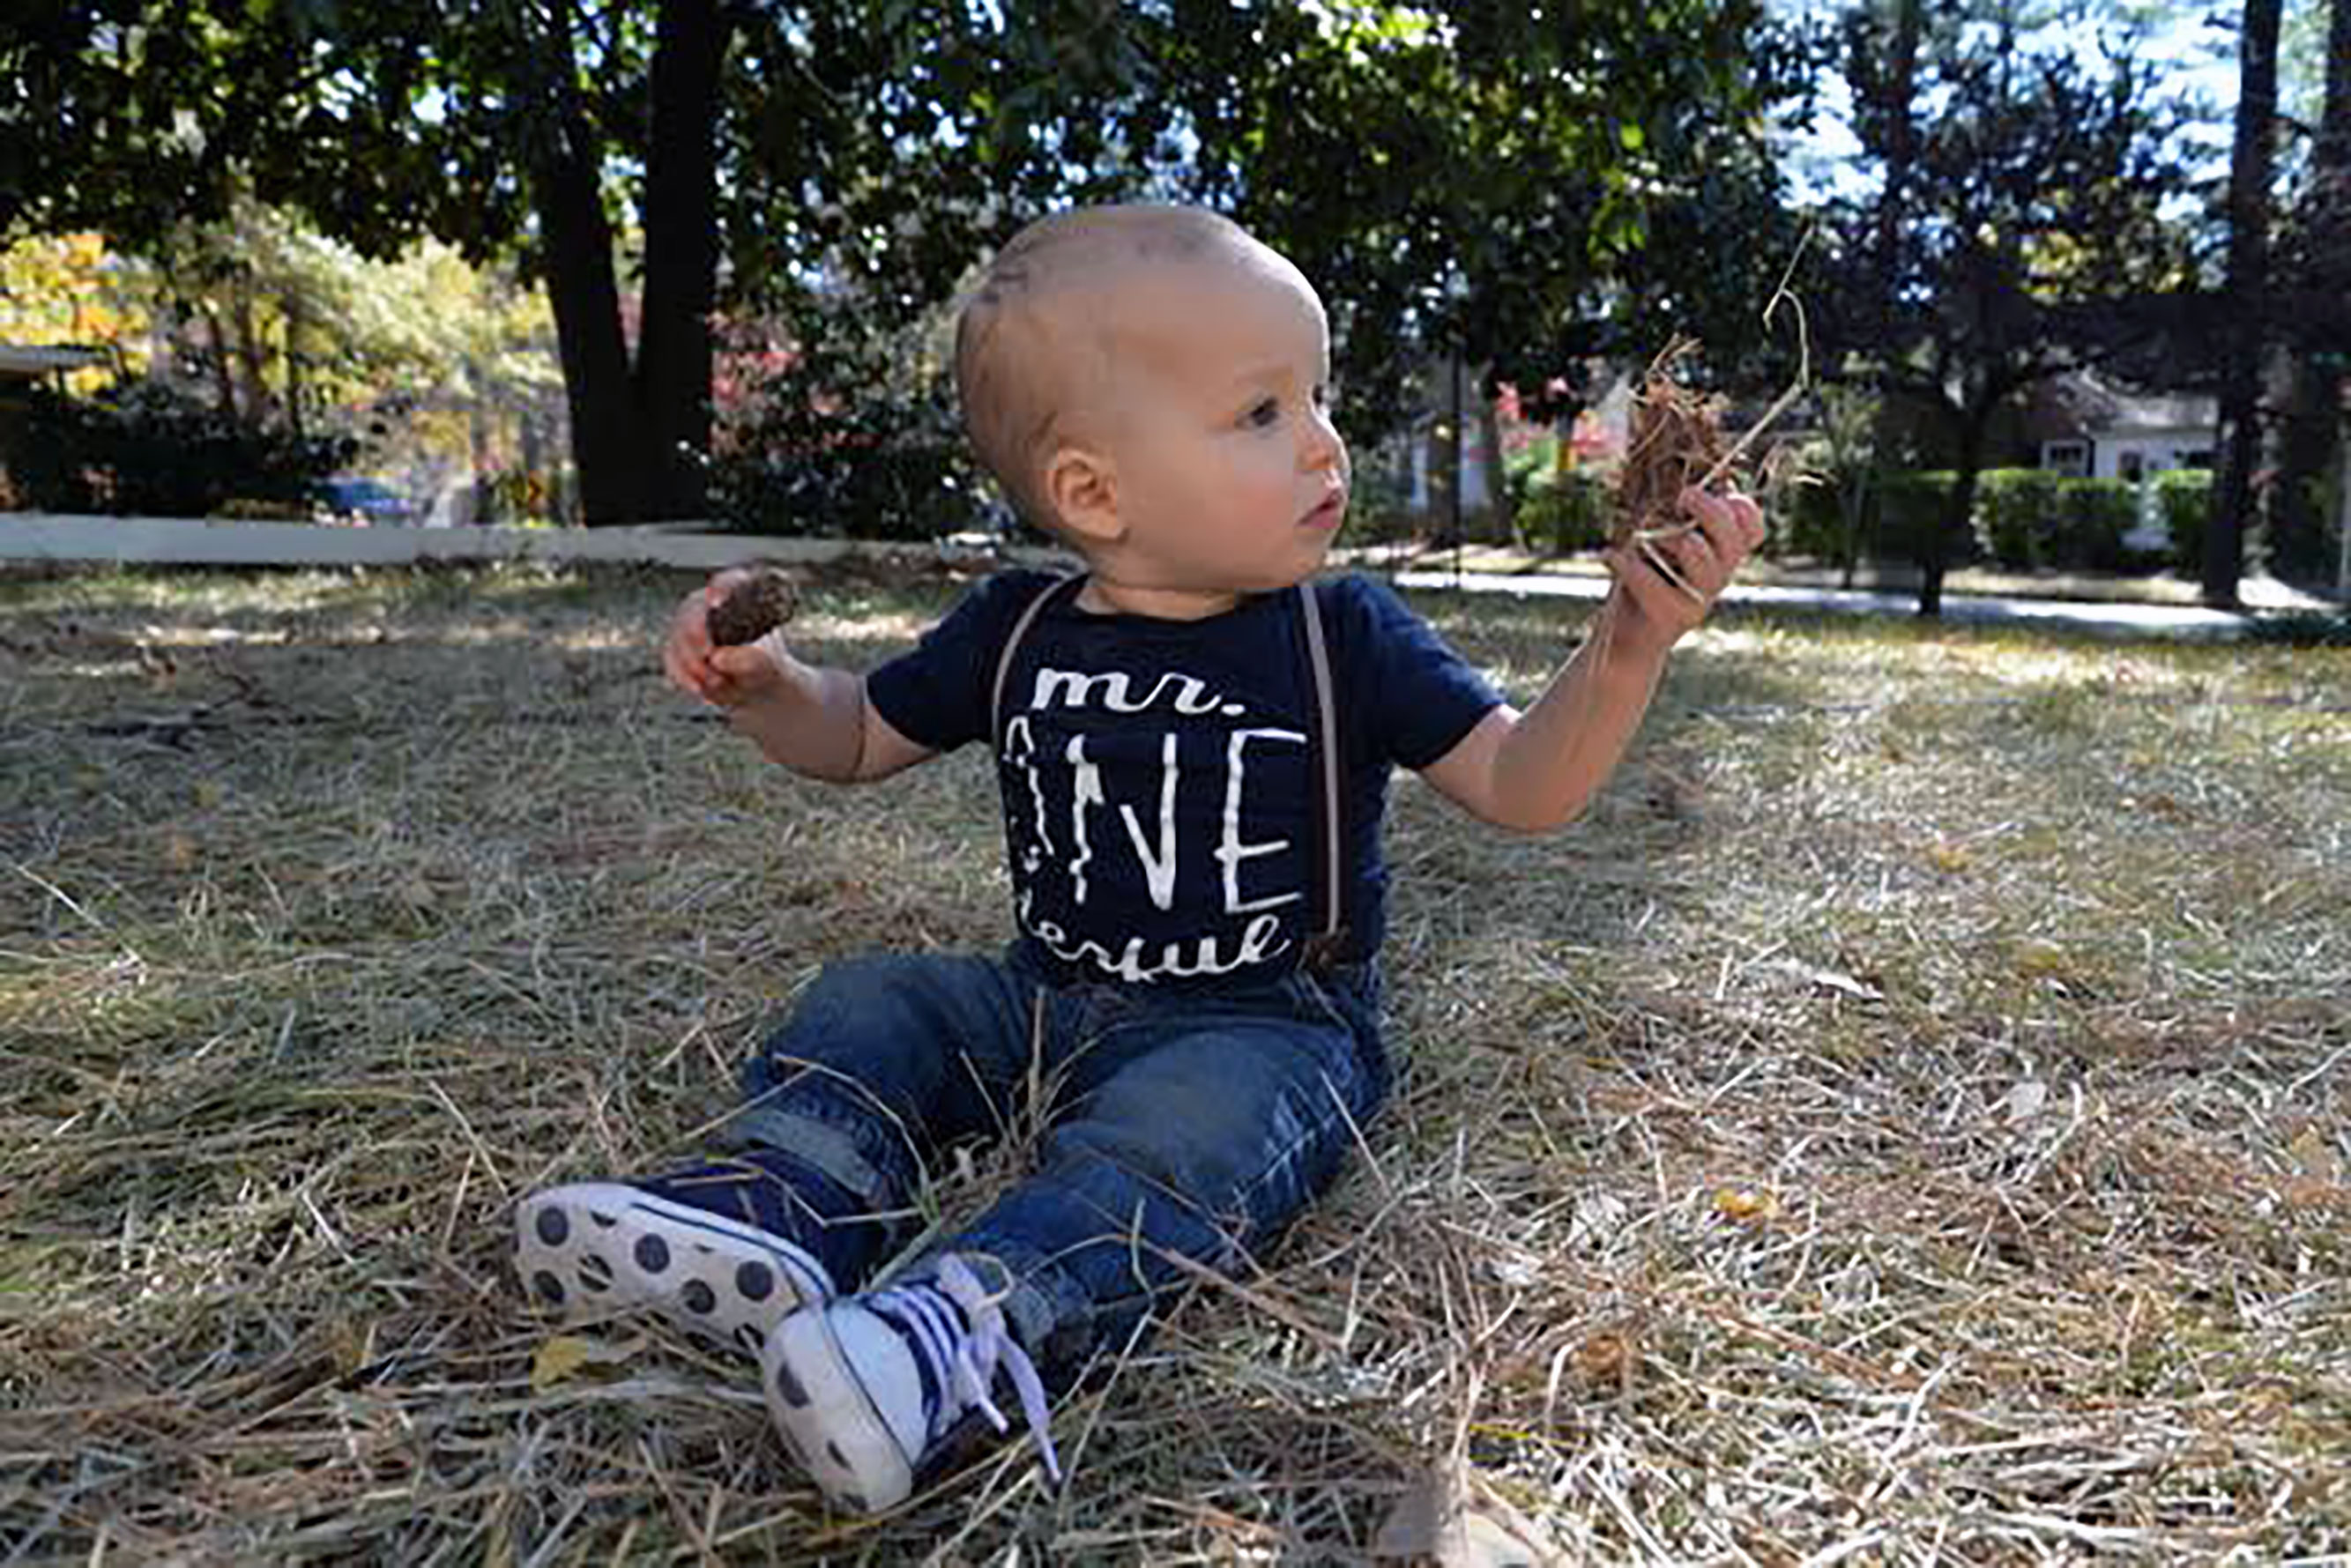
The day of the party was complete chaos, but little man had the time of his life. I can’t believe today he is three. He is talking, walking, running, riding a bike, and periodically talking back. And I love every second of it.
Thanks for taking the time to check out my monster theme birthday post. I had so much fun planning for his first birthday and I am now in the midst of planning his third birthday party, which is on Saturday. I hope to post about that in the next couple of weeks. Hopefully, it won’t actually take a couple of years. Check out more blog posts here. Shop my education resources here. Don’t forget to follow me on Instagram and TikTok for weekly visual journal demos. Until next time!


I want to host a monster themed birthday party for my son. It makes sense that I would want to get decorations for it! It would be fun to get a banner that also has a monster theme. I’ll have to start looking around to see if I can find something like that.
The monster theme was so much fun! I found a lot of options for it, so I’m sure you won’t have a hard time finding what you need. good luck!