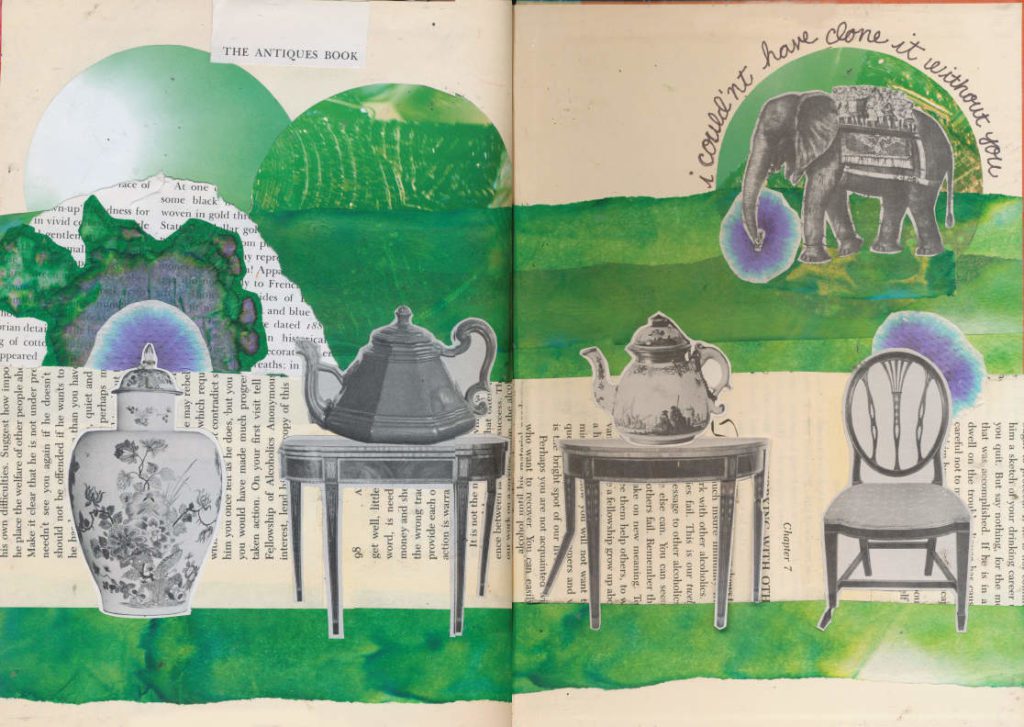
Check out how I created a book page collage using pages from the book I used as my visual journal
THE STORY
I finally reached the end of my second book. The last page was sitting there blank, waiting for the last collage, my dedication page to my book.
Since I completed my first visual journal I decided to save the last page for my book. As I work through the pages I rip things out, add them to my visual journal folder, saving them for this page. I want to make sure my book is recognized for allowing me to cover it’s pages, words, pictures, and intended purpose with my own vision. Each page is transformed from an informative text about antiques to a representation of me.
The Antiques Book served as a great backdrop to my creations and is one of my favorite books I worked in. It provided inspiration through the images, text, and beautifully, off colored, pages. These final images are discoveries I made as I flipped through the pages. I held onto them and collected them for a year. They have finally returned to their intended places, between the covers of this book.
Thank you… I couldn’t have done it without you…
SUPPLIES
- Visual journal
- Scissors
- rubber cement
- Book pages
- Magazine cut outs
- Bleeding tissue paper
- Water
- Book page images
- Sharpie
HOW TO
STEP ONE:
When I was planning out this visual journal page I decided to go with a simple color palate. I have always loved the look of the green bleeding tissue paper, so I decided to go with that color as the main color. I had been holding onto a few circular images from a magazine that had similar greens and yellows to the bleeding tissue paper. Once I had my colors picked out, I got to work.
STEP TWO:
First, I took a few sheets of green and yellow bleeding tissue paper, stacked them on top of each other, then dripped water on them. The green and yellow pigments bleed into each other, making a tie-dye pattern.
STEP THREE:
While the bleeding tissue paper was drying, I cut out the green magazine circles, and the antique images I saved from my book. I made sure to cut close to the edge on all of the images, to give it a cleaner collaged look.
STEP FOUR:
I played around with placement for a while and decided to have the majority of the antique objects in a row toward the bottom of the page. The elephant was placed on the top right side of the page. I glued the green circles down first, then a strip of bleeding tissue paper, to create a space for my objects to sit. Next, I included a green circle in the top corner of the page to help bring attention to my elephant. In addition to the green bleeding tissue paper, I also cut out a few pieces of dyed paper towels. I placed these behind the book page cutouts to help bring attention to the images.
STEP FIVE:
After I got the background pieced together I added the images on top. Last, but not least, I added the words “I couldn’t have done it without you” around the elephant with sharpie.
CHALLENGE
Create a dedication page to your visual journal book. Make sure you use book pages from your book.
Thanks for taking the time to read my post and check out my blog. Help me spread the word by sharing it with others. I couldn’t do it without you. Check out more visual journal blog posts here. Don’t forget to follow me on Instagram and TikTok for weekly visual journal demos. Until next time!

0 Comments