
Although the primary focus of my visual journal project is the inside, creating a visual journal book cover can be a fun break from the norm. This is also easy to plug-in as an end-of-year project. Read below for details and instructions.
I always teach a formal book cover design project in my high school Introduction to Art class. They learn about the history of book covers, research book covers, and plan out their design. I typically teach this art project mid-semester. I opt to wait because it allows them time to work in their visual journal and figure out their style before designing the cover. After all, the cover can be a daunting task.
In my upper-level art courses, they always have the option to design a cover, but it isn’t a required part of the visual journal project. If art students want to create a cover I count this as one of their 12 required visual journal pages at the end of the semester.
SUPPLIES:
For the visual journal book cover project, you need a wide range of materials on hand. Students will have different media they are interested in using, and for this project, I don’t like to box them into just one. At a minimum you need:
- Visual journal book (used, hardback book)
- Oversized paper, larger than the biggest book being used (butcher block paper or large drawing paper work great)
- Scissors
- Glue or Mod Podge
- Packaging tape or a laminator
- Additional supplies: markers, Sharpies, magazines, paint, paintbrushes, stickers, and other flat material to collage with
STEP ONE:
Center the visual journal on a large sheet of paper, it must be larger than the book when the cover is open and flat. Hold the pages up with one hand, with the other hand, fold the paper around the book cover to crease the paper. Fold the paper on the sides over the ends of the cover to create book flaps. Crease the paper well, this is the guide for the next step.
STEP TWO:
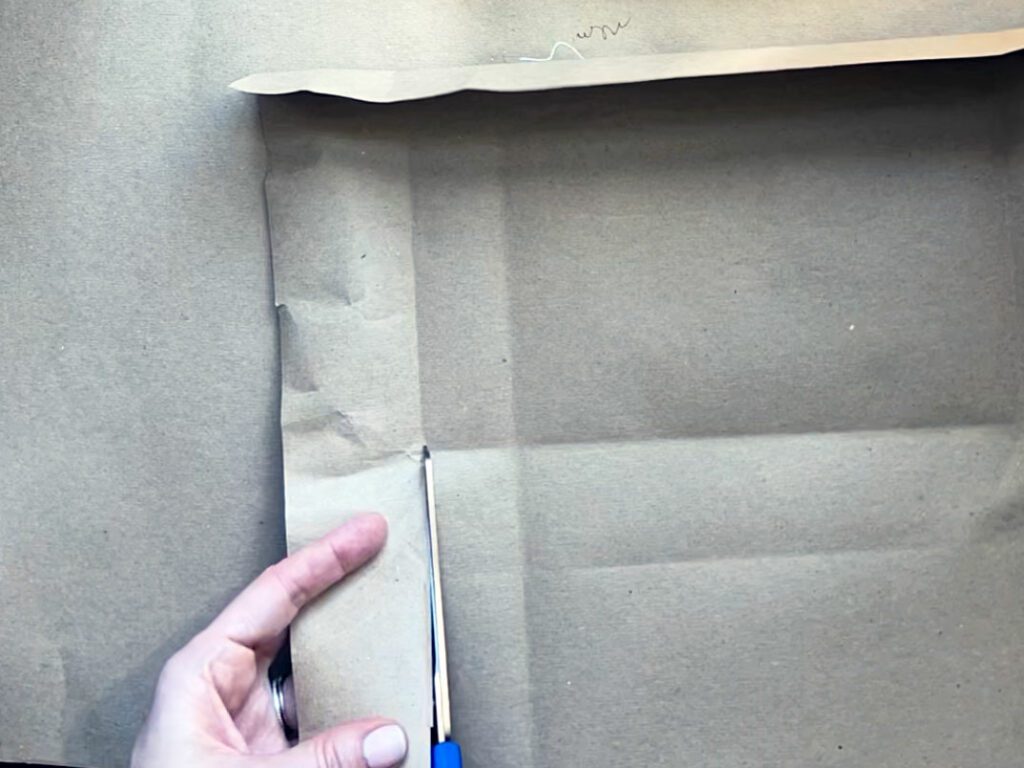
Use scissors to cut along the crease line to make the cover the size of the book. DO NOT cut the flaps that fold inside the book cover. These hold the cover onto the book. Only cut along the crease lines at the top and bottom edges of the book.
STEP THREE:
The best part of the visual journal book cover project is decorating the cover. I allow students to create whatever they want, just like they do on the inside of their journal. I encourage them to use similar materials and styles to the inside. After all, the purpose of a book cover is to capture the subject of the book in a single image. The only requirements for the visual journal book cover are:
- Creative design that reflects their journal
- The cover is decorated FLAP to FLAP, every part has been thought through.
- The design visually connects from the flap to the back to the spine to the front to the front flap.
- A name is included on their cover and spine
- Effort and craftsmanship
I love watching the unique book covers unfold. Because this project is so personal, you see that reflected in their book covers as well. The range of materials and styles is inspiring.
STEP FOUR:
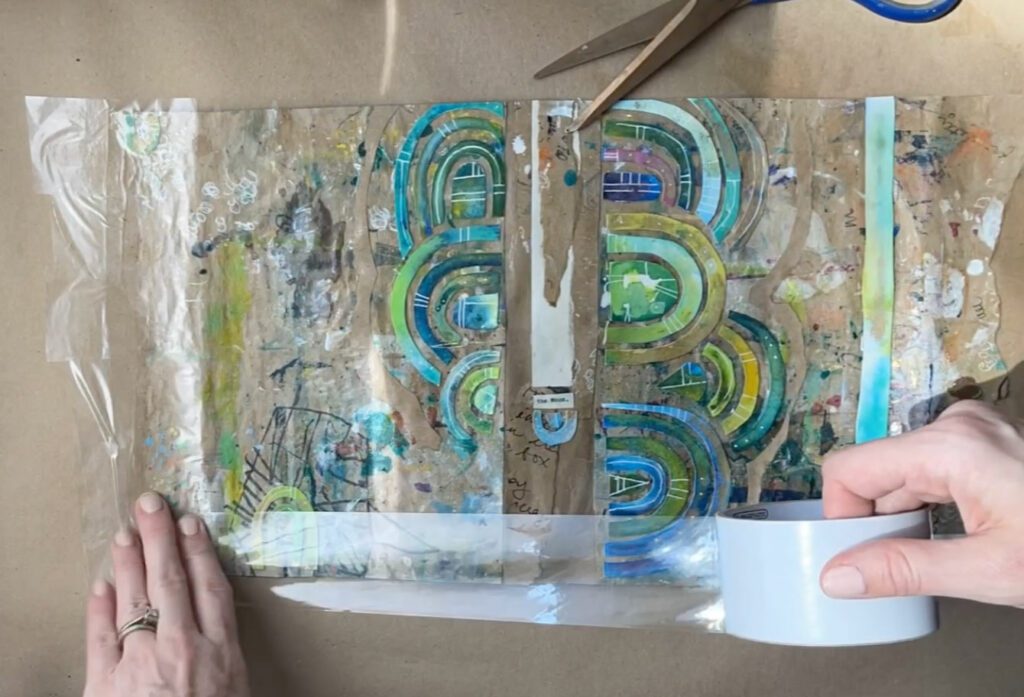
When the book covers are finished find a way to protect them. I preferred taking the completed covers to our school laminator and laminating them. However, if you don’t have access to a laminator you can easily use packaging tape. To get even coverage with the tape, tape to the tabletop, slowly drop the tape and rub over it with your fingers. If the tape is crooked, let it go, you can add another layer on top. This will help prevent air bubbles. Continue adding tape until the entire front is covered. Next, flip the cover over, tape the other side. Trim the edges when you are finished. I am always amazed at how well the packaging tape holds up.
MY COVER:
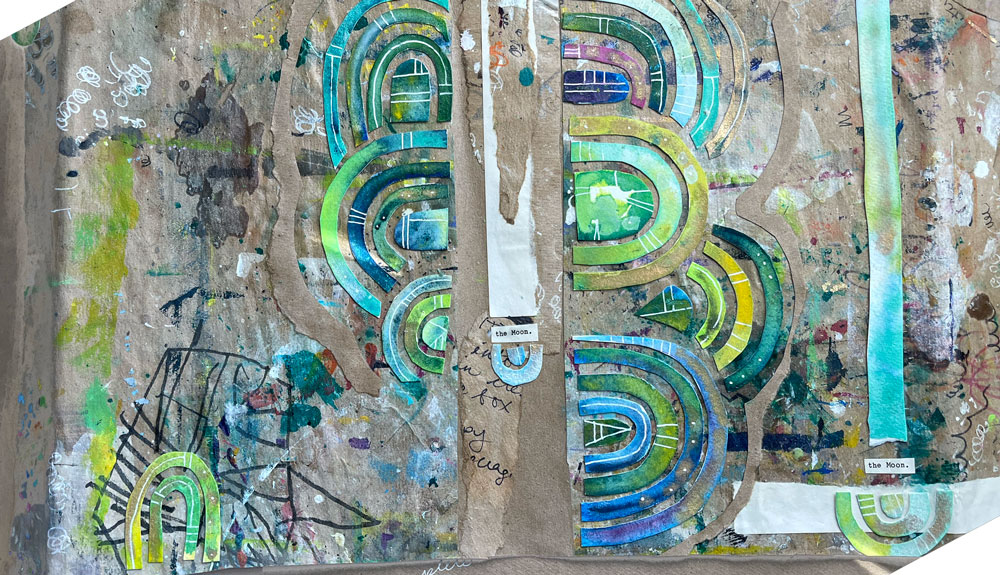
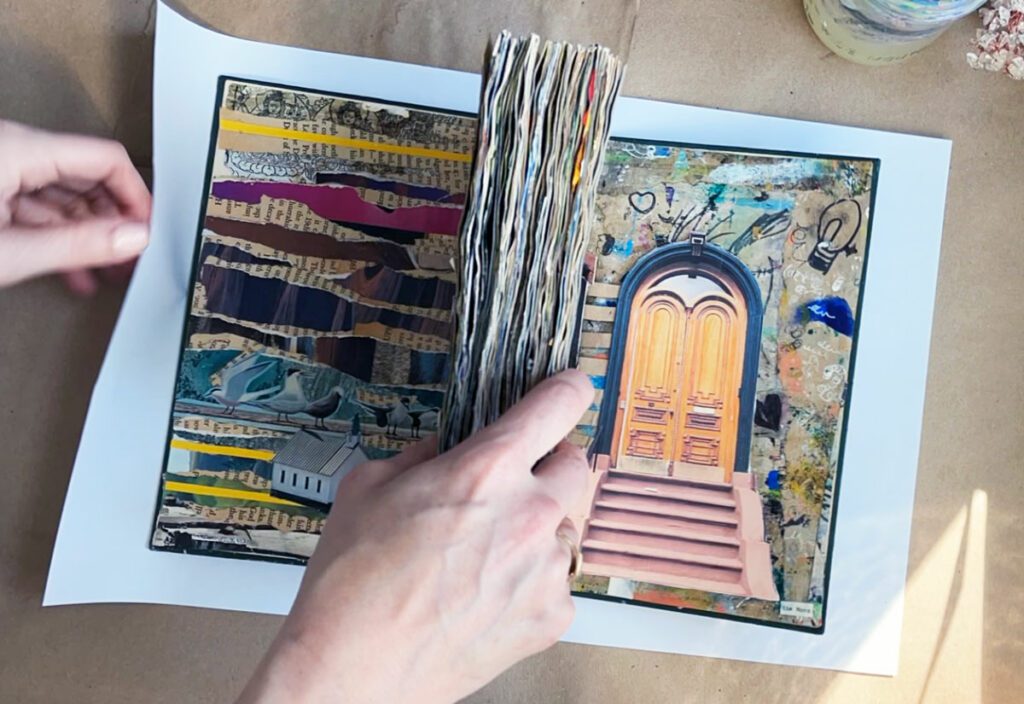
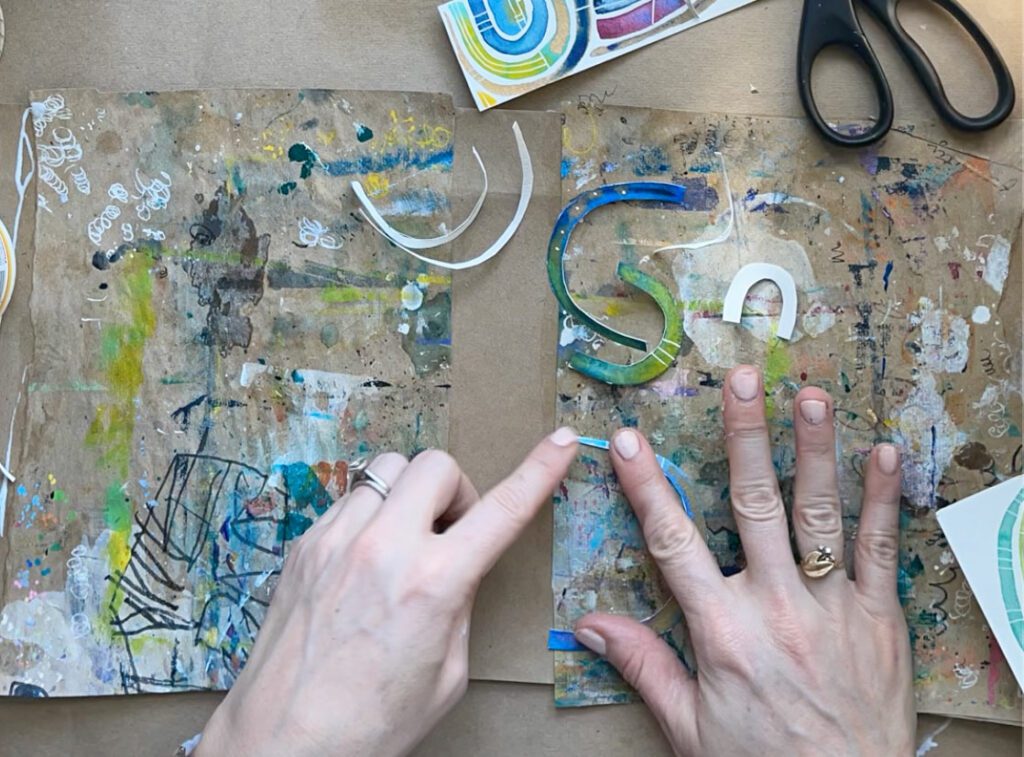
For my most recent visual journal book, I opted to use my “messy mat” that covered by art area as the base. Over the last year and a half this butcher block paper caught all of my spills, splatters, and doodles. Next, I cut up watercolor arches I used for a planner design and glued them on top using Mod Podge. To finish, I added my title, “The Moon” to the cover and spine, this was the title of the book I worked in so I felt it was appropriate. The title was cut from text in the book I worked in, I love that final connection.
If you are nearing the end of the school year and have a few days to fill, this is a great project and a way to wrap up visual journals for your class. Watch a video of me making my visual journal book cover on Tik Tok or Instagram. Also, check out my book cover project on TPT here, you can also get this project in my visual journal project bundle here. Read how to start a visual journal here.
Don’t forget to follow me on Instagram and TikTok for weekly visual arts journal demos. Subscribe here to get updates and info straight to your inbox. Until next time!
Related Posts

Leave a Reply