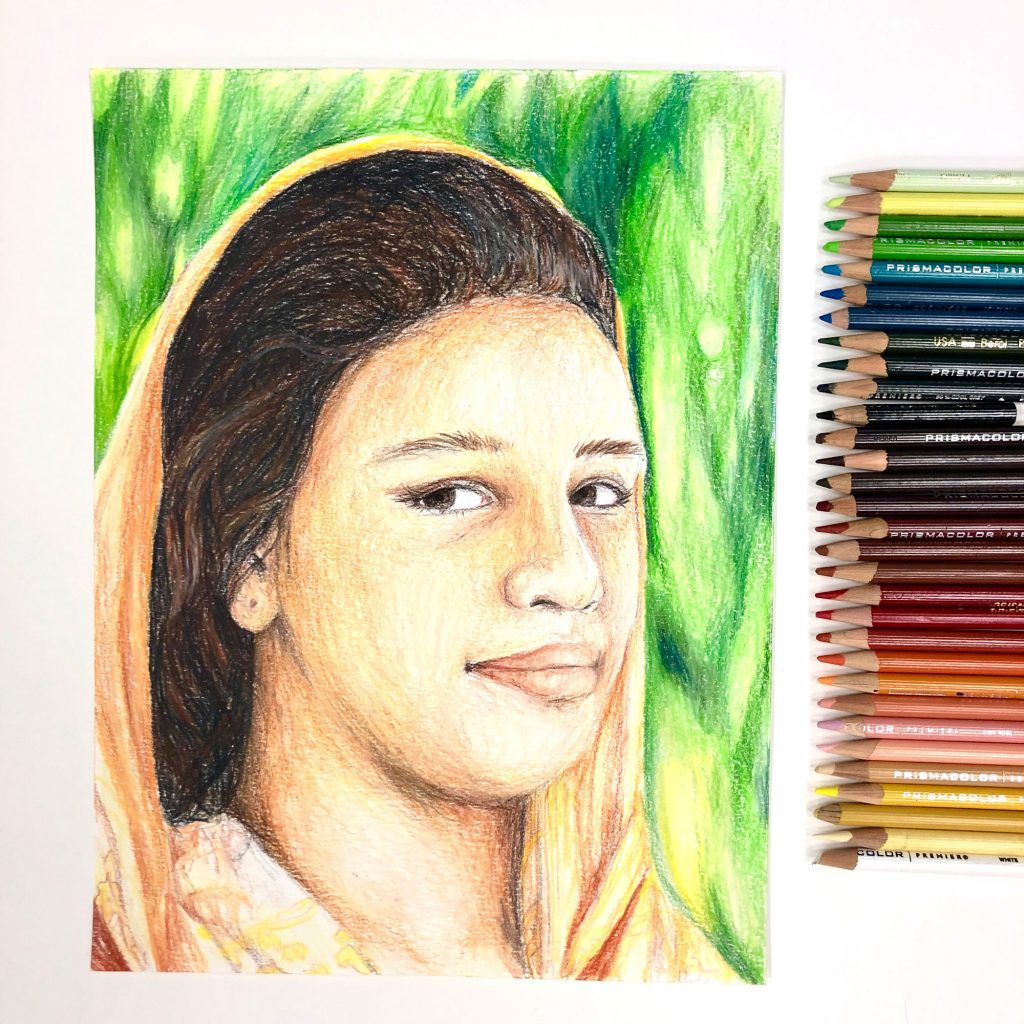
Check out tips and techniques to created a colored pencil portrait and teaching a colored pencil portrait project in your middle or high school art class. Details below!
THE STORY
I have spent much of my life creating art. Growing up with an art teacher mom greatly widened my creative boundaries. She always had art supplies, new ideas, and fun projects for us to work on.
However, while my art-making career does reach far back, for as long as I can remember I have also struggled with and have tried to avoid portraiture. In contrast, my art teacher mama spent much of her free time creating beautiful watercolor portraits and even attempted to teach me her tricks a time or two, but the process never clicked for me.
My aversion to portraiture was tested in college, but for the most part, I was able to skirt around assignments. However, my career choice of art education forced me to come face to face with my greatest art aversion, you guessed it, portraits.
I knew that in order to create a well-rounded curriculum I would have to teach my students portraiture, and myself along with them. It took years of practice, learning new techniques, and teaching it to others for things to start to sink in. While it still doesn’t come naturally, it comes more easily, and I have added more and more portrait based assignments to my classes over the years.
THE MEMORY PROJECT
One new addition last year was The Memory Project. We worked with The Memory Project organization to create portraits of children in areas of need. Once the portraits are completed we send the originals to the organization, who in turn sends them with representatives to hand deliver the works of art to the children portrayed.
Everything about this project touches me to the core. It incorporates my love for art, and sharing that love with others, and it teaches students how they can use their talents for good. They have to take time to create a work of art that they will have to give away.
My students and I had such a good experience last year I decided to make it an annual project. Last year we focused on acrylic paintings, you can find the lesson plan for that here, but this year I opted to make myself even more uncomfortable by throwing in another material I don’t naturally get along with, colored pencil.
THE SUPPLIES
- 9″x12″ or smaller sheets of quality drawing paper
- Memory portrait pictures (multiple copies, the same size as the paper)
- Pencils
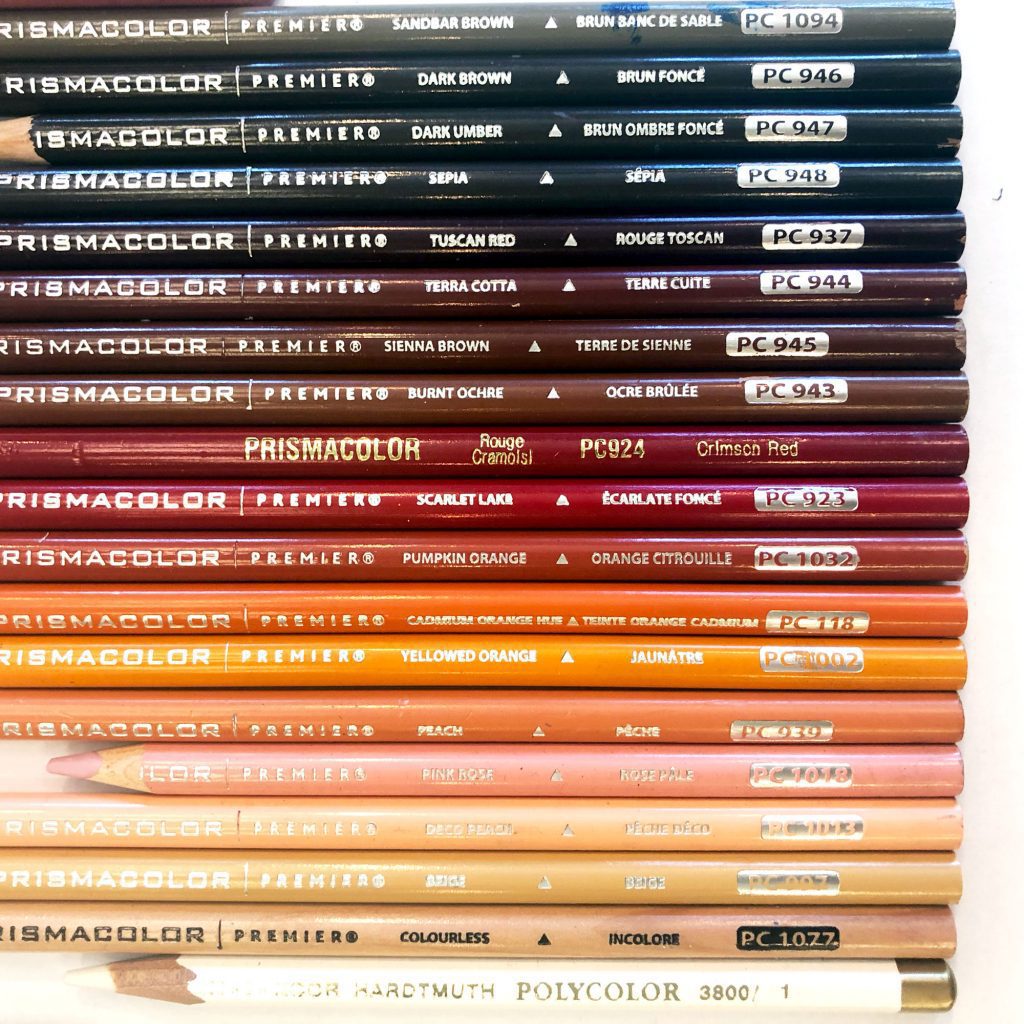
- Colored pencils
- Pencil sharpeners
- Erasers
COLORED PENCIL PORTRAIT HOW TO
STEP ONE
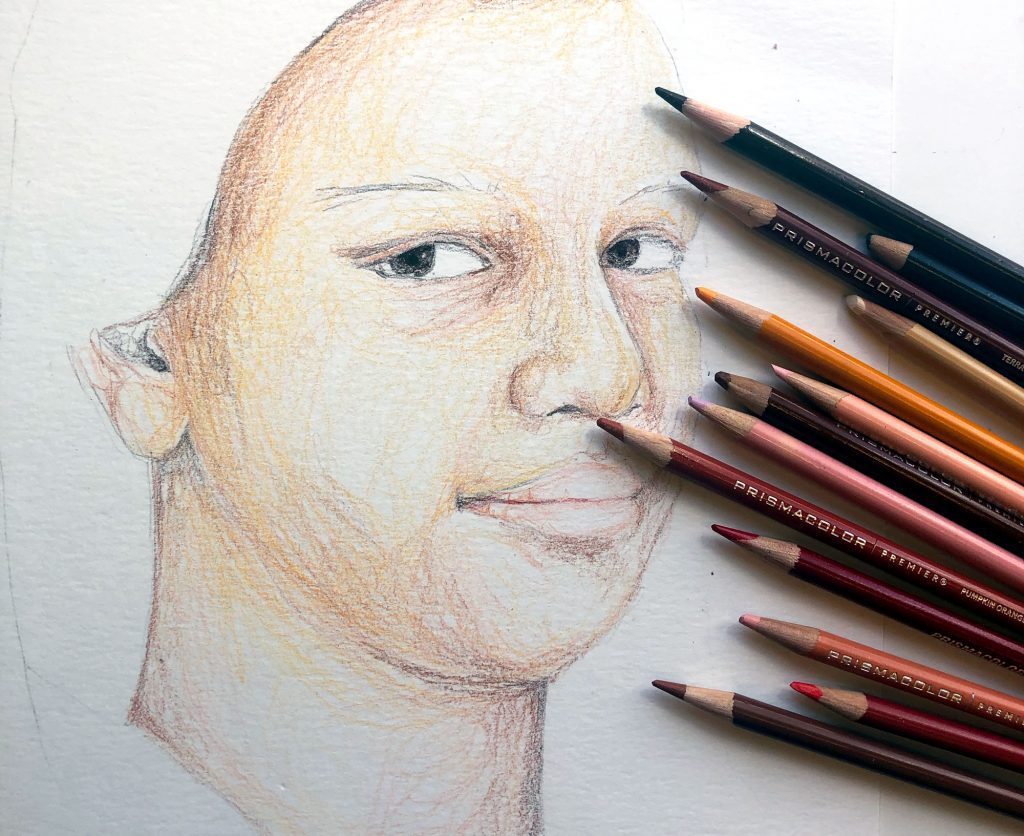
My students start by selecting the child they are interested in recreating. I then make copies of their pictures for them to reference. Before jumping right in I have them create thumbnail sketches of different facial features and practice blending various colored pencils colors to get the right skin color. You can find a worksheet to help guide that process here.
STEP TWO
After they have some practice under their belt, we get started on the base sketch. Because we are sending these portraits out to the children they portray, I allow my students to choose multiple options to get started. They can use the grid method to create an accurate base drawing, they can punch holes through the picture and make dots to follow on their paper, or they can free hand. You can learn more about these options in my Memory Project painting pack here.
STEP THREE
Once they are confident in their drawing and have all the correct information, they get started with the layers. I tell them to start light and slowly build layers up. They block out shadows and mid-tones first, working towards the highlights. I recommend coloring in a circular motion to mimic the soft, even look of skin. They should aim to color along the contour, or outline, of their shapes to give it a three-dimensional quality.
I recommend starting with the skin tone first before jumping into the hair because the hair overlaps the skin. I also think it’s important to work on every part equally, rather than 100% completing the lips before moving to the nose (for example). Instead, build your piece up as a whole.
STEP FOUR
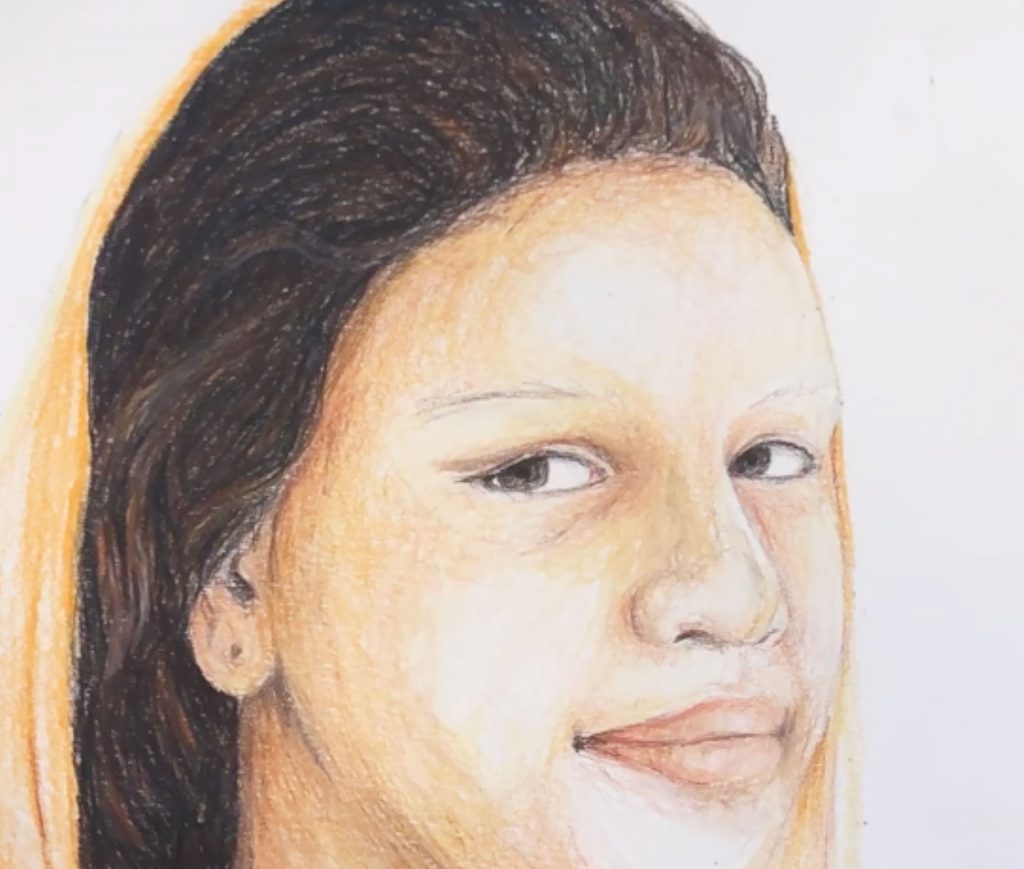
After creating a base layer start adding darker and darker colors, and build in the hair, clothing, and other details.
STEP FIVE
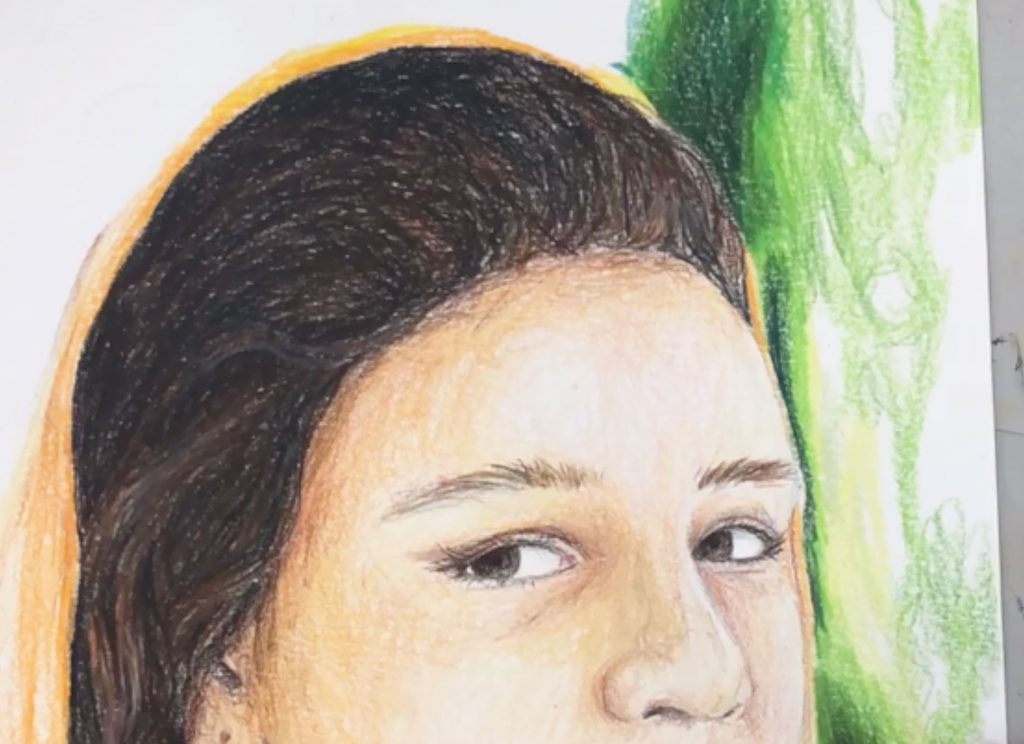
Consider what to do in the background. Did their subject note their favorite color? Is there an interesting background in the photograph they want to recreate? What would enhance, not distract from their portrait?
Similar to coloring in the subject, the layers should slowly be built up. If too much pigment is put down at one time the surface will become burnished and look shiny. It’s hard for more pigment to stick to this burnished surface and often layers need to be removed with an eraser in order to add more color.
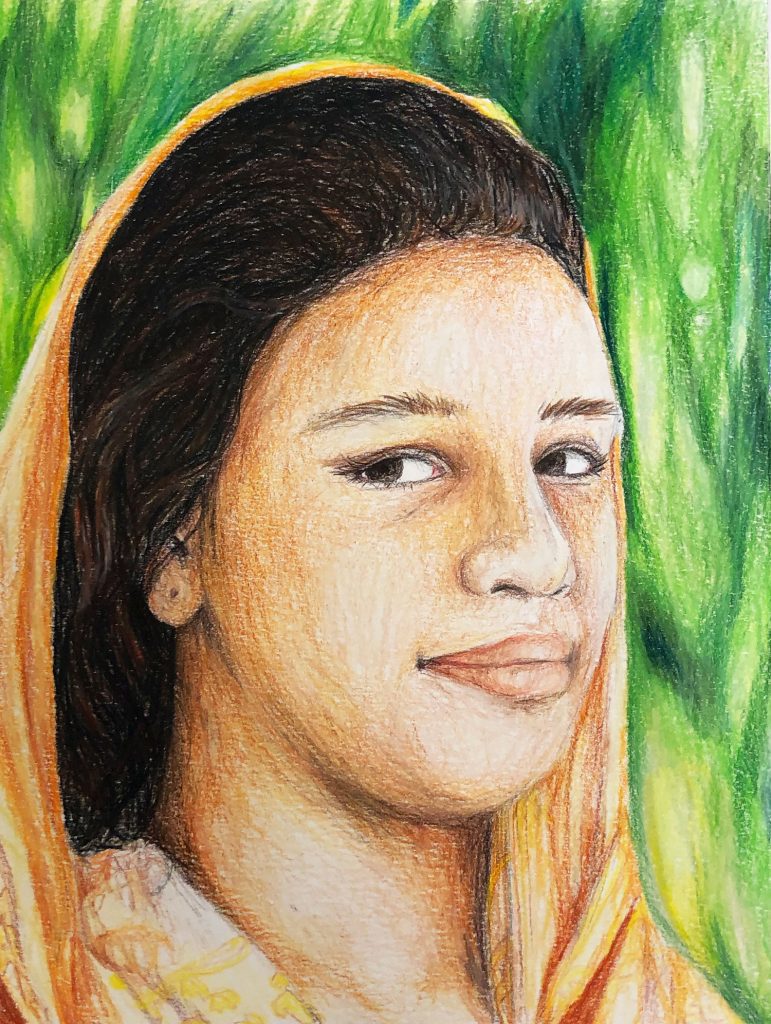
While colored pencil portraits still aren’t my favorite subject to create, I am glad I have developed the skill set and some confidence in introducing the concept to my students. It’s important to offer them a well-rounded art education and portraits are a part of that!
Check out a time-lapse video of my piece below!
Read about some of my other portrait projects here.
Check out portrait resources on my blog shop (grid lesson here) and my TPT (acrylic portrait project here, portrait with words here, charcoal self-portraits here, altered self-portraits here).
Thanks for taking the time to check out my blog and read about one of my recent projects! Share the post on your social media outlet of choice and help me spread the word about all things art-making. Thanks for stopping by!

Leave a Reply