HIGH SCHOOL DRAWING
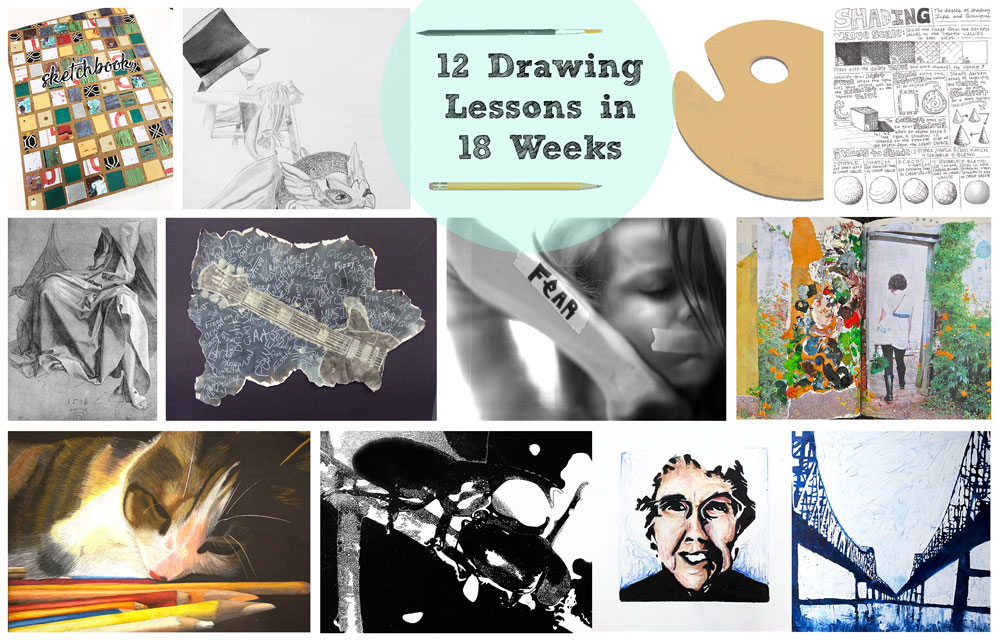
In my teaching career I have taught a wide range of high school art courses: Introduction to Art, Drawing, Painting, Advanced 2D Design, AP Art, 3D Design, 3D Design II, and 3D Design III. I have loved teaching such a variety because it has given me the opportunity to develop and test a breadth of lesson plans. The past two years I have been working on compiling my favorite lessons into curriculum packs to sell on my TPT store. The most recent posting on my store is my semester-long high school drawing curriculum pack. I have taught every single one of these lessons (plus more that I tested, failed, and left out so you don’t have to) and these are my top twelve.
This high school drawing curriculum includes information and resources to fill every single day of the semester in your drawing class. Other than making copies of worksheets and doing a handful of demos, you don’t have to plan a thing for the semester. Each project includes a detailed lesson plan (including big ideas, essential questions, national standards, vocabulary, and step-by-step instructions), rubrics, critique information, and handouts. In addition to the project packs I have included my syllabus, get-to-know-you worksheets, a timeline, breaking down the semester into days and weeks, and supply list.
12 PROJECTS
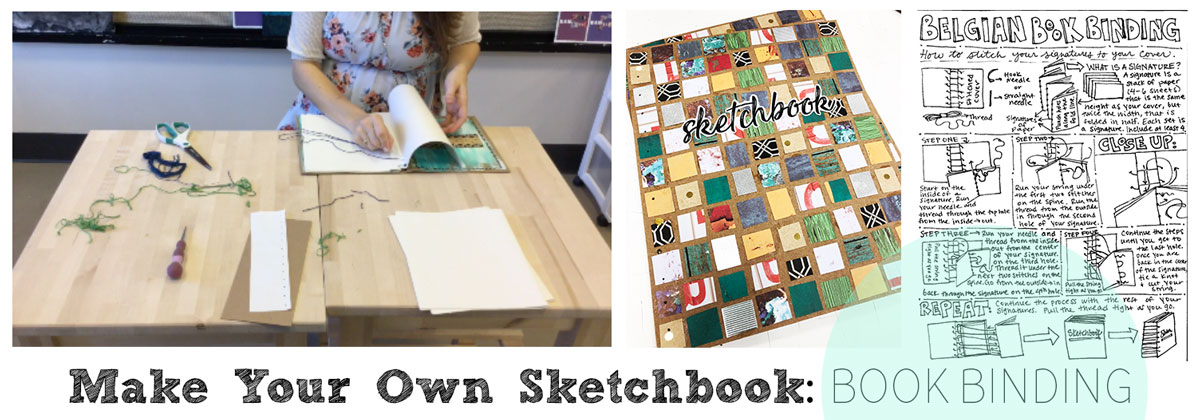
The first project of the semester is learning the Belgian bookbinding technique and using it to create your own sketchbook. This not only saves money on purchasing sketchbooks, but it also introduces the students to book cover design and bookbinding techniques. In addition to a PowerPoint, lesson plan, and rubric, this also includes a how to worksheet and how to video. This product is sold individually here.
In every class I teach I include a weekly focus on visual journals. Each Friday students have the option to work in their visual journal, have free art time, or catch up on an assignment. By the end of the semester they must have at least 12 pages completed in their book. The PowerPoint to introduce this project, lesson plan, and rubric are included in this pack.
Before the students start longer drawing projects, they complete a shading review. Seven worksheets are included that cover graphite pencils, hatching, cross-hatching, scribbling, stippling, and a general shading worksheet. The front of the worksheets include information and the students must complete the activities on the back. This product can be purchased individually here.
The first true drawing assignment is a still life drawing. However, I put a twist on it by requiring the students to bring in objects to create the still life. Before starting the drawing, the students learn about still lifes at various periods in art history. at both traditional and modern versions of still lifes. They must apply their understanding of various shading techniques by including at least three of them in their drawing. Check out the individual link for this product here.
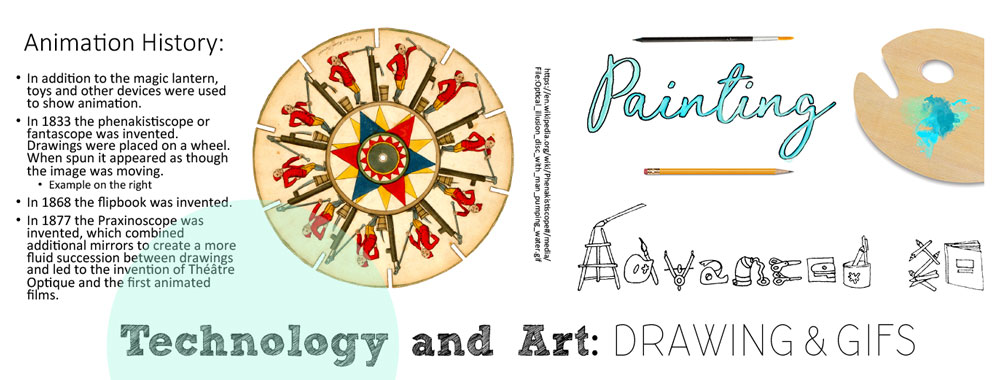
Once the class has a few drawing projects under their belt, we look at combining technology and art by creating their own GIFs. They must draw the majority of the design, then use various computer programs to compile their drawings, add to them, then create an animated version of them. You can read more about this project in my blog post here.
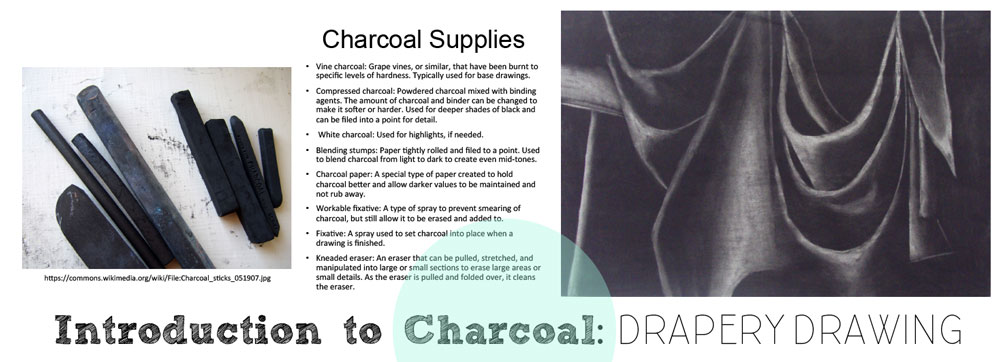
Once the students have a handle on using pencils, we move onto charcoal drawings. One of the best ways I have found to teach how to shade using charcoal is through the traditional charcoal drapery drawing lesson. A PowerPoint about charcoal, in depth lesson plan, rubric, and critique are included. You can purchase this lesson individually here.
After learning about charcoal, the students apply their knowledge to a mixed media work of art that includes shading with charcoal. For this assignment, the students must select an object and redraw it on a background layered with color and text. The object is meant to serve as a metaphor for who they are, a part of their personality, or interests. I love any cross disciplinary lessons, and this does a great job combining English and art. Check out specifics of this project here.
After completing a metaphorical self portrait, the students are asked to create an actual self portrait drawing, with a twist. The students must select a current event that interests them and reflect it through their portrait. In addition, they have to scan their faces using a copier or scanner to create an unusual and ethereal look to their portrait. They then re-draw their scanned image using pencil. This project pack includes multiple PowerPoints to introduce the project and show examples of current artists who create social and politically driven artwork. In addition to the PowerPoints are an in depth lesson plan, rubric, critique sheet, and brainstorm worksheet. Check out more here.
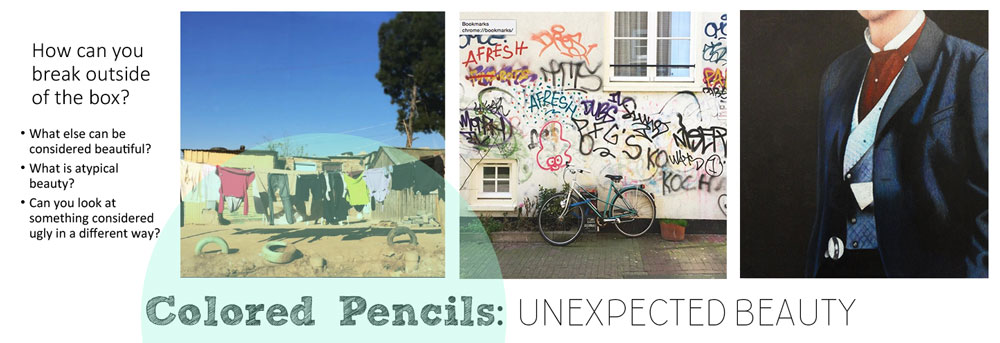
After working mostly in black and white, students have the chance to do a full color drawing using colored pencils. They are asked to think outside of the box and take a photograph that reflects the topic, “unexpected beauty.” They then turn the photograph into a colored pencil drawing. Colored pencil techniques are covered in the introduction PowerPoint. Check out more information about it here.
After learning about colored pencils, we start moving towards different media that still use traditional drawing techniques, such as scratchboard. Social media is the focus of the lesson and students create a scratchboard image that reflects a snapshot of their day. History of scratchboard, as well as techniques, are in the PowerPoint. In depth instructions on how to teach the lesson are included in the lesson plan, as well as the rubric and critique sheet. This lesson can be purchased individually here.
Printmaking is a natural next step after learning about scratchboard. The basic concepts are similar, removing highlighted areas and leaving dark areas. For this assignment, students create a portrait out of a linoleum block. They use traditional relief printmaking techniques to create at least 5 quality prints and one print must be colored in using colored pencils. In addition to a PowerPoint, lesson plan, rubric, and critique sheet, this also includes a handout on which colors to use to create a range of skin tones and a worksheet to test various color combinations. An in-depth look at this lesson will be coming soon. In the meantime, check out the product listing here.
The final lesson in the curriculum is to design your own project. The students can try out a technique or material they didn’t get a chance to or redo a project they liked or could improve on.
It took me years to develop this curriculum and it is very gratifying to see it all compiled in one place. Check out the individual product links above or check out the entire curriculum here. You save $16.00 by purchasing it as a bundle pack. Thanks for taking the time to check out my blog and my latest TPT product. Help me spread the word about art education, lessons, and art in general by sharing with others.
Check out more visual journal blog posts here. Shop my education resources here. Don’t forget to follow me on Instagram and TikTok for weekly visual journal demos. Until next time!







This looks very helpful. Thank you!
You’re welcome! Reach out anytime with questions or comments!
Could I get a copy of the worksheets? Smarino@cardinalstritch.org
Hi, Stacy! The worksheets can be purchased in my drawing curriculum or individually. If you want to purchase individually let me know which worksheets you are interested in and I can share links! You can look at the drawing curriculum here: https://lookbetweenthelines.com/product/visual-art-drawing-curriculum-12-lessons-for-18-weeks-of-high-school-art/