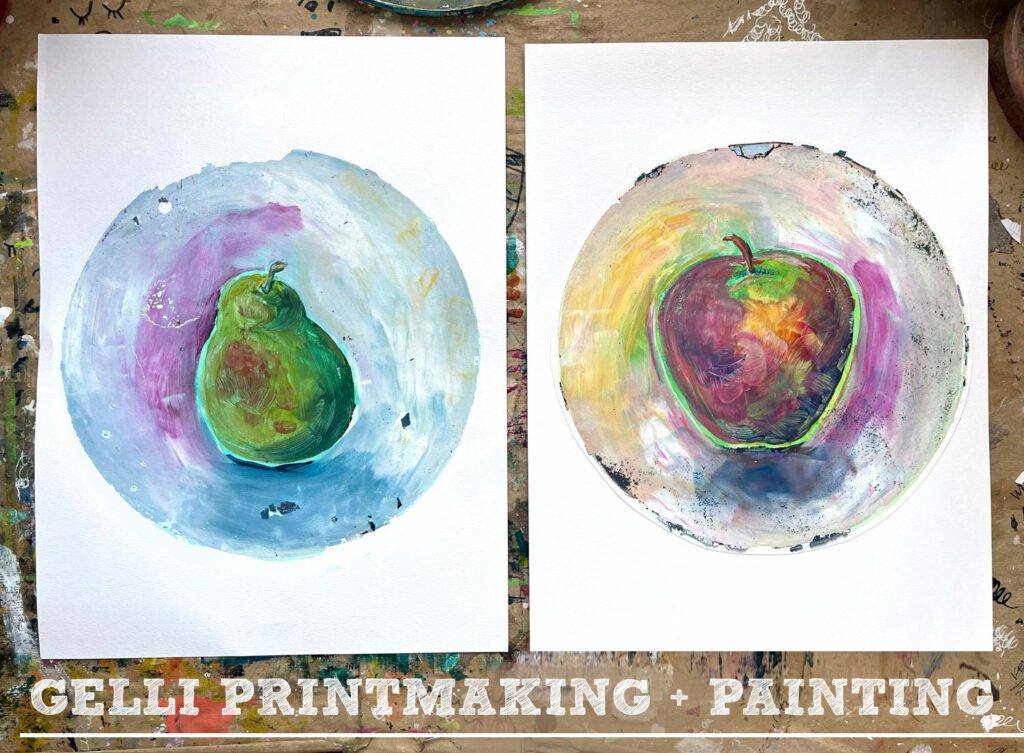
One of my favorite things about the gelli printmaking process is how versatile it is. You can do so much on a gel printing plate, from layering textures to transferring images to printing a painting. It’s been a while since I pulled mine out, but recently I have gone deep in experimenting with gelli prints to see what else I can do with it.
One of my favorite all-time gelli printmaking projects is my leaf and watercolor print lesson, however, I think that has now been overtaken by my newest art lesson, a painting and printing assignment. Read more below about my printing techniques!
ART SUPPLIES:
- Gel plate (my favorite is the circle shape Gelli Art© plate. It is durable, prints well, and is high quality)
- Acrylic paints in a range of different colors
- Paintbrushes
- Thin watercolor paper (90 lb or similar)
- Painting reference; my favorites are fruits and veggies with interesting colors. Any simple form will work.
How To Do The Gelli Printmaking Process
This is such an easy project to dive into and a fun way to use gelli arts. If I’m teaching a class I start with a PowerPoint: a quick history of printing and specifically gelli plate printing, a look at the artist exemplar Wayne Thiebaud, and step-by-step instructions. If you are experimenting on your own, take a look at work by Wayne Thiebaud to see how he uses paint colors to enhance his still-life paintings. You can follow these simple steps and different techniques to create your own prints!
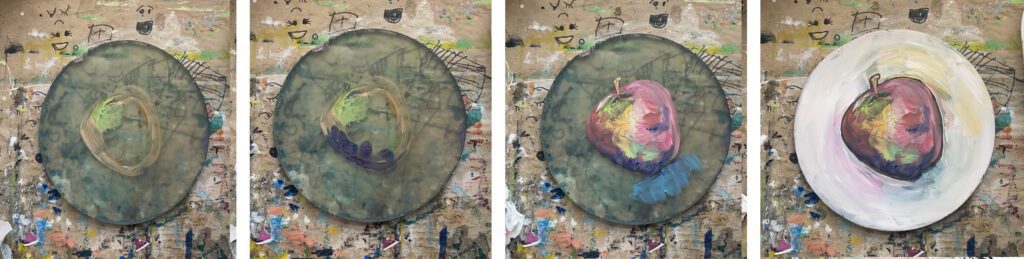
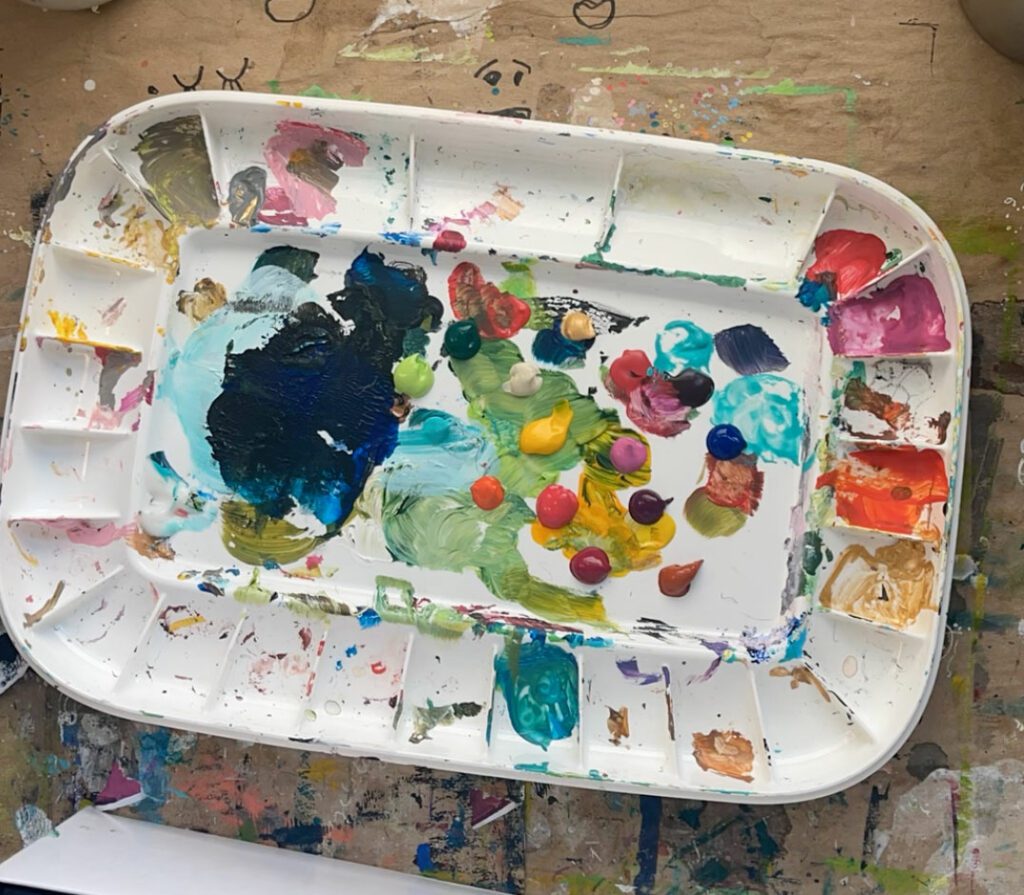
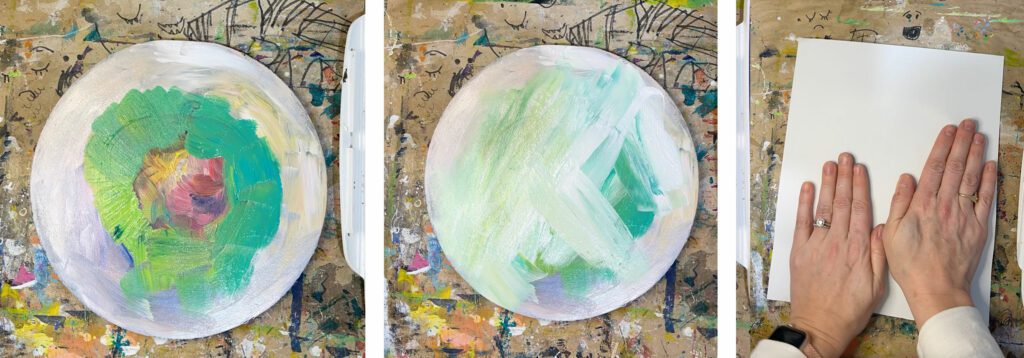
To make your first print, grab a range of colors, stay away from black! I never use just one color out of the tube, grab at least two colors for the shadow (blues, purples), midtone (red and orange for the apple), and highlights (two yellows and some white). Grab the midtone color and lightly sketch in the contour, or outline, of the object.
Next, block in your shadow, keep it loose. Jump to your highlights next, keep in mind you are printing this painting which means the first layers will be on top of the plate. Put down your lightest highlight color and layer other colors on top of the gelli.
After blocking in the shadows and highlights, go in with the midtone colors. Blend into the shadows and highlights, don’t forget to stay loose! I love seeing brushstrokes in a work of art, try not to lose that by over-blending.
TIP: As you paint the object paint along the contour of the shape. If the object is round, use rounded brushstrokes to create a sense of form.
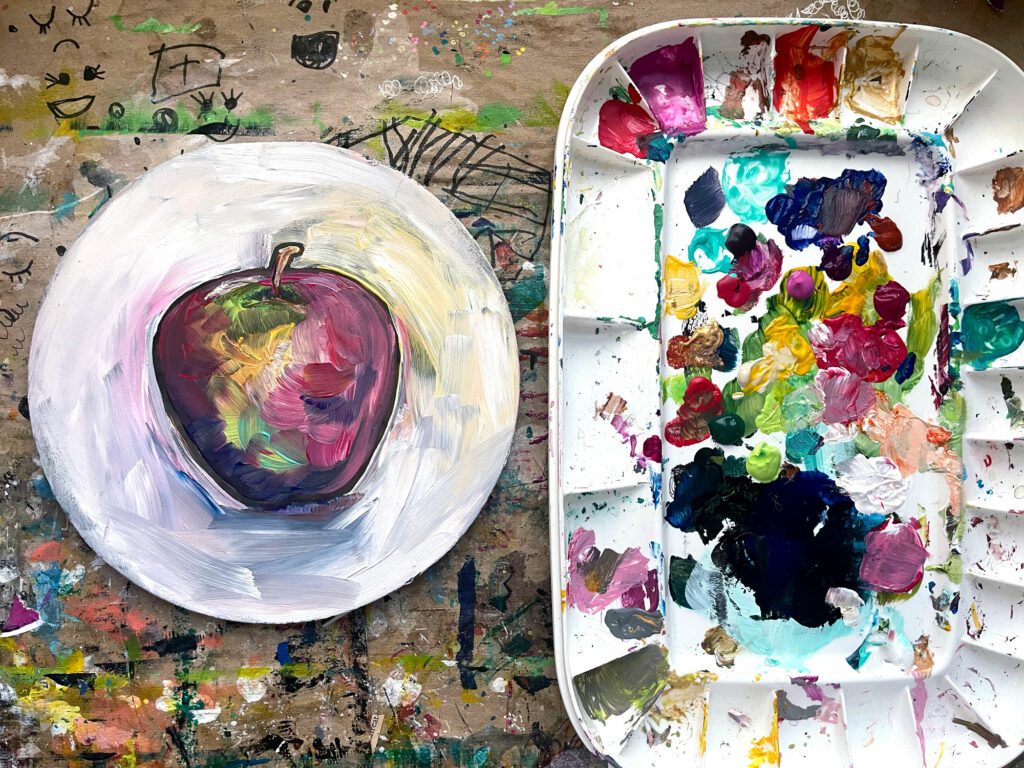
Add details such as the stem and cast shadow. The cast shadow is an important piece to help ground the object, use a color slightly darker than the shadow color. Fill the rest of the gelli plate with a background color, and blend it into the cast shadow. Leave a thin gap between the background and the object, we will use this space in the next step.
TIP: keep the background simple so you don’t detract from the object.
LET IT DRY!
Let your gelli plate completely dry. As long as you didn’t paint too thick this should dry fairly quickly, in 10-15 minutes. Lightly touch it to test it before moving on.
Once the painting is dry add a pop of color over the gap between the object and the background. Use a bright color, a color you didn’t use in the object, or the complementary color to the object. For example, I used a bright green, the complementary color to the red apple.
Add a layer of white over the entire plate. This is your pick-up layer and will help stick the painting on the plate to the watercolor paper. Next, carefully lay a thin sheet of watercolor paper on the plate. Do your best to center it, don’t pick it back up if it’s off-centered you can always correct that later. Burnish the back with your hands, a baren, or a wooden spoon, press over the entire plate to make sure it’s stuck to the paper.
Set your gel plate and stuck paper aside overnight. No peeking!!
LET IT DRY!
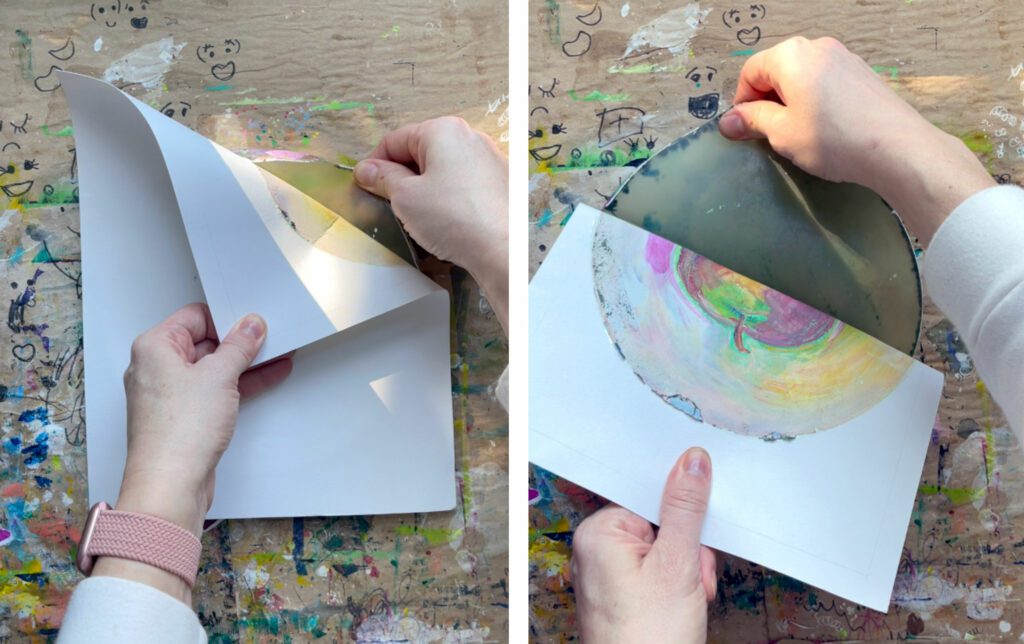
The next day it’s time to pull your print! Carefully peel the sheet of paper back, hold the gelli plate down with one hand to help separate the paper from the plate. Go slow to avoid the paper ripping or creasing.
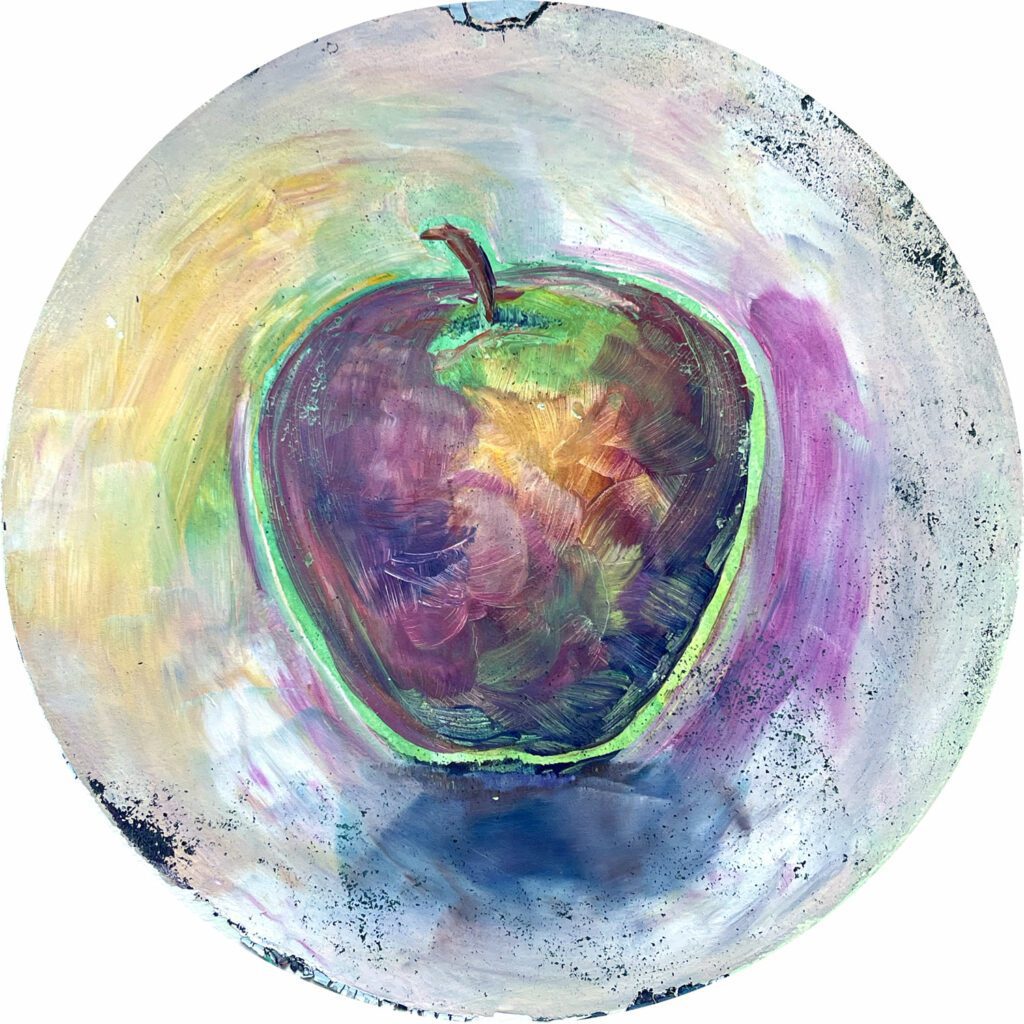
Congratulations! You just completed the gelli printmaking project! If your print is off-center, cut it out, and glue it down on another sheet of watercolor paper. Enjoy your beautiful paint print!
If you are teaching this to middle or high school art students, use the drying time to have students complete an artist research project or work in their sketchbook. If you want to hit the easy button, grab the lesson plan already packaged up with the presentation, worksheets, activities, critique, and rubric ready to go. I have it available on my TPT and my website shop. To learn more about gel printing read about my watercolor and gelli print lesson here.
If you try out this gelli printmaking process project I would love to see your results! There is nothing better than seeing you or your students’ beautiful creations.
Thanks for taking the time to check out my latest gelli printmaking project and how to use the gelli printing process. Don’t forget to subscribe to get updates sent directly to your inbox. You can also check me out on Facebook, Instagram, and Tik Tok. Tip: scroll my Instagram feed to see a timelapse of this project and the beautiful prints in created.
Thanks for stopping by and reading this blog post!
Related Posts

Leave a Reply