Check out how I created felt flowers as decor and party favors for my daughter’s first birthday. Details below!
THE STORY
November 21, 2018 approached more quickly than I could ever imagine. I believe I was part in denial, partly consumed with my little man’s third birthday party (which we threw a week before Kennedy’s birthday), but regardless of my state of mind her big day was almost here, baby girl was almost one.
Cooper had a playground birthday party decked out in his requested Super Wings theme. For Kennedy, I wanted to keep it simple. Less theme focused, more pretty focused. After all, if I am being honest, this was a party for adults, not kids. The only kids in attendance were my two sweeties plus my two adorable nieces, and these four were far outnumbered by those 30 and above.
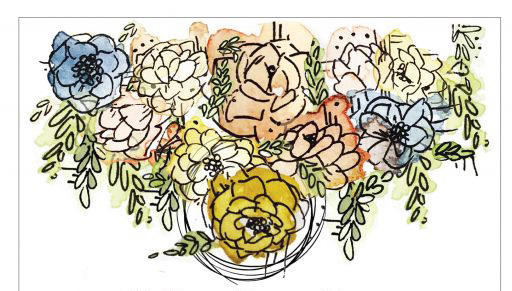
After brainstorming ideas I decided to do a Fall color scheme with flowers as the decoration. I found an adorable headband on Etsy that I had every intention to have Kennedy wear all day, but she sported it for exactly 1.75 seconds, not even enough time for me to pull out my camera. Although the headband didn’t make an appearance on the big day, it did inspire the party decor.
THE INVITATION
As is typical with me, I started to lay out my plans for the party decoration with the invitation design. I am old school, I love the mail. Whenever possible I always try to print and send out cards, invitations, and the like. Time was tight this go around, so I had to use electronic means to get her invitation in the inboxes of our family, but I still made the card part by hand, part on the computer.
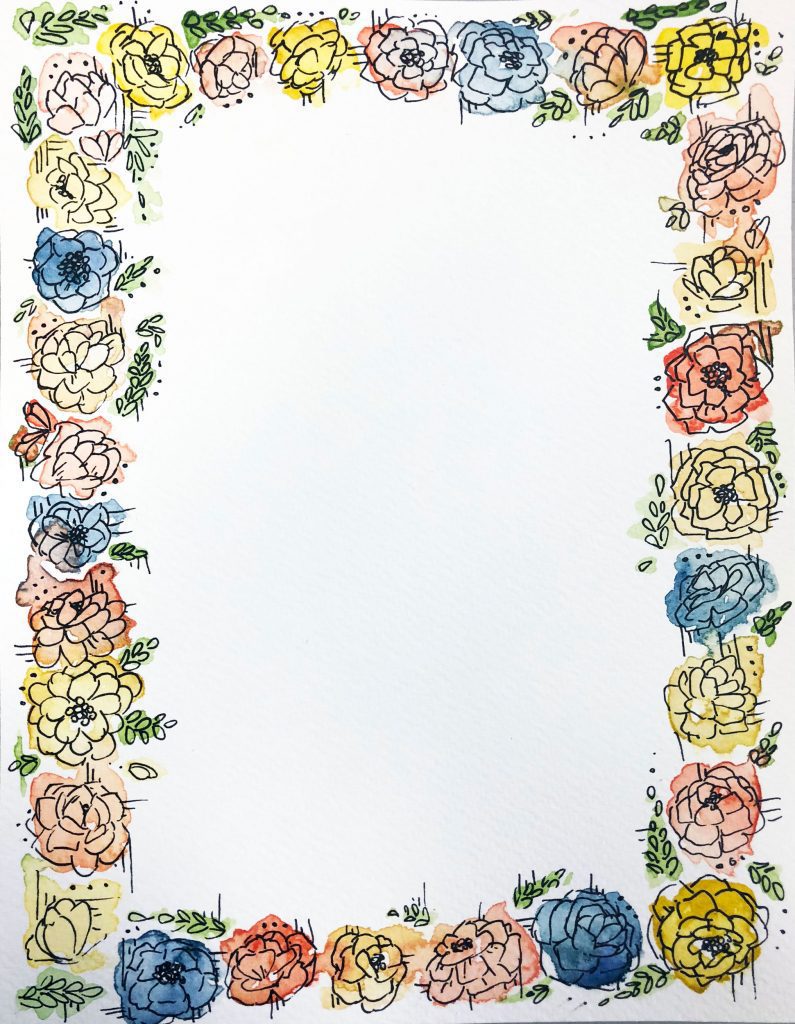
I had a solid plan in my head, I wanted to create a floral border, painting loose flowers, and using the colors navy, mustard, off-white, and muted pink. However, When I finished the painting, I wasn’t satisfied with the end result. I uploaded it to my computer, cut out each individual flower painting, and began layering them together.
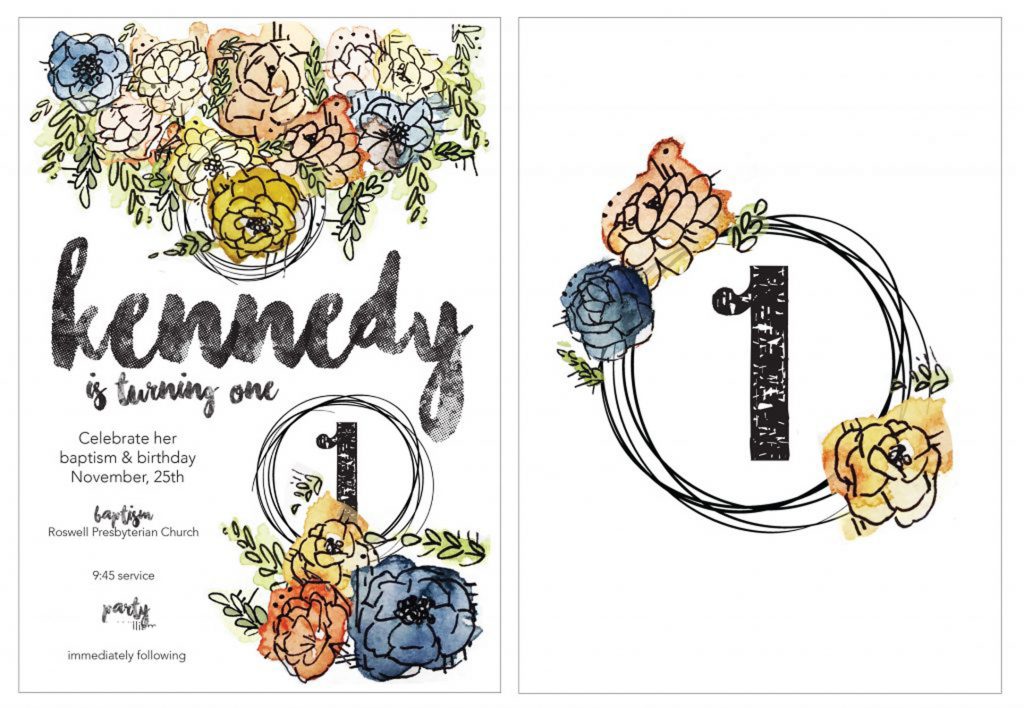
In the end, I was very happy with the final invitation design. It was just the look I was going for, it just took a few extra steps to get there. The invitations went out, it was official. I now had to plan for her party.
Once the craziness of Cooper’s party died down (you can read about his party decor here), I had a week to pull everything together for Kennedy. Side note, if at all possible try to space out the birth of your children by more than two weeks. I had the design laid out in the invitation, now it was time to translate it into decorations.
FELT FLOWERS HOW TO
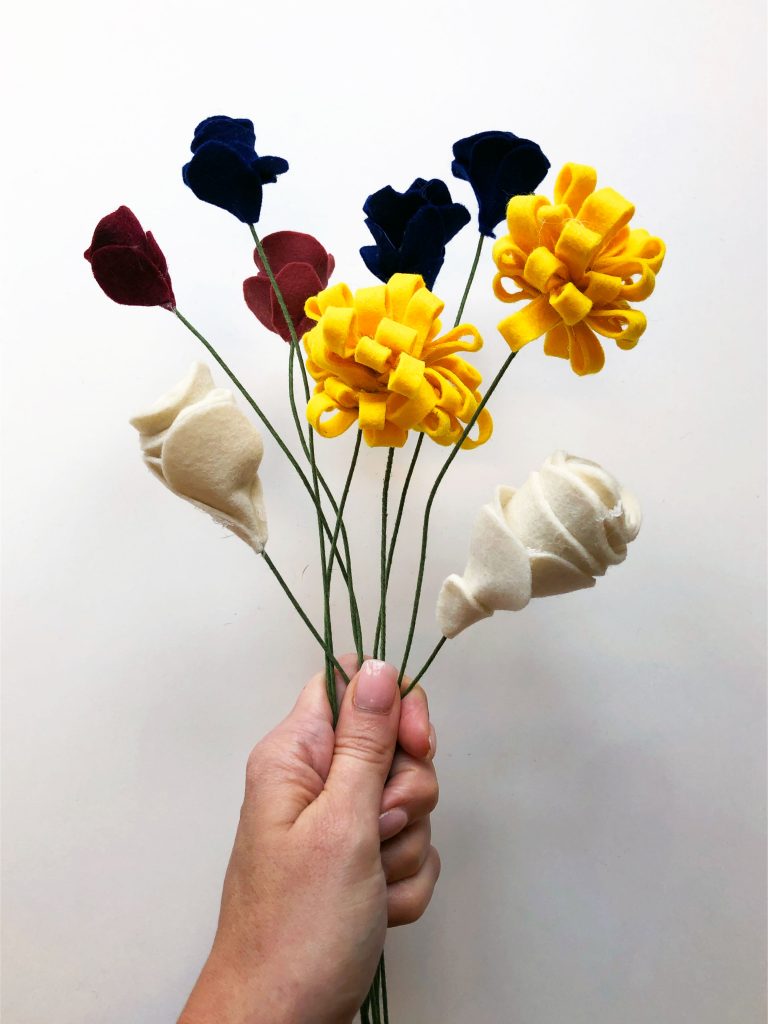
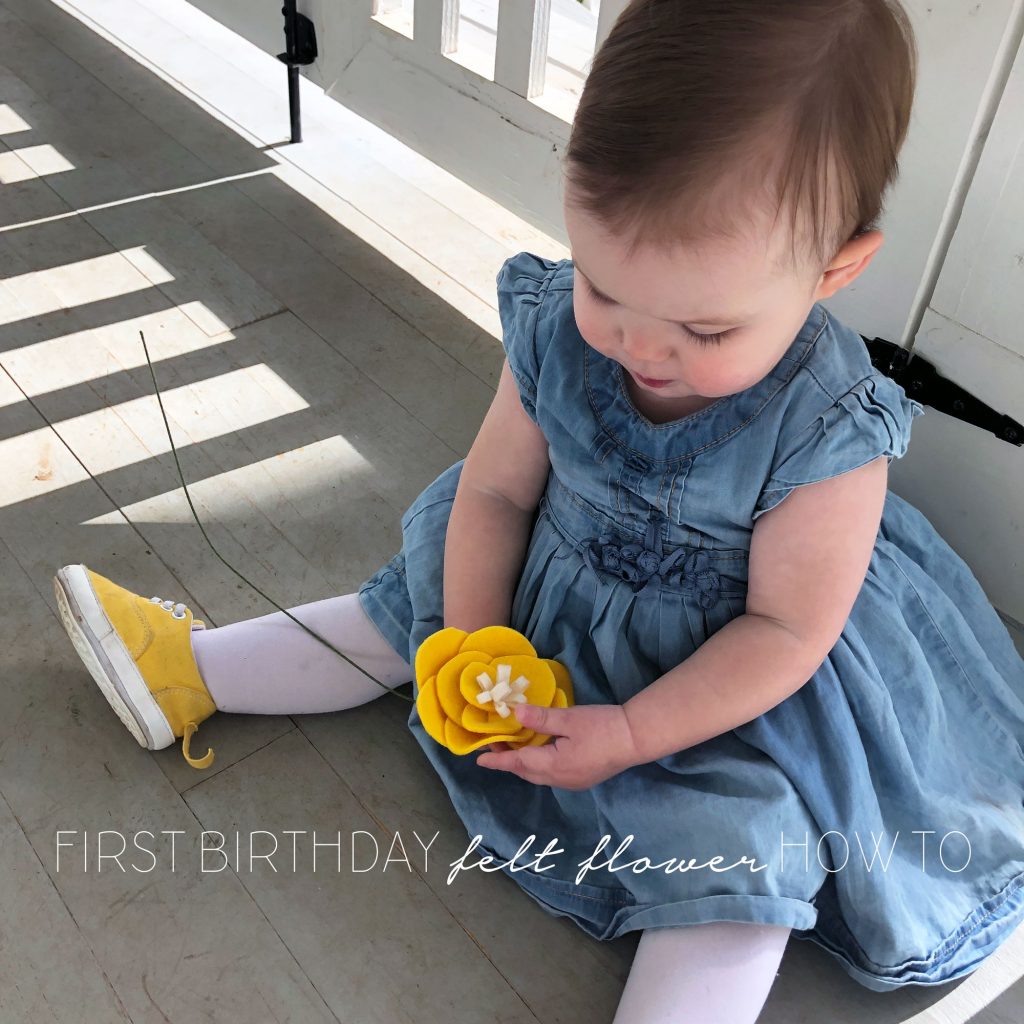
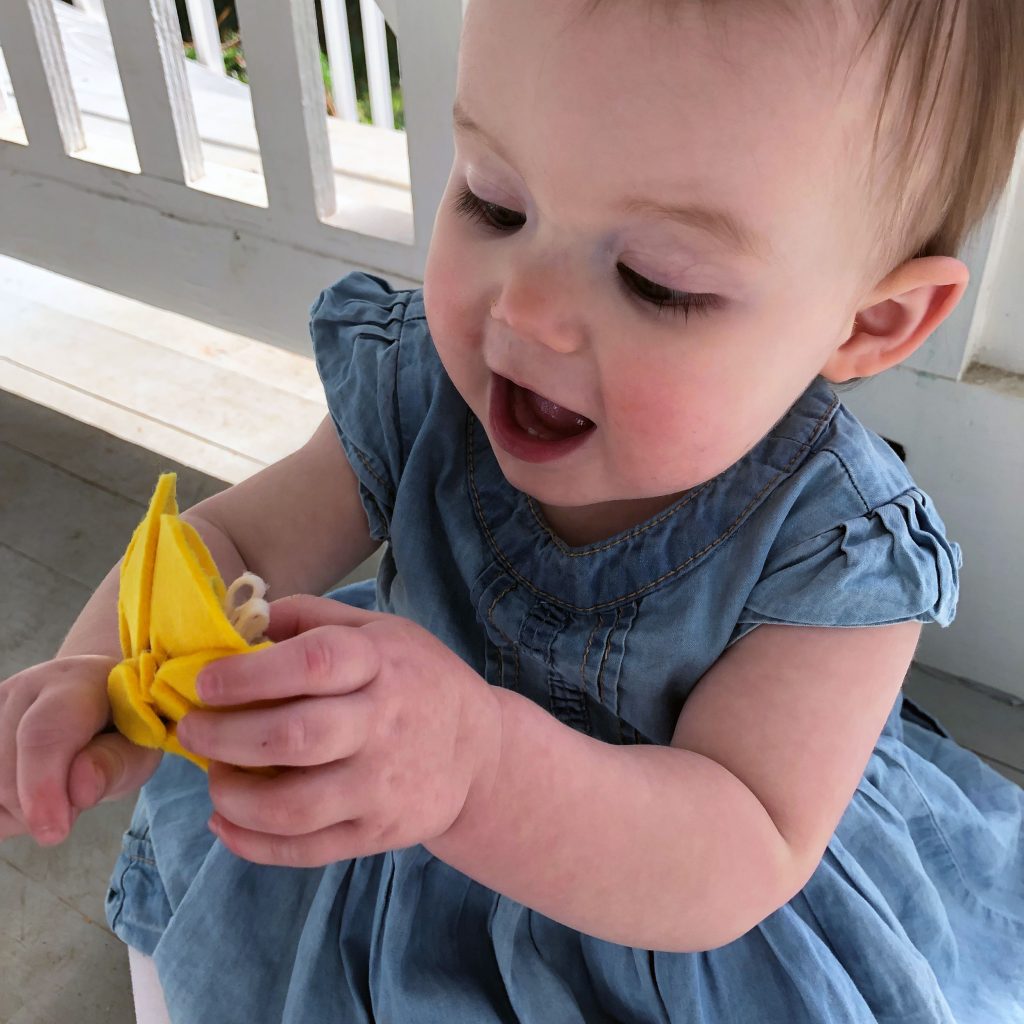
From the minute I found that adorable, felt flower headband, I had the idea to make my own felt flowers to decorate for the party. After all this was an adult party and I wanted to make party favors that adults and kids would enjoy. I decided I would make a bouquet of felt flowers that would serve as a centerpiece and favor. Each guest got to take a flower home with them. Since this was a family-only function, my hope was that this little flower would serve as a reminder of our sweet little girl to our loved ones.
SUPPLIES:
- Felt in a variety of colors
- Scissors
- Hot glue gun/glue sticks
- Green floral wire (similar to this)
I wanted a variety of flower styles, so I picked a range of colors, that tied in with the invitation, and tested out different ways to put the flowers together.
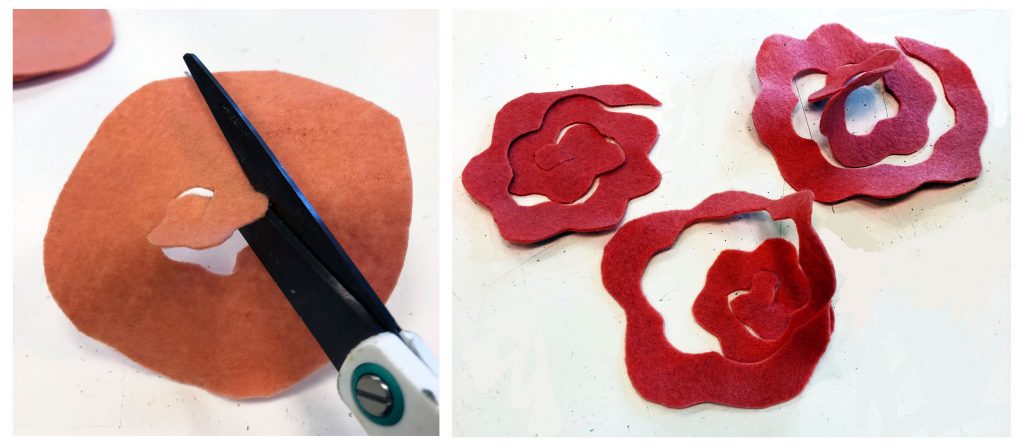
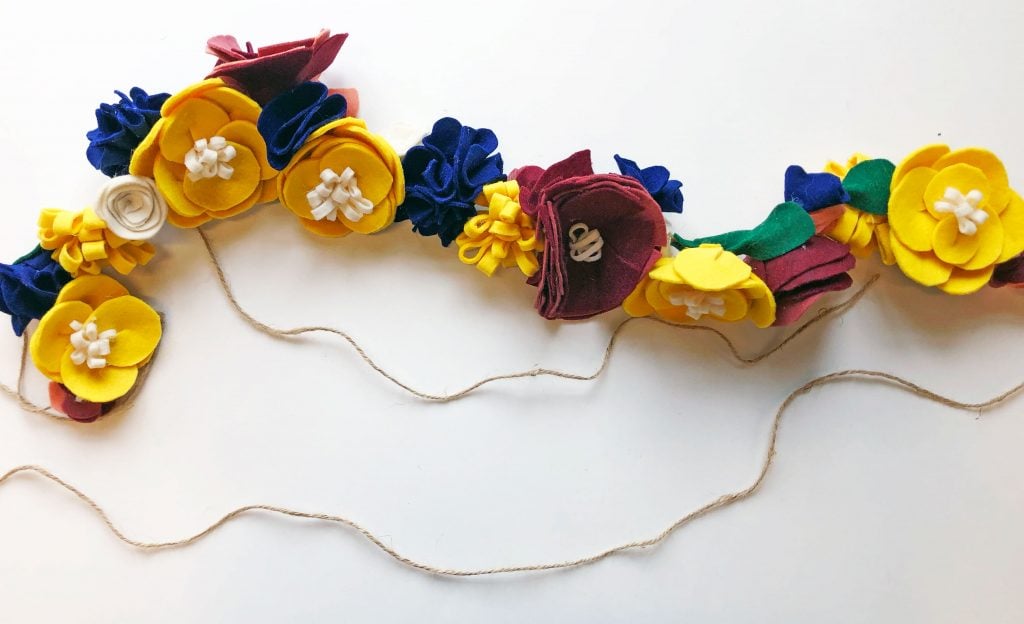
One of the first flowers I tried out was a rose. I started by cutting a circle out of a piece of felt, and starting in the center of the circle I cut a wiggly spiral moving to the outer edge.
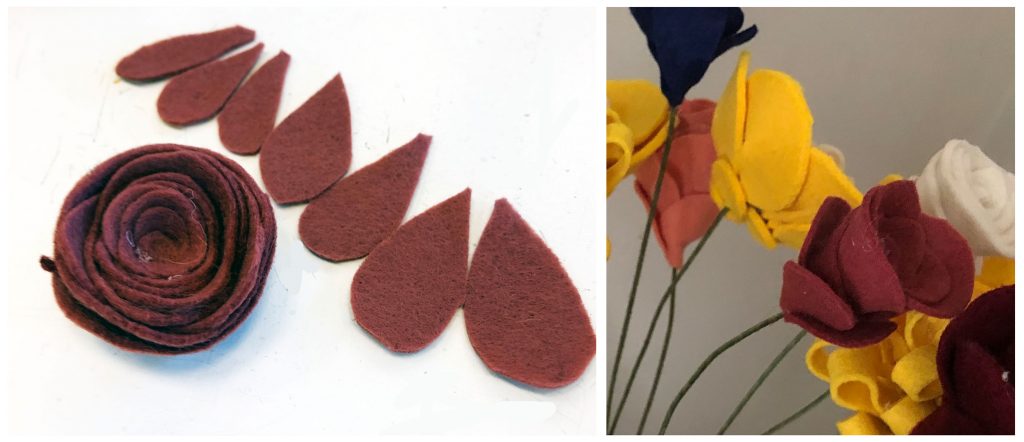
I then tacked the enter of the flower down with hot glue, and carefully wrapped the spiral around the center, standing the wiggle line on end, until it created a solid flower. Next, I took the green floral wire, twisted the end to create a flat spiral at the top, and hot glued the bottom of the rose to the wire. I then cut out teardrop shape pieces from the same color felt and glued them to the wire, overlapping the bottom of the rose. This helped hide the glue and wire connection point at the base of the flower.
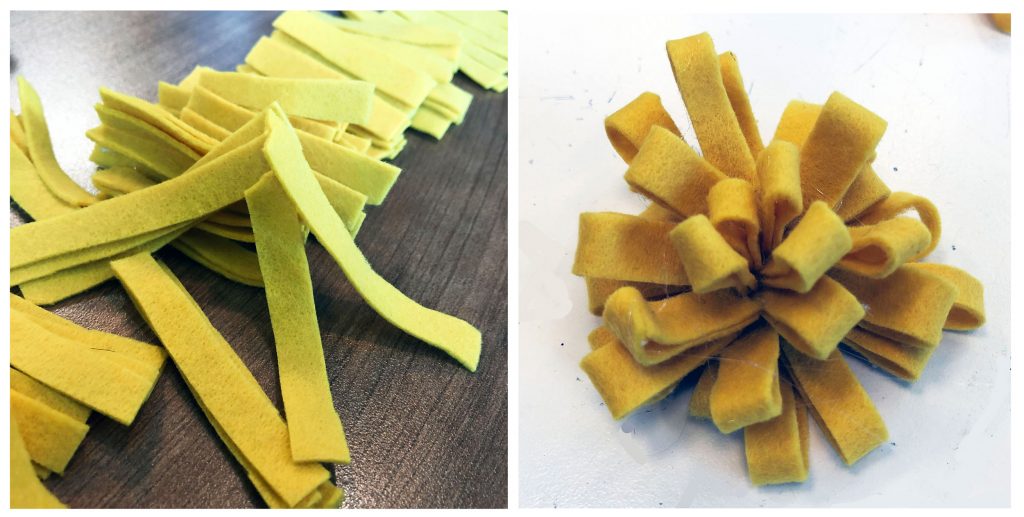
Next, I wanted to create a more round style flower, like a Dahlia or similar. For this style, I cut strips of felt, folded each strip in half, and hot glued the two ends together. I then hot-glued the loops together to create a half-dome top. Next, I bent the wire at the top to create a flat spiral and glued it to the base of the flower. Then, holding the flower upside down, I glued additional felt loops into place to cover where the wire attached to the flower and to complete the sphere.
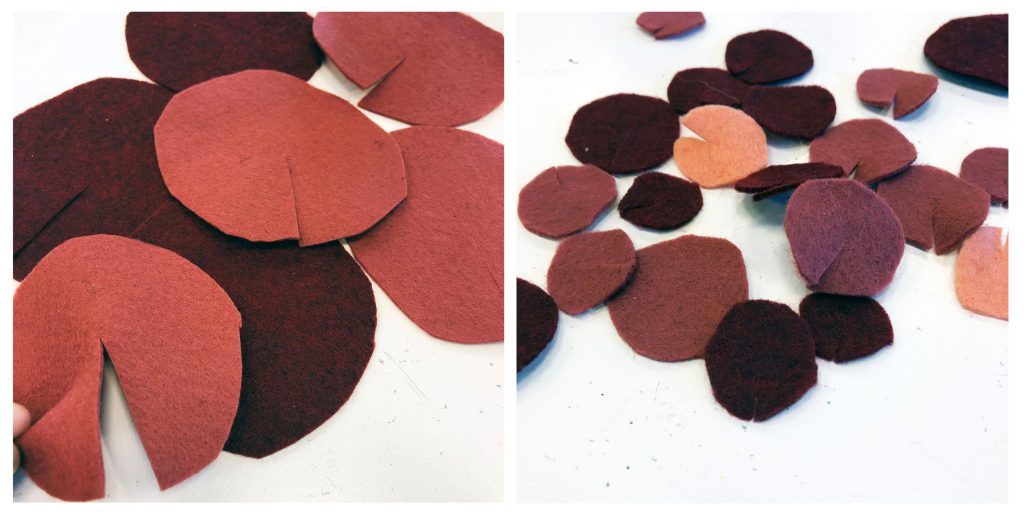
To add variety to the bouquet, I made a few flowers with multiple shades of one color. To create this peony or camellia-style flower I cut different size circles from different felt colors. I then cut a slit about halfway through each circle.
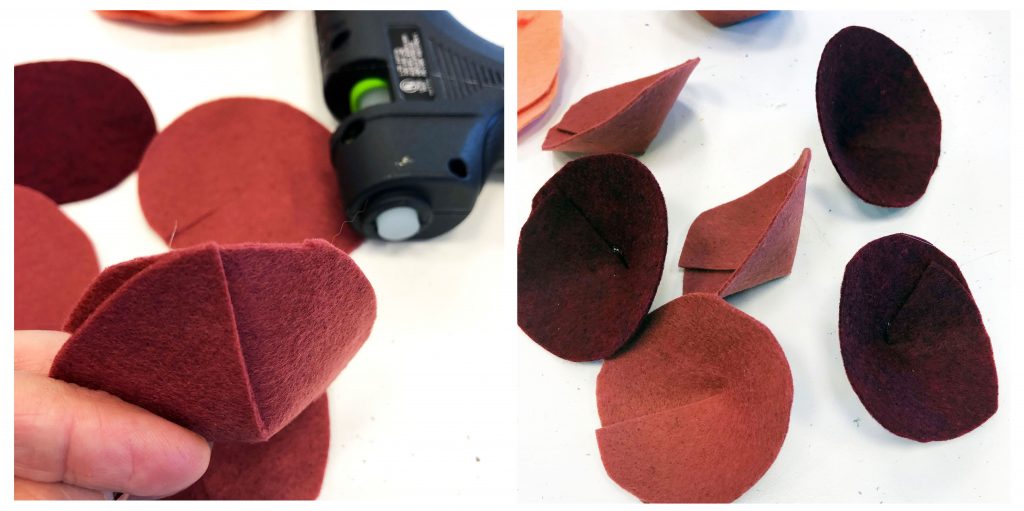
Next, I overlapped the slit and glued the two sides together. This gave the circles a three-dimensional look.
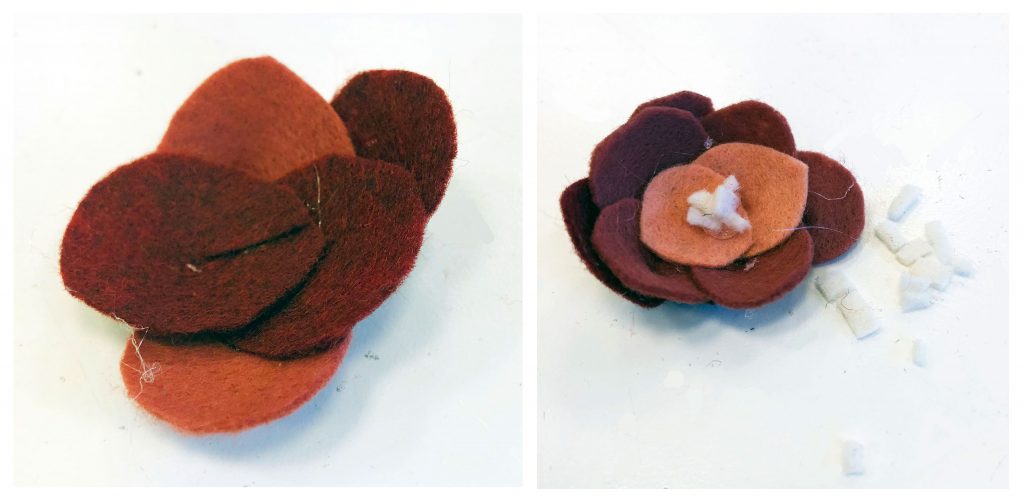
I then stacked and slightly overlapped the circles until I had a full-looking flower. I cut small strips of white felt and hot glued them standing on end in the center of the flower. This helped cover up the layering in the middle and provided a nice decoration in the center. I then bent the wire to a flat spiral at the top and glued it to the base of the flower. I took additional circles and hot-glued them to the base of the flower to cover the wire connection point.

My favorite flowers of the bunch were the mustard yellow camellias, they went beautifully with my East Lake sign and Kennedy’s yellow birthday shoes (we like yellow at my house).
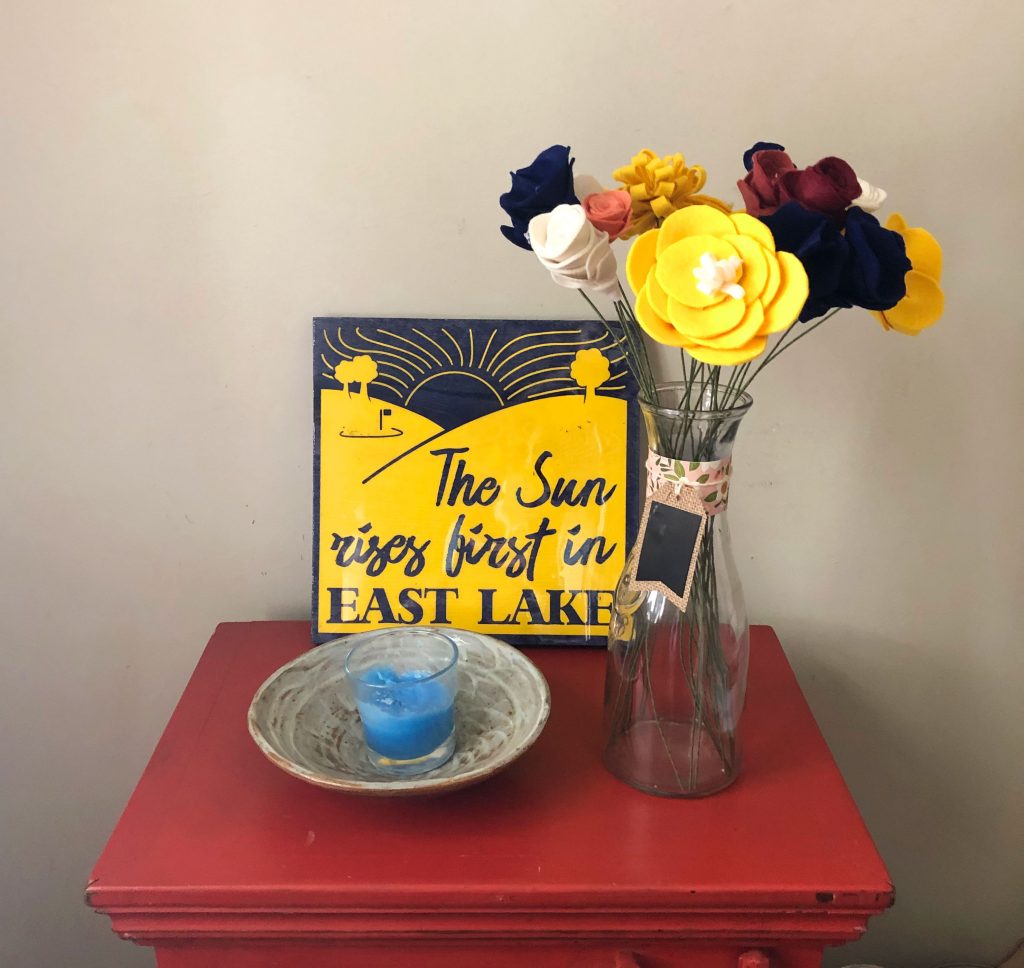
I loved the end result of the bouquet, and so did our guests. My sister-in-law ended up requesting her own bouquet of felt flowers as a Christmas gift that same year.
FELT FLOWERS GARLAND
Creating the felt flower bouquet wasn’t enough hot gluing for me. I was so happy with the final product I decided to create a felt flower garland to hang on our fireplace. To help hide where the flowers were glued to the string, I cut out green leaf shapes and overlapped them on the backside of the flowers. TIP: make sure you glue flowers on all sides of the string, it will twist when you hang it and you don’t want to have a backside showing.
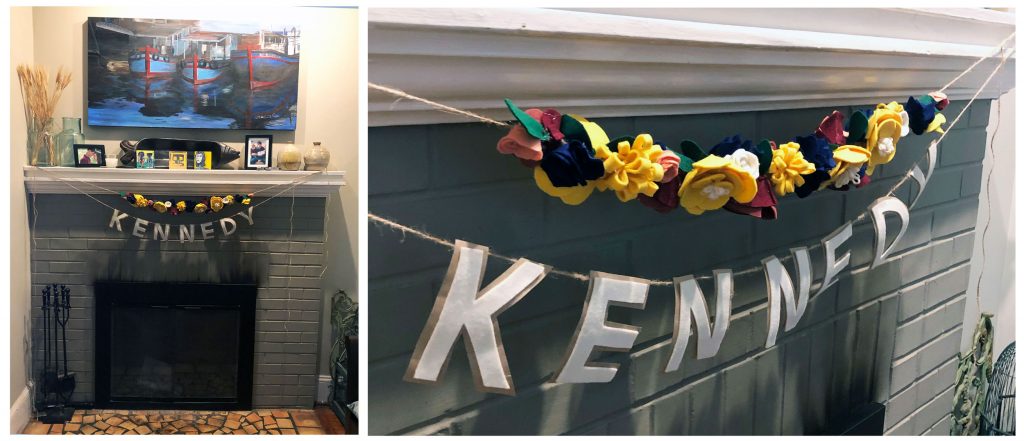
In addition to the floral garland I also cut the letters of Kennedy’s name out of white felt, mounted them on brown butcher block paper, and cut them again. I also hot-glued this to twine. If you have followed along on my blogging journey you know I can’t have a party without a name banner. You can check out more tutorials on my past projects here and here.
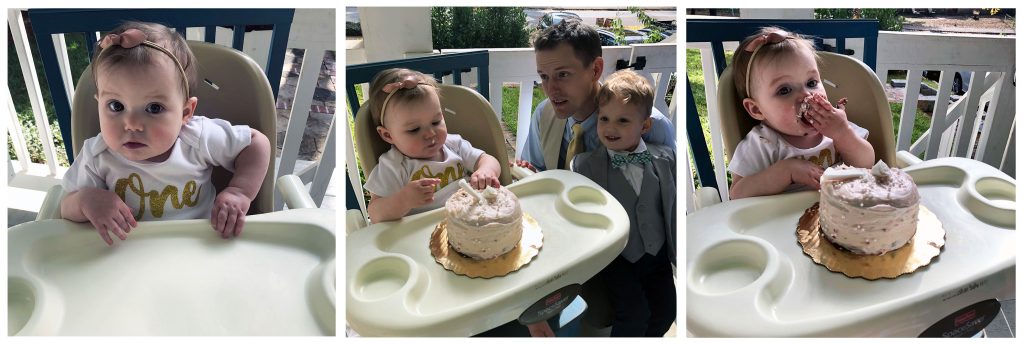
The day was a success, little girl turned one, and everyone had an amazing time. There were only a few tears the night before when I accidentally burnt Kennedy’s birthday cake. Nick had to run out, find an appropriately sized cake, which I scraped all the decor off of and added my own icing and topper. Luckily my husband can think on his feet when I am in crisis mode.

This sweet little girl is tied with two others for the best thing that has ever happened to me. Nick is more than I could ask for in a partner in this whole life thing and because of him I have my perfect little boy, perfect little girl, and perfect little family. I couldn’t ask for anything more, because I have it all.
Thanks for taking the time to check out my blog and read about my crafty projects! Help me spread the word by sharing my blog with others or on your social media outlet of choice. Check out more blog posts here. Shop my education resources here. Don’t forget to follow me on Instagram and TikTok for weekly visual journal demos. Until next time!
Related Posts


Leave a Reply