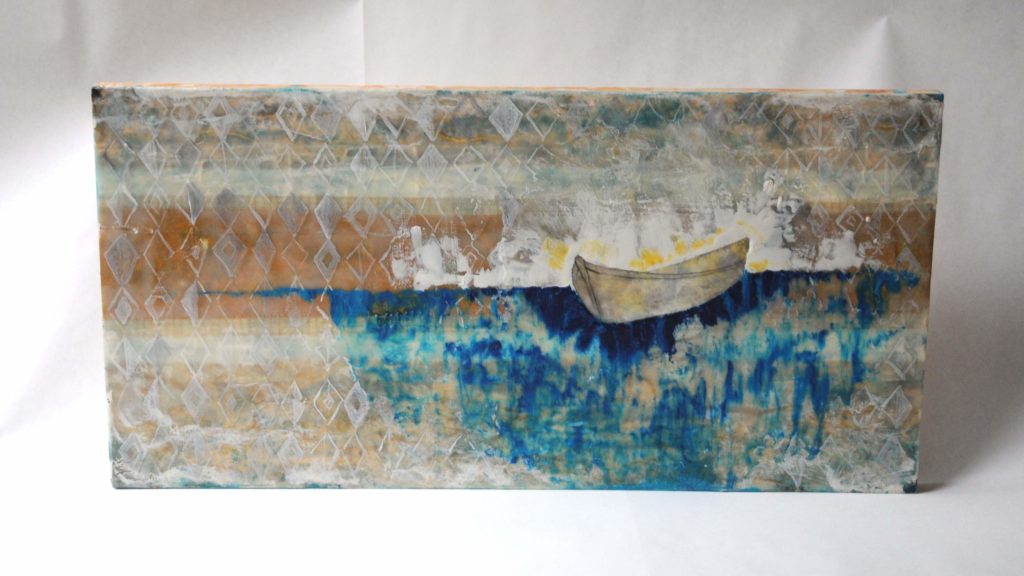
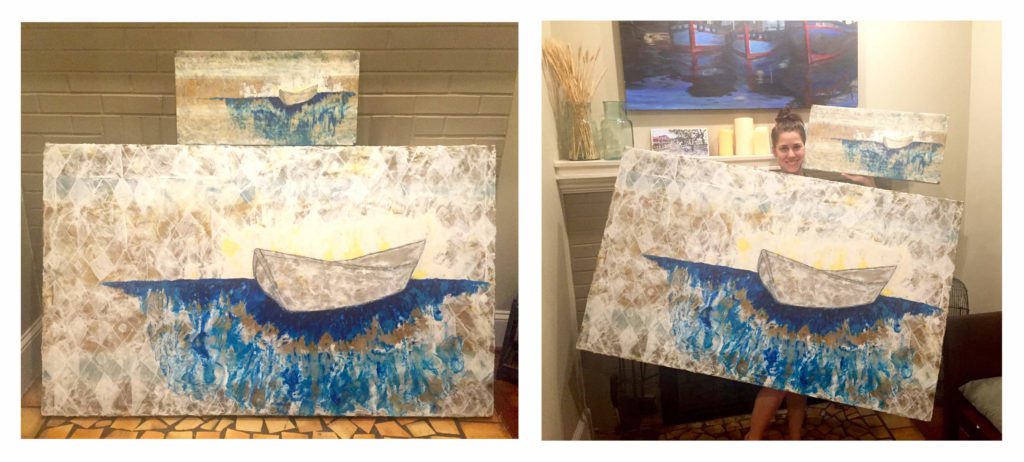
I created this 12″x24″ boat encaustic a few years back. It was one of the first that I tried carving into the layers of melted and hardened wax to pull out an image. I loved how the boat blended into the background yet popped against the colored wax painted around it. This piece has traveled with me to many art shows and is my most favorited piece on my Etsy shop.
In the spring I was contacted through Etsy by a woman interested in the piece. We went back and forth on price negotiations, and I thought the day had come for me to part with my little boat. I was very surprised when Amber wrote me again requesting quotes for a larger version of the piece. I was intrigued by the prospect, I always love a challenge, and it would be interesting to see how it would translate on a larger scale. I sent back a range of prices and sizes, with the largest size at 36″x60.” When setting up commissions I always assume the buyer will fall somewhere in the middle, so I was surprised when Amber jumped on the 36″x60″ size. I was thrilled at first, then slightly scared. Encaustic can be a difficult medium to work with, especially on a large scale, and this was by far the largest size I had ever tackled. But once the wood panel arrived, I was ready to go.
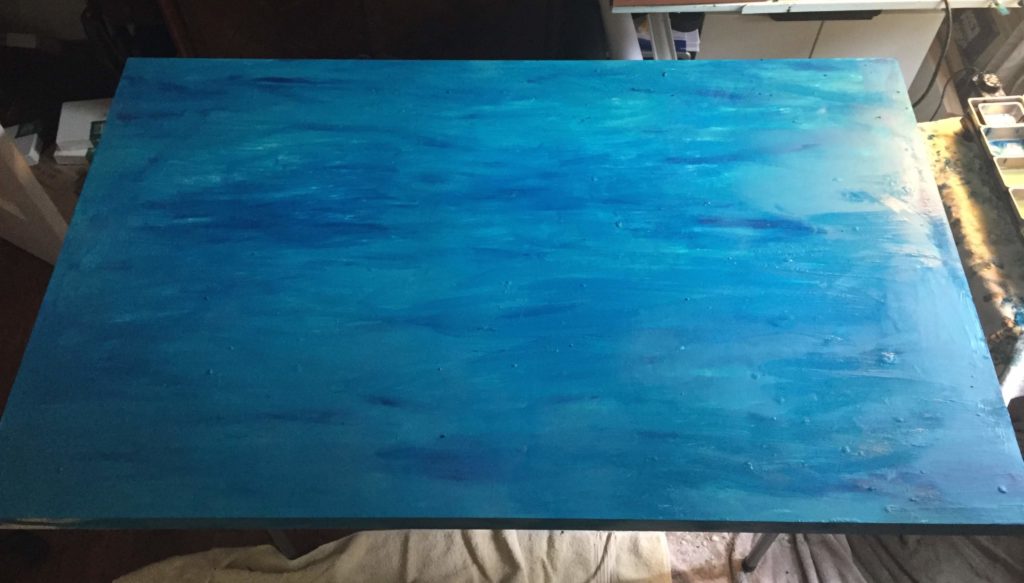
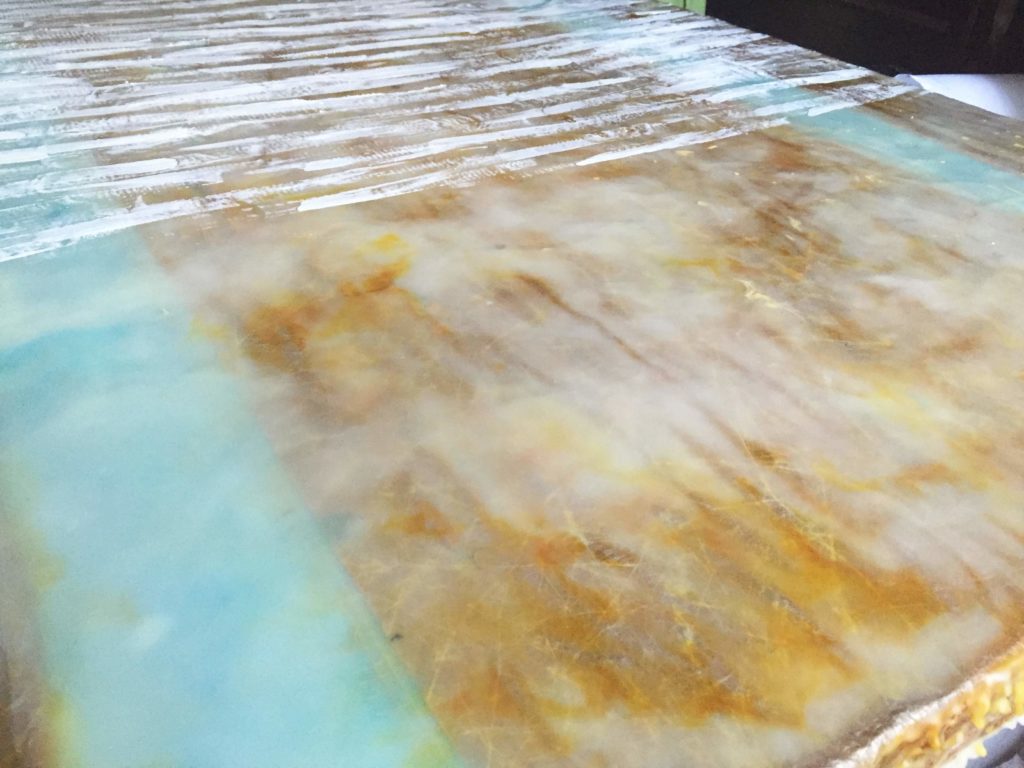
I started with a bare wood panel. When working with encaustic you must work on a rigid surface, such as wood, to prevent the wax from flexing and inevitably cracking. The first step was to coat the entire panel in layers of blue wax and fuse the layers by heating it up with a heat gun.
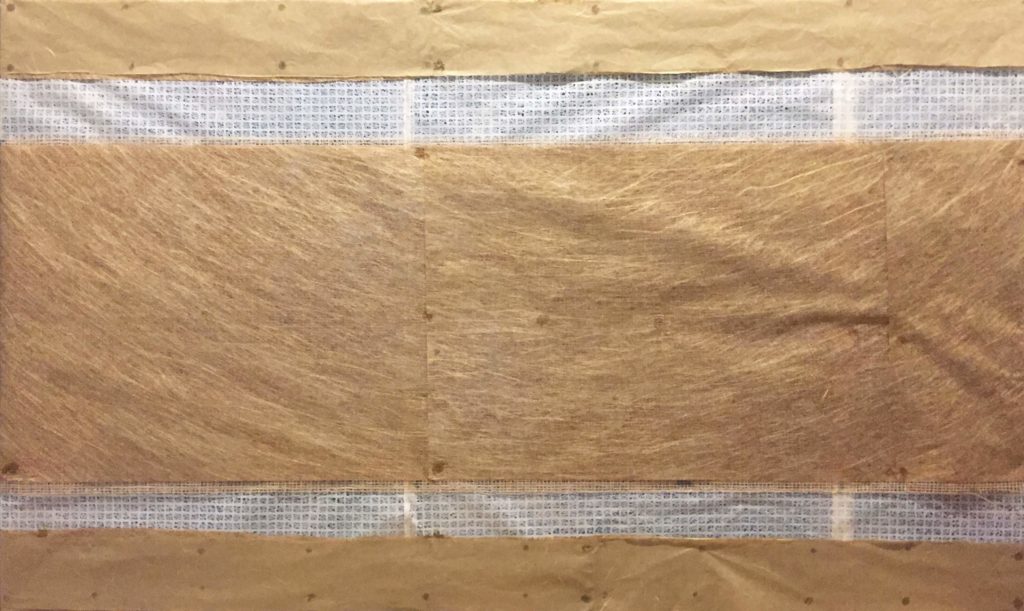
Once the panel had a good base layer I covered up the blue with thin, art paper. While it is shocking see all the beautiful blue covered up, once I add and fuse another layer of wax the paper ends up being absorbed into the wax and showing a lot of the layer below.
After the paper was attached I added a thick coat of encaustic medium, a clear wax. This was by far the most challenging step of the process. With every new layer I painted on, I had to fuse it with the layers beneath, while making sure air bubbles were smoothed out. The difficult part of working so large is the wax hardens fairly quickly. I would heat one section, move to another, and before I could get the two sections to blend together one would already be hard. It took many layers and a lot of fusing in order to get a solid, smooth layer.
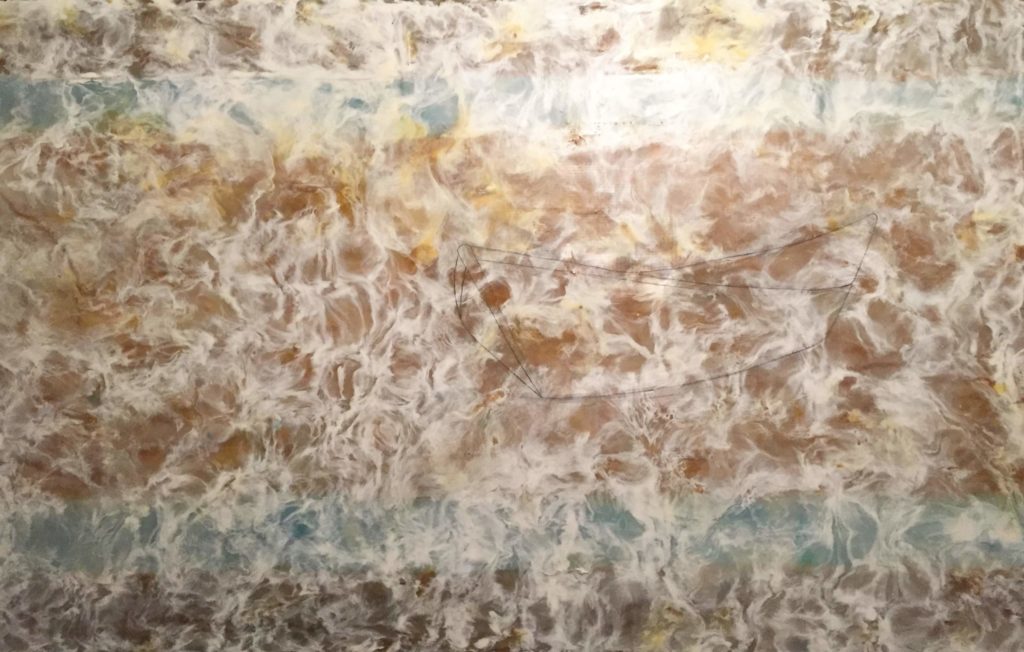
After the encaustic medium was added I loosely painted natural white wax on top and fused it to create a smokey, hazy layer.
While it was still difficult to get a smooth, even look, it was much easier to work with the white since I had well fused and smooth layers beneath.
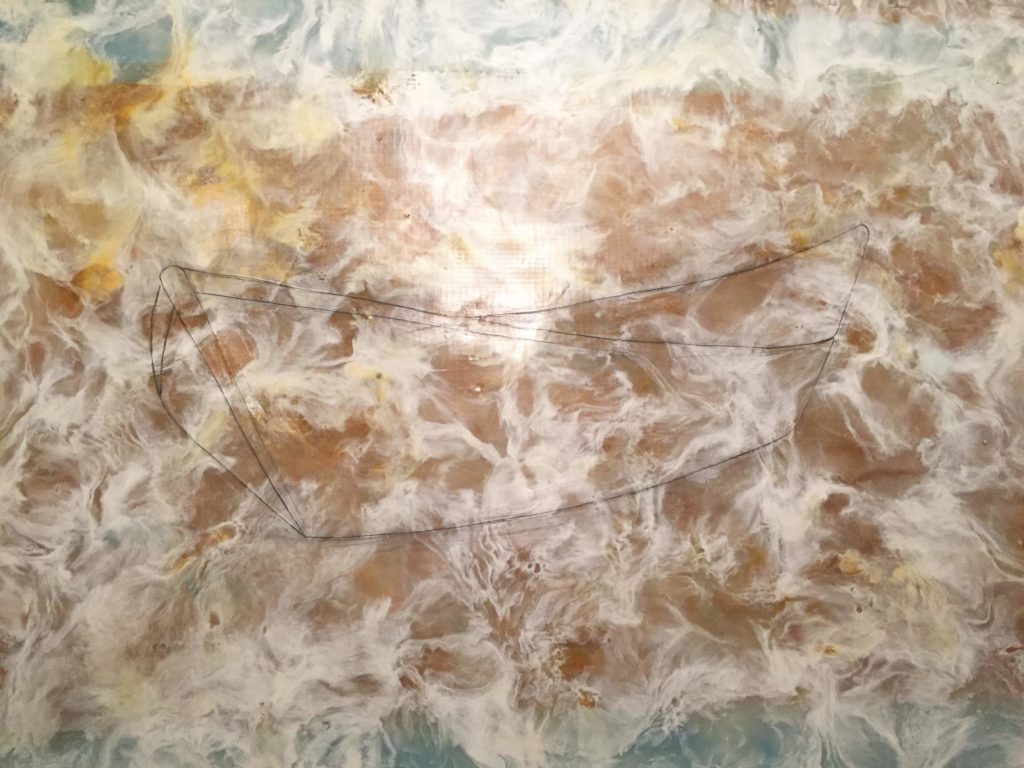
Once I was satisfied with the general look of the background I carved the boat shape into the layers of wax using a pointy tool that I scavenged from by hub’s tool box. I lightly marked out the shape before carving in the final lines. If I messed up it meant melting and re-smoothing the entire piece. I then pushed Payne’s Gray oil paint into the lines to make them pop.
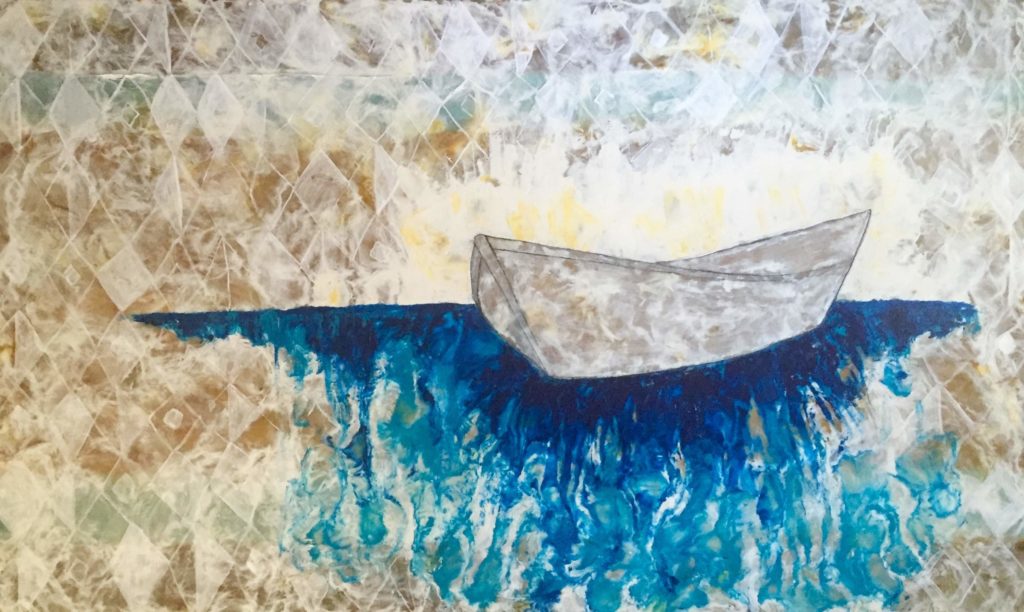
Once the white wax was melted into the piece I painted a repeating diamond pattern in the background using oil paint. It added another interesting layer and helped tie the layers together in the background.
After adding the diamond pattern I added the layers of blue to create the water beneath the boat and the layers of white and yellow to create the sky. I loved how immediately the boat popped. At this point Amber and I were e-mailing daily, hourly, as I worked on the final touches. I would send images, she would send feedback, and the piece was tweaked. While it is important for my vision to come across I think it’s just as important for the commissioner’s vision to also be represented. I love working with my clients to get their work of art just right.
I was so happy with the final product and felt incredibly accomplished to have finished such a large piece.
I loved both the similarities and differences between the mini and the macro versions of my boat. It was fun comparing them before the commissioned piece was packed up and shipped out.
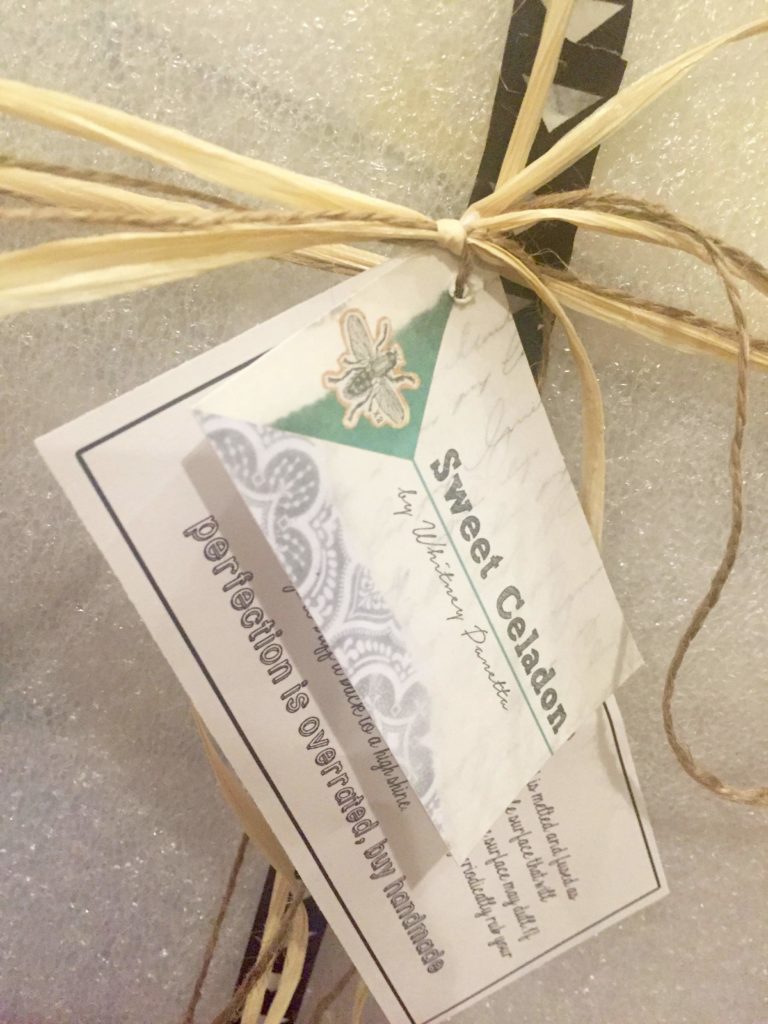
I was terrified as I packed it in many layers of foam and bubble wrap to be shipped from my little Atlanta, GA bungalow to the other corner of the United States, Seattle, WA. I eagerly awaited Amber’s reply when she received the piece. It is a very different experience seeing an encaustic in person. The layered look isn’t done justice through pictures, and I could only hoped she liked it in person as much as she did through the many photographs she had seen.
Amber was sweet enough to not only let me know when she received the piece, but she also photographed the process of she and her kids opening it up. I felt like I was there during the big reveal.
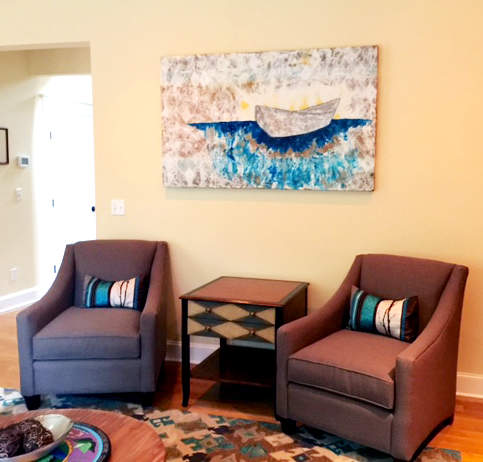
In addition to commissioning an almost 3x larger version of the original, Amber ended up also buying the original to give as a gift to a friend. I love that both my boats live near each other on the pacific coast.
I loved every minute of working with Amber and creating this work of art. She gave me the opportunity to put my encaustic abilities to the test, work larger than I ever had before, and see how one of my smaller pieces would translate to a large size. I hope for many more opportunities like this in the future.
Thanks for taking the time to check out my blog! Help me spread the work about all things art, encaustic, and made in the south by sharing on your social network site of choice. I would love to hear your comments about this piece and encaustics in general! Comment below or e-mail me at whitneywpanetta@gmail.com
[subscribe2]


0 Comments