If you haven’t heard of chalkboard paint yet, you must be living under a rock, or in another country that doesn’t carry chalkboard paint in their hardware stores. I have known about chalkboard paint for awhile, but I finally mustered up the courage, and the time to buy a pint and try it out for myself.
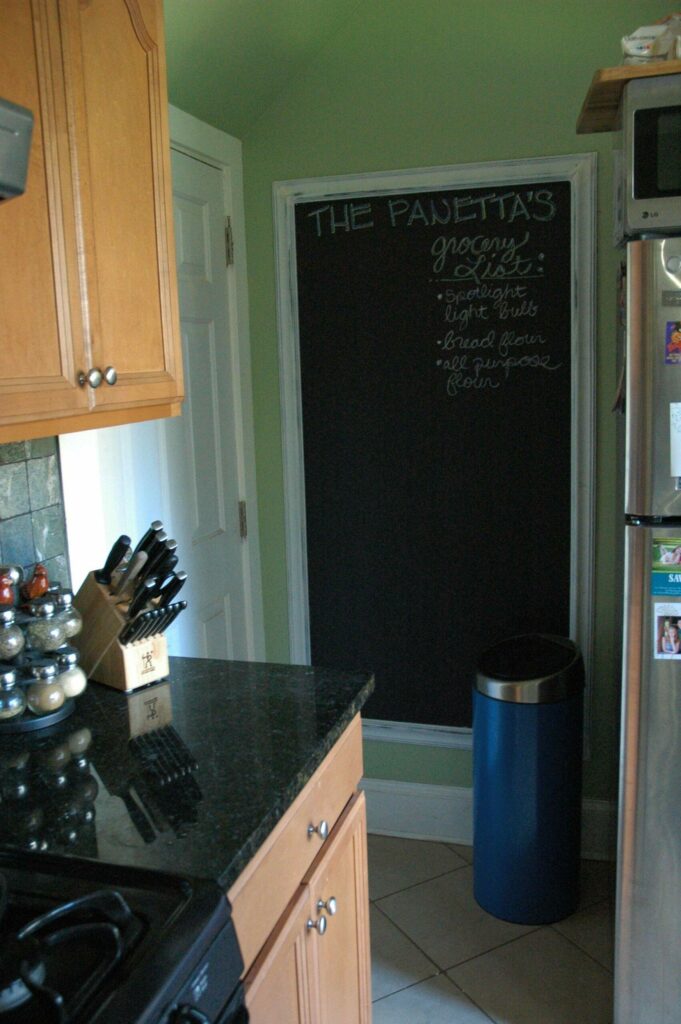
I am always looking for new projects to do in my house, and I have recently been focusing on my kitchen. We have been doing a lot of reorganization lately and I just bought a new, bright blue, chrome trashcan. I love my trashcan and I decided I wanted to bring focus to it… and yes… I did say I want to bring focus to my trashcan. It is tall, skinny, bold blue, and it cost an arm and a leg. I spent over $100 on a trashcan, which makes me want to gag a little. It took me three years to gain the courage to spend that kind of money to upgrade from my white, plastic rubbish bin, to my beautiful shiny, blue beauty. It shows no stains, it conserves space, and it down right looks good.
After drooling over my trashcan for a few days I decided I needed to get started on re designing that corner of my kitchen. It previously held an old, red dry erase board, a set of decorative metal hooks, and our trash and recycle bins. After brainstorming I finally decided to make a giant, 5 1/2 X 3 feet chalkboard. Down came the wall hangings and out came the chalkboard paint.
This is what you need to complete this DIY chalkboard project…
- Chalkboard paint
- Painting supplies (brush, roller, paint tray)
- Molding
- A mitre saw (or something to cut 45 degree angles)
- Nails and a hammer or liquid nails
- Sandpaper
- Spray paint (I used blue, brown, gray, black, and white)
- Measuring tape
- Level
I began by measuring out the space, using a level to make sure my lines were straight. Once I had my chalkboard size set, I started painting. I used a paintbrush to paint near my pencil lines (which was where I lined up the outside edge of the molding when I put it up) and a roller to paint the rest. In total I painted about three layers, allowing it to dry in between layers.
In between painting layers of chalkboard paint I was working on the molding. First I cut the molding to the appropriate lengths, and then cut the ends at 45 degree angles, in order to create a perfect frame. Once they were cut I took them outside and began spray painting.
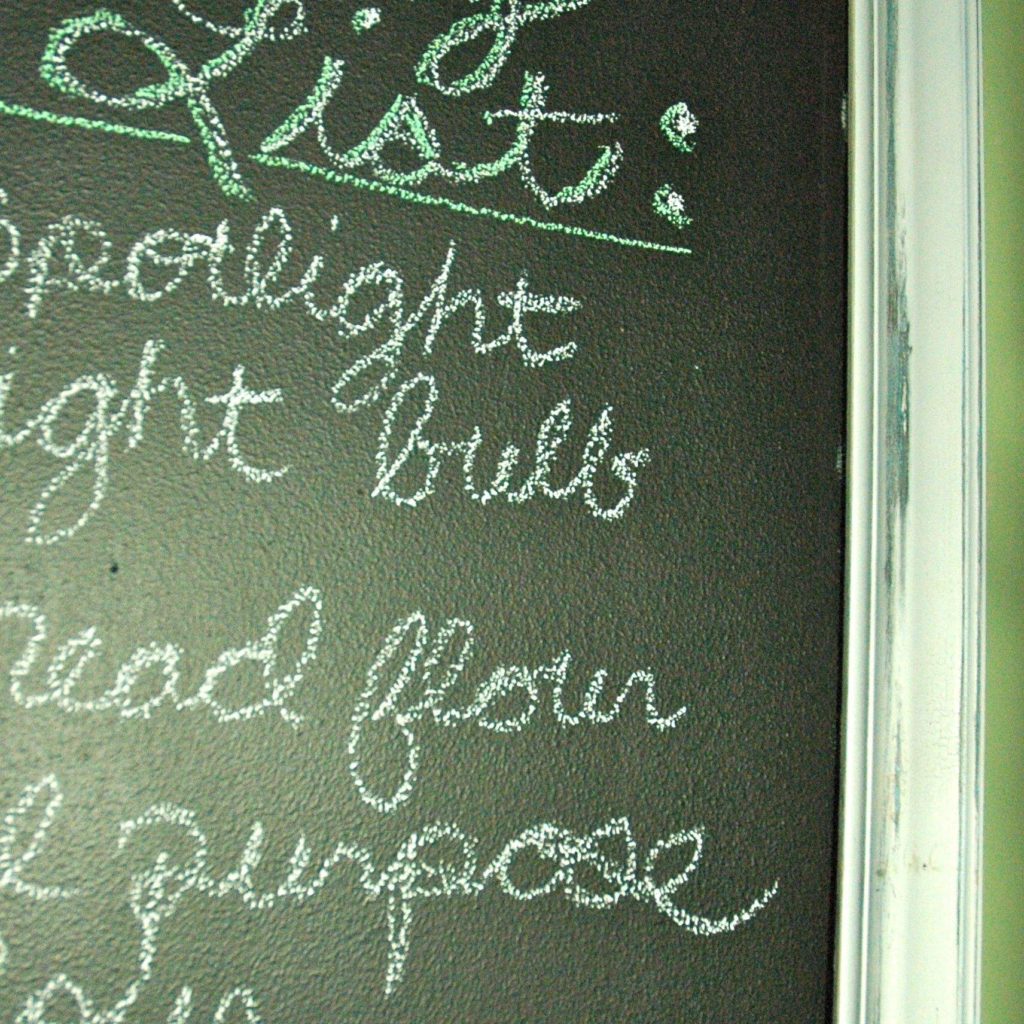
I wanted a shabby chic look so I layered different colors of paint and then sanded it down in different areas to expose the layered colors. I started with blue, then added brown, black, gray, and finished with a white. Again, I allowed each layer to dry before I put anther on top. Because I added so many layers the paint began to wrinkle, which turned into a blessing in disguise. When I began sanding down the pieces, the wrinkled, raised areas of paint were also sanded which created a cracked pattern. The combination of the cracked and sanded areas of paint created the perfect shabby chic look. Unfortunately it is difficult to get a detail of the finished look because it is in a dark corner.
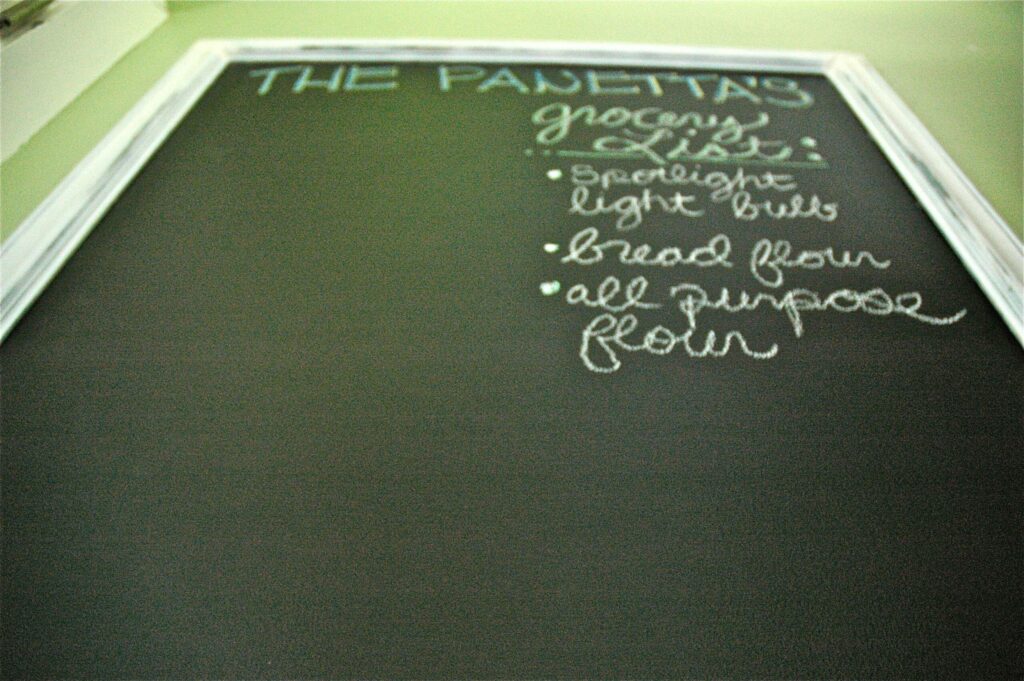
After everything was dry I attached the molding to the wall with a combination of liquid nails and nails (slight overkill one method should do the trick). To finish of the project I picked up some chalk and added our grocery list!
I love the outcome of this DIY chalkboard and it is a cheap, easy, weekend project! Thanks for visiting my blog and reading today’s post, please help me spread the word by sharing, commenting, and subscribing! Thanks for stopping by!


0 Comments