
Creating an artistic pumpkin is much easier than you may think. All you need are a few everyday items and some art supplies, and you can create a pumpkin masterpiece too! Read the instructions below, little to no artistic knowledge is required!
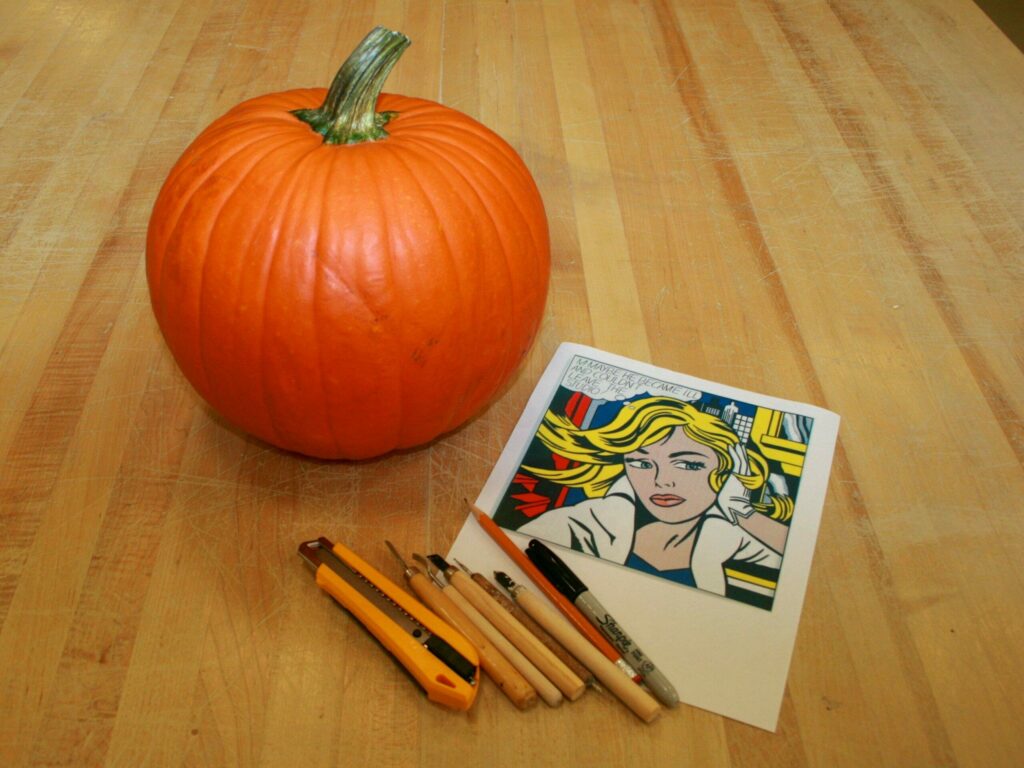
SUPPLIES
- Pumpkin
- Printed image
- Pencil
- Tape
- Sharpie
- Knife
- Xacto knife or box cutter
- Carving tools (you can find basic wood carving tools at Home Depot or even better is a printmaking tool called a linoleum cutter, which you can find at any art store… see the image below)

HOW TO:

STEP ONE: Take the printed image and completely color the back with pencil, make sure you have a nice even layer covering the back
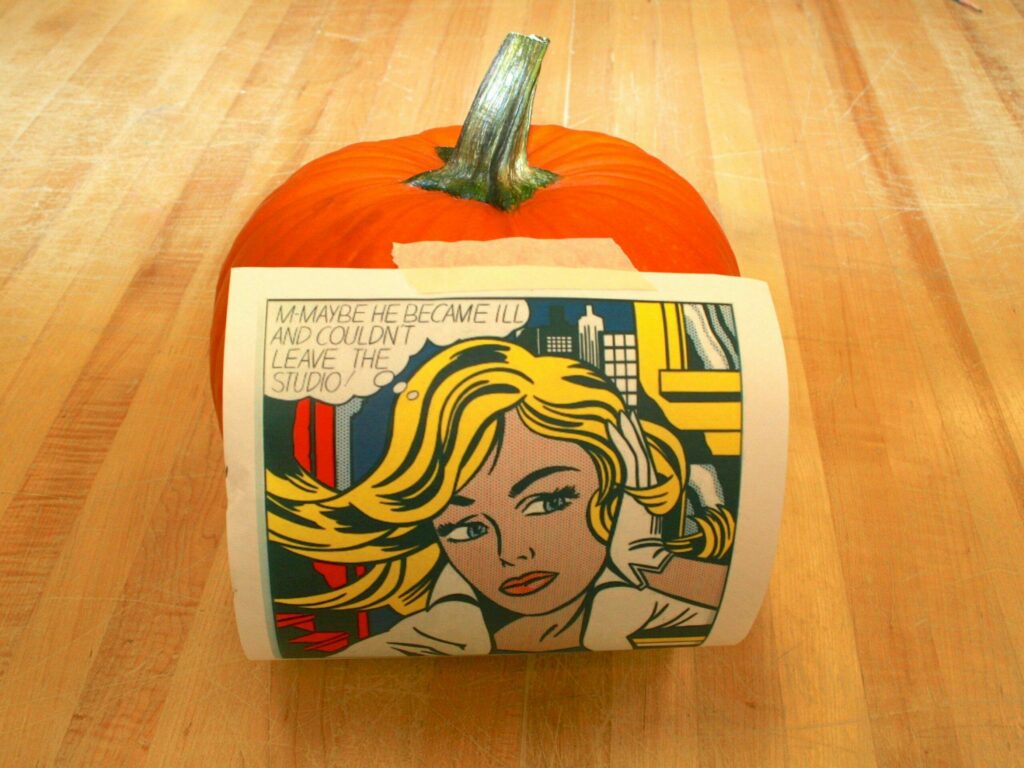
STEP TWO: Tape the image to your pumpkin, you may have to fold it in order to make it fit around the shape of your pumpkin, but do your best!
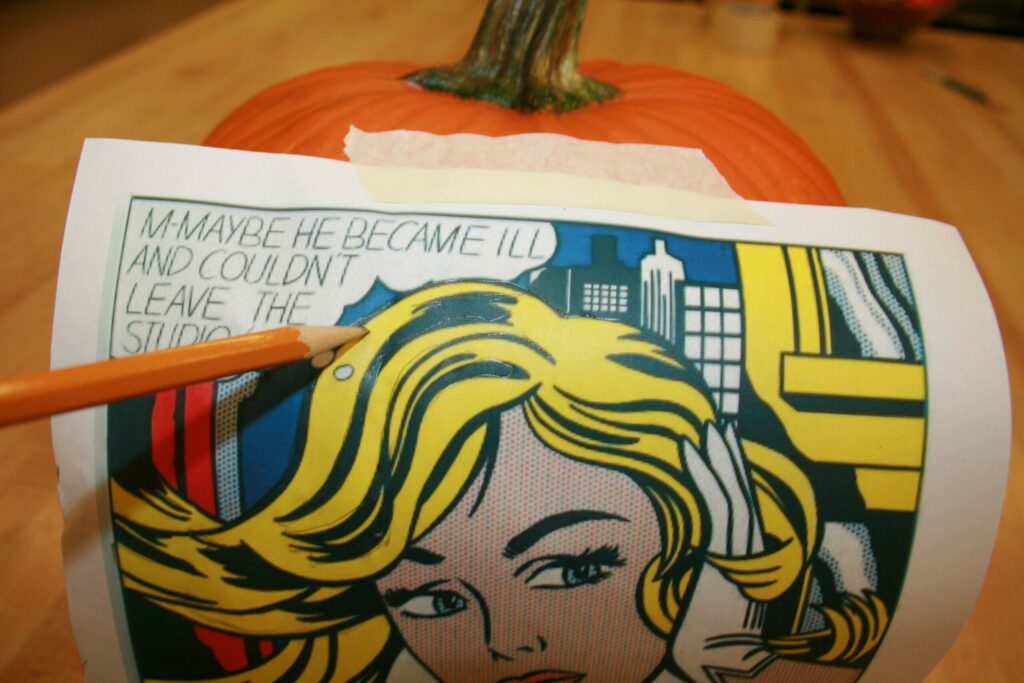
STEP THREE: Trace over all of the lines in your image with a pencil. By putting pressure on the front of the image you are transferring the pencil on the back of the image onto the pumpkin. Try not to rub the image unnecessarily, this may cause pencil to transfer to the pumpkin in areas you don’t want it to.
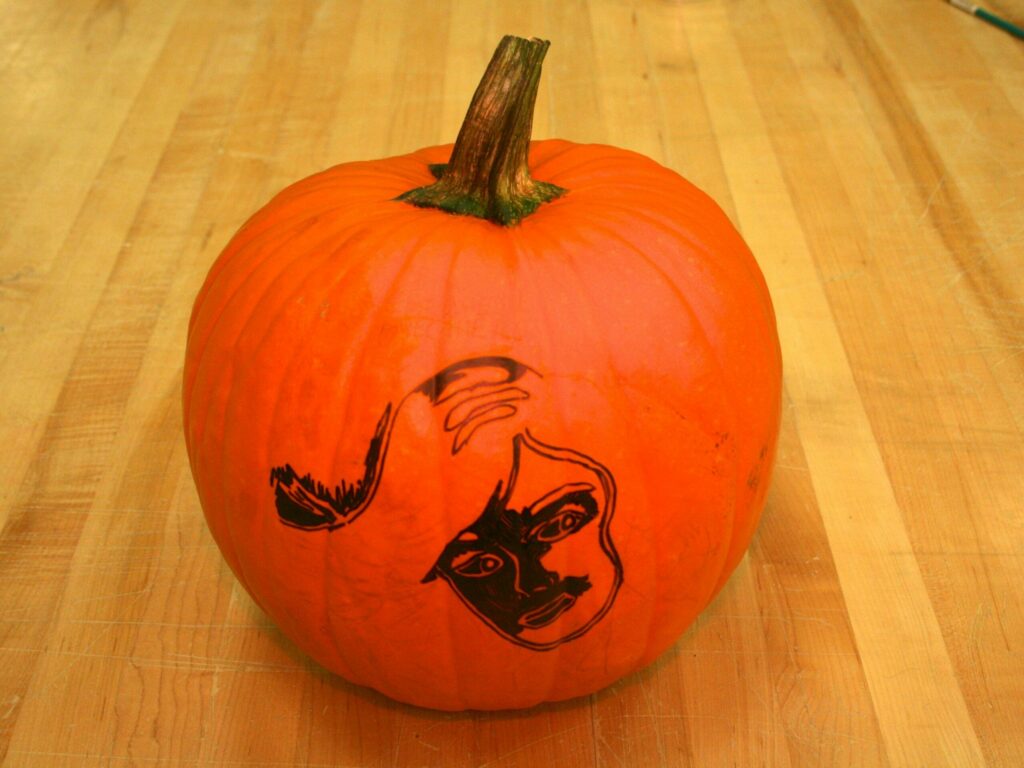
STEP FOUR: Outline everything in black to make it easier to see your lines. Fill in the areas you want to carve out completely with sharpie. This will help you stay on track when you start carving.
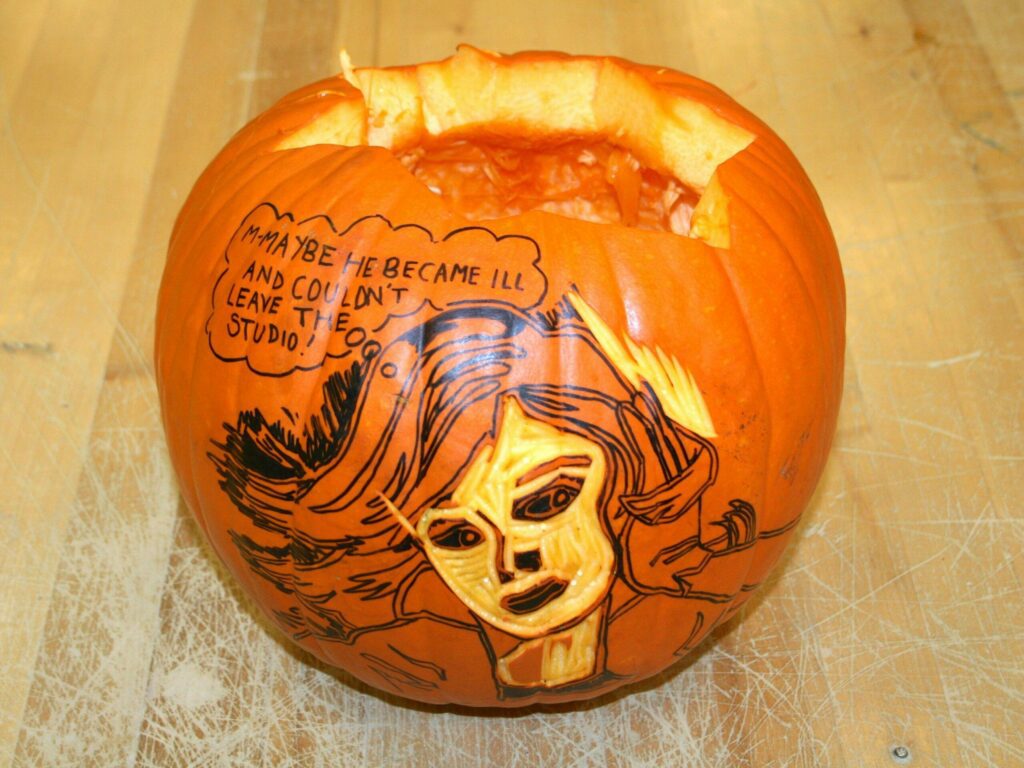
STEP FIVE: Cut open the top, clean out your pumpkin, and start carving! Use the xacto and box cutter to cut small areas all the way out. Use the printmaking or carving tools to carves areas you want low, but not cut all the way out. Make sure you carve deep enough for light to be able to shine through! You can also use a spoon and scoop out the inside of the pumpkin to make the walls thinner from the inside.
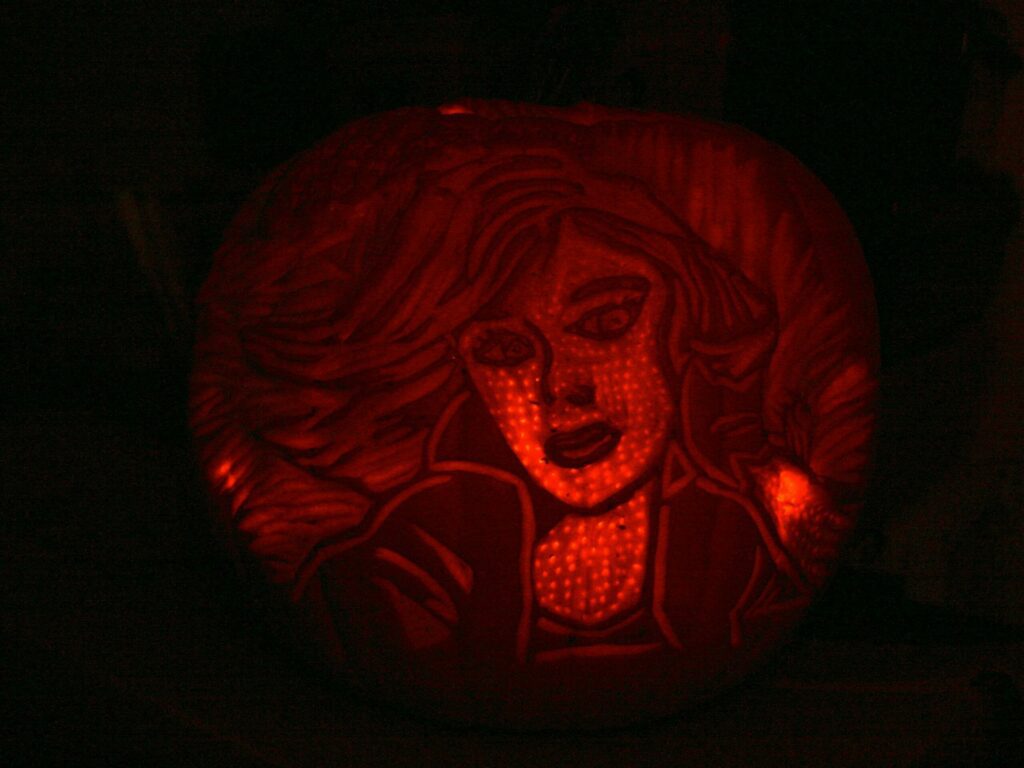
STEP SIX: Put a candle inside and enjoy your artistic, masterpiece pumpkin! Happy Halloween!
Check out my video here to see even more images of the process!
I hope you enjoyed my Halloween post! Please help me spread the word about my blog by sharing with others, repost, like, tweet, subscribe, and comment!
0 Comments