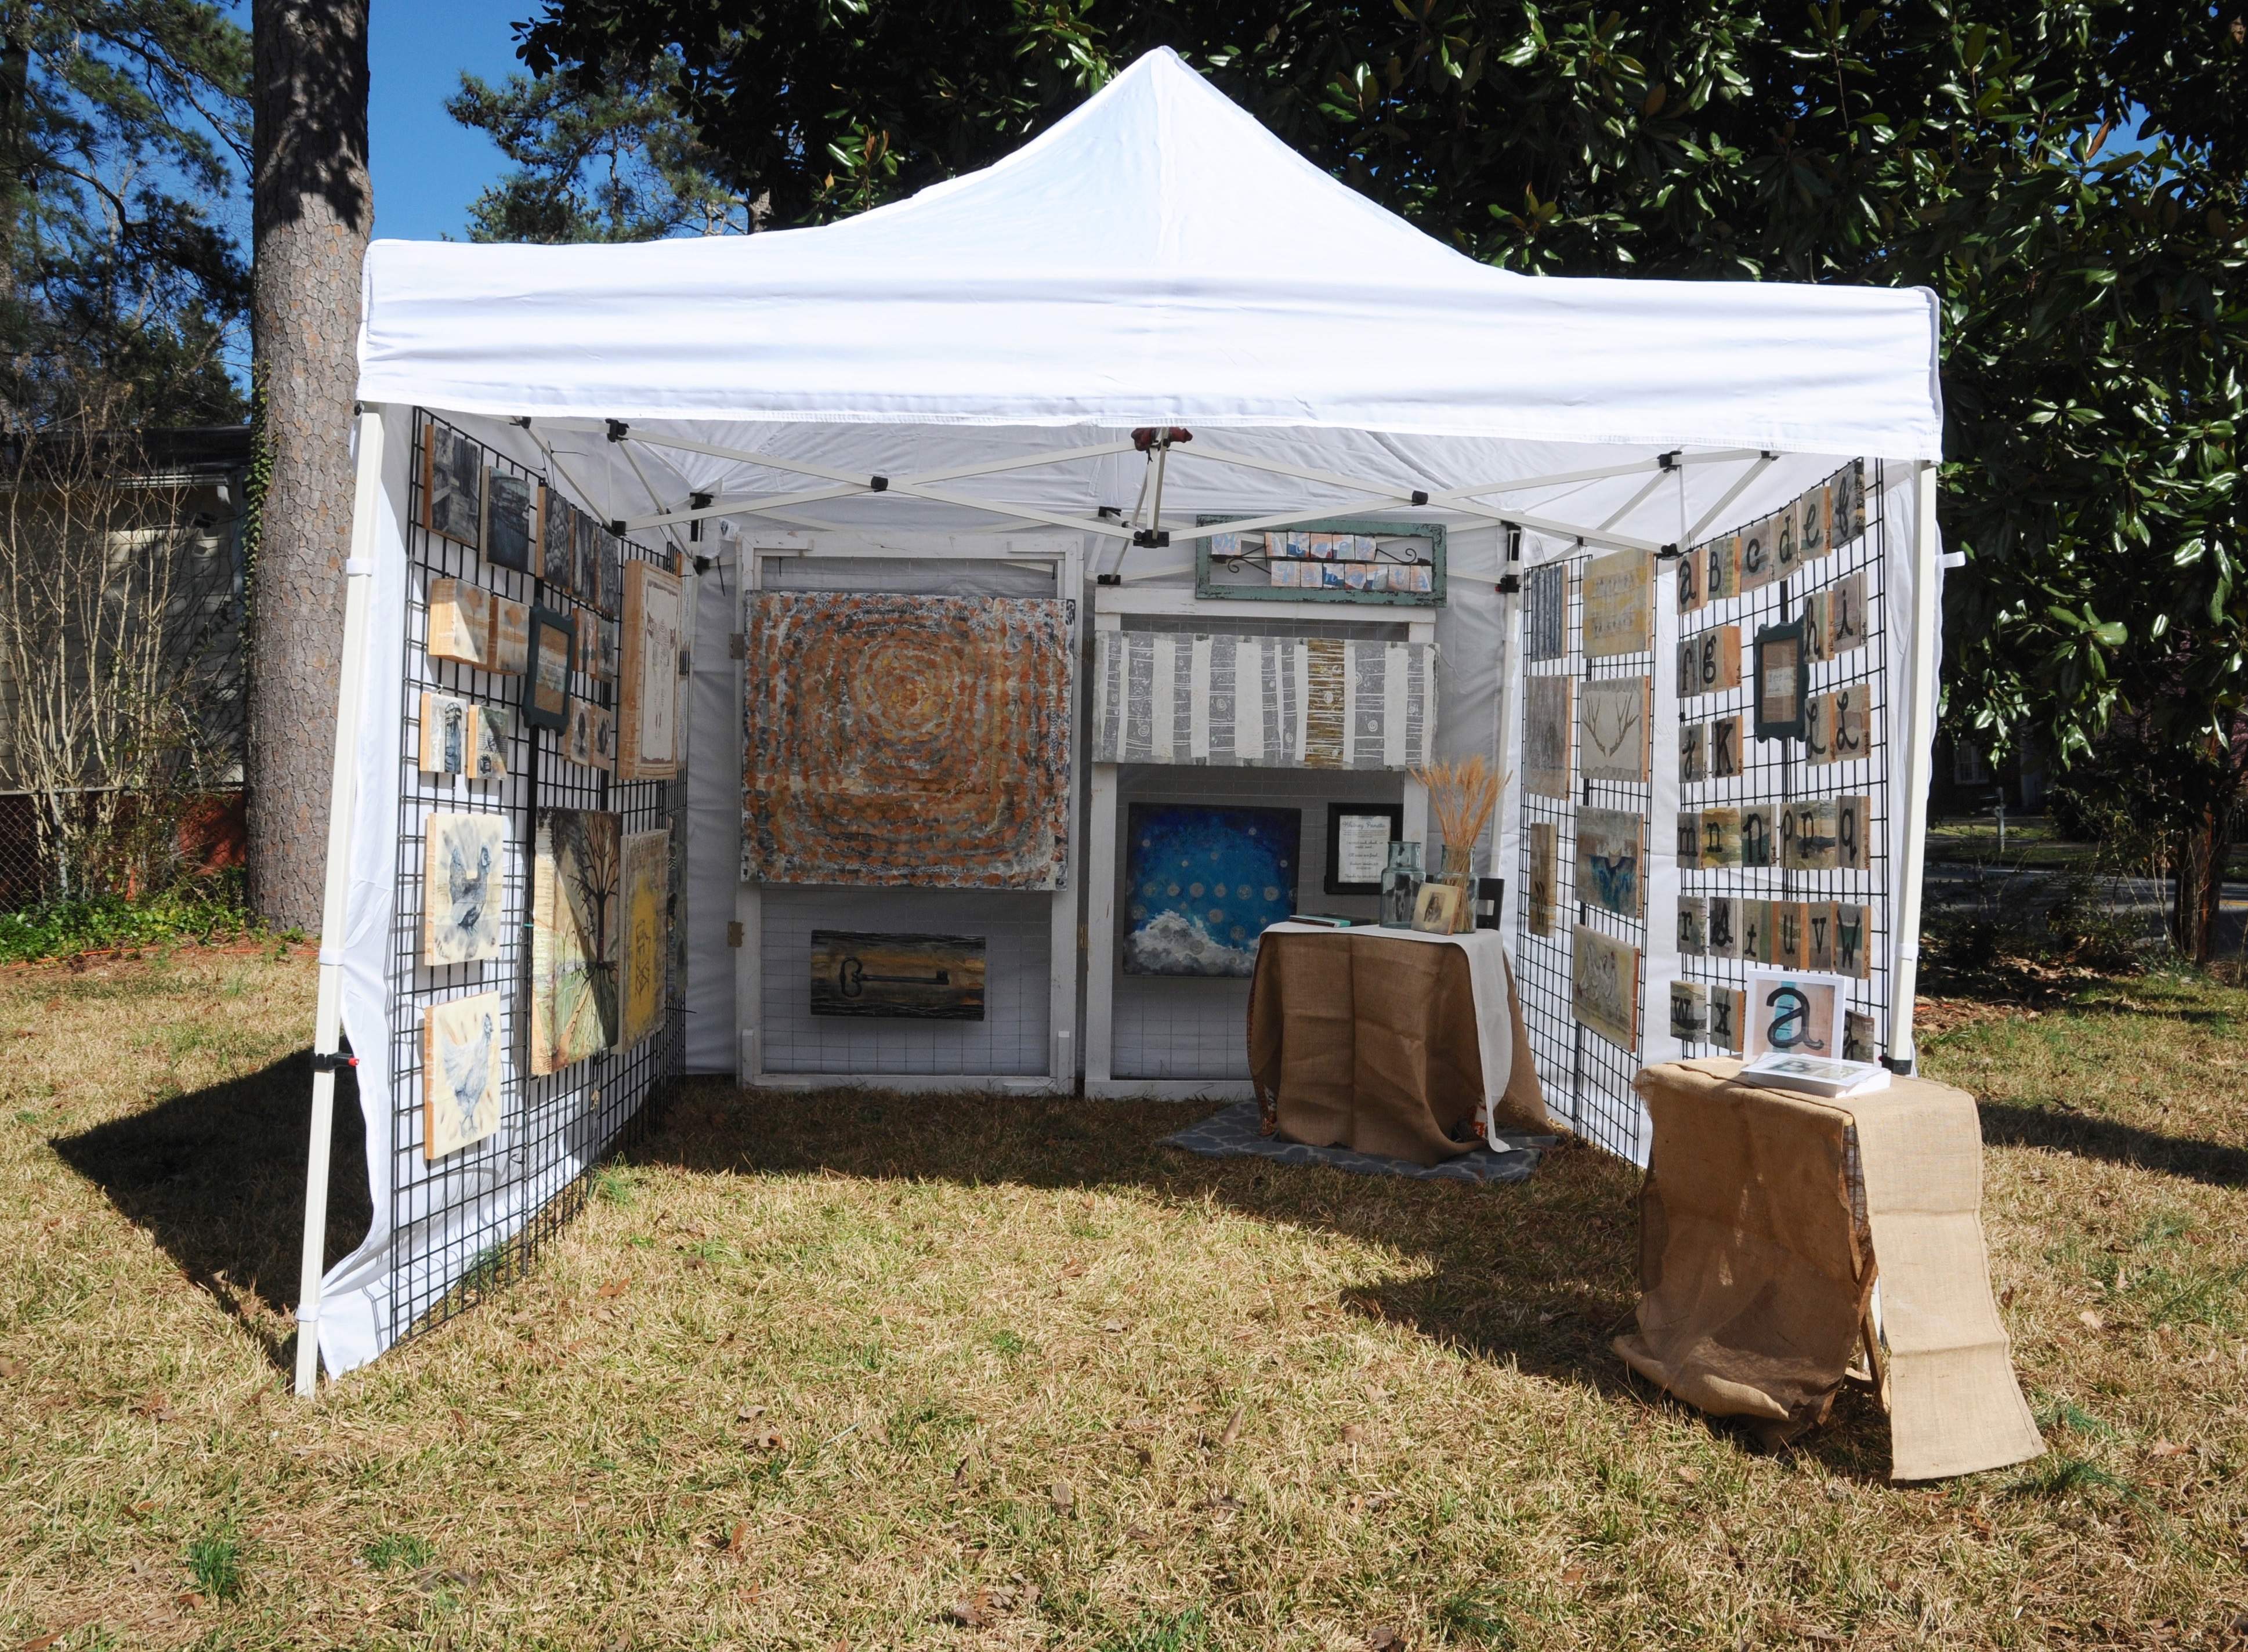
After a year of collecting the necessary parts, I finally set up my craft fair booth. This is specifically for an outdoor craft fair booth. I previously participated in indoor festivals, but these are a much smaller scale. I was ready to join the outdoor festival circuit around Atlanta.
On a very hot day in March, I spent a day in pursuit of a booth picture. My hubby and I spent the afternoon pulling out my tent, grid panels, “S” hooks, tables, decor, and of course, artwork. I loved watching all the pieces finally come together.
After three years of dabbling in indoor art shows, I decided I wanted to expand to outdoor shows. They are more frequent and have a lot more foot traffic than the indoor exhibits. After finally deciding it was time to make the transition, I began looking for shows to apply for. Every single one required a picture of the booth set up in order to apply. This wasn’t something I was going to be able to submit, and see what happens. I was going to have to invest a lot of up front money in the hopes of being accepted to a show.
Over the next year I spent hours on Craigslist, garage sale and discount websites. Slowly, but surely, the components came together. The tent came first, I finally gave in and bought one new. A few months after the tent was purchased a coworker contacted me about selling his booth parts. He tried selling his artwork for a year before deciding it just wasn’t for him. I was able to get six grid panels and weights from him. I then pulled tables from my indoor set up, two of the three panels I use to display work at indoor shows, and hanging supplies.
After getting all the pieces it still took months for me to work up the motivation to set it up. For hours I was running in and out of my house hauling artwork. I quickly realized I would never be able to do this solo. The tent is too cumbersome and the panels are too heavy. My first lesson in outdoor festival participation is making sure Nick is always available for set up and break down.
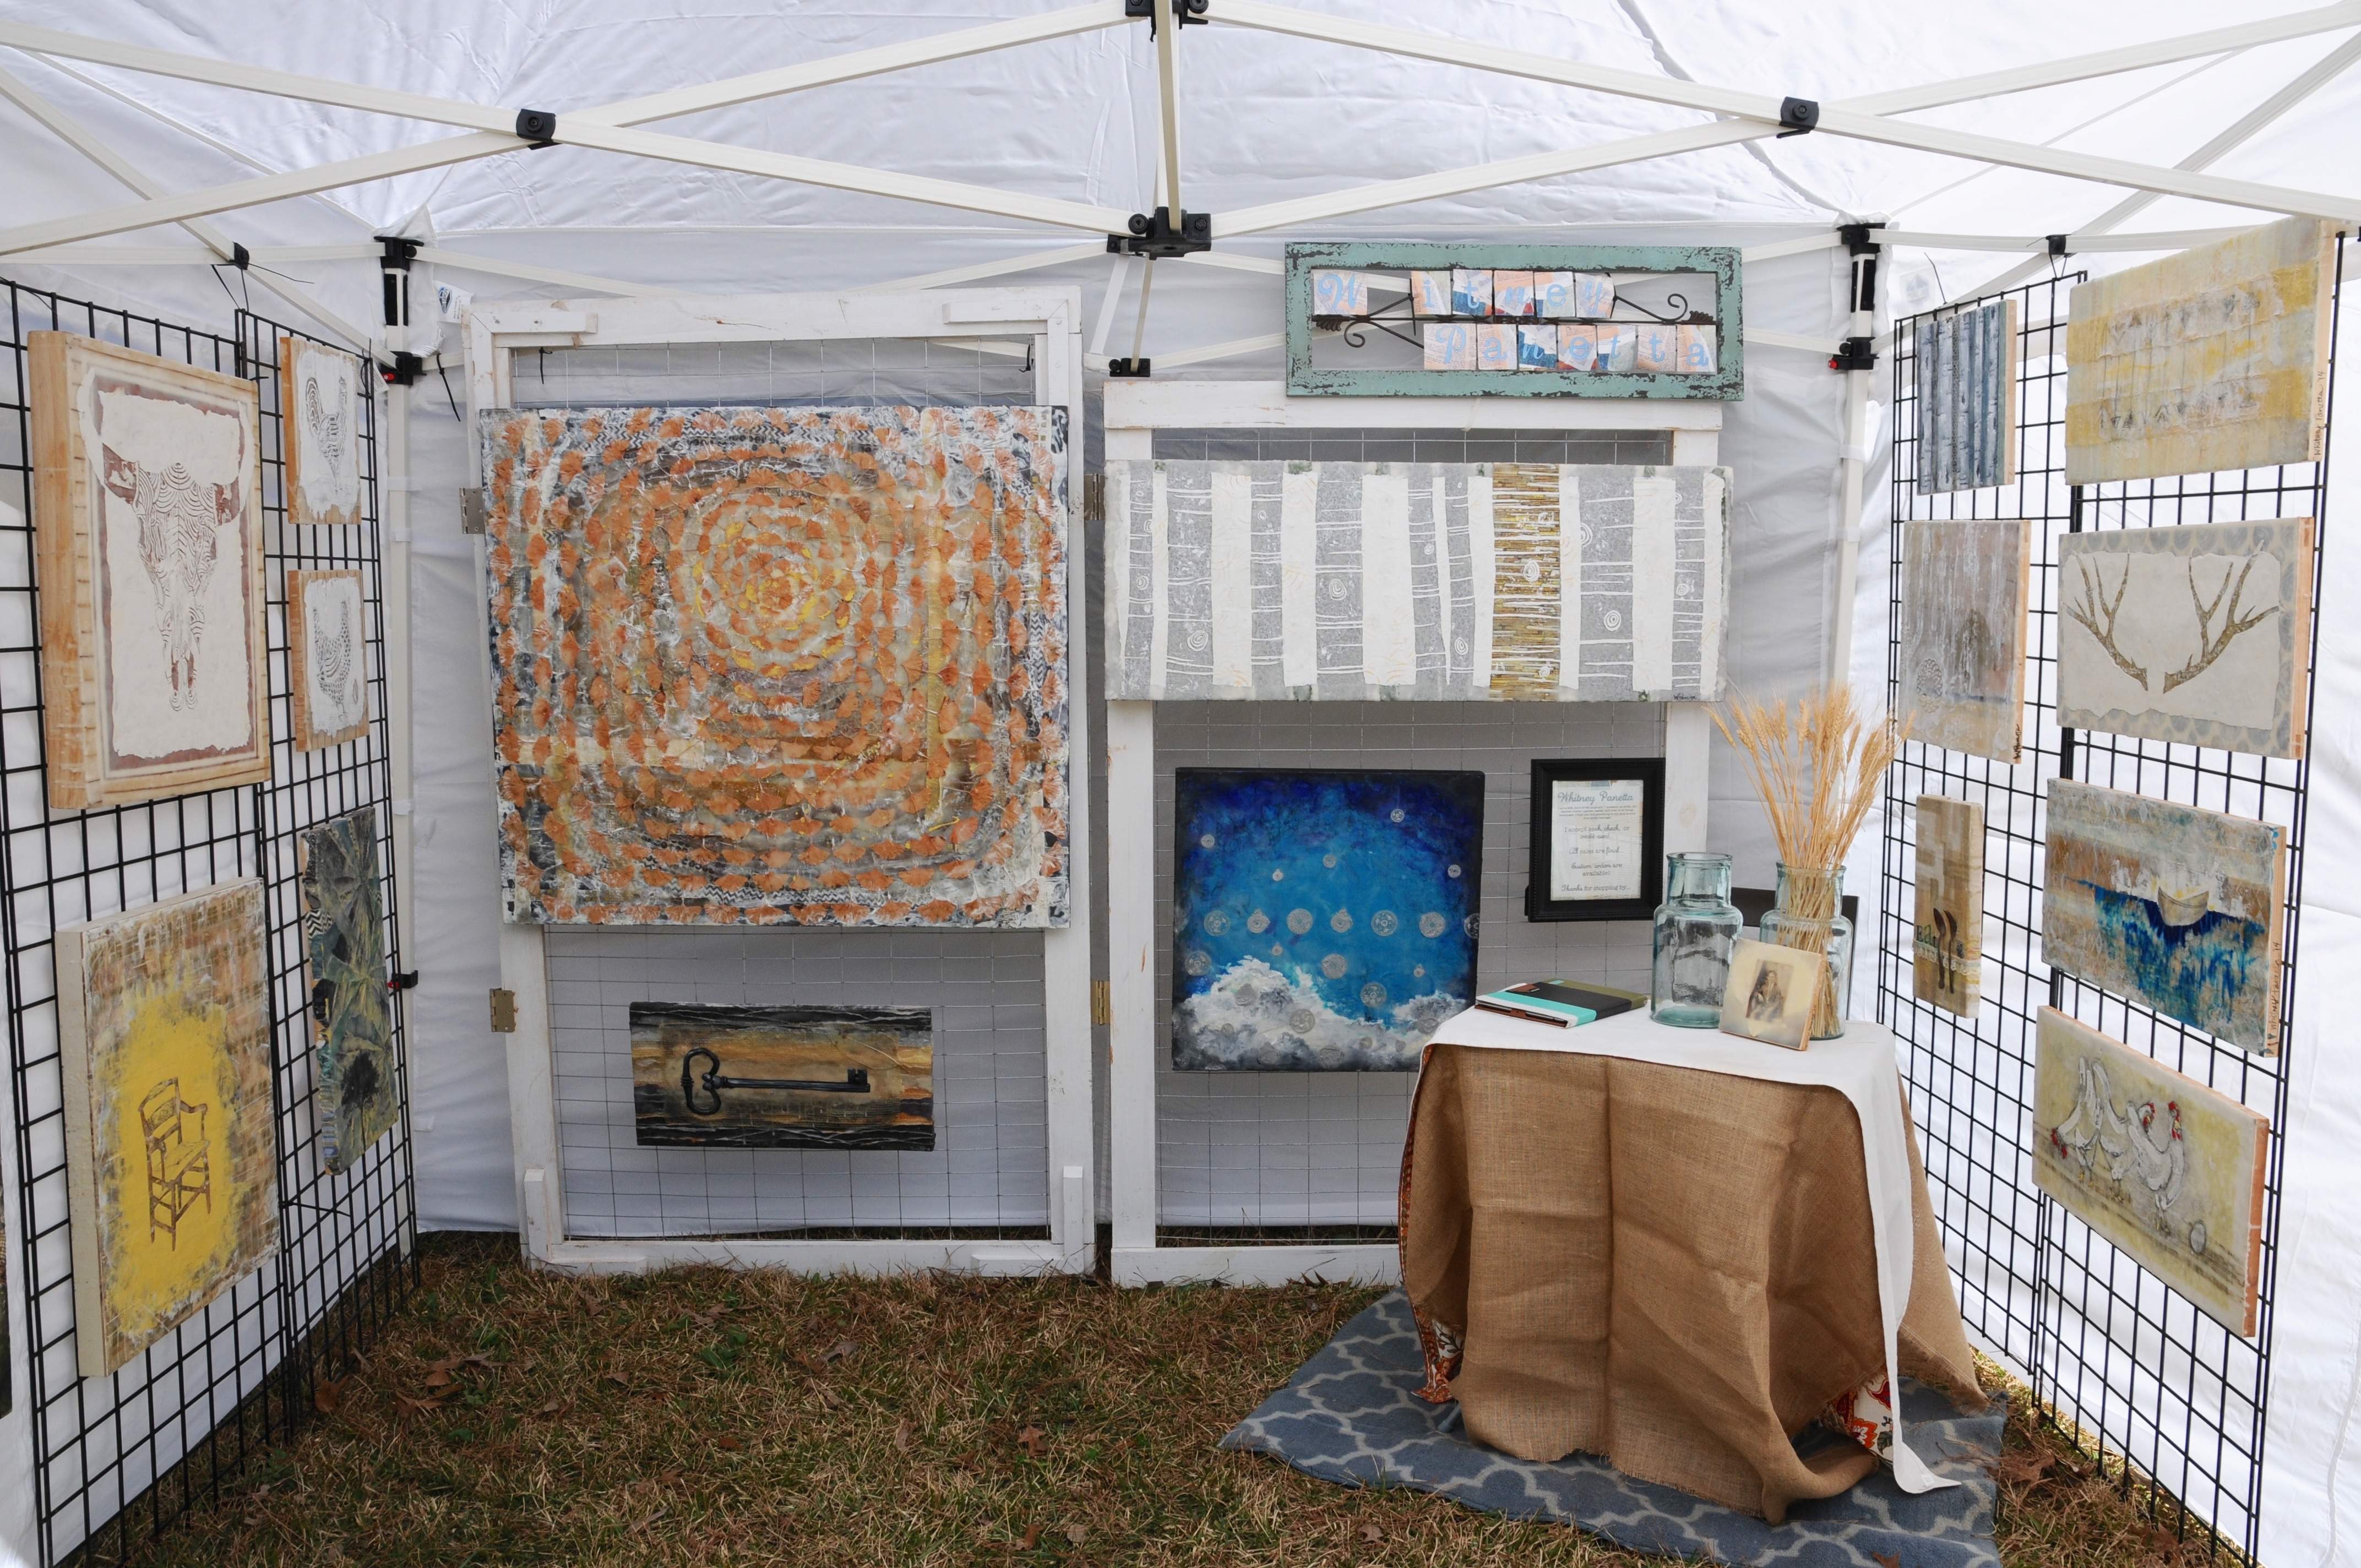
I decided I wanted my largest pieces along the back wall. They helped fill the space, and would hopefully catch the eye of passerbys. The trickiest part I have to figure out is where to set myself up. I enjoy having a table to hide behind. I am a passive seller. Perhaps I would earn more money if I pushed my products on people, but I want them to purchase one of my pieces because they feel connected to it. My tiny little table is my comfort zone. My safety net, preventing me from getting my hopes up as people come in and peruse my work.
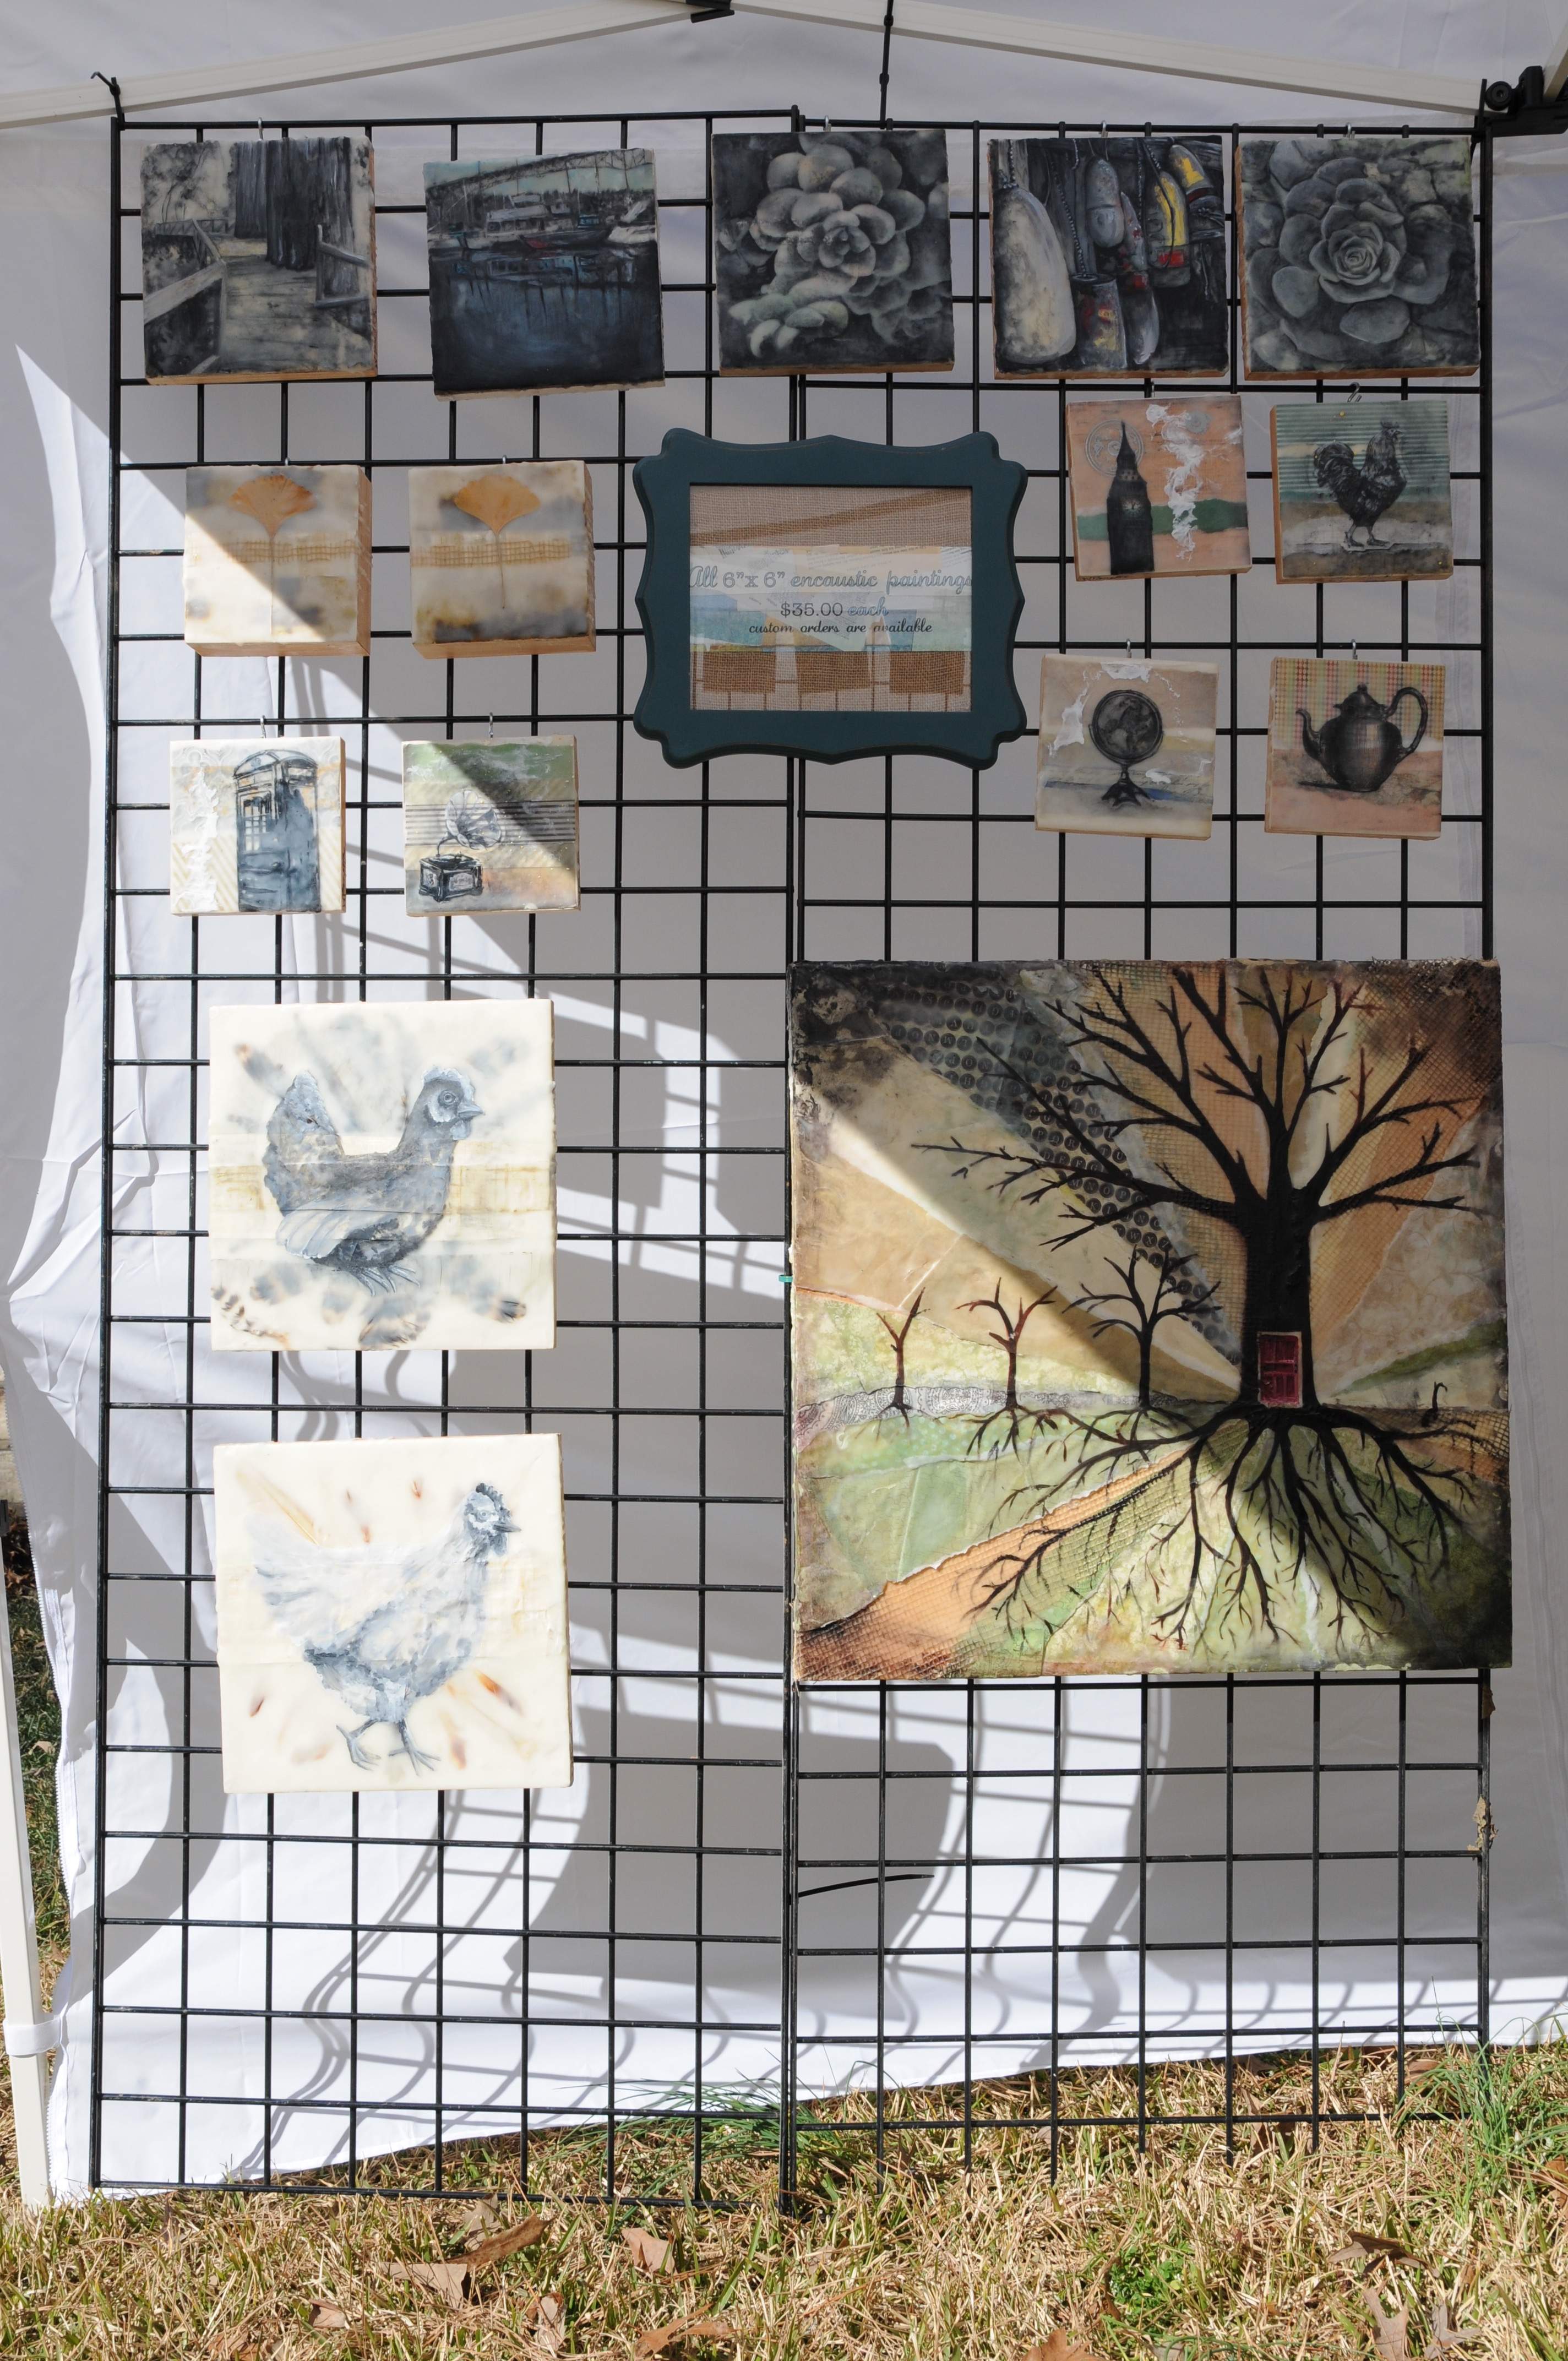
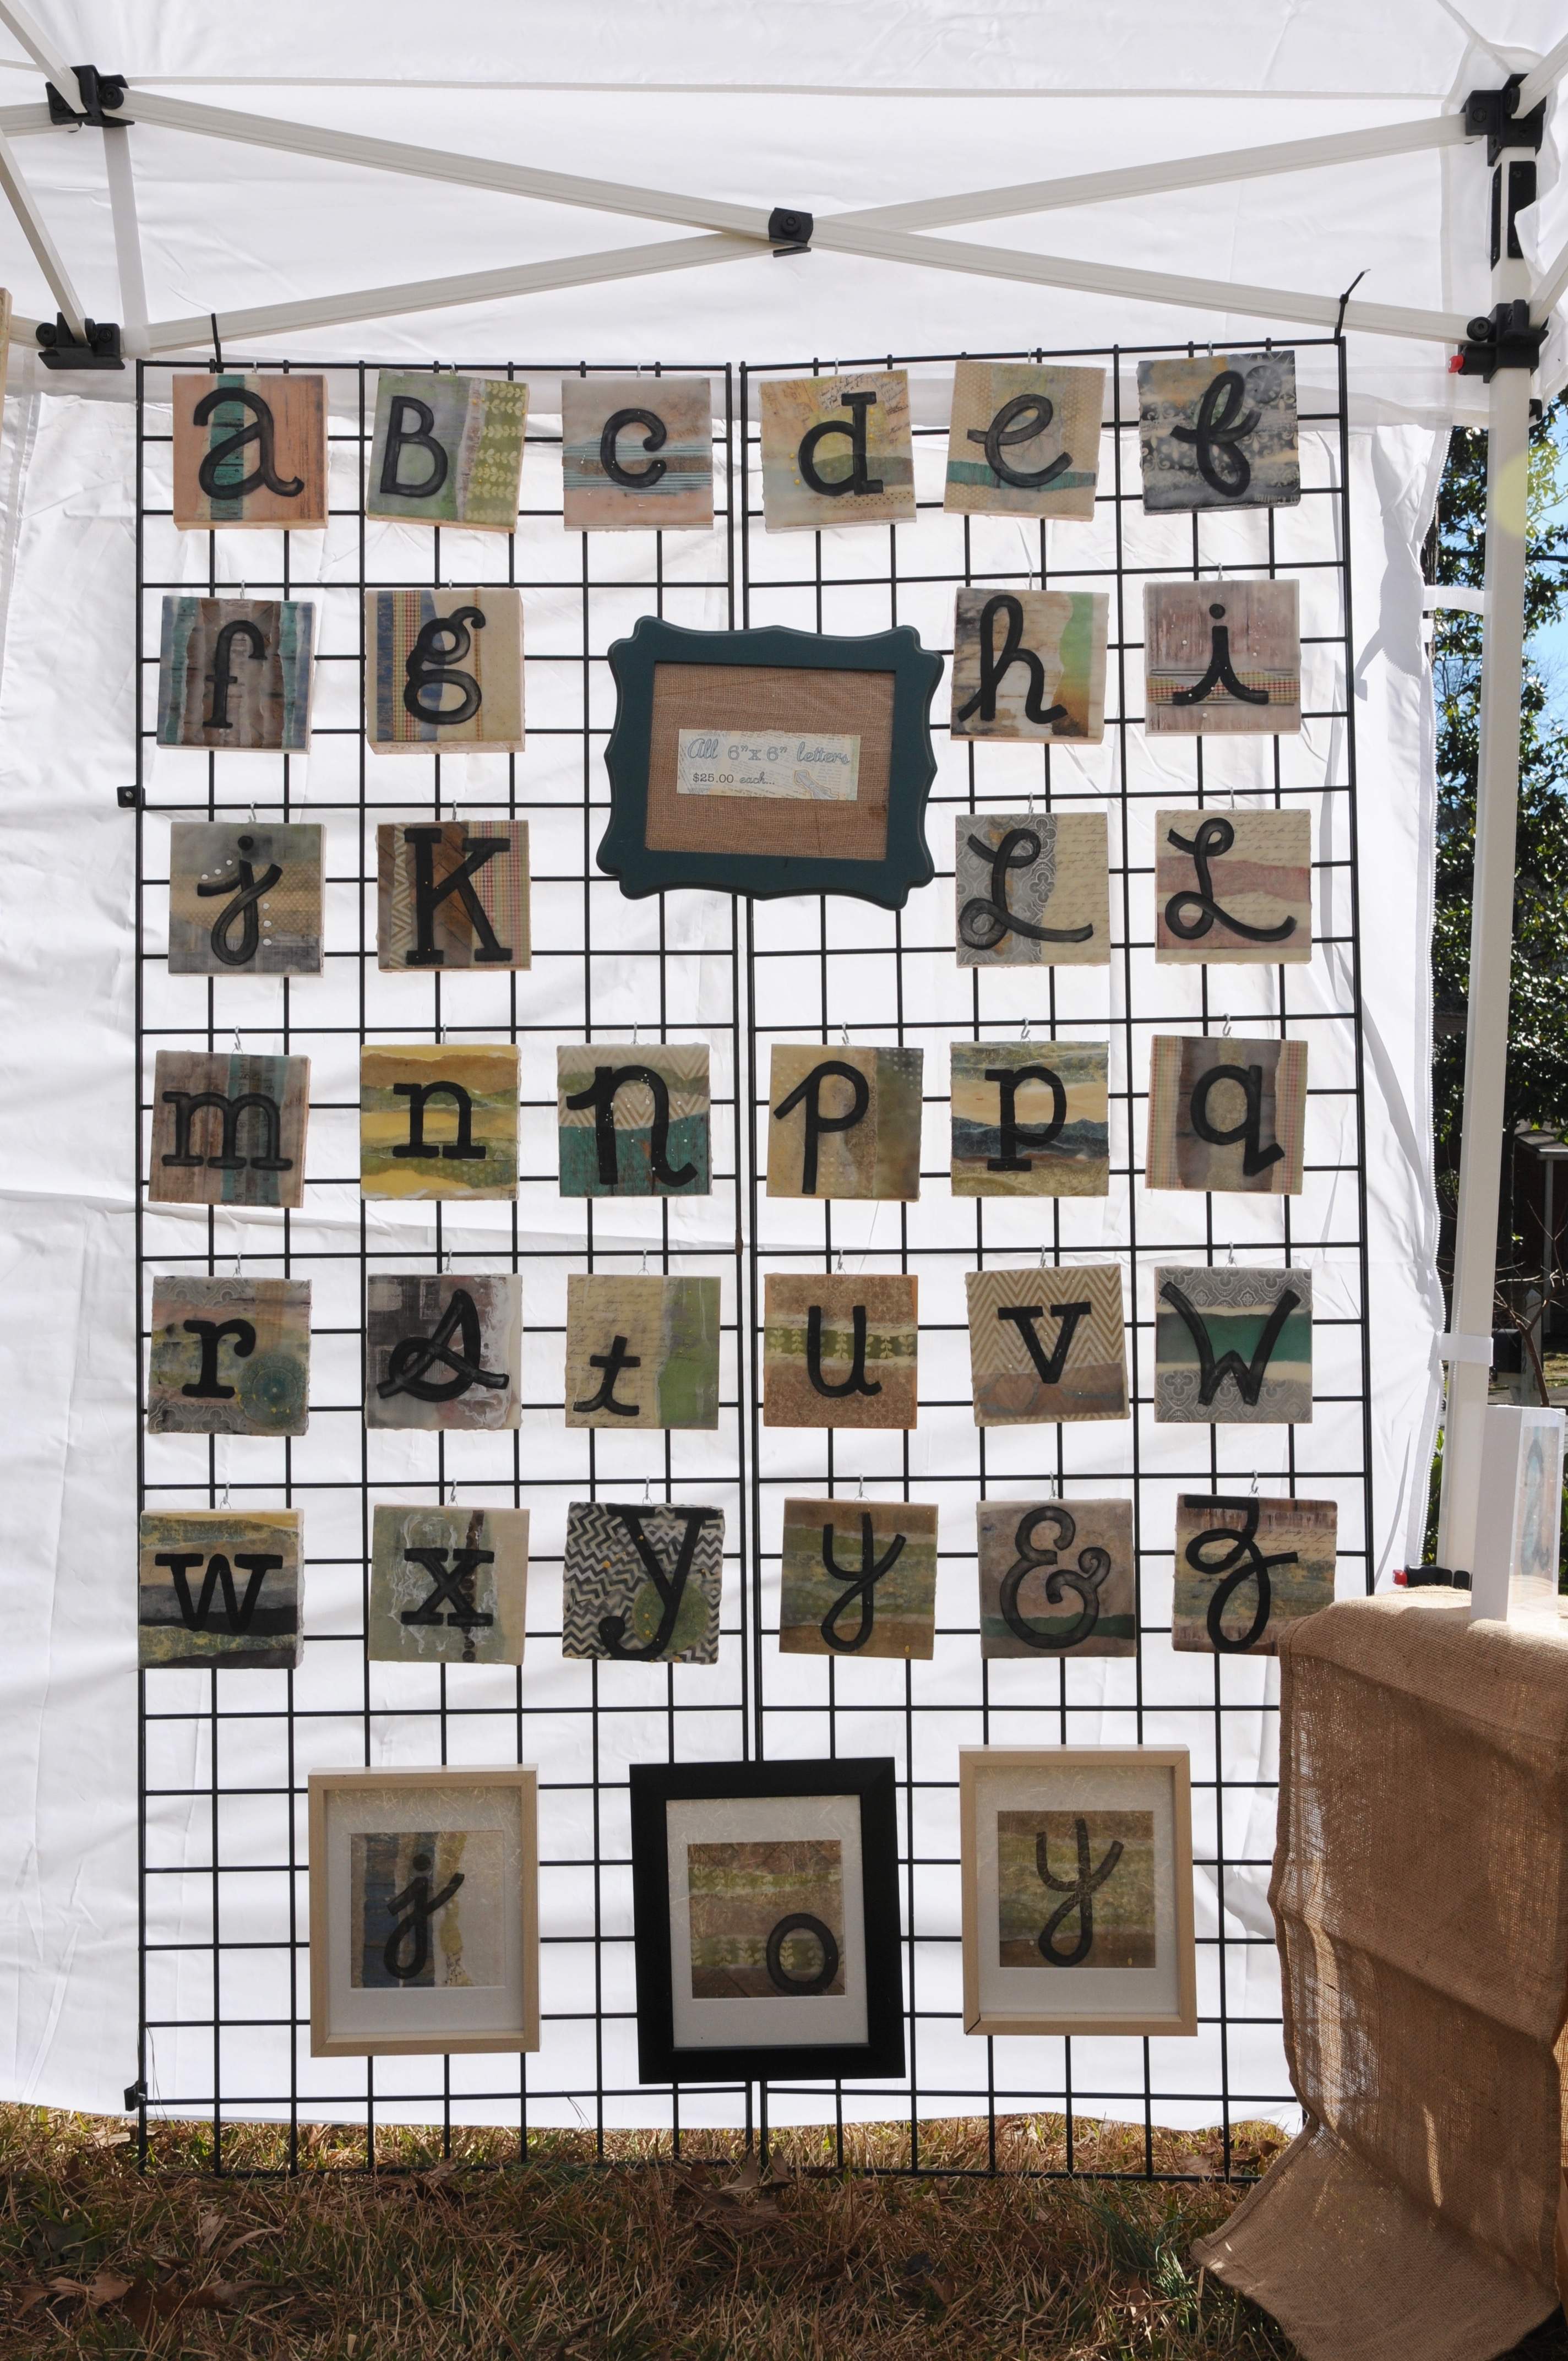 I decided to hang my letter pieces on the right side panel, and my 6″x6″ silhouette paintings on the left side panel. My hope is these pieces will be more approachable as people walk by. They may assume the large pieces are out of their price range, but with $35 and $25 price tags, these are easy to pick up and take home.
I also wanted to set up a table with my letter prints, at $10 each these are an even better impulse buy item. I decided these would be best set up next to my letter encaustics and extending slightly out of my booth to break up the space.
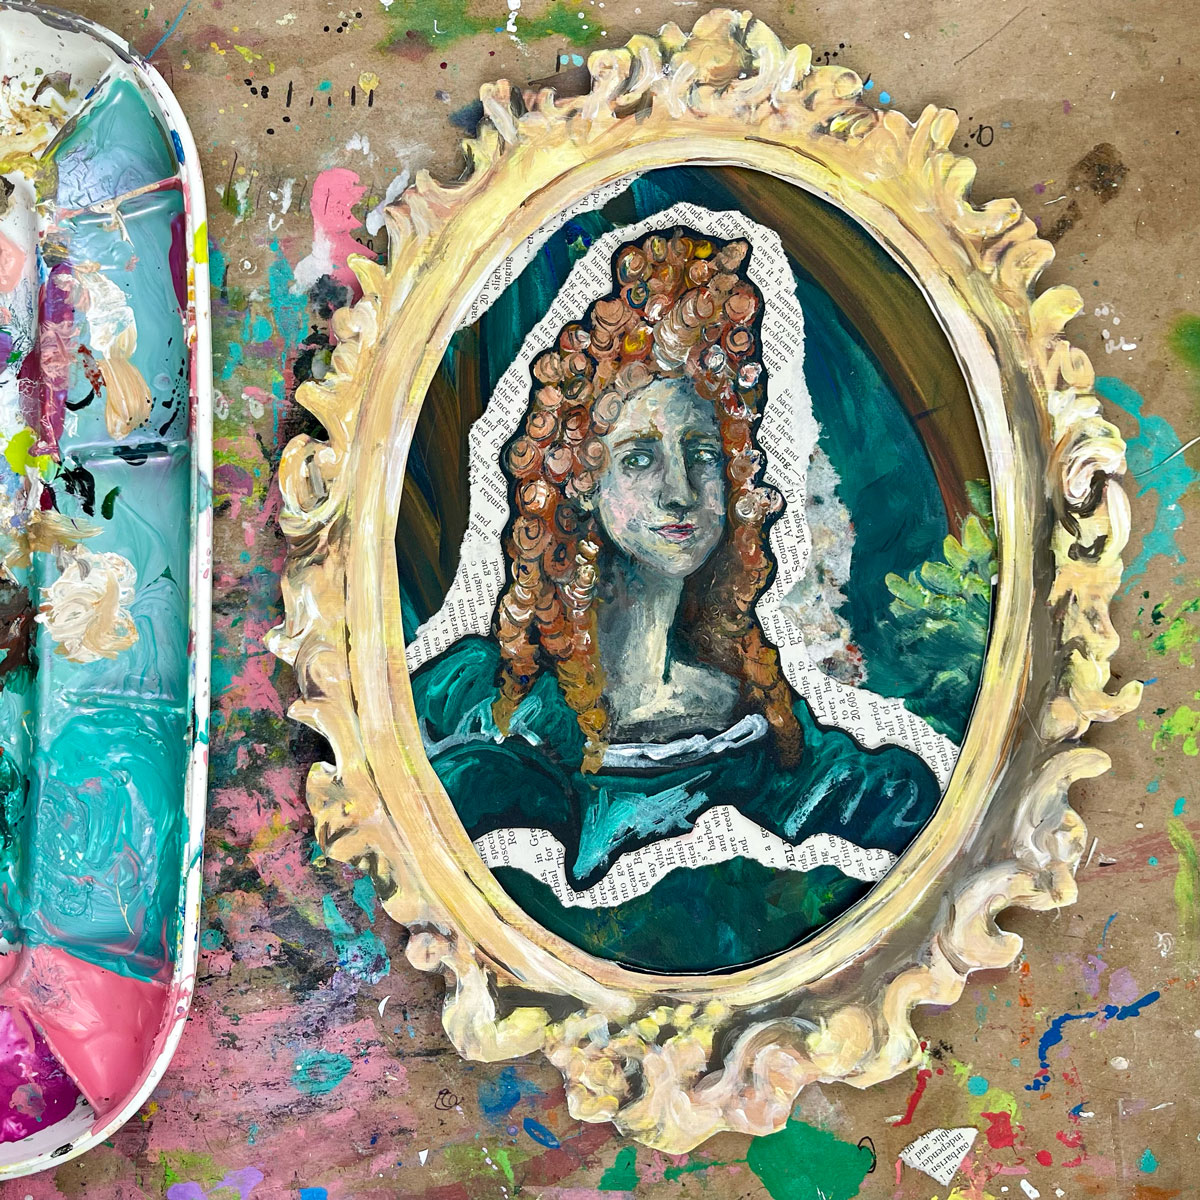
One issue that always lurked in the back of my mind was how my encaustics would stand up to summer Georgia heat. I got a little taste of it during the practice set up, the pieces that were directly in the sun began to melt. It was worse case scenario. After all the time and work I put into my set up, I was now questioning whether or not I was even going to be able to do this at all.
As soon as I discovered the melting pieces, I snapped my pictures, and began disassembling. As I carefully took each piece down, I examined it for signs of tackiness and liquid wax. Luckily, only the pieces in direct sunlight showed signs of the wax turning to liquid. The pieces with the sun hitting the backside of them felt slightly tacky and the rest of the pieces were fine. Although I felt a little better, I was still concerned. These were only up for 30 minutes, an hour at the most, what would happen at an all day festival?
After cleaning up I began doing some research. There are brave artists out there who display their encaustic in the dead of summer at outdoor festivals. You do have to play a game of rearranging as the sun enters your tent, but it gave me hope. A lot of the sunlight was coming in through the sides of the tent, but at a festival, in theory, there will be tents on either side. I decided I just needed to give it a shot, and I applied for my first show. The Chastain Park Arts Festival, opening the first weekend of May.
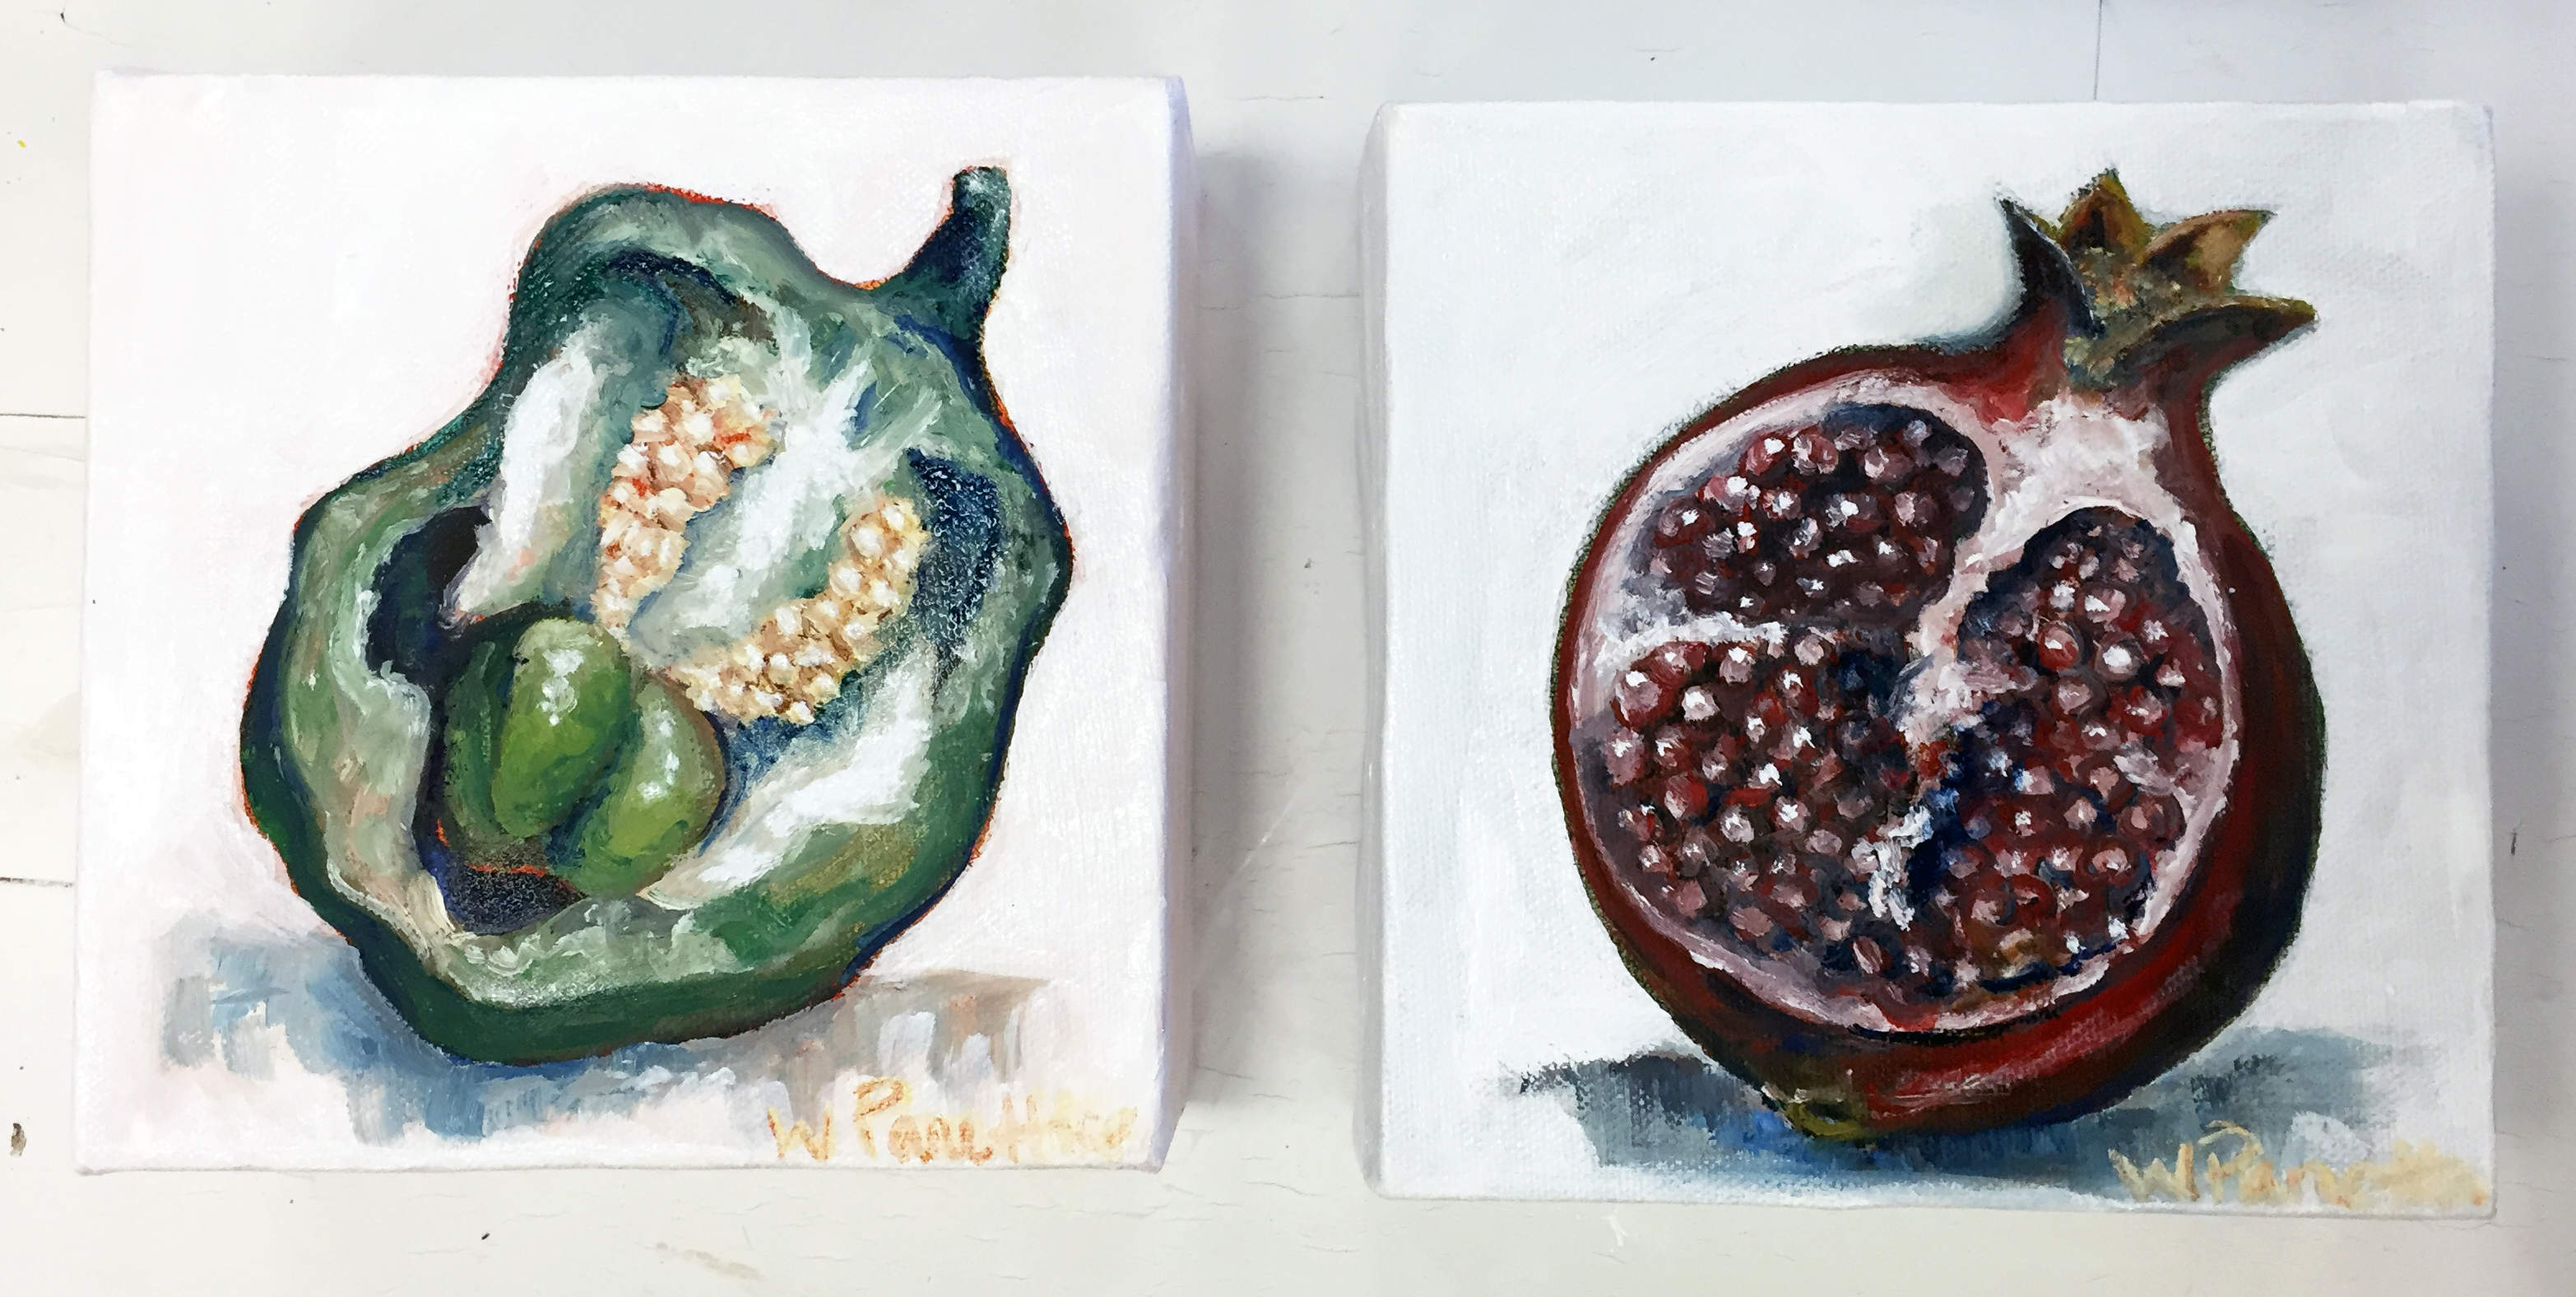
To ease my mind even more, I have begun mini oil paintings. These will hang in the sunlight when my encaustics have to be moved. I am ready to expand my art career, and this is the next logical step. I will not let a melting work of art get in my way.
Today I find out whether or not I have been accepted to the Chastain festival. Whether or not I make it, I have a long list of other festivals to apply to. Hopefully I will soon have an opportunity to take my craft fair booth set up out for the real deal. Stay tuned!
Thanks for taking the time to check out my blog! Help me spread the word about my artwork by sharing with others. Check out more visual journal blog posts here. Shop my education resources here. Don’t forget to follow me on Instagram and TikTok for weekly visual journal demos. Until next time!
One response to “Craft Fair Booth: Making My Set Up”
Leave a Reply
Related Posts


Great blog! What brand of tent do you have? It looks sturdy.