In addition to my mixed media paintings and visual journal, I love using clay. I fell in love with it in high school, and had amazing professors in college who only pushed my love for it further. While in high school I tried for a month to use the pottery wheel… and failed miserably. At the end of the month I had one very wonky bowl, and I wrote off throwing for life. Perhaps “for life” was a strong choice of words, because with great reluctance I tried again in college, and something clicked. I discovered my stride, and I haven’t looked back.
Through my many ceramic and throwing classes in college I fell in love with teapots. They are complex, yet fun to make. You can alter the look in so many ways, long spouts, short spouts, over the top, twisty, or side handles, tall, fat, squat bodies. Every one of these choices has a huge impact on the overall look and personality of a teapot. Above all, that’s my favorite thing, the personality of a teapot. Even the machine made teapots have personality.
I have made many different types of teapots, and along the way I fell into a project where I started making my frog teapots. It started with a request from one of my coworkers to make three teapots, with tree frogs somewhere on it, for gifts. I some what reluctantly agreed… frogs? I wasn’t sure where to start. I eventually went into constructing the pots with little thought about the frogs, and somewhere in the process it hit me, I would create tree branches wrapping around the pots, and incorporate the frogs into that. The tree branches better reflected me and my aesthetic, and the frogs would find a way to work into that.
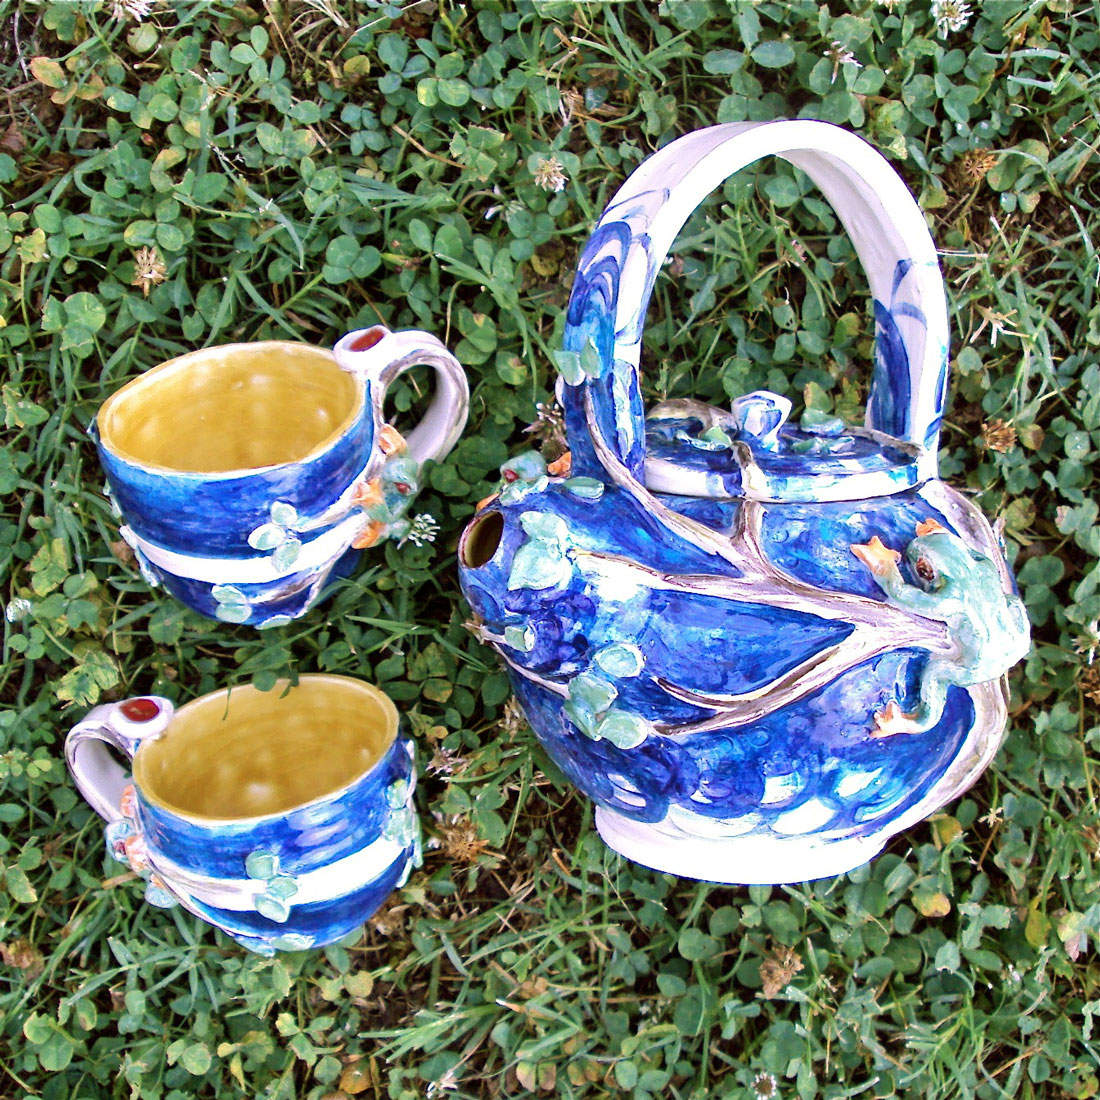
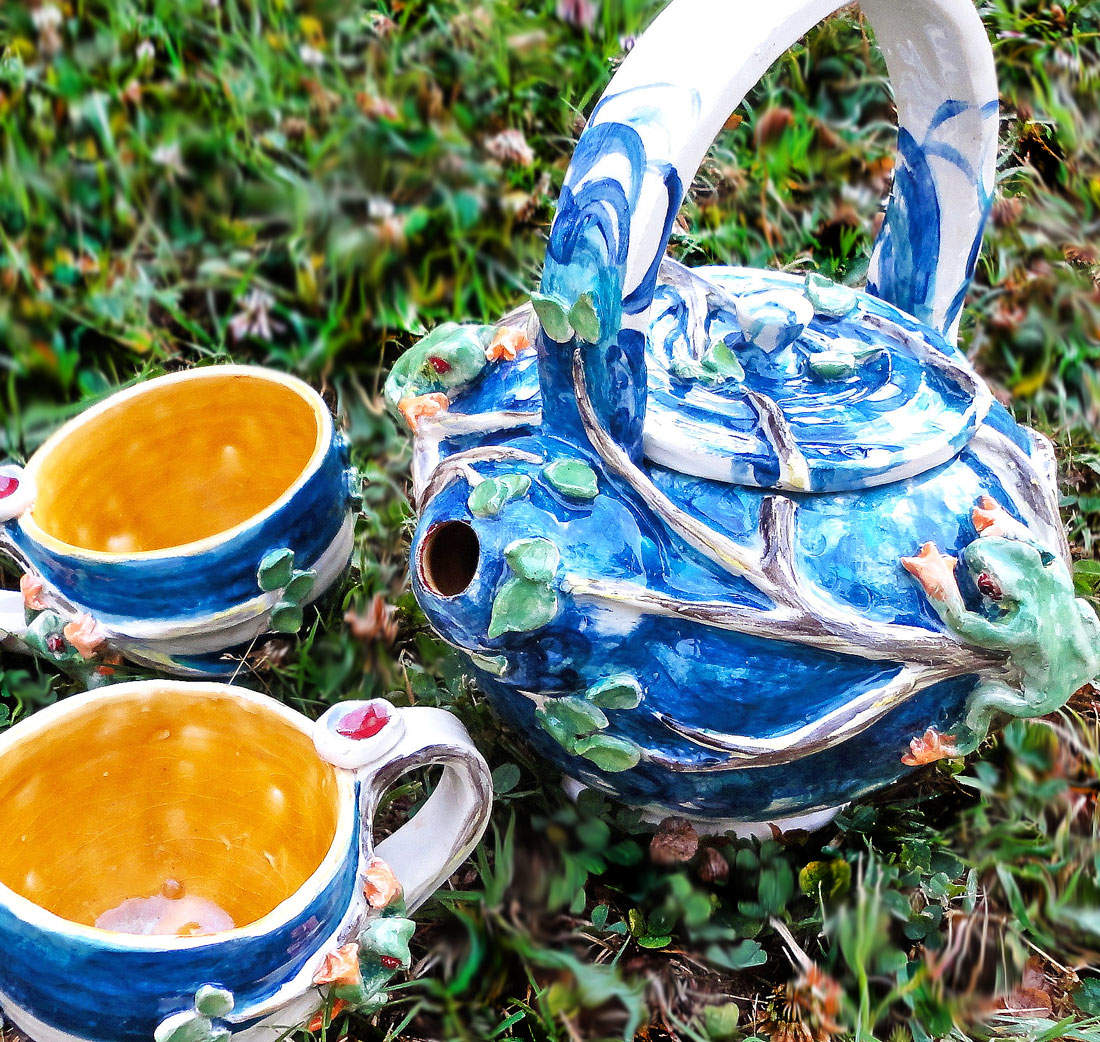
I ended up being very happy with the result, I loved the way the branches and leaves grew out of the body of the pot, and the frogs ended up adding a playful feel to it. I was very happy with the unglazed pot, I was hesitant to glaze it, especially since the commissioner wanted bright, vibrant colors; again, not quite fitting with my aesthetic… but I had to meet the expectations of my coworker. When it came time to glaze I sat down, trying to decide where to start, when again it hit me. I would add the bright vibrant color, but I would leave the white of the clay showing through. It would have a very painterly feel, loose, quick, yet together.
In the end I really fell in love with these teapots. I’m glad I did because I was asked to make two more. After five, I wrote off frog pots for life, but you should never say “for life” because it seems that isn’t possible… I was asked recently by one of my student’s parents to make one of my “frog teapots” as a graduation gift. I was touched, of course I had to do it, and I really enjoyed the process. Perhaps for life will never happen, and I’m just fine with that.

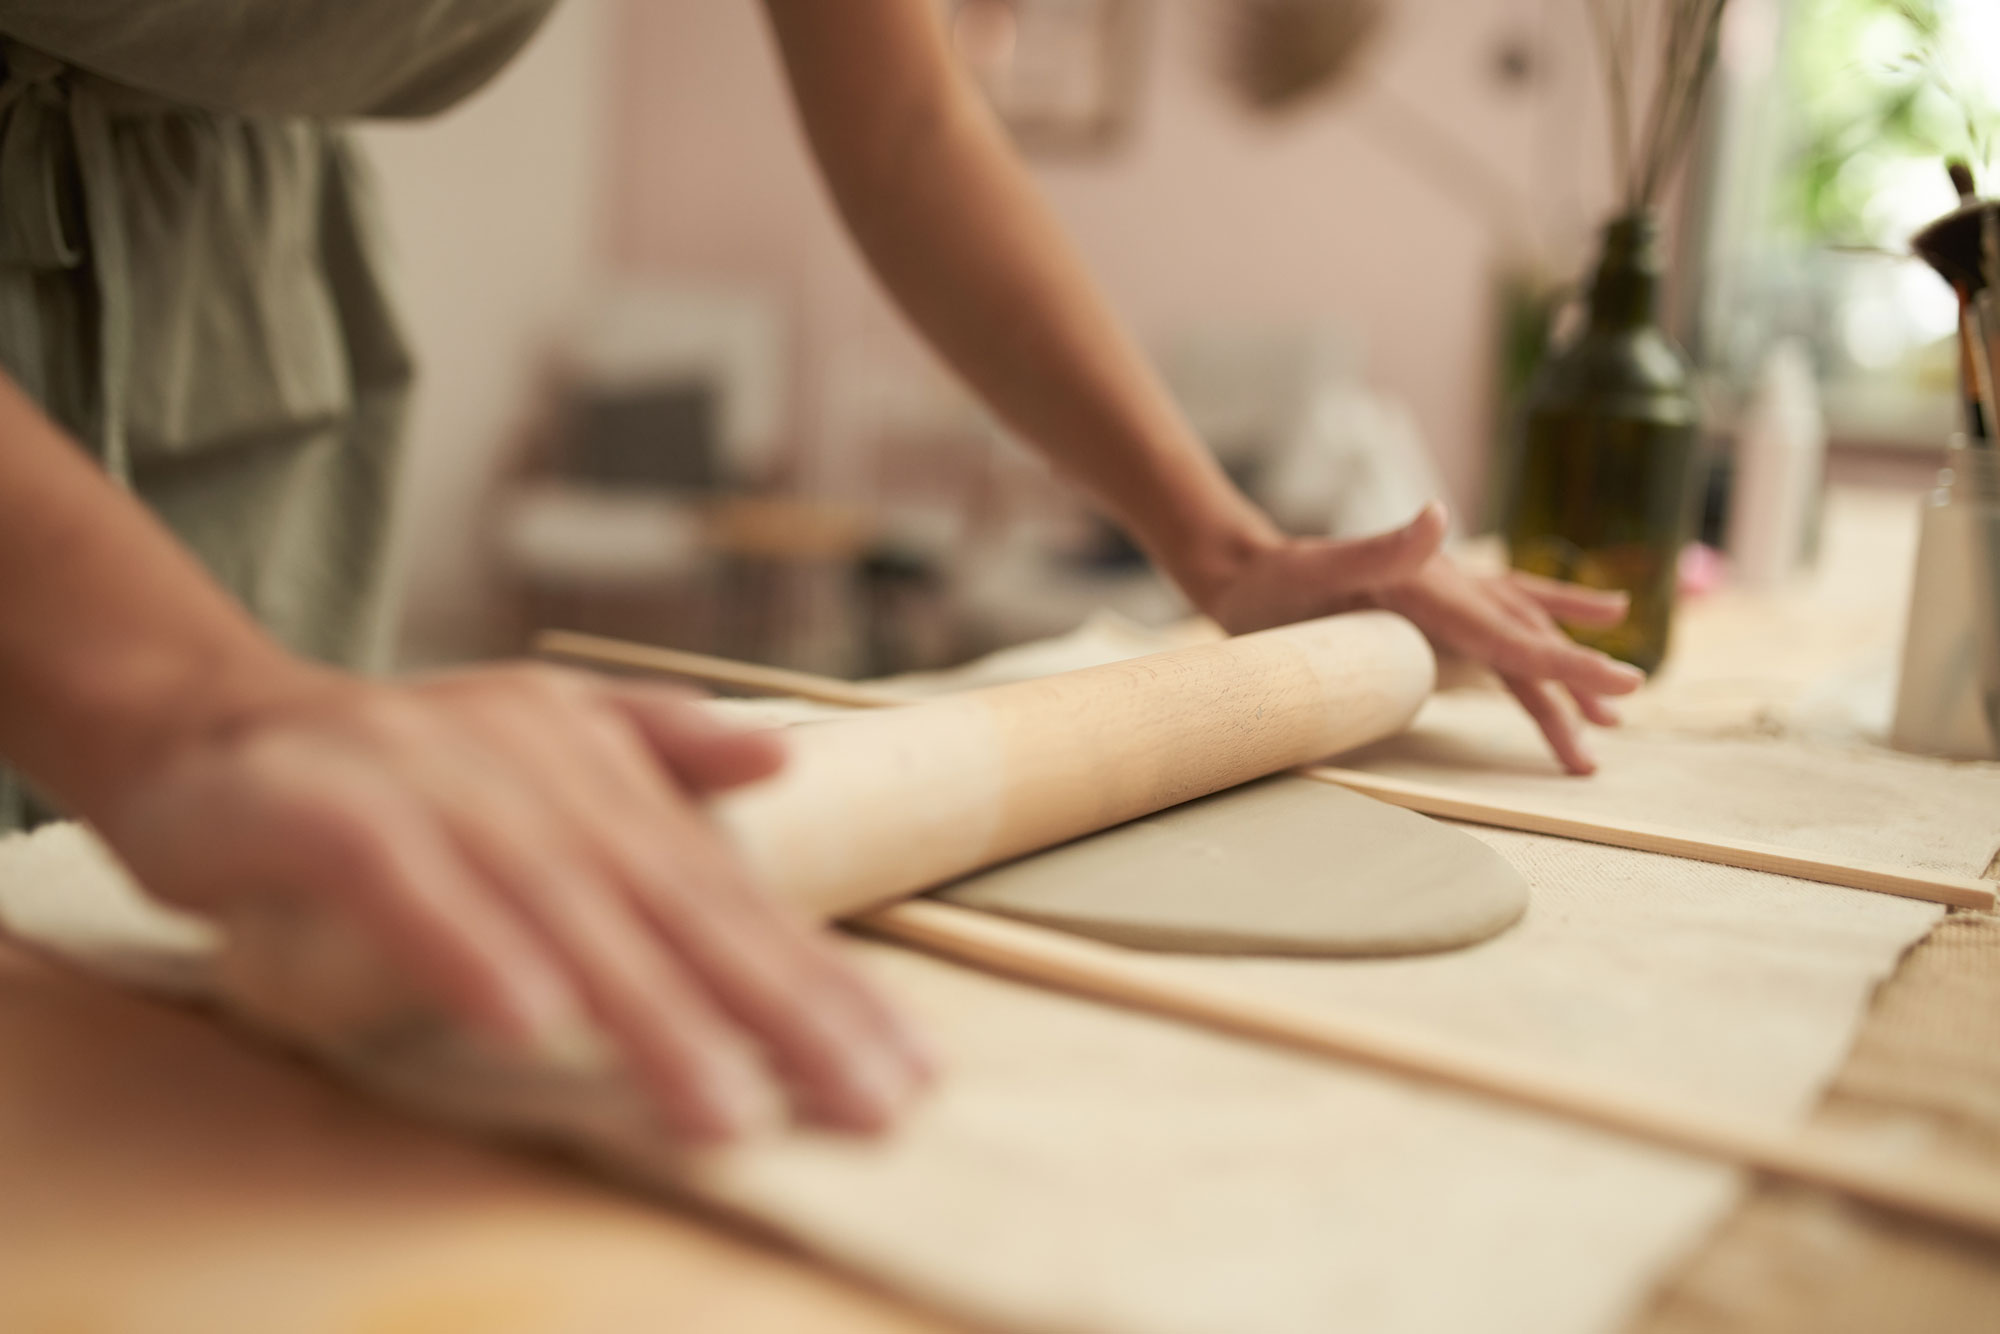
To create a teapot you start with the body. I threw mine on the wheel, and I tend to lean more toward the very round, squat, type pots. After I finish the body I “throw off the hump” to create the lid and spout. When you throw off the hump you start with a medium size piece of clay, center it, and make multiple things with it. I typically make a few spouts out of the top portion of the clay, and cut them off. I use the second half of the hump to make lids, cutting them off as I finish them. It’s best to make at least two spouts and two lids, because certain shapes suit different bodies, and sometimes it’s hard to tell until you put it all together. I leave everything out to slightly harden while I make the handle. I roll a large coil, and flatten it on both sides. Like the spout and lid, I always make at least two.
Once everything is dried just enough to be able to hold its shape on its own I begin attaching. I place the spout on the area I want it, and trace around it with a needle tool. I then cut a hole just inside the outline I traced. You always attach pieces of clay together by scoring, scratching the surfaces that will touch, and slipping, applying watered down clay to both surfaces. I then blend the pieces together, so you can’t tell where they attach. I do the same with the handle, if the handle has trouble holding the shape you want, put newspaper inside of it to support it until it dries. I then add the design details by building clay up on the body of the pot. I used coils to create the branches, small pinches of clay for the leaves, and sculpted the frogs. Everything was attached by scoring and slipping.
This teapot was fired to cone 06. I glazed it using underglaze and clear glaze on the outside, and Tawny low fire glaze on the inside.
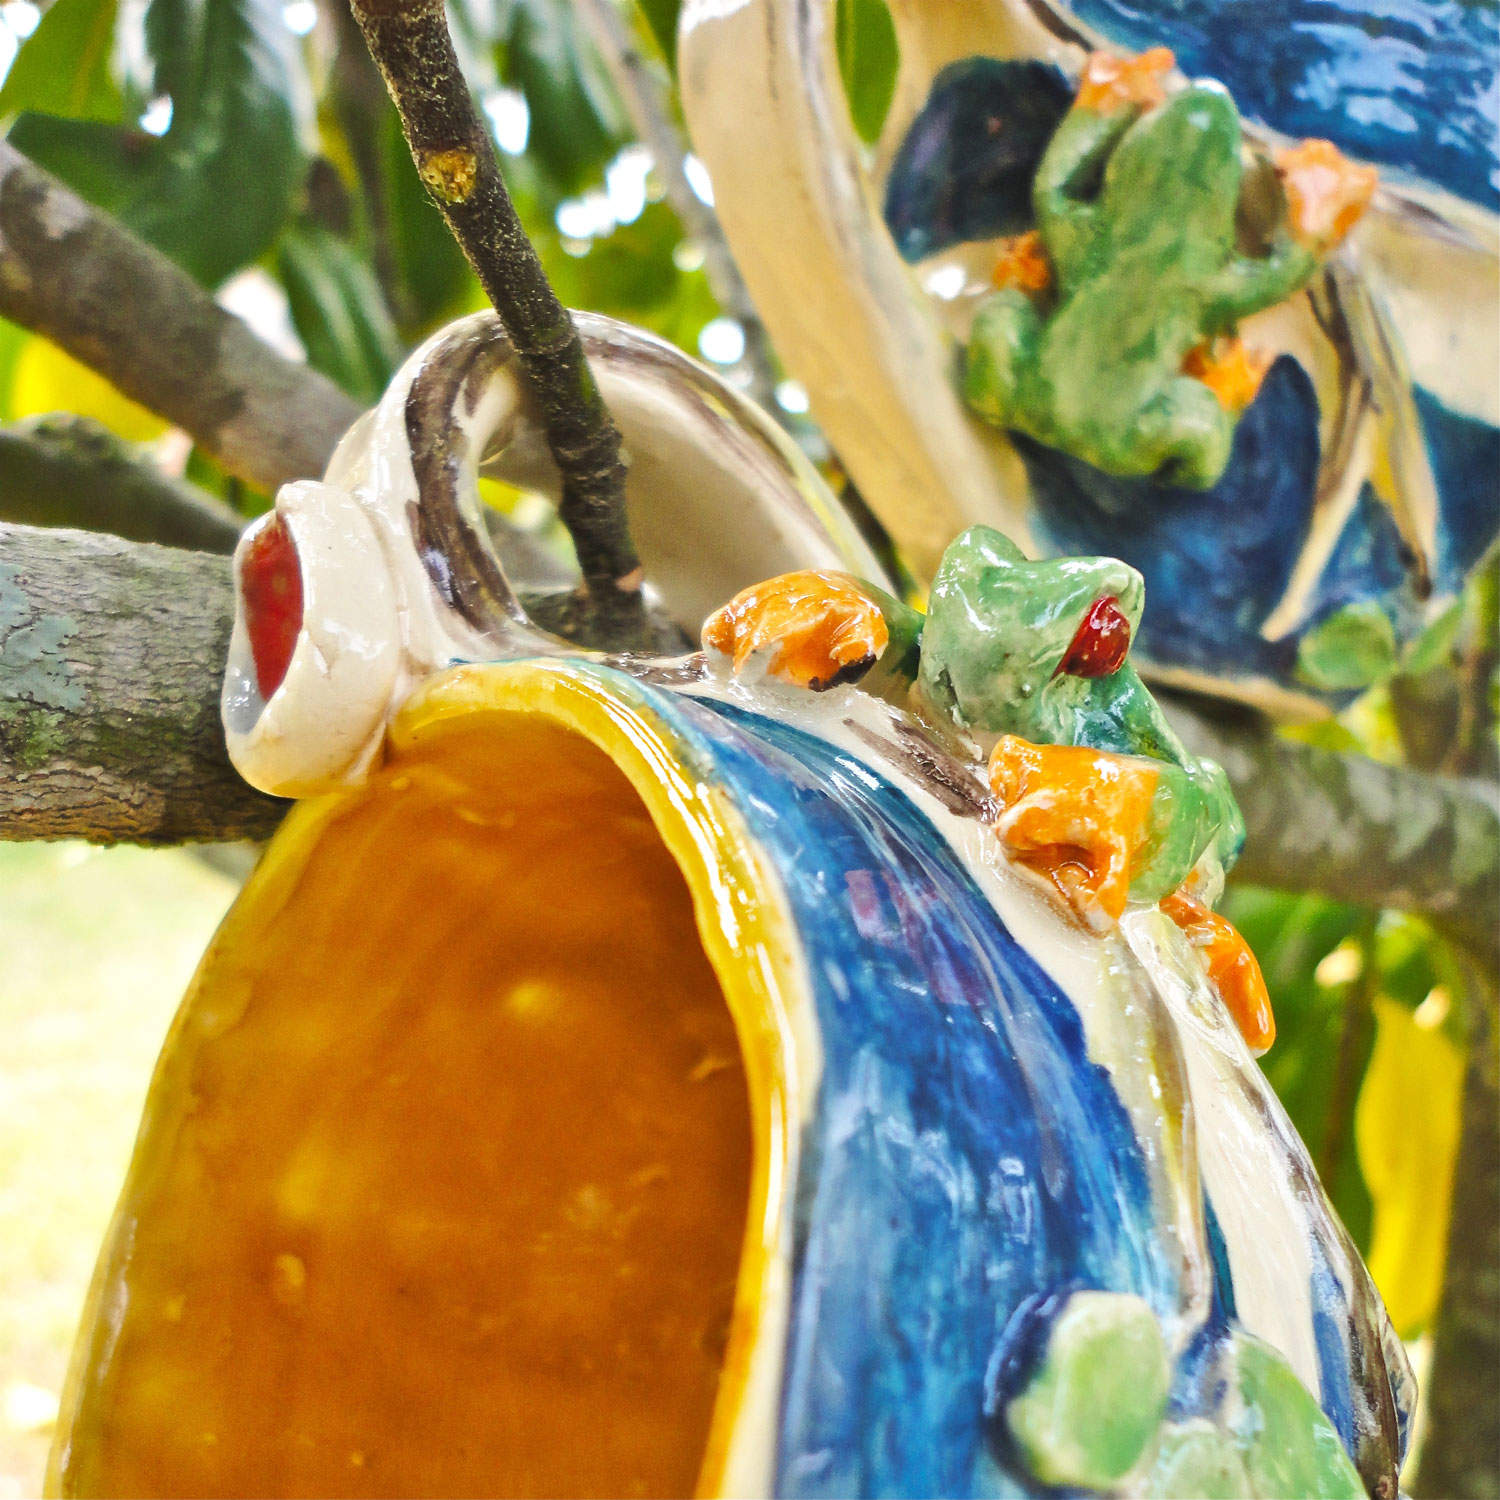
To mix things up this last time I decided to make matching teacups to go with the teapot, and I was very pleased with the result. I threw the body of mug on the wheel and made everything else by hand. To create the handle I start with a long coil, flatten it on both sides, then attach it to the mug by scoring slipping, and blending in the lines. I score and slip coils on the side for the branches, and create the leaves by pinching off small pieces of clay and making the ends come to a point. I sculpt the frog and score and slip him on last. I used the same glaze on the teapot and teacups to make sure they match.
If you enjoy this post, or my blog in general, help me spread the word! Subscribe, share, like, digg, tweet, and please comment!
[subscribe2]
Related Posts


Leave a Reply