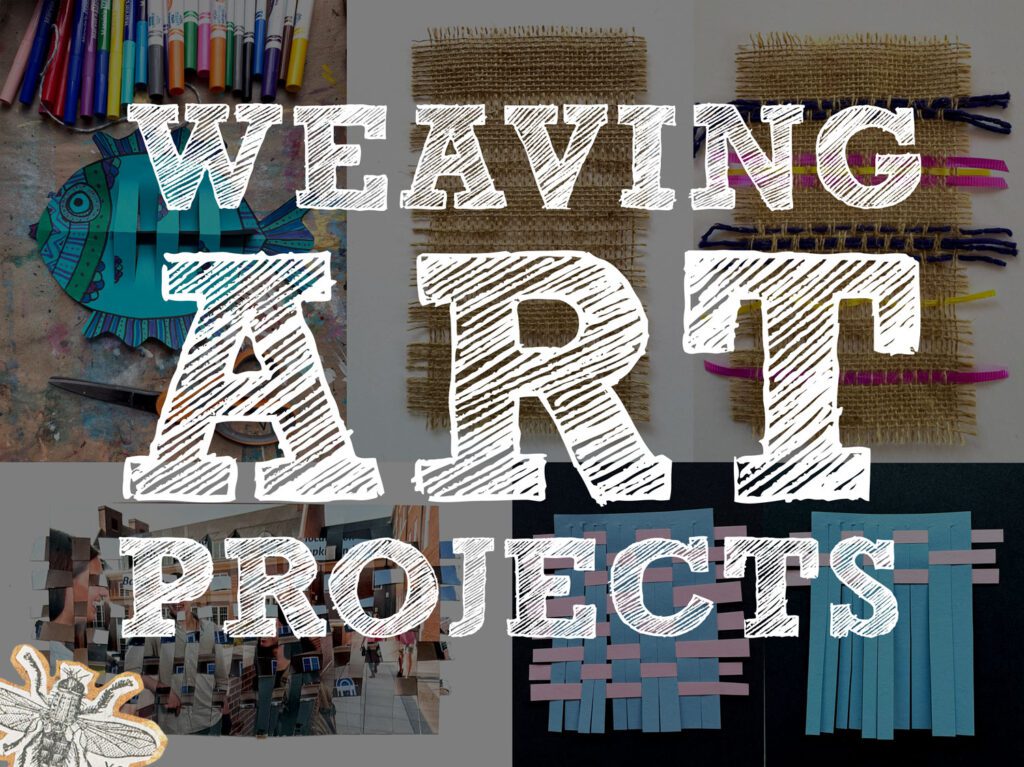
It’s important in any art program to introduce students to a wide range of art techniques and materials. Bring fiber arts into your art class with weaving projects. Check out how I introduce and scaffold weaving techniques through 4 weaving projects and 1 weaving activity.
Below are five of my favorite weaving projects, each one tested in my amazing retired art teacher mom’s classroom, complete with step-by-step instructions and supply lists to make planning easier.
Hit the easy button and get everything you need to teach all 5 of these weaving projects from my TPT shop or website shop.
1. Fish Weaving Project
1st Grade and Older
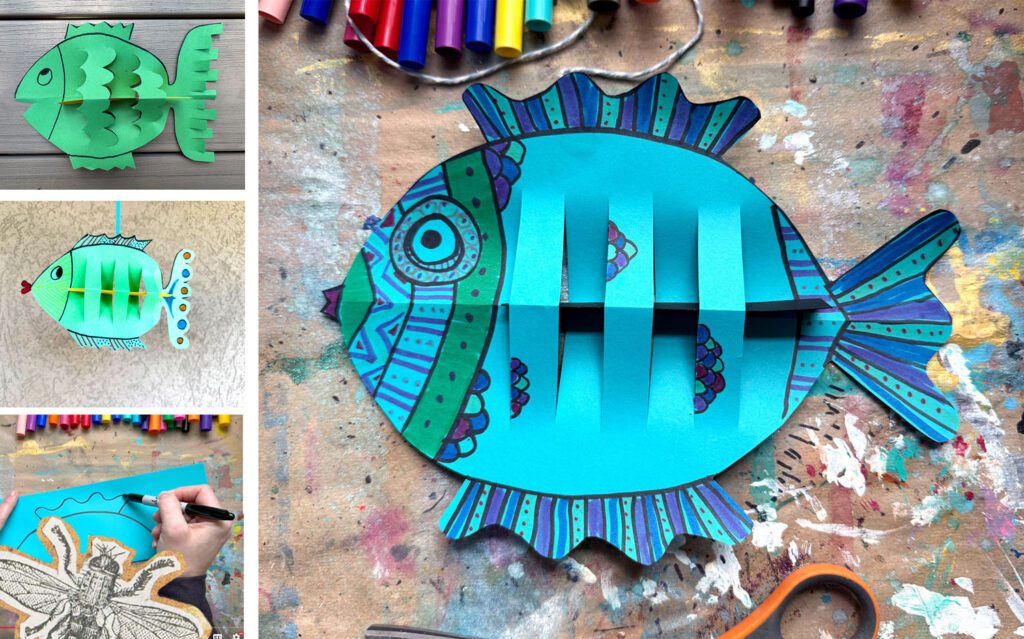
This simple weaving project is a playful way to introduce the concept of warp and weft using colorful paper strips. Students create a fish shape and use the over-under technique to make it look three-dimensional with woven paper.
Supplies:
- Construction paper (for fish body and weaving strips)
- Scissors
- Glue stick
- Pencil
- Markers or crayons (optional for decorating)
- Hole punch and yarn (optional for hanging)
Step-by-Step Instructions:
- Fold a sheet of construction paper in half horizontally.
- Draw a fish shape on the folded paper, with the fold at the fish’s mouth.
- Cut out the fish shape, keeping the fold intact.
- Draw lines from top to bottom (about 1 inch apart) across the body of the fish, starting after the head of the fish. These lines should stop about ½ inch from the edge.
- Cut along those lines to create slits—these will be your warp.
- Cut 1-inch wide strips of contrasting colored paper to use as the weft.
- Open your fish to reveal your design!
- Weave the strips through the slits, alternating over and under. Flip the pattern on each new row.
- Add eyes, fins, or scales using markers or extra paper for decoration.
- Punch a hole near the top fin and add a string for hanging (optional).
Get the lesson pack to teach this fish weaving project here. Check out a quick overview on my Instagram here.
2. Reverse Burlap Weaving Project
2nd Grade and Older
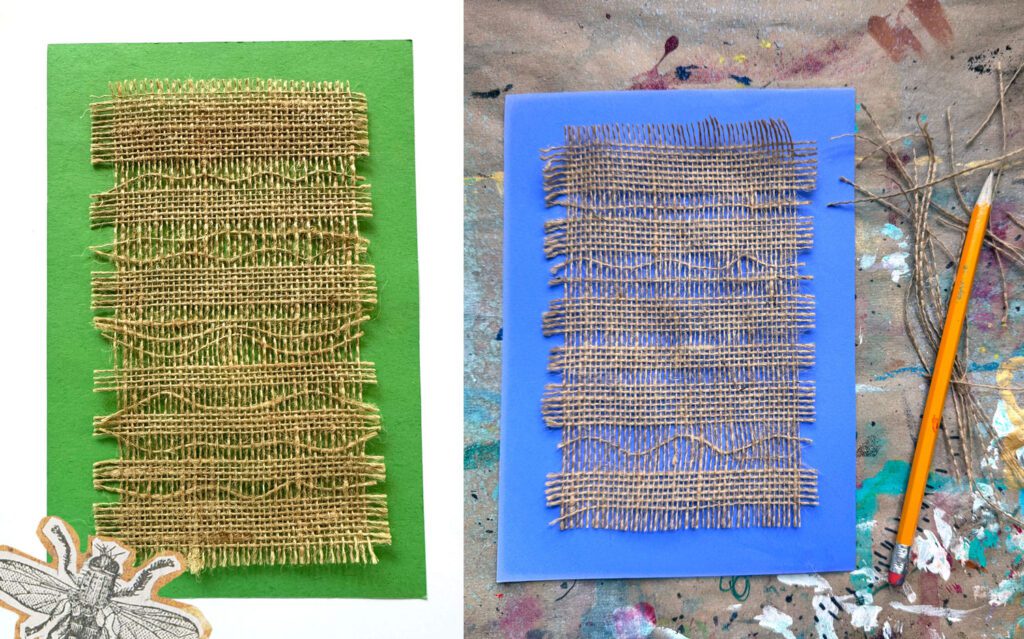
This weaving project flips the traditional process by having students remove threads from a piece of burlap instead of adding them. It’s a great way to introduce warp and weft without using needles or additional materials.
Supplies:
- Burlap fabric (cut into rectangles, approx. 5″x7″ or 6″x9″)
- Pencils
- Scissors
- Construction paper for mounting
- Glue or tape
Step-by-Step Instructions:
- Cut the burlap into rectangles.
- Demonstrate how to pull a single thread from the burlap using fingers or tweezers.
- Ask students to create patterns by removing horizontal threads. For older students they can remove a few vertical threads to create a more complex design, but be careful not to remove too many or their weaving may fall apart.
- Once their design is complete, mount it onto a piece of construction paper using glue or tape.
- Label and display!
Get the lesson pack to teach this reverse weaving project here. Check out a quick overview on my Instagram here.
3. Ribbon and Yarn Weaving on Burlap
3rd Grade and Older

This project builds on the reverse burlap project. Students take the burlap fabric, remove threads similar to the above project, and then weave materials into the open spaces they created practicing actual weaving techniques.
Supplies:
- Burlap fabric (cut into rectangles, approx. 5″x7″ or 6″x9″)
- Yarn, ribbon, thread, or fabric strips
- Plastic or blunt-tipped needles
- Masking tape
- Scissors
- Construction paper for mounting
- Glue or tape
Step-by-Step Instructions:
- Have students complete remove weft threads from their burlap to create spaces to weave material back into the burlap.
- Set out a variety of yarn, ribbon, jute, and fabric strips in different colors and textures.
- Thread a blunt plastic needle with a piece of yarn or ribbon.
- Demonstrate plain weave technique (over-under) by going through the spaces in the burlap.
- Encourage students to vary patterns (try double over/under, or other repeating patterns).
- Continue weaving until they’re happy with their design.
- Mount the burlap onto a background paper with glue or tape for a finished look.
Get the lesson pack to teach this burlap weaving project here. Check out a quick overview on my Instagram here.
4. Magazine Weaving Project
4th Grade Through High School
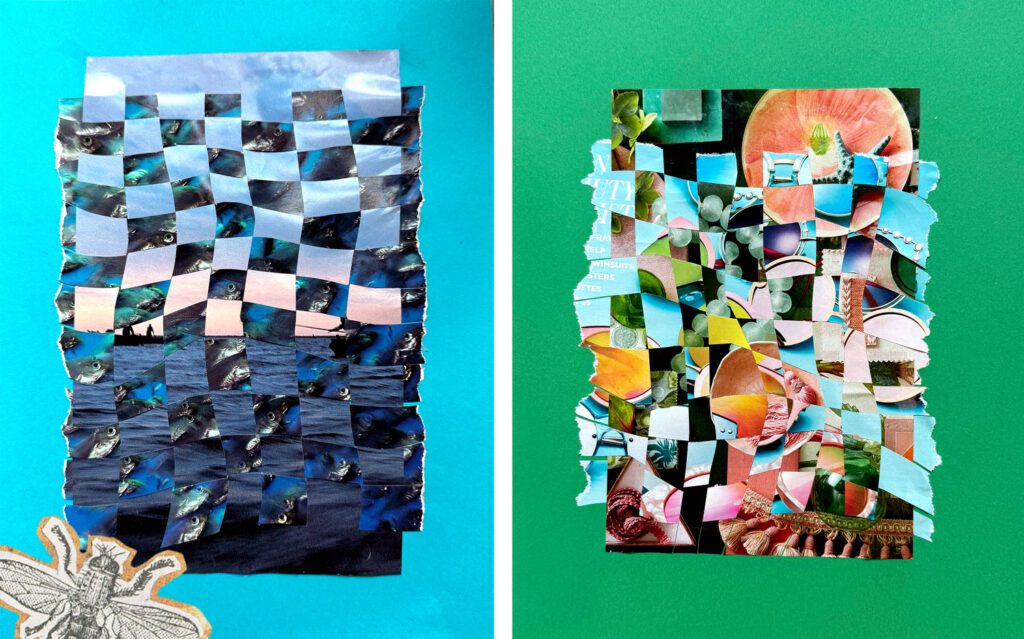
This weaving project introduces abstract composition, pattern, and visual contrast by weaving together two magazine images. It’s a fun project for upper elementary art students all the way to high school art students.
Supplies:
- Two pages from magazines (same size)
- Ruler
- Pencil
- Scissors
- Glue stick
- Construction paper for mounting
Step-by-Step Instructions:
- Have students choose two magazine pages with bold colors or interesting textures.
- Trim both pages to the same size (suggested: 6″x9″), the warp image should be slightly taller and narrower, the weft image should be slightly wider and shorter.
- Choose one image to be the “warp.”
- Cut lines vertically into the image; don’t cut all the way through the image!
- Cut curving lines for a more interesting weaving design.
- Cut the second image into strips about 1 inch wide—these will be the weft.
- Before you cut the image mark the bottom of the image to help keep track as you cut.
- Cut one strip, weave it into the warp before cutting another strip.
- Weave the strips into the slits using over-under patterns.
- Weaving cut strips from the weft image until the images are fully woven into each other.
- Experiment with different weaving techniques:
- Straight or curving slits
- Trying other weaving patterns.
- Glue the finished weaving to construction paper to frame the piece.
Get the lesson pack to teach this weaving project here. Check out a quick overview on my Instagram here.
5. Construction Paper Weaving
Fun for 3rd Grade Through High School
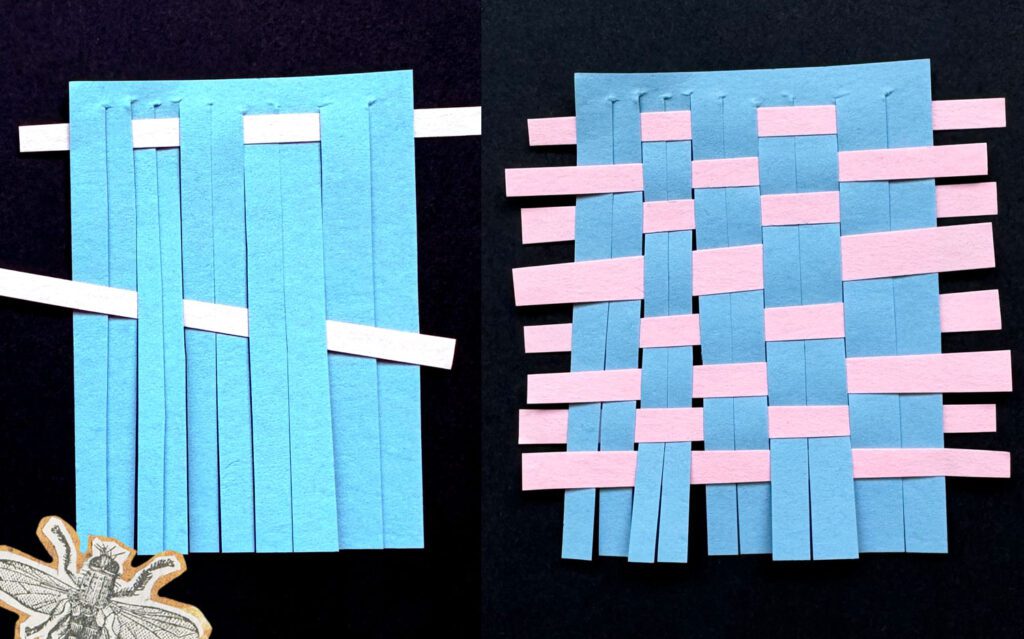
This simplified weaving project is perfect as an early finisher task or introductory warm-up. Students practice classic weaving with construction paper using 2 different colors.
Supplies:
- Threecolors of construction paper, 2 to weave, 1 to mount the weaving to
- Ruler
- Pencil
- Scissors
- Glue stick
Step-by-Step Instructions:
- Choose one sheet of construction paper as the base (the warp).
- Cut one paper into vertical strips, don’t cut all the way through the paper, leave a space about 1/2″ from the top.
- Cut a second piece of paper into strips, cut all the way through the paper.
- Weave the weft strips into the warp using the over-under method or other weaving patterns
- Glue down the ends and trim any extra.
- Encourage students to experiment with their patterns.
Check out the lesson pack for this fast finisher or quick weaving activity here.
Final Thoughts
Weaving doesn’t have to be intimidating. By using accessible materials like construction paper, ribbon, burlap, and magazines, you can make every weaving project feel attainable and exciting for your students.
You can get all the resources you need to teach these 5 projects (minus the supplies) from my TPT shop or website shop. Don’t forget to follow me on Instagram and TikTok for weekly visual journal demos and other project ideas. Subscribe here to get freebies, project tutorials, and more straight to your inbox. Until next time!

Related Posts


Leave a Reply