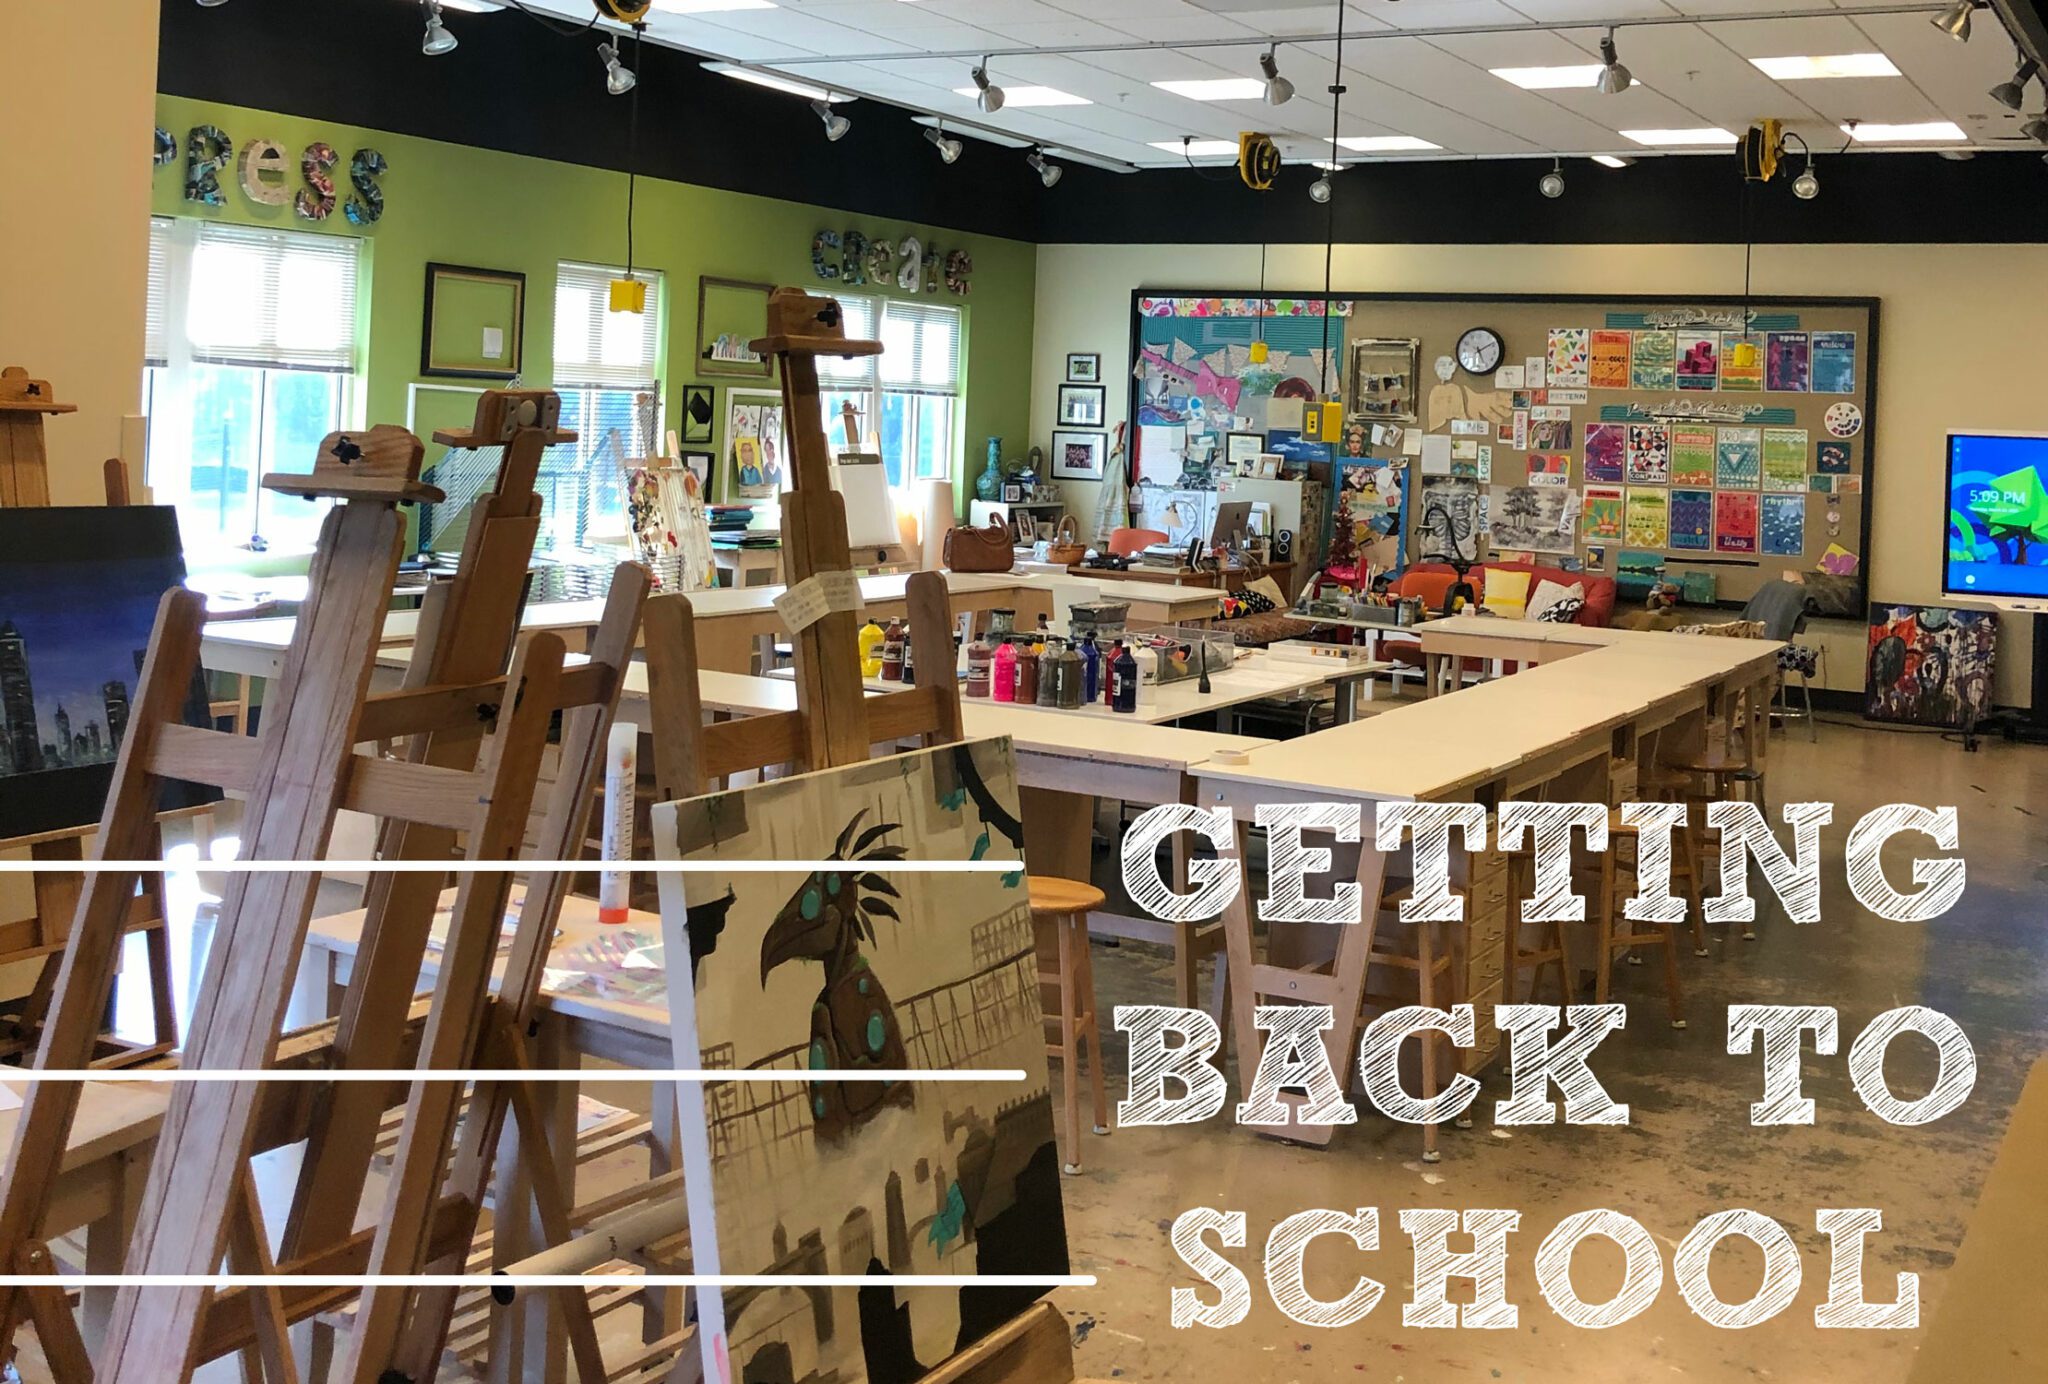
Never has back to school arrived so quickly. Thanks to the pandemic, after a summer that essentially lasted from April to August last year, May to August just doesn’t feel long enough. Even though it doesn’t seem fair, back to school is on the horizon, it’s time to gear up and get back to it (you can do it!). After twelve years of teaching, I wanted to share a few of my art teacher tips that make my back to school run a little more smooth.
1. SYLLABUS & GET TO KNOW YOU
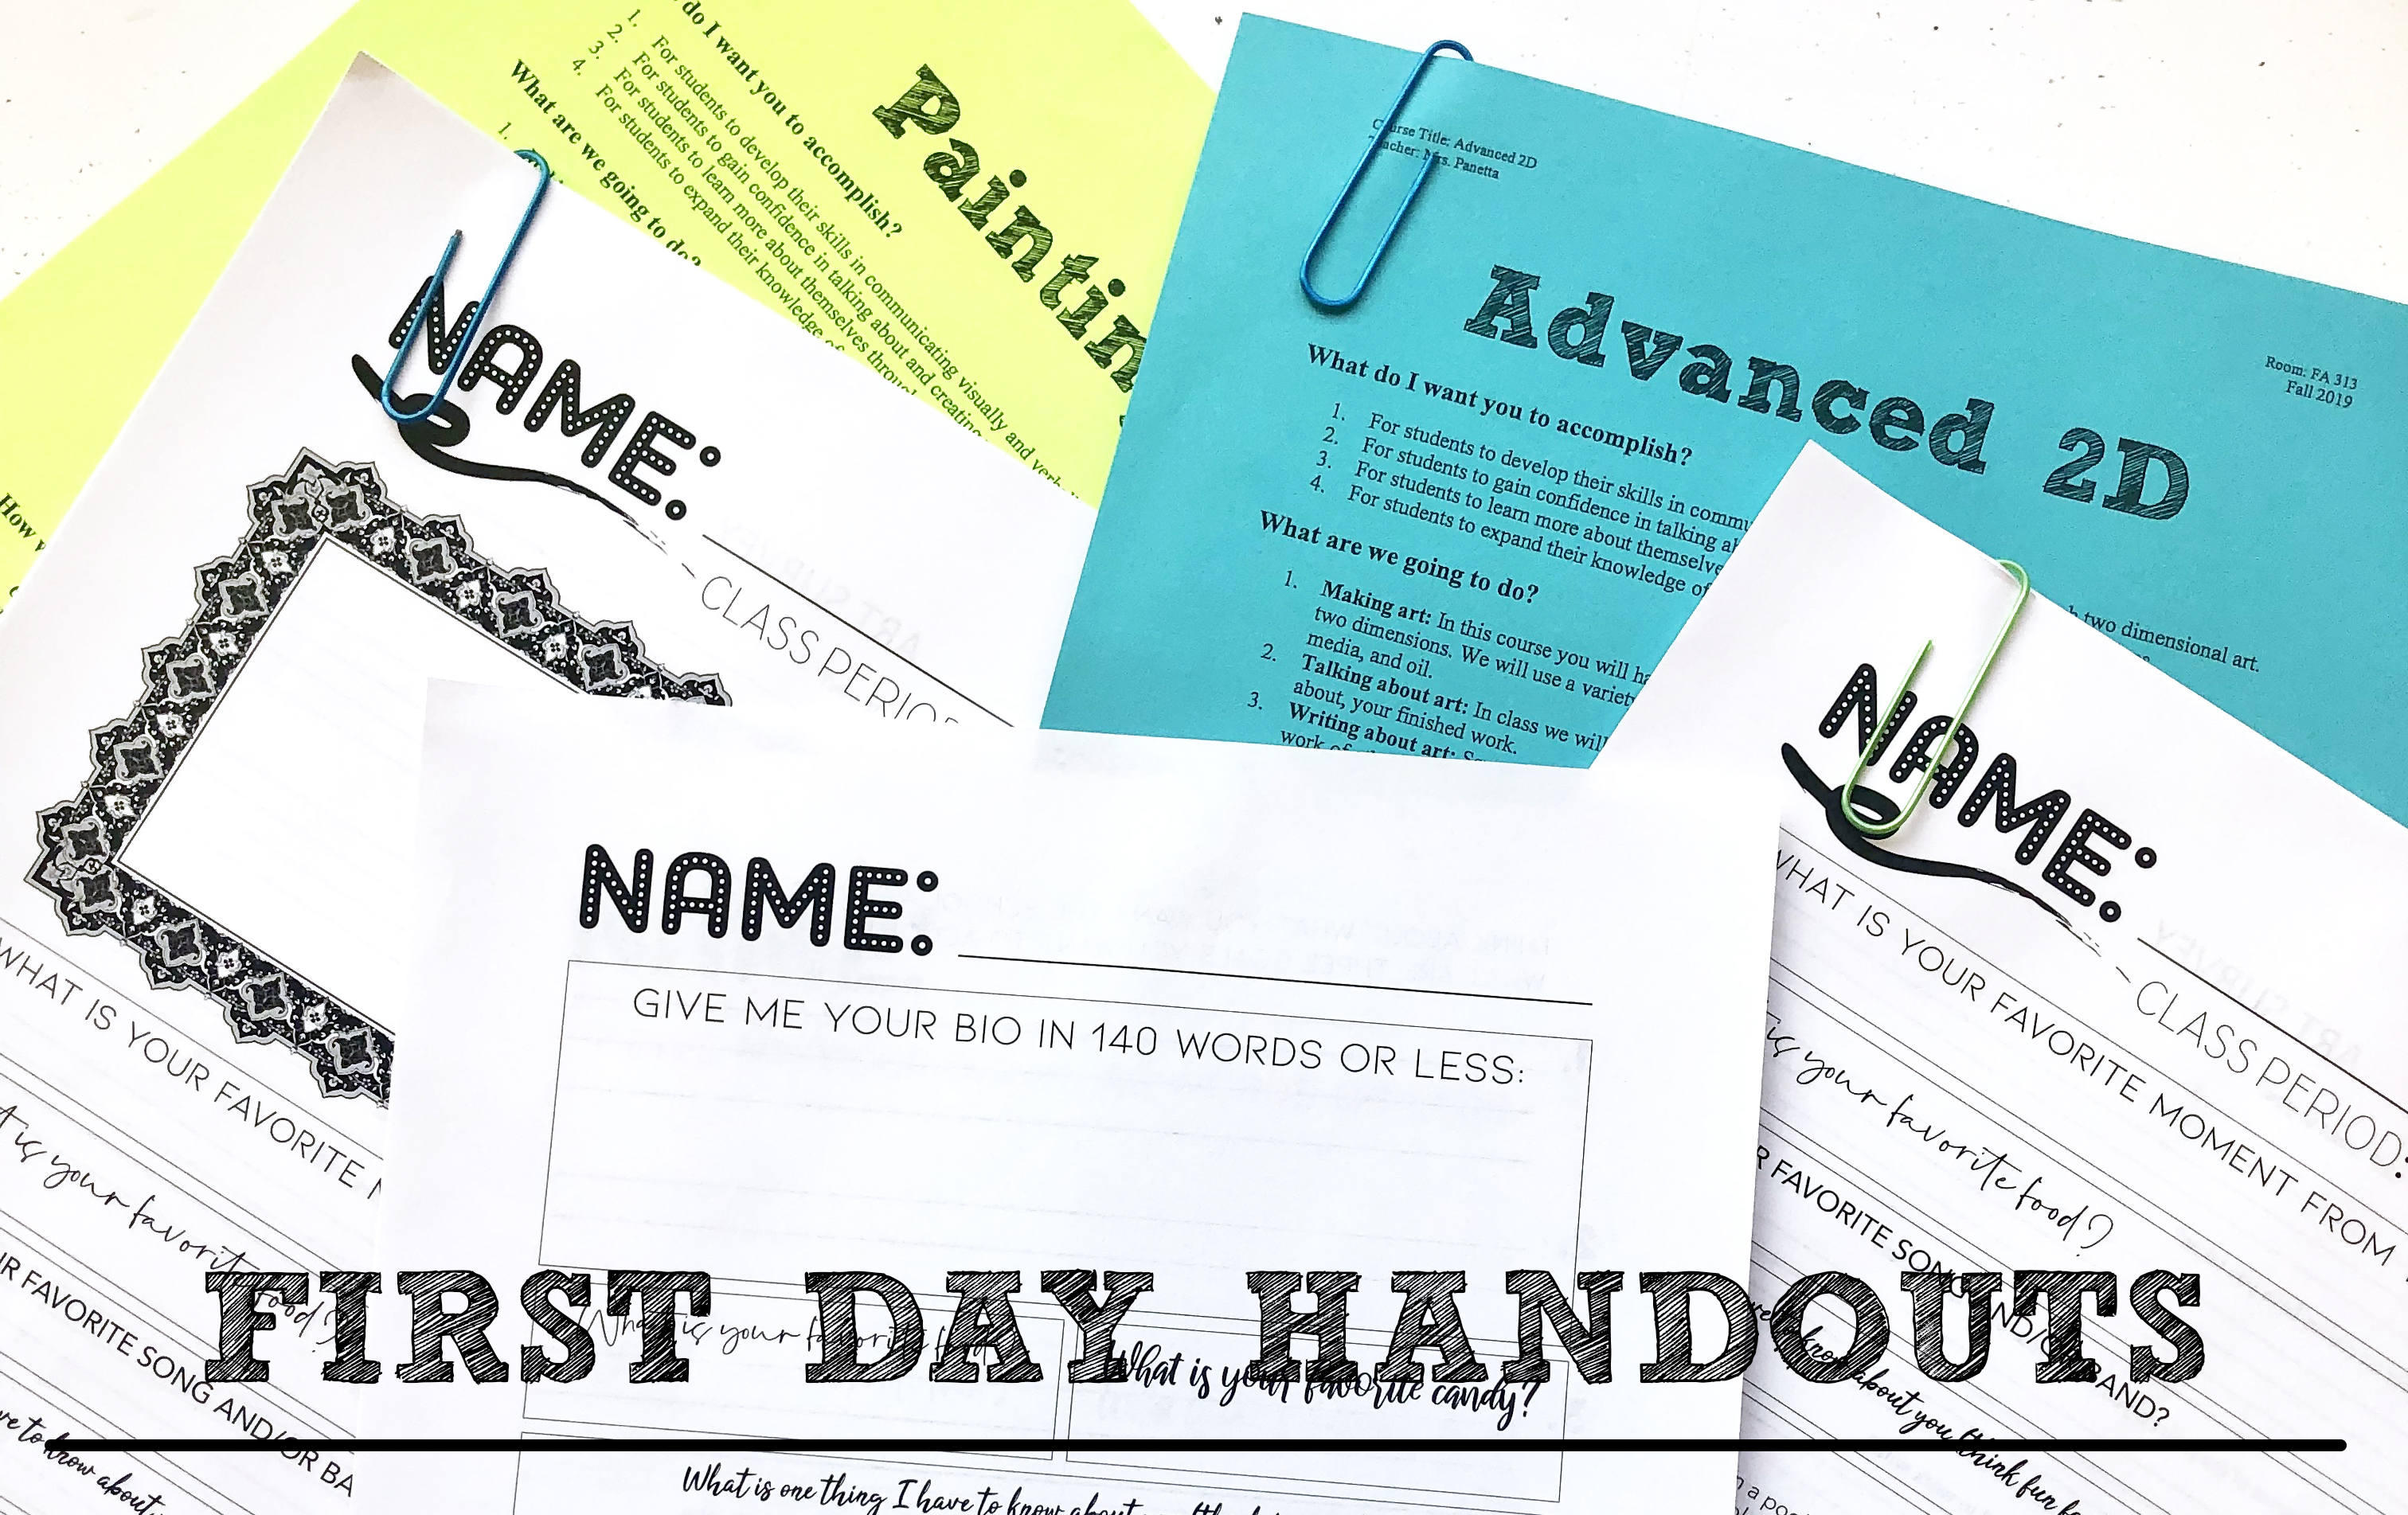
The most important thing to get ready are your first day of school handouts. I like to get to these early, to put my mind at ease. I only pass out two sheets, my syllabus, and a get to know you sheet. At previous schools, I would also pass out a behavior contract, which is a good addition for schools that may have more disciplinary issues. As an art teacher, I have to remind students how to appropriately use supplies and the potential danger for certain supplies (think Xacto knives). For each class, I select a different color paper to make copies of my syllabus. This helps me to easily keep them organized when they are returned and the bright colors make them easier for students to keep track of. Plus, what art teacher syllabus is complete without fun colors?
I also love passing out a get to know you sheet in every class. I have enough versions to give a different one to each group, so by the time my intro to art students hit advanced level art, they aren’t filling out the same sheet 5 times. This is a great way to use time on the first day and it helps me get to know my students. One of my favorite questions is what their favorite band or song title is. I add all school appropriate music to a school playlist on my Spotify account. I add to this every year and love hearing students say “OMG this is my favorite song!” during class. You can check out my first-day documents here and get to know you sheets here.
2. SETTING UP YOUR SPACE
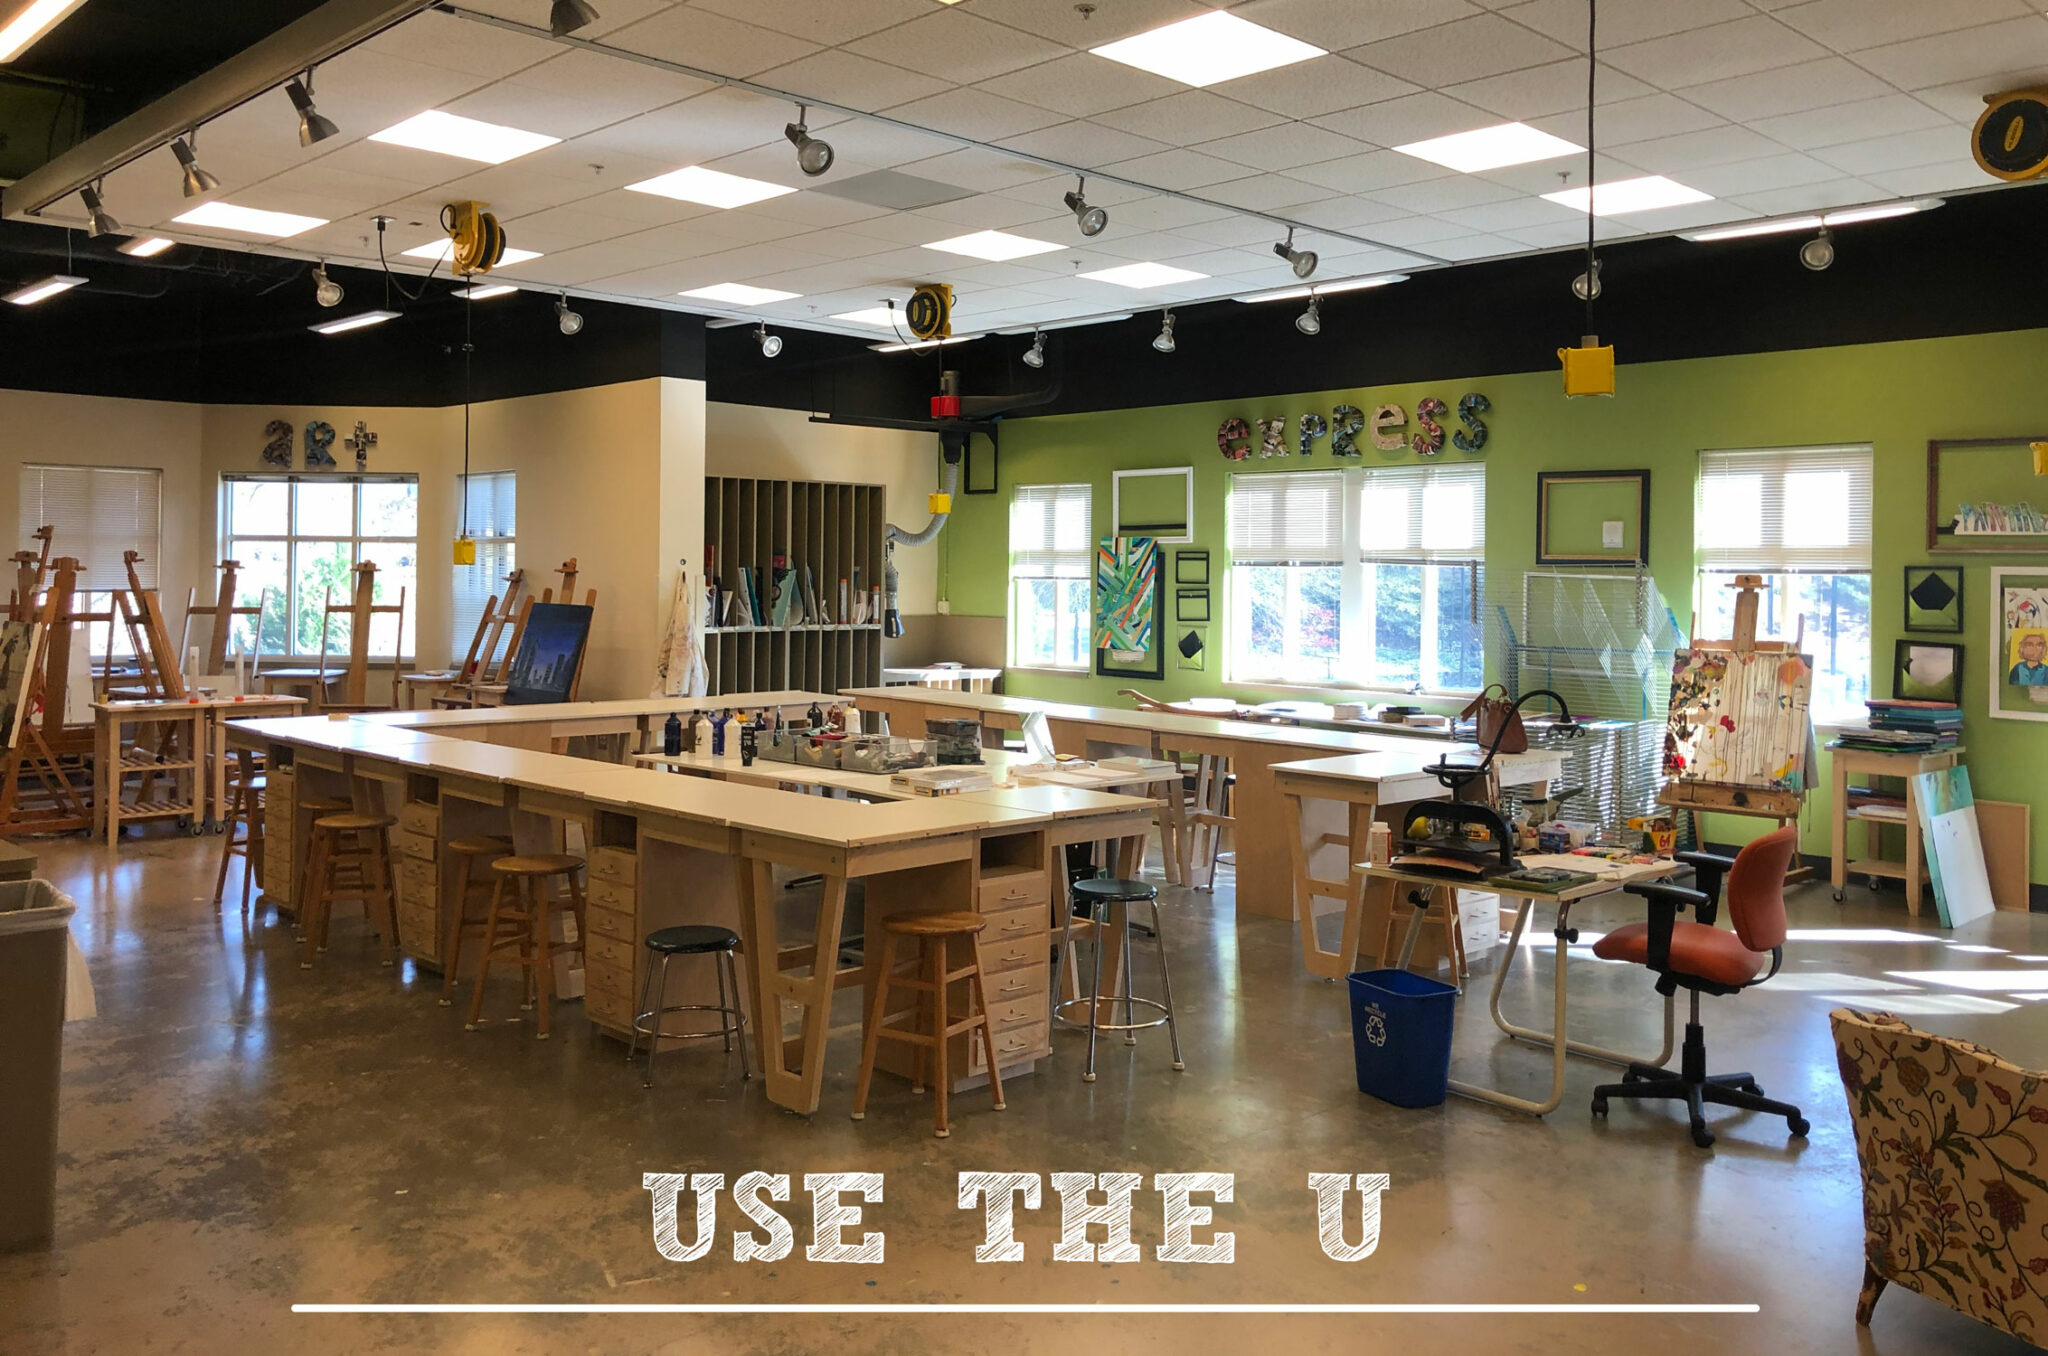
Once you have the pertinent first day of school documents ready to go, get working on your classroom. For teaching art, I have tested a wide range of table setups. Hands down my favorite is the U or a slightly open O shape. Essentially, tables are set up to have an opening that faces the front of the room, with students sitting on the outside of the tables. This is an amazing setup for two big reasons:
- Students are less distracted by people sitting across from them and can easily look up from their work to see a quick demo or hear an announcement. Also, limiting neighbors to one on each side helps students stay on task.
- You can utilize the inside of the U to help students one on one. I am not tripping on backpacks or leaning over students to answer questions as I move from students to student on the inside loop.
Class sizes don’t always allow for students to only sit on the outside. In this case, I will have a few on the inside, but I always fill up seats on the outside first. The only con I have found with this setup is students having to walk around the tables to access the central supply table. I often build in small gaps in the U for them to cut through to grab supplies.
3. EASY SUPPLY ACCESS
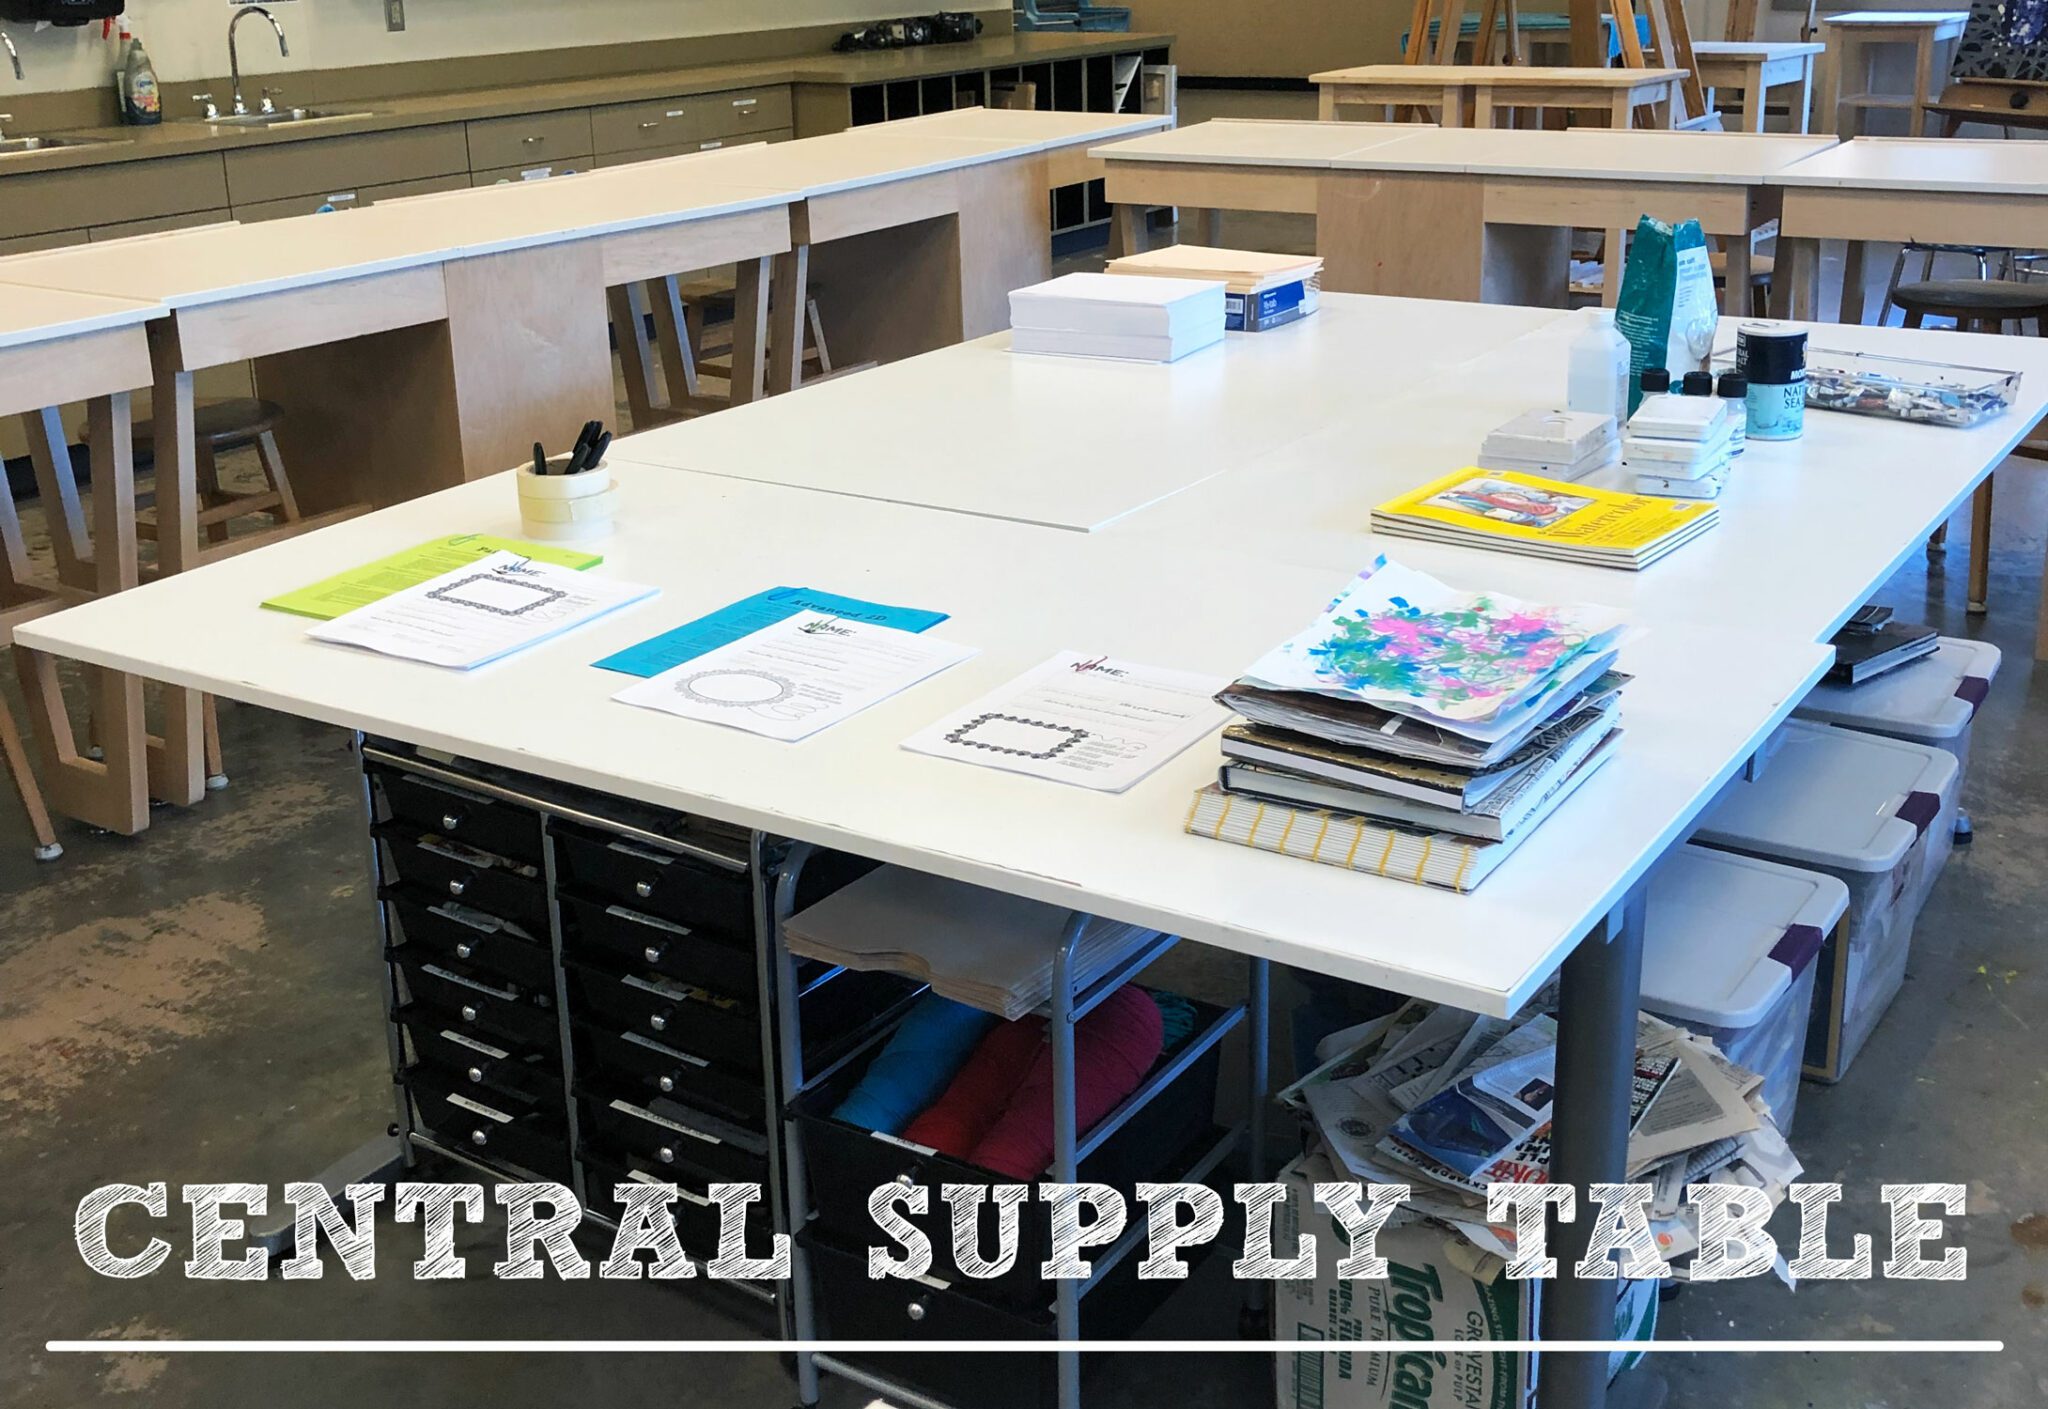
As an art teacher, I am a big fan of students familiarizing themselves with supply locations in the art room so they can get out what they need on their own. Independent art students, especially in middle and high school, is very helpful. However, I also love my central supply table. This is positioned in the middle of my U setup. I have big flat tables where I put supplies every class is using for their current project. I try to keep the supply location consistent with the class, so supplies aren’t mixed between classes.
In all my classes we do visual journal Fridays. It’s essentially a free art day where students can work in their visual journal, a used hardback book they create artwork in, or they catch up on the current project. I keep a lot of my general art supplies, such as magazines, markers, newspapers, and similar that my students use in their visual journals in bins and drawers under my supply table. This gives them easy access to central supplies 5 days a week.
With this system set up, students generally know where to find supplies for their work early on in the year. It’s also easy for me to tidy up between classes with the project supplies centrally located.
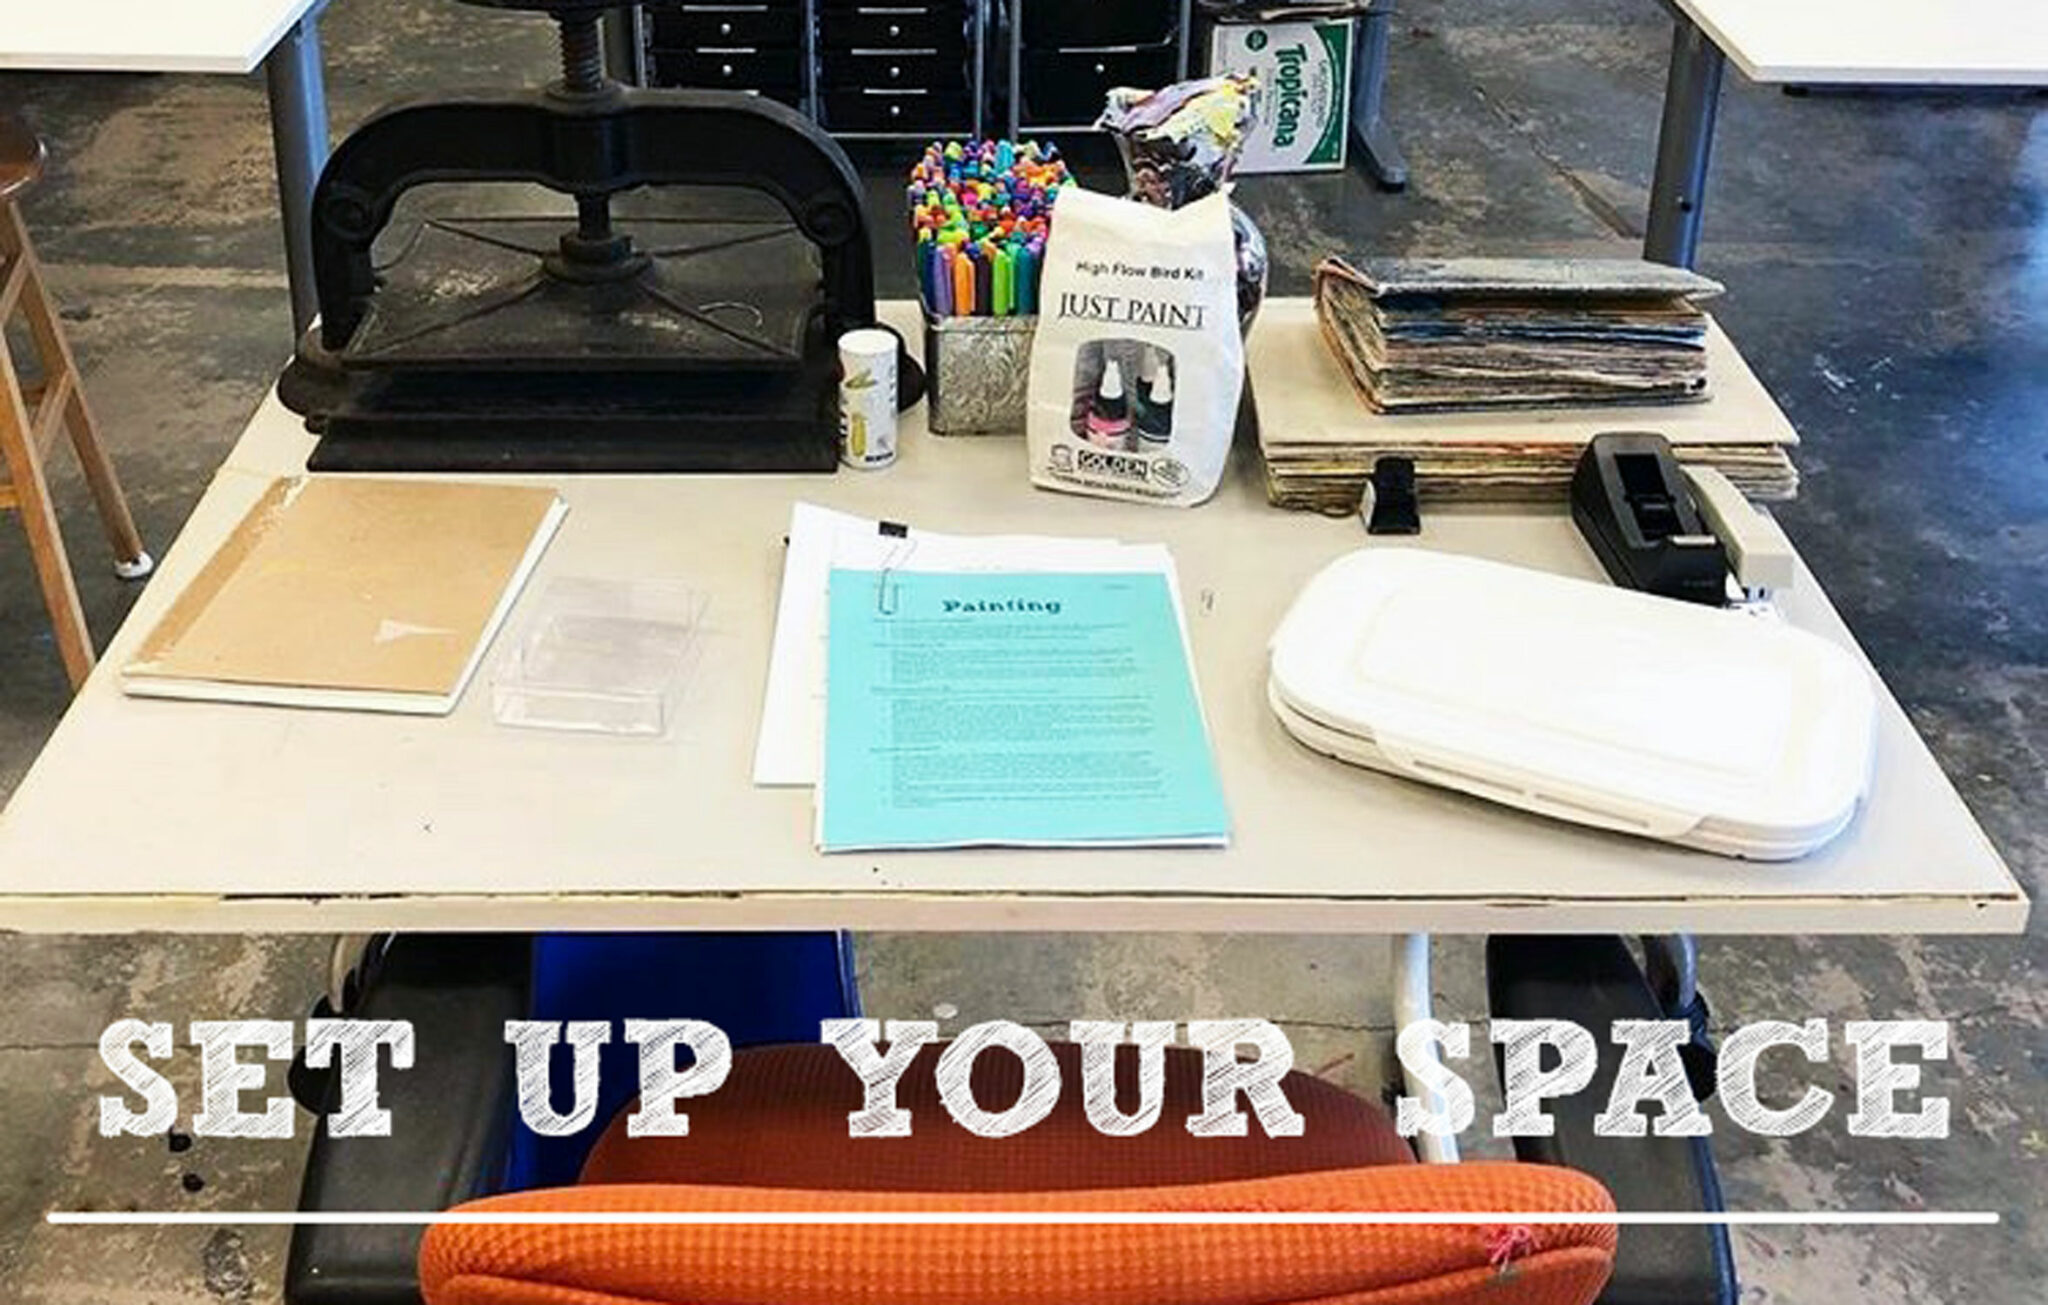
4. THE ART TEACHER TABLE
As an art teacher, I have realized that I need a desk and a demo table. Your desk is where paperwork and projects to be graded pile up. It’s where your computer and the random bowls of paperclips, rubber bands, and tacks live. I can tell you from experience, this space is not conducive to creativity. You need a dedicated demo space in your room.
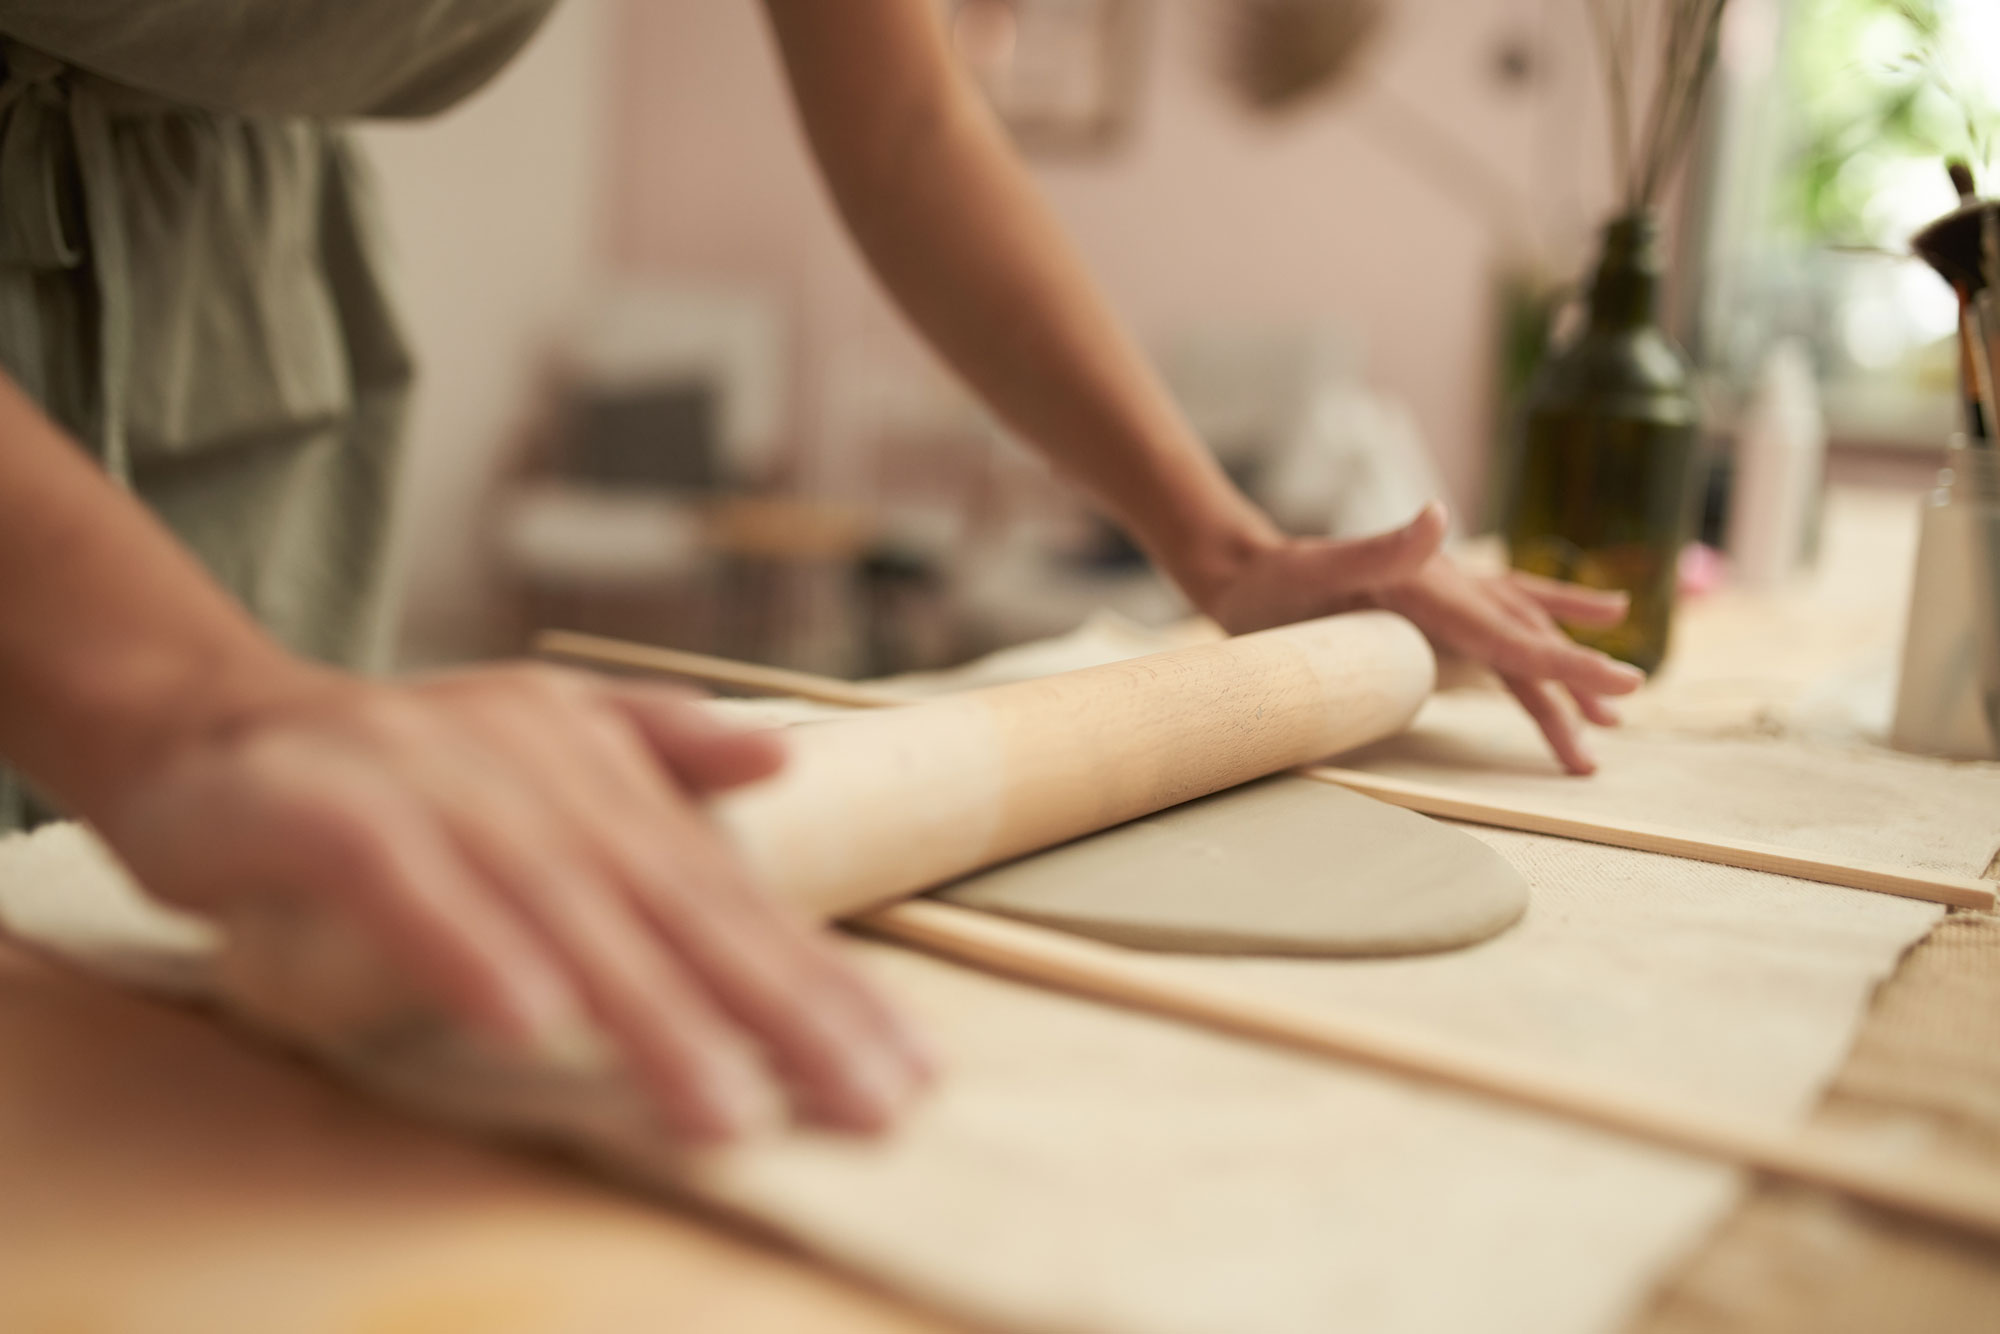
Pull a table just in front of the U opening at the front of your room and set it up with supplies you use regularly. If you are a middle or high school teacher, this is a great space to sit down and work alongside your students. It’s important for your students to see you working on art with them. You can work on the project they are doing or an example for another class. Often, I would work on watercolor painting gifts for friends and family or in my visual journal. Your art is a great way to open up a dialogue with your students. I promise they will be curious about what you are working on. That will lead to the materials you are using and the techniques you are practicing. It’s amazing how invested they get in your work just by watching you do it.
For elementary art teachers and upper-level teachers, this is a great demo space. Students can gather around your table or you can set up a camera that will display your hands at work on your SmartBoard. This is also a good spot for important supplies to live, such as Sharpies or Xacto Knives, so you can more easily oversee who is accessing them. I often keep a stack of examples on this table for quick reference while students are working on a project.
5. THINK EASY ON THE FIRST DAY
Once you have your paperwork ready and your classroom mostly set, start planning out the first day in every class. Keep it simple the first day! Both you and your students need to have a lighter day, day one. Use it to go over your paperwork, remind them of upcoming deadlines, such as when to return their signed syllabus, and have them fill out their get to know you sheet. Once they wrap up the administrative tasks, do a quick and easy first-day activity.
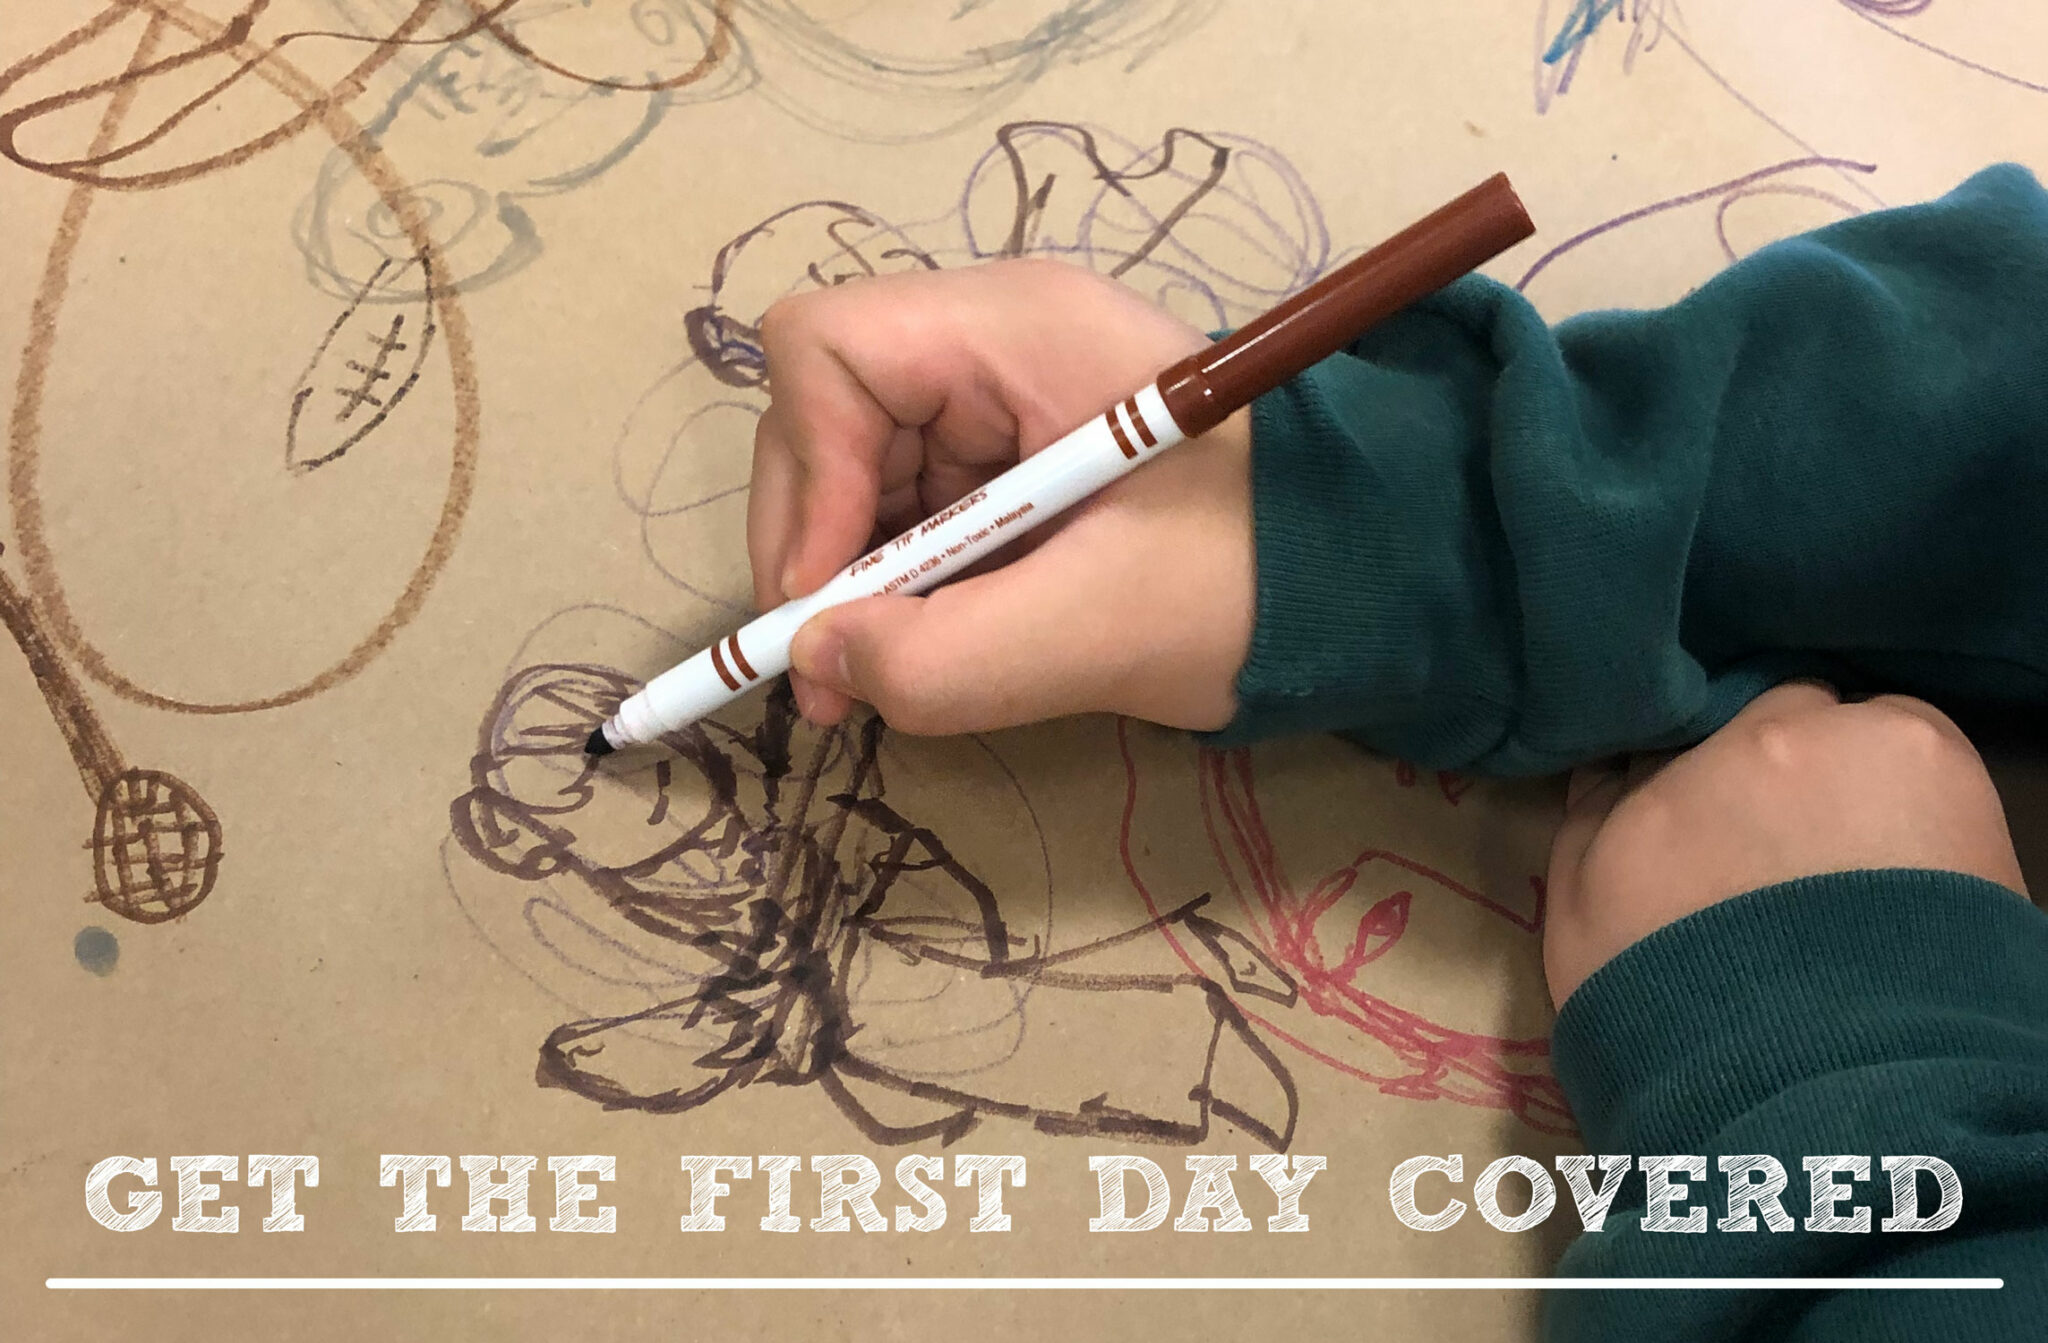
One activity my coworker does every year that I love is the timed drawing assignment. She covers her tables in big sheets of butcher block paper and spreads out markers. She sets a timer for a few minutes and tells them to draw whatever they want. Once the timer goes off, they slid over a seat and add to the drawing their neighbor started. This is repeated until they return to their seat to see what has become of their original creation. You can time this to fill up the remainder of the class period, with a few minutes to spare for clean up. Put out new sheets for every class.
This requires very little setup and clean up and it lets you see how creative your students can get in a short period of time. Don’t forget to float the room and keep an eye out for inappropriate additions to drawings. You want to nip that in the bud on day one.
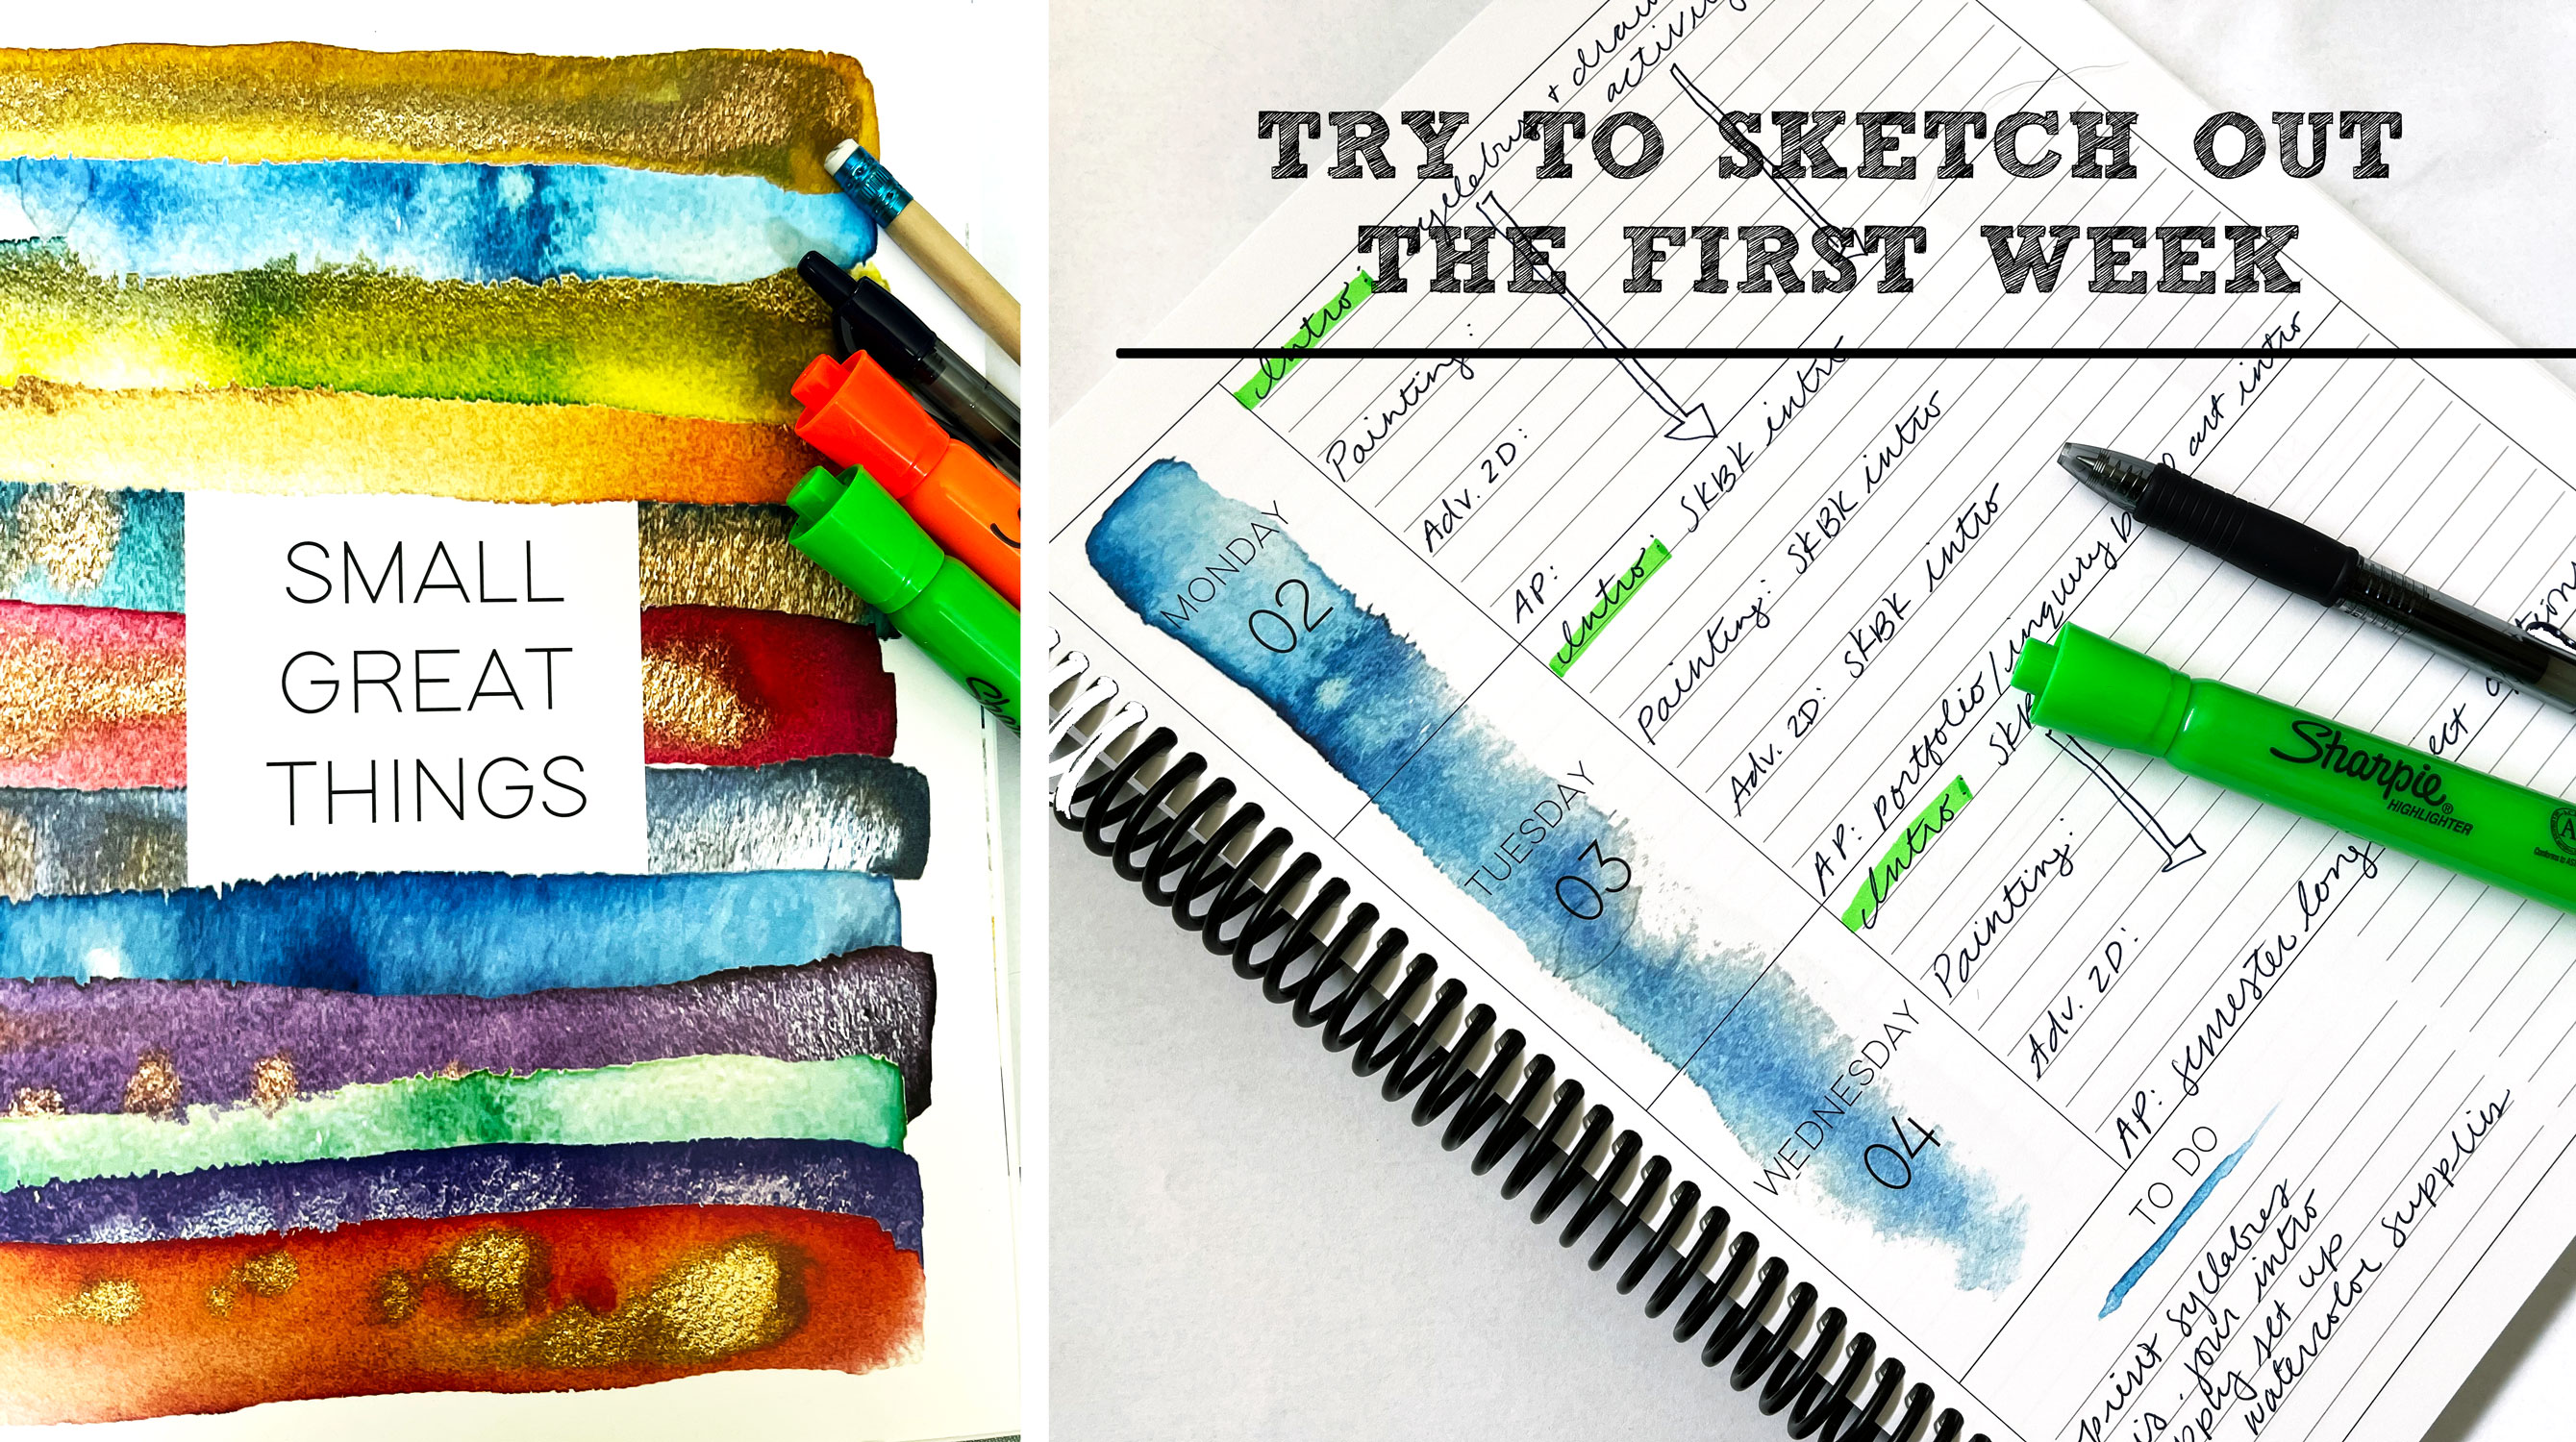
6. PLAN AHEAD
It’s very important to find time to plan ahead, especially as an art teacher. You need to order supplies before projects start and planning your projects in advance is the best way to do this. Get out your planner and sketch out the first week in every class. Keep notes on what supplies you have and what you need to order just to get through week one.
In every class, except AP Art, I have my students make their own sketchbooks. I teach a range of bookbinding techniques from simple stapled folders to coptic sketchbooks. This takes up the entire first week of school. I keep it simple, they get materials to create the front and back cover, they have to fully cover the inside and outside of the covers using whatever material they want. I give them access to scrapbook paper, magazines, Sharpies, paint, and more. Since they are creating their own design on the cover, it is fairly hands-off at the start. I float and help students find supplies and get to know them. Once we start bookbinding, depending on the level of difficulty, it becomes more hands-on at the end of the project. Typically, I have most of the supplies needed for this project already on hand, so it’s a great way to start the year.
After you have the first week ready to go, try to look further ahead. List out what projects you are aiming to complete in each class and how long you estimate each project to take. Using a pencil, write (or type) out your plan in a month or weekly view for every class. This will help you anticipate what is coming up and what supplies you need to check for. I try to order most of my supplies during pre-planning, and fill in as needed. Being able to plan out an entire semester, or even year is key in doing this.
I recently created a teacher planner, check it out here.
Thanks for taking the time to check out my blog! Read tips on how I handled hybrid teaching last year here, check out more information on visual journals here and here, and visit my blog shop here and art teacher products on Teachers Pay Teachers here. Spread the word about my blog by sharing on social media or with friends! Thanks for stopping by.
Related Posts
Leave a Reply